Every flat-pack Ikea piece starts life looking exactly like the one in your neighbour’s flat. Paint Ikea furniture the right way, and that same wardrobe, dresser, or side table stops looking mass-produced and starts looking like something pulled from a boutique studio. The trouble is that most people grab a tin of leftover wall paint, slap it on the laminate, and watch it chip within a fortnight.
That happens because Ikea pieces are built from laminated particleboard, not solid wood, and the slick factory coating rejects paint unless you prepare it properly. Get the groundwork right, though, and painting Ikea furniture becomes one of the cheapest ways to build a home that feels curated rather than copied. This guide walks through clever, tested approaches that go beyond a single flat coat, along with the one mistake that ruins most projects before they even begin.
Before You Pick Up a Brush
• Laminate needs a bonding primer, not just sanding, or paint will peel within weeks
• Two-tone colour blocking and ombre fades give a custom look without full furniture painting
• Small details like hardware and trim change a piece more than the paint colour does
• A matched topcoat protects the finish and keeps sheen consistent across the whole piece
Prep Laminate Properly Before Paint Goes Anywhere Near It
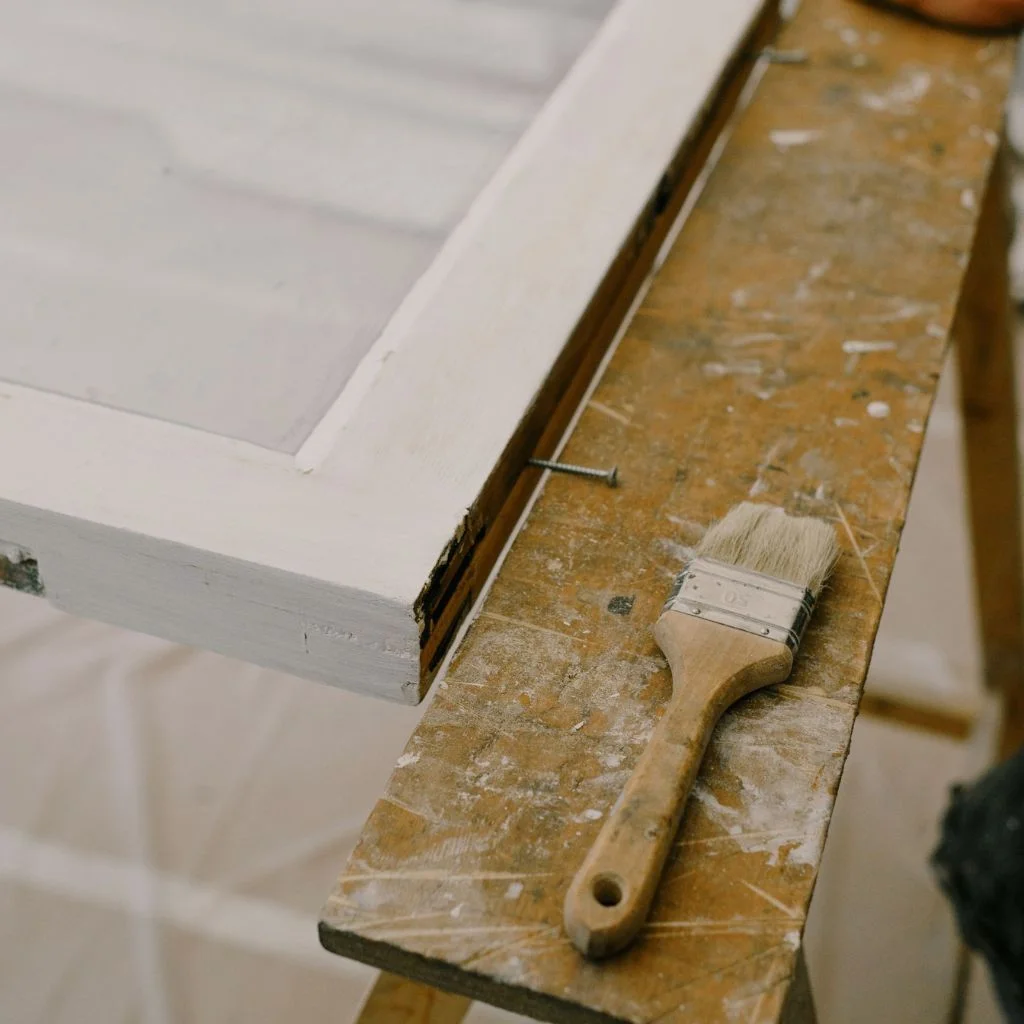
IKEA furniture is coated in a smooth melamine or foil laminate designed to resist stains, not to hold paint. Skipping prep is the single biggest reason a paint job fails within a month. Start by wiping every surface with sugar soap or a degreaser to strip away wax and dust, then scuff the whole piece with 180 to 220 grit sandpaper until the shine dulls to a flat, slightly rough texture. Proper prep ensures your paint adheres well and lasts longer, saving you time and frustration.
Once the surface feels like fine chalk rather than glass, wipe it down again with a tack cloth and apply a bonding primer made for laminate or melamine surfaces. This step is crucial for homeowners to feel assured that their furniture will last years without chipping or peeling.
Colour Block Two Tones for a Designer Edge
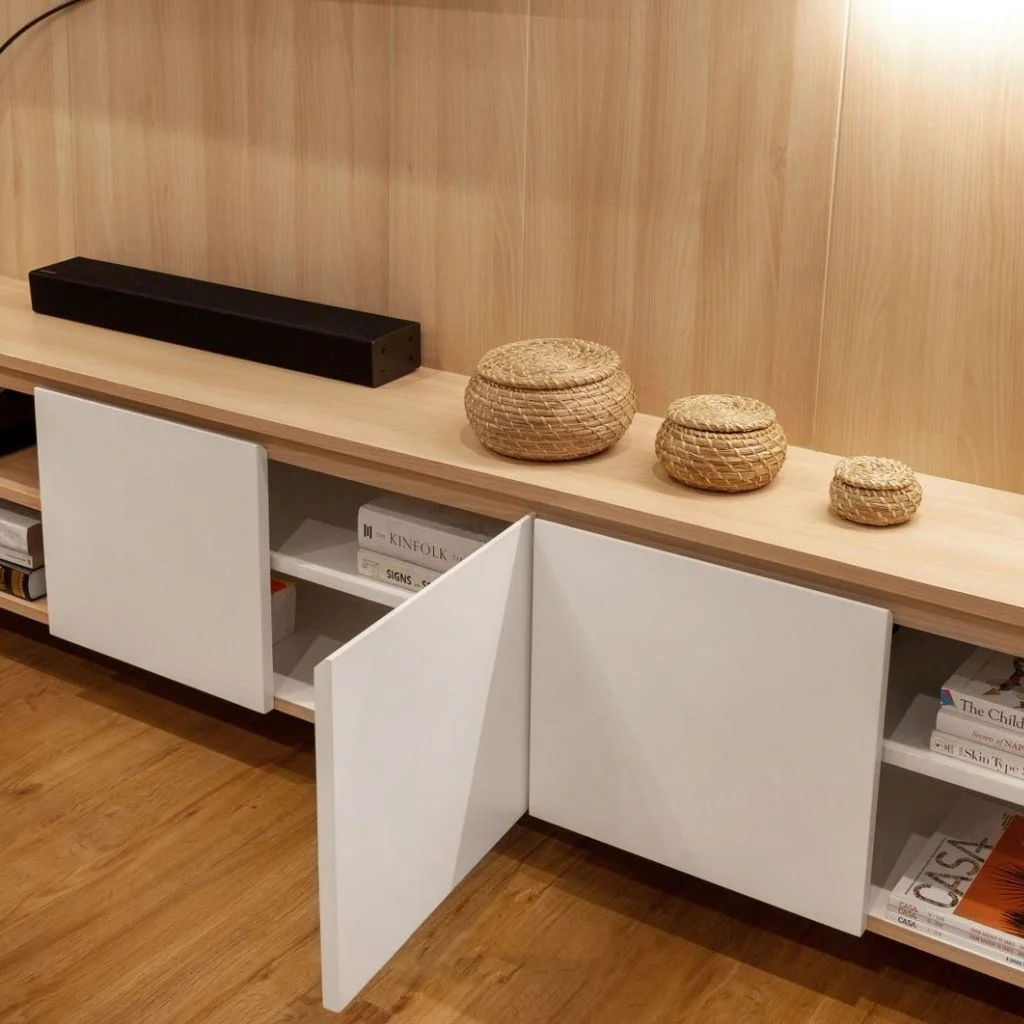
Painting the whole piece one flat colour is quick, but trying colour blocking with two complementary tones, such as a soft sage body with a warm white top, can inspire DIY enthusiasts to create unique, bespoke furniture pieces that reflect their style.
This works because it draws the eye to specific lines and edges rather than treating the piece as one flat block of colour, which is exactly how higher-end furniture makers style their pieces. Painter’s tape and a steady hand along straight edges are all you need; curved or rounded Ikea pieces are trickier, so save this technique for boxy dressers, sideboards, and shelving units with clean lines.
Trade Flat Paint for a Soft Chalk Style Finish
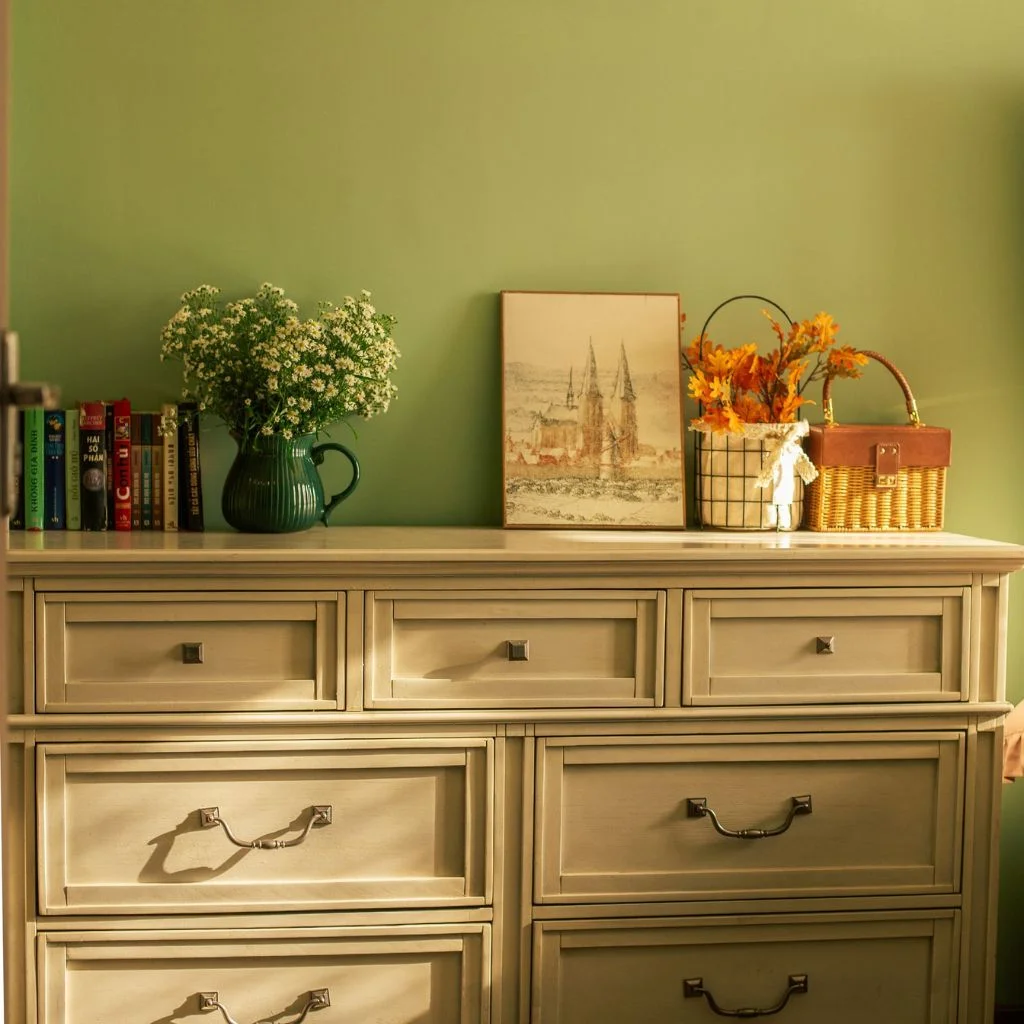
Standard satin or gloss paint reads as plasticky on laminate furniture, which is part of why painted Ikea pieces sometimes still look cheap even after the work is done. A chalk-style furniture paint dries to a soft, velvety matte that mimics old-world painted wood, and it usually needs less sanding beforehand because it grips laminate more readily than standard wall paint.
Chalk finishes also age beautifully. Light scuffs and wear marks blend into the texture rather than showing as obvious chips, which matters on a piece that gets daily use, like a console table or a child’s dresser. The trade-off is that chalk paint scratches more easily without a topcoat, so this technique pairs best with the sealing step covered further down.
Add Trim and Moulding Before You Paint
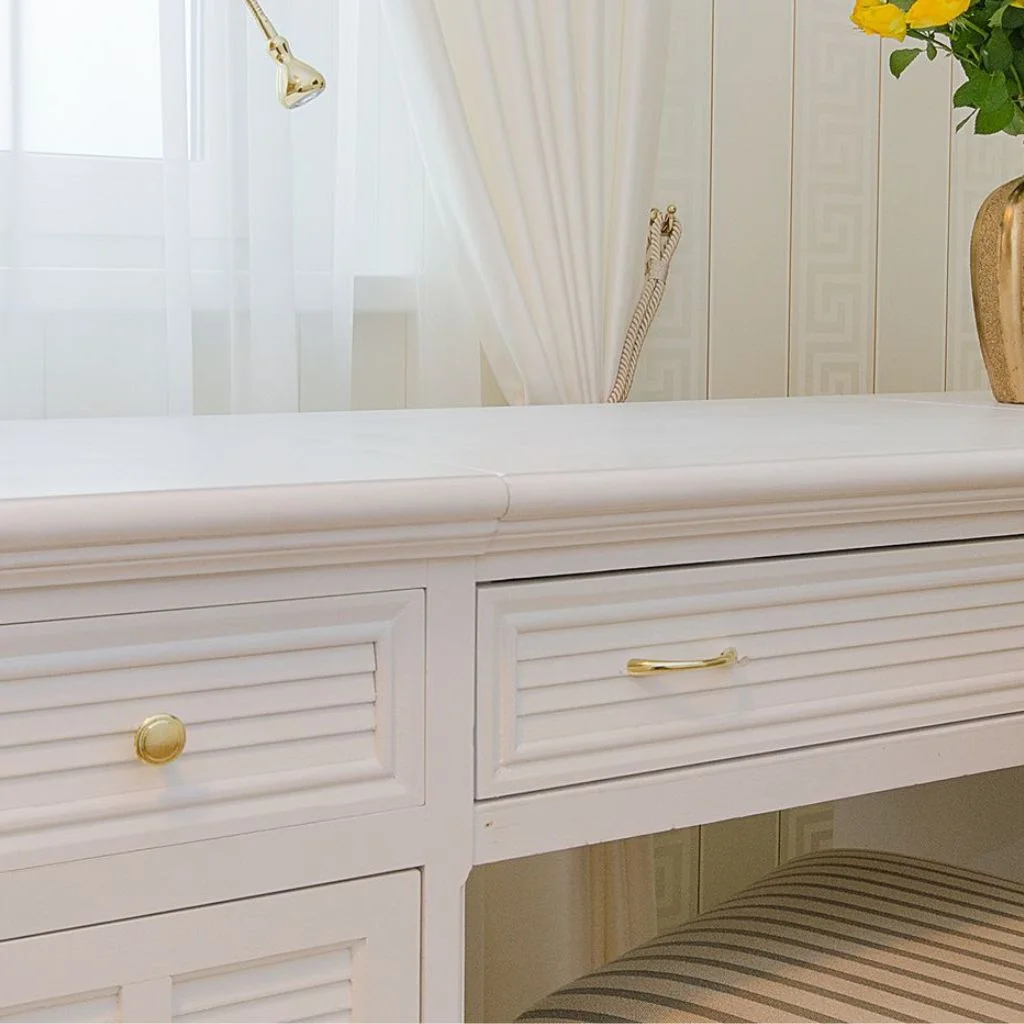
Flat, seamless Ikea fronts are the clearest giveaway that a piece came from a flat-pack box. Adding thin strips of moulding, picture frame trim, or even craft store wood appliques to drawer fronts and cabinet doors before painting instantly changes the silhouette. Once everything is painted the same colour, the trim reads as part of the original design rather than an obvious add-on.
This is one of the more affordable custom furniture upgrades available, since basic MDF trim costs very little and can be cut down to size with a simple mitre box. The shadow lines that trim creates add depth that flat paint alone cannot fake, which is why this trick shows up constantly in before-and-after furniture makeovers online.
Try an Ombre Fade on Drawer Fronts
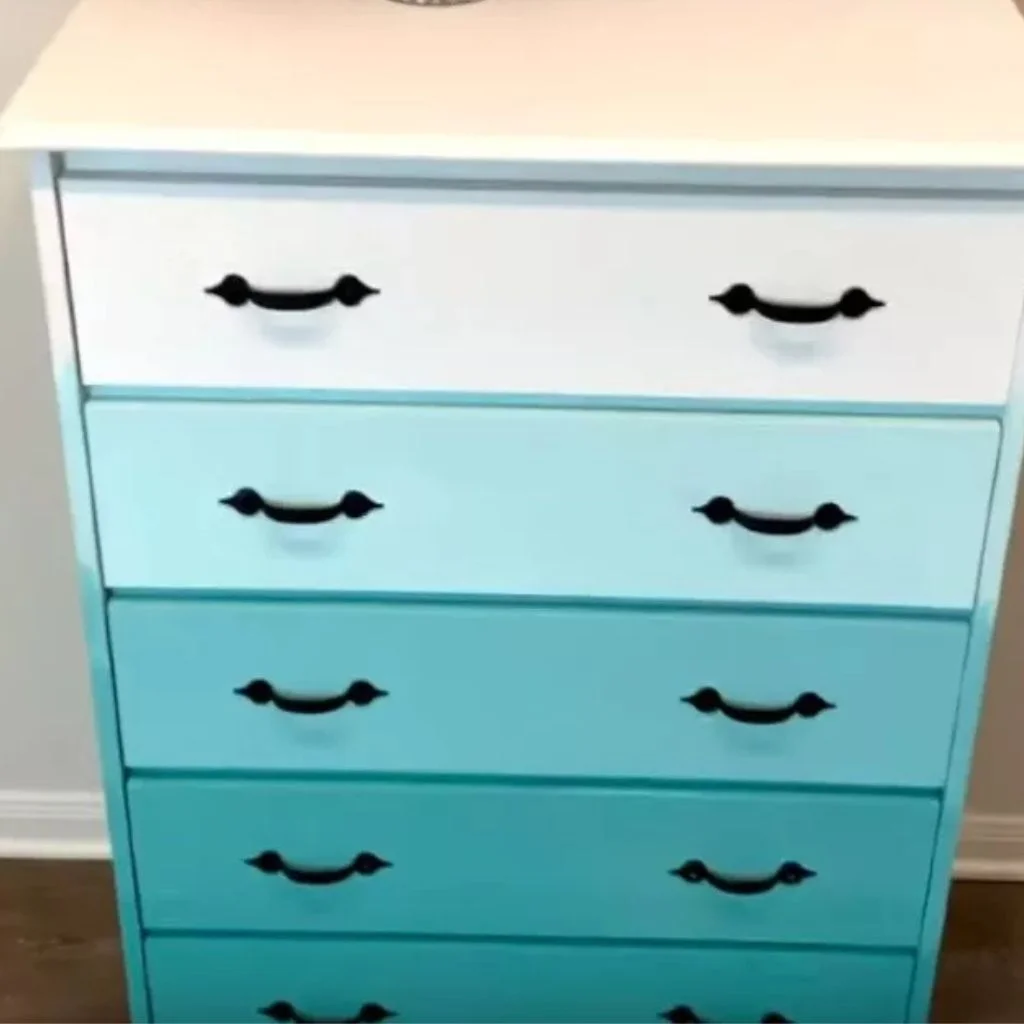
An ombre fade, where colour gradually lightens or darkens from one drawer to the next, turns a plain chest of drawers into a genuine statement piece. Mix your base colour with white in increasing amounts for each drawer, or blend two full shades, feathering the transition with a slightly damp brush while the paint is still wet.
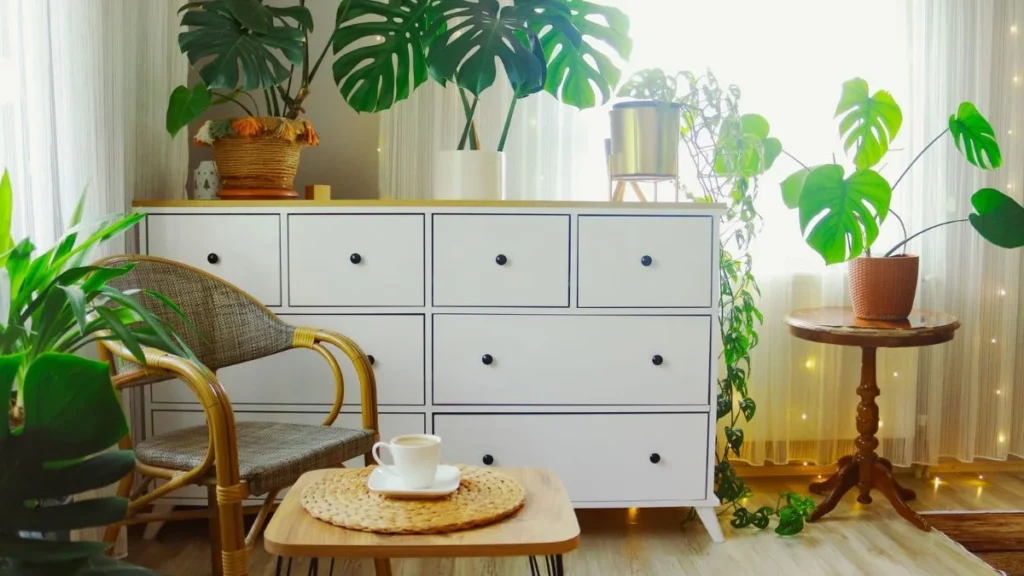
Ombre works particularly well on pieces with multiple identical drawers, such as the Ikea Malm or Hemnes ranges, because the repetition of shape makes the gradual colour shift read clearly. It is a technique that looks far more complicated than it actually is, and it consistently gets more comments than a single flat colour ever does.
Paint Just the Hardware Backplates for Subtle Contrast
Not every custom look needs a full repaint. Removing existing knobs and handles, then painting just the metal backplates or the wood surrounding each handle in a contrasting colour, creates a tailored look with a fraction of the effort. A brass-toned paint pen against a matte black cabinet, for example, mimics an expensive hardware swap without the cost of buying new fittings.
This approach suits anyone short on time or nervous about painting large surfaces for the first time. It also works as a low-risk way to test whether you enjoy furniture painting before committing to a bigger project, and it is the kind of detail guests notice without being able to say exactly why the piece looks more expensive.
Use Stencils for a Boutique Pattern
Stencilling turns a plain painted surface into something that looks hand-decorated, without needing freehand painting skill. Geometric, floral, or Scandinavian folk patterns work particularly well on Ikea pieces because the clean, minimal shapes suit the furniture’s existing simple lines. Tape the stencil firmly, use a dry brush technique with very little paint loaded, and dab rather than stroke to avoid bleeding under the edges.
Stencilled drawer fronts or cabinet doors give the impression of a custom-commissioned piece, particularly when the pattern colour is only a shade or two darker than the base coat. Keep the pattern to one or two focal surfaces rather than the whole piece, since restraint is what makes a stencilled design look intentional instead of busy.
Commit to One Bold Statement Piece Per Room
Every room benefits from one piece that breaks from the neutral palette entirely. Painting a single Ikea bookcase, sideboard, or console table in a deep emerald, rust, or navy shade gives a room instant personality, especially when everything else stays fairly neutral. This is a technique I recommend to anyone who feels nervous about colour, because it contains the risk of one item rather than an entire room.
A bold statement piece also photographs well for Pinterest and social sharing, since it gives a room a clear focal point rather than a flat, uniform look. Choose the piece with the simplest shape in the room for this treatment, since ornate detailing competes with a strong colour rather than complementing it.
Skipping Primer Is the Mistake That Ruins Most Projects
The most common mistake in painted Ikea furniture projects has nothing to do with colour choice or brush technique. It is skipping primer, or using a general-purpose primer instead of one formulated for laminate and melamine surfaces. Paint that goes straight onto unprimed laminate looks fine for the first week, then starts lifting at corners and edges within a month as the surface flexes with normal use.
A proper bonding primer, left to cure fully before topcoats go on, is what allows every other technique in this guide, from colour blocking to stencilling, to actually last. It is not a glamorous step, and it will not show up in the finished photos, but skipping it is the difference between furniture that looks good for years and furniture that needs redoing by autumn.
Seal It With a Topcoat That Matches the Original Sheen
A painted finish without a protective topcoat wears unevenly, picking up fingerprints, water rings, and scuff marks far faster than the original factory coating did. A clear polyurethane, wax, or polycrylic topcoat in a sheen that matches your paint, matte with matte, satin with satin, protects the surface and keeps colours looking consistent under different lighting.
Two thin coats generally outperform one thick coat, since thick applications are more prone to bubbling or an uneven, cloudy finish. This final step is easy to rush past once the fun painting part is finished, but it is what keeps colour blocking crisp, ombre fades smooth, and stencilled patterns intact through years of everyday use rather than just the first few months.
Your Flat Pack Deserves Better Than Flat Paint
Painting Ikea furniture well is less about finding the perfect colour and more about respecting the process, from proper laminate prep through to a matched protective topcoat. Any single technique here, colour blocking, an ombre fade, or simply new hardware detailing, can turn a piece everyone recognises into one that looks like it was made just for your home.
Our Pick: Creative Ikea Micke Desk Setups for Every Room.