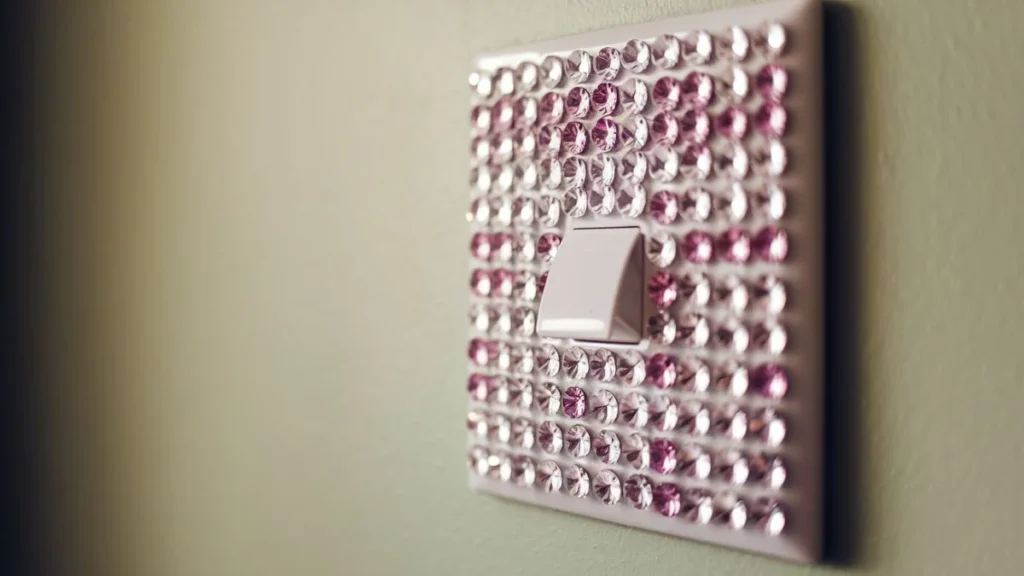
A blank light switch plate is the dullest spot on any wall, and nobody notices it until it sparkles. Bedazzled light switch covers fix that in under an hour, turning an ignored rectangle of plastic into a tiny piece of wall art.
Builders paint every inch of a room and forget the switch plate completely, leaving a flat, forgettable gap in an otherwise finished space. This guide walks through seven ways to bedazzle a light switch, from rhinestone grids to vintage brooch mashups, so every flip of the light lands somewhere pretty.
Sparkle Notes Before You Start
• Best adhesive: Rhinestone sheets paired with E6000 glue give a bedazzled light switch cover the most durable, chip-resistant finish.
• Colour matters: Matching gem tone to nearby trim or hardware keeps a bedazzled switch plate looking intentional instead of random.
• Work off the wall: Always remove the cover plate and work on it flat on a table. Gluing gems directly onto a wall-mounted switch is messy and uneven.
• Finish it right: A light matte sealant coat protects handmade switch plate designs from smudging and keeps gems seated for years.
Sparkle Appeal Behind Every Bedazzled Light Switch
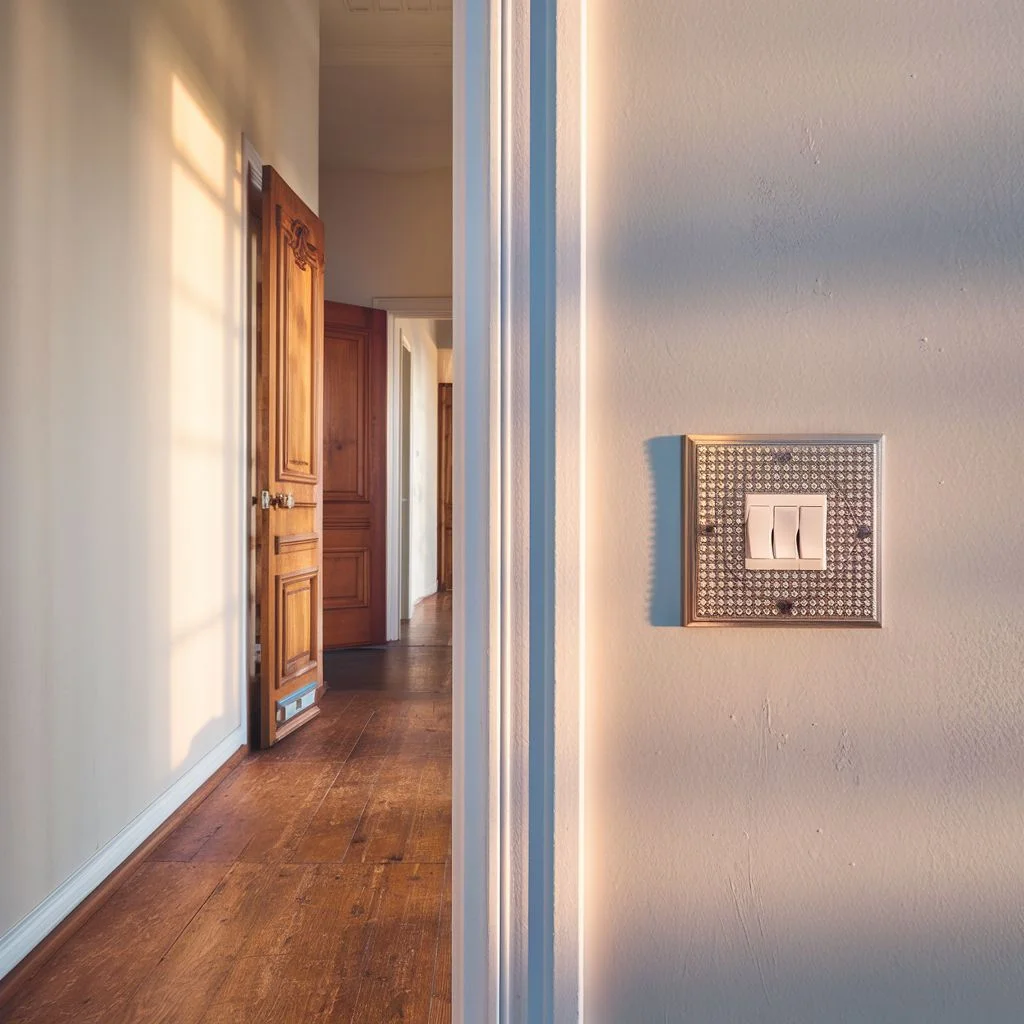
A bedazzled light switch works because it lives at eye level, in a spot people touch several times a day. That constant contact makes it one of the highest-impact, lowest-cost upgrades in a home.
Unlike a full accent wall or new light fixture, a bedazzled switch plate costs a few pounds in craft supplies and can be finished during a single evening in front of the television. The payoff is a small burst of glamour that photographs beautifully for a moodboard or a Pinterest pin.
Materials Worth Gathering First

A standard plastic or metal switch plate, a sheet of flat-back rhinestones in mixed sizes, jewellery glue such as E6000, tweezers, and painter’s tape form the core kit. Painter’s tape marks off the switch opening so no gem strays into the mechanism.
Craft stores sell rhinestone sheets pre-arranged in patterns, which speeds up the process for anyone bedazzling several switch plates in one sitting, such as an entire hallway.
Rhinestone Grid Pattern For Clean Symmetry
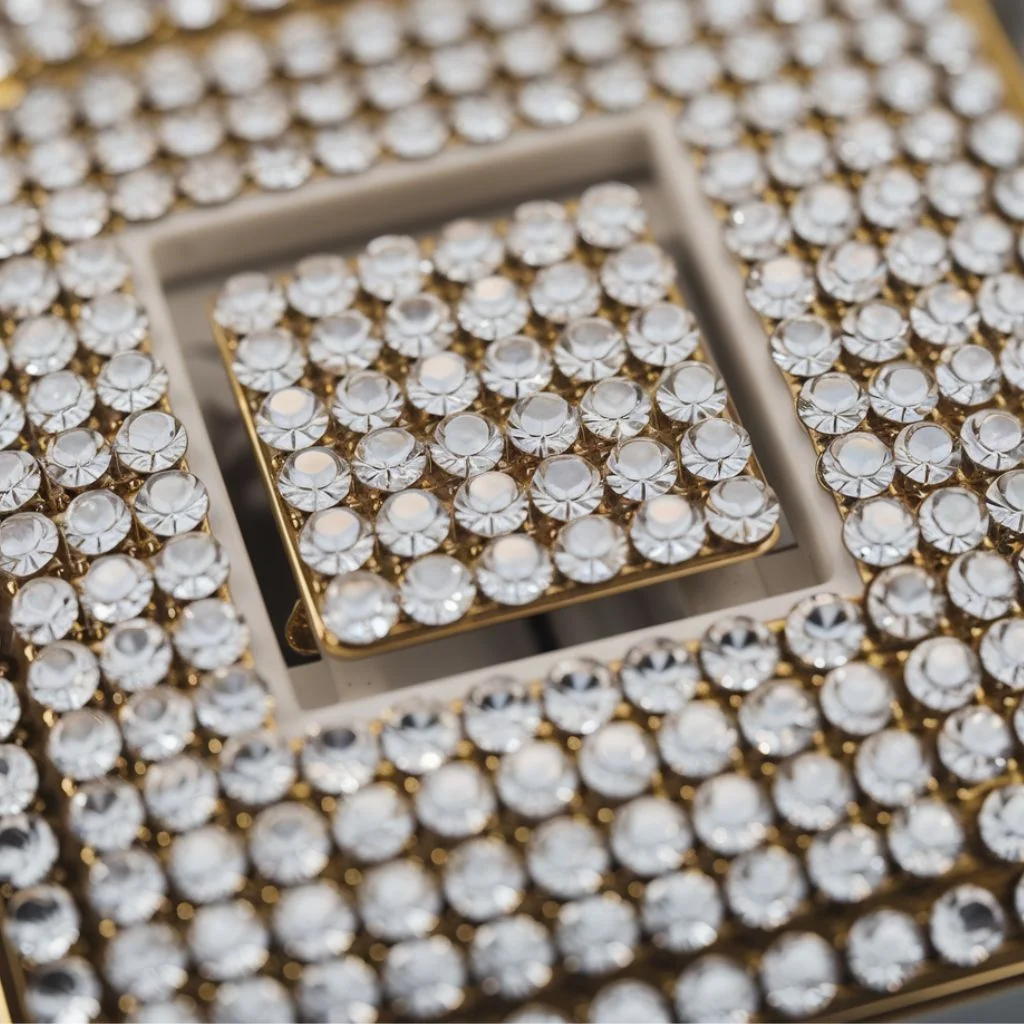
Lay gems in tight, even rows across the plate, leaving a clean border around the switch opening. This grid style suits modern and minimalist rooms because the repetition reads as tidy rather than busy.
Use a ruler or the edge of painter’s tape as a placement guide, so rows stay straight. Uneven spacing is the fastest way to make this pattern look accidental instead of designed.
Ombre Gem Fade For Soft Glam Walls
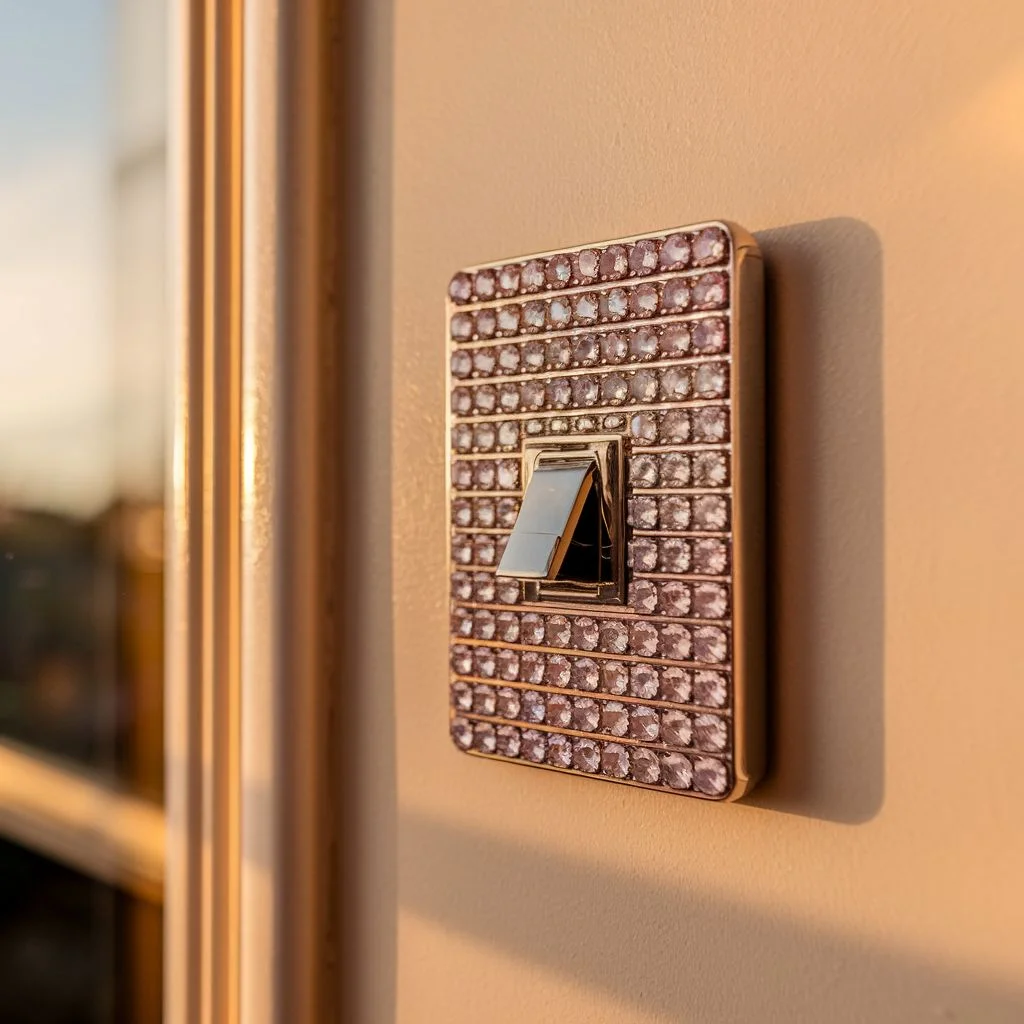
Arrange gems so colour or size shifts gradually from one edge of the plate to the other, such as clear crystals fading into soft pink. This style pairs naturally with a glam or coastal-grandmother bedroom.
Sort gems into small dishes by shade before gluing. Working from the lightest pile to the darkest keeps the transition smooth instead of patchy.
Vintage Brooch Upcycle For Old-World Charm
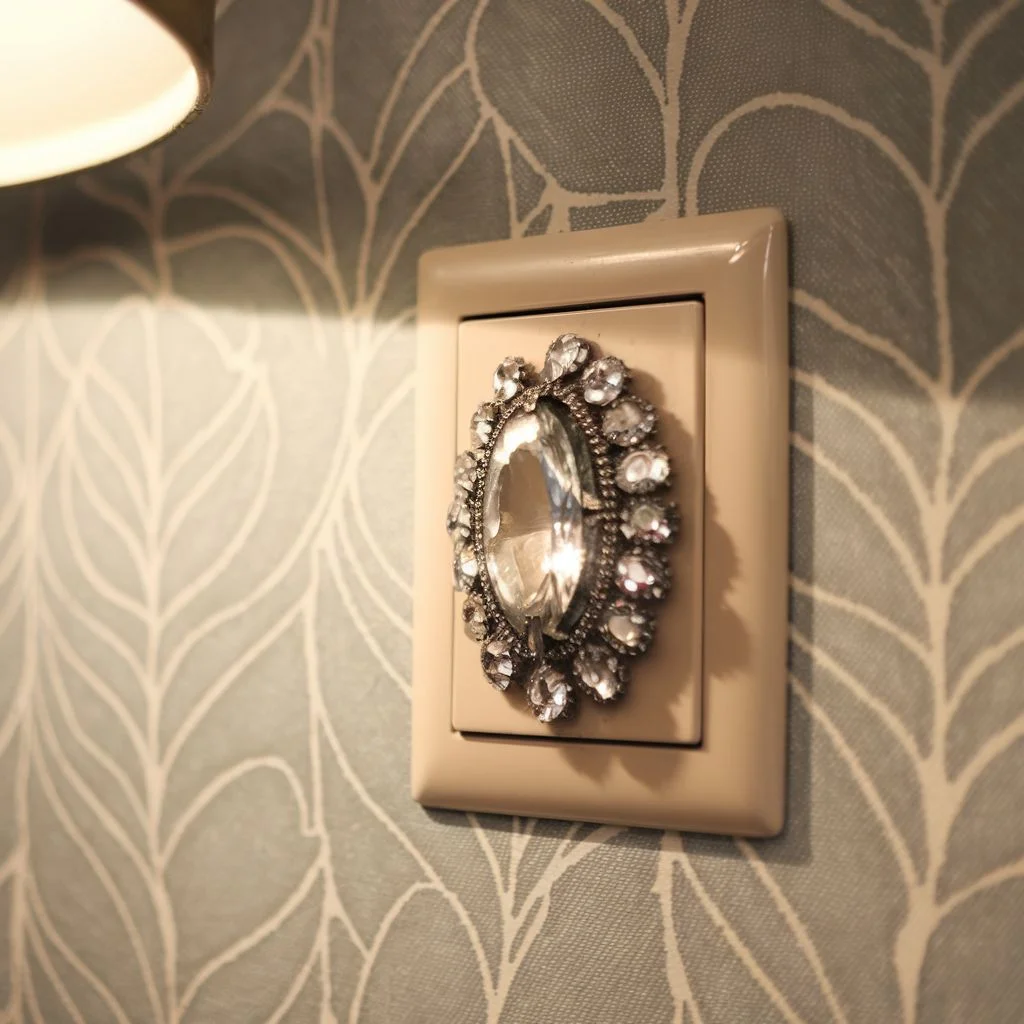
Old costume jewellery brooches, often sitting unused in a drawer, can be glued directly onto a plain switch plate for an instant heirloom look. This is the most sentimental option on the list, since many people use a piece that belonged to a grandmother or a flea market find.
Choose a brooch with a flat or slightly domed back so it sits securely without wobbling every time the switch is used.
Metallic Stud Design For Industrial Spaces
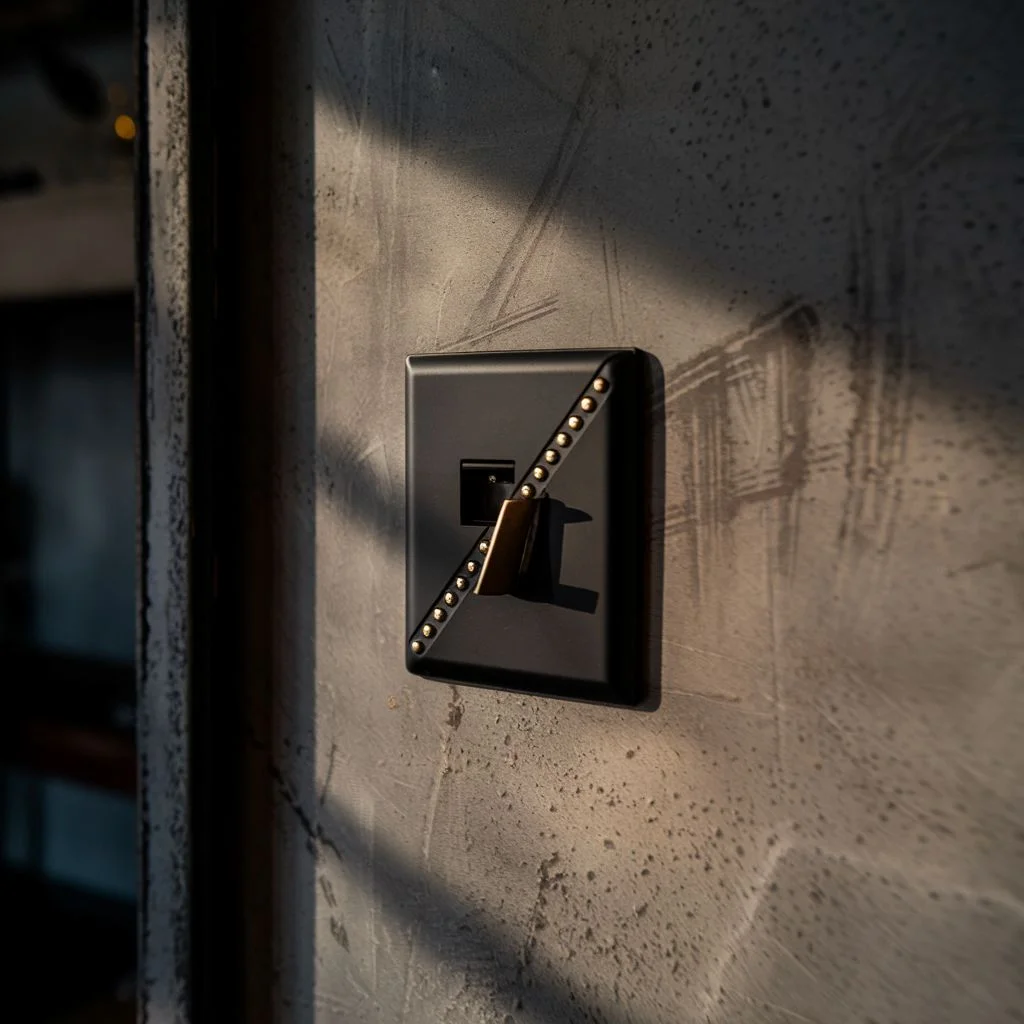
Small metal studs or spikes, arranged in a border or diagonal line, bring the bedazzled trend into a loft or industrial-style room without looking overly feminine. Brass or gunmetal finishes work especially well against black or concrete-look walls.
This design uses fewer embellishments than the rhinestone options, which makes it a good starting project for anyone bedazzling a light switch for the first time.
Pastel Gem Cluster For A Kid’s Room
Grouping oversized pastel gems into a loose cluster in one corner of the plate, rather than covering the whole surface, creates a playful accent that suits a child’s bedroom or playroom. It also uses fewer pieces, which keeps the project quick.
Round, larger gems are safer and easier to glue securely than tiny rhinestones in a room where small hands are nearby.
Mixed Crystal Mosaic For A Bold Statement
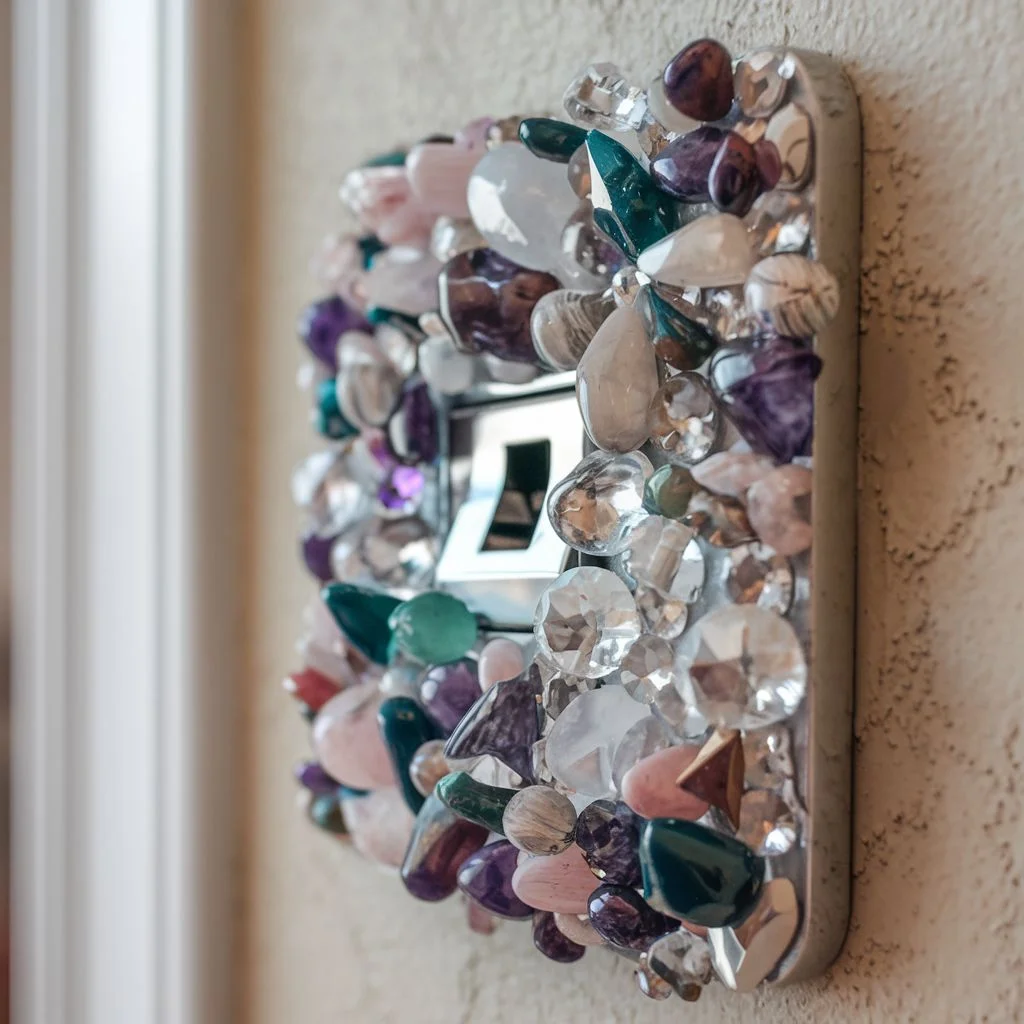
Combining several gem sizes, shapes, and finishes in a dense, all-over pattern creates the boldest version of a bedazzled light switch. This works best as a single statement piece in an entryway or powder room rather than repeated throughout a house.
Because it uses the most material, this style benefits from planning the layout on paper first, then transferring the design to the plate section by section.
Common Mistake To Avoid With Bedazzled Switch Plates
The most frequent mistake is gluing gems too close to the switch opening, which causes them to catch on the toggle or rocker every time someone reaches for the light. Leaving a small clear margin around the opening solves this before it becomes an annoying daily snag.
A second issue worth mentioning: using craft glue instead of a stronger jewellery adhesive. Craft glue looks fine on day one, but gems start popping off within a few weeks, especially in a bathroom or kitchen where humidity is higher.
Placement Tips That Make The Sparkle Pop
A bedazzled light switch reads best when it has some contrast to stand out against, such as a matte or painted wall rather than a busy patterned one. Placing one on a plain wall lets the eye land on the sparkle immediately rather than competing with other detail.
Rooms with a single statement switch plate, such as an entryway or a home office, tend to look more intentional than a house where every switch has been bedazzled. Restraint keeps the detail feeling like a design choice rather than a craft project spilling into every room.
Small Switch, Big Sparkle
A bedazzled light switch is proof that the smallest details in a room carry real design weight. None of the seven styles above need more than an evening and a handful of craft supplies, yet each one turns a forgettable plastic rectangle into something worth noticing.
Start with a single switch plate in the most-used room of the house, live with it for a week, and it becomes obvious which pattern deserves to spread to the rest of the home.
Loving these sparkle ideas? Pin your favourite bedazzled light switch design below and save it for your next weekend project.
Recommended: Everything You Need To Know Before Painting Billy Bookcase.