
Crooked panel line can ruin an entire feature wall before the glue even dries. Rustic wall paneling looks effortless in finished photos, but the process behind it rewards patience more than power tools. This guide walks you through every stage of rustic wall paneling installation, from picking the right boards to fixing the small mistakes that trip up first-timers. By the end, you’ll have a clear, doable plan instead of a pile of half-finished ideas.
Most people picking up a nail gun for the first time underestimate how much of this project happens before a single board goes up. The planning, prepping, and dry-fitting stages take longer than the actual attaching and skipping them is exactly where beginners run into trouble.
Getting Your Tools And Materials Ready
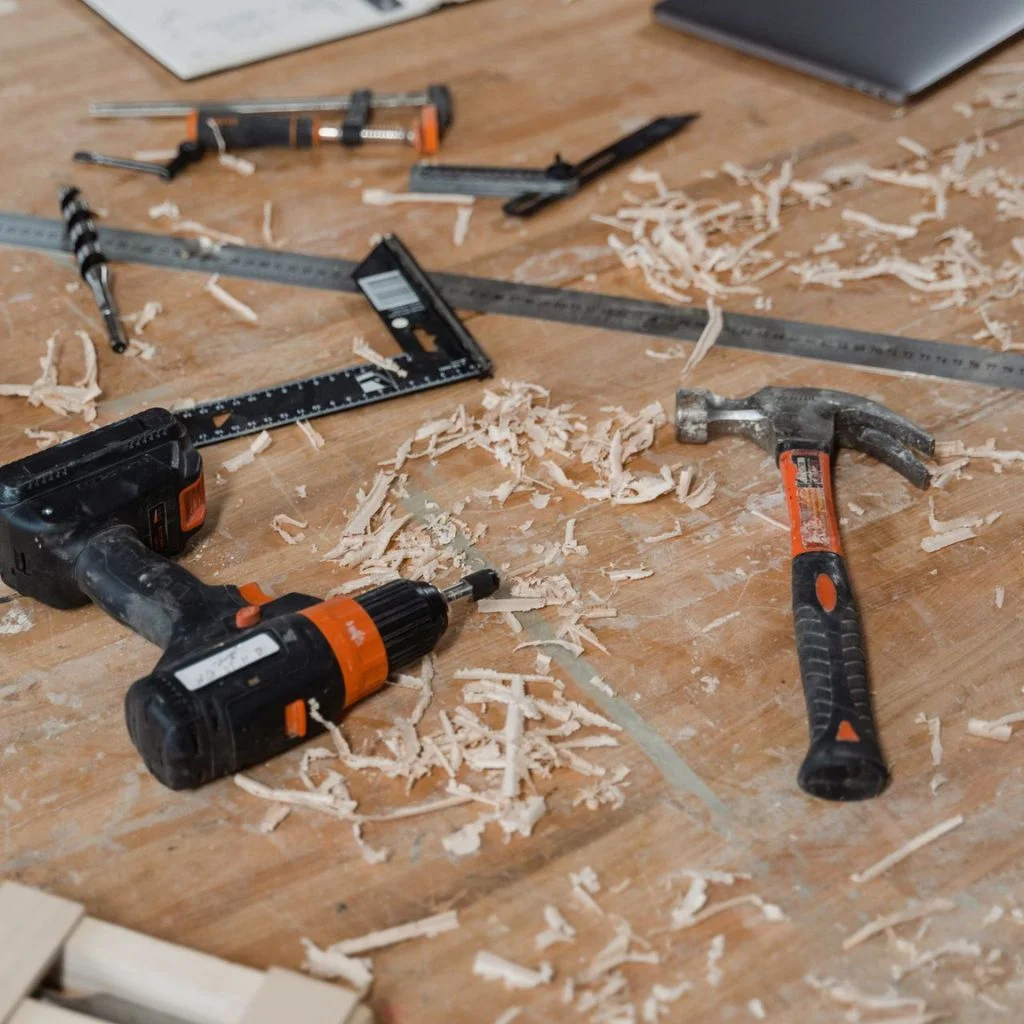
Before you touch a single board, lay out everything you’ll need. A stud finder, spirit level, tape measure, and a good saw (circular or mitre, depending on your cuts) form the backbone of any rustic wall paneling project.
You’ll also want construction adhesive, finishing nails, wood filler, spacers, and a caulking gun. A rubber mallet is worth having too, since it helps seat boards snugly without denting soft, weathered wood.
Buying panels in one batch matters more than most beginners realise. Rustic wall paneling often has natural colour and grain variation between production runs, so a second order months later rarely matches the first. Order slightly more than your measurements suggest, since cutting mistakes and awkward corner pieces are part of almost every first attempt.
Choosing The Right Rustic Panel Style For Your Space

Shiplap, reclaimed barnwood, board and batten, and weathered pine slats all fall under the rustic wall paneling umbrella, but they behave very differently once they’re on the wall. Shiplap is forgiving for beginners because its overlapping edges hide small gaps and minor levelling errors.
Reclaimed wood adds genuine character but often needs extra sanding, nail removal, and even a light wash to deal with old dust before it’s workable. It also varies more in thickness than milled options, which makes flush installation trickier for someone doing this for the first time.
If this is your first attempt, start with a milled rustic wall paneling kit rather than raw salvaged timber. Consistent thickness makes levelling far easier, and most kits already include tongue-and-groove edges that guide your spacing for you.
Think about the room’s natural light too. Darker, heavily weathered boards can make a small room with limited windows feel closed in, while lighter whitewashed panels bounce light around and keep the space feeling open.
Prepping The Wall Surface Before You Begin
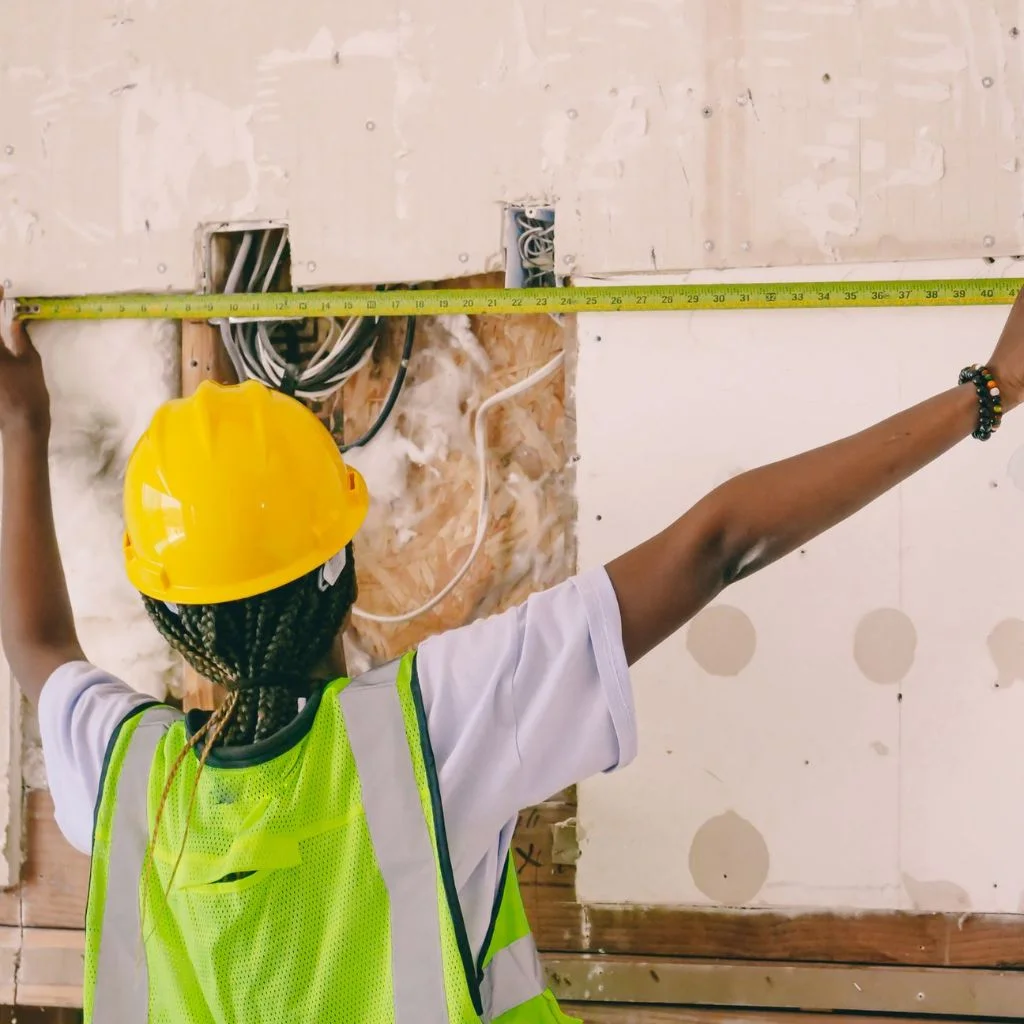
Panels forgive a lot, but not an unprepared wall. Clean off dust and grease, patch any deep holes with filler, and let repairs cure fully before you start attaching boards on top of them.
Locate and mark every stud with a pencil line running from floor to ceiling. This single step saves the most frustration later, since nails or screws need solid backing rather than just drywall paper and plaster to hold real weight over time.
If your wall has glossy paint, a light sanding helps adhesive grip properly. Skipping this step is one of the most common reasons panels loosen and start creaking months after installation, long after the project looked finished.
Check the wall for moisture issues before you begin, especially in bathrooms, basements, or exterior-facing walls. Rustic wall paneling installed over a damp surface can warp or grow mould behind the boards where you won’t see it until it’s a bigger problem.
Measuring And Planning Your Panel Layout
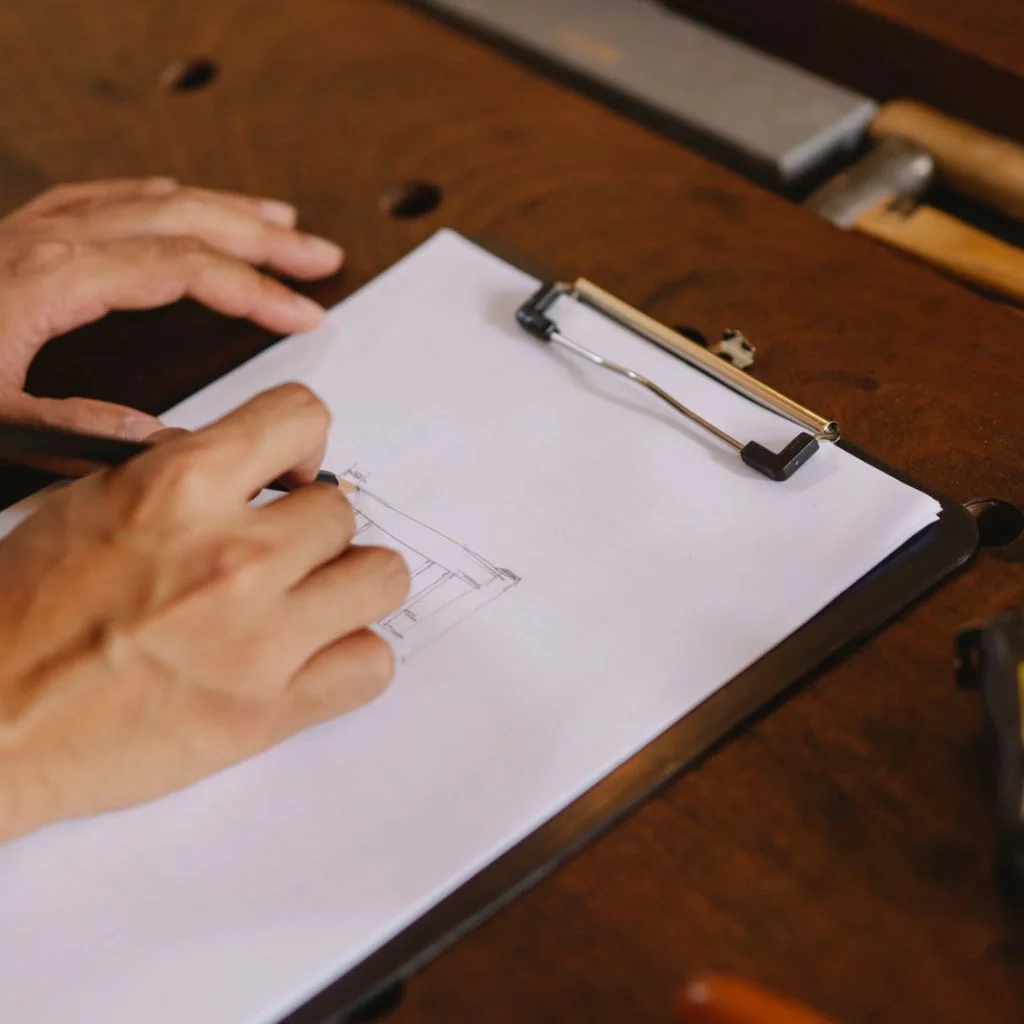
Measure the full width and height of your wall, then sketch a rough layout on paper before cutting anything. Account for outlets, switches, and trim, since these boards often need notches cut around fixtures rather than simple straight edges.
Dry-fit a few boards against the wall without adhesive first. This lets you catch spacing issues, an uneven starting point, or an awkward final piece before anything becomes permanent and hard to undo.
Plan your layout so the narrowest cut piece ends up in the least visible corner of the room, not by the door or window where eyes naturally land first. This small planning step is what separates a professional-looking rustic wall paneling wall from one that reads as a rushed weekend project.
Cutting Panels Without Costly Mistakes
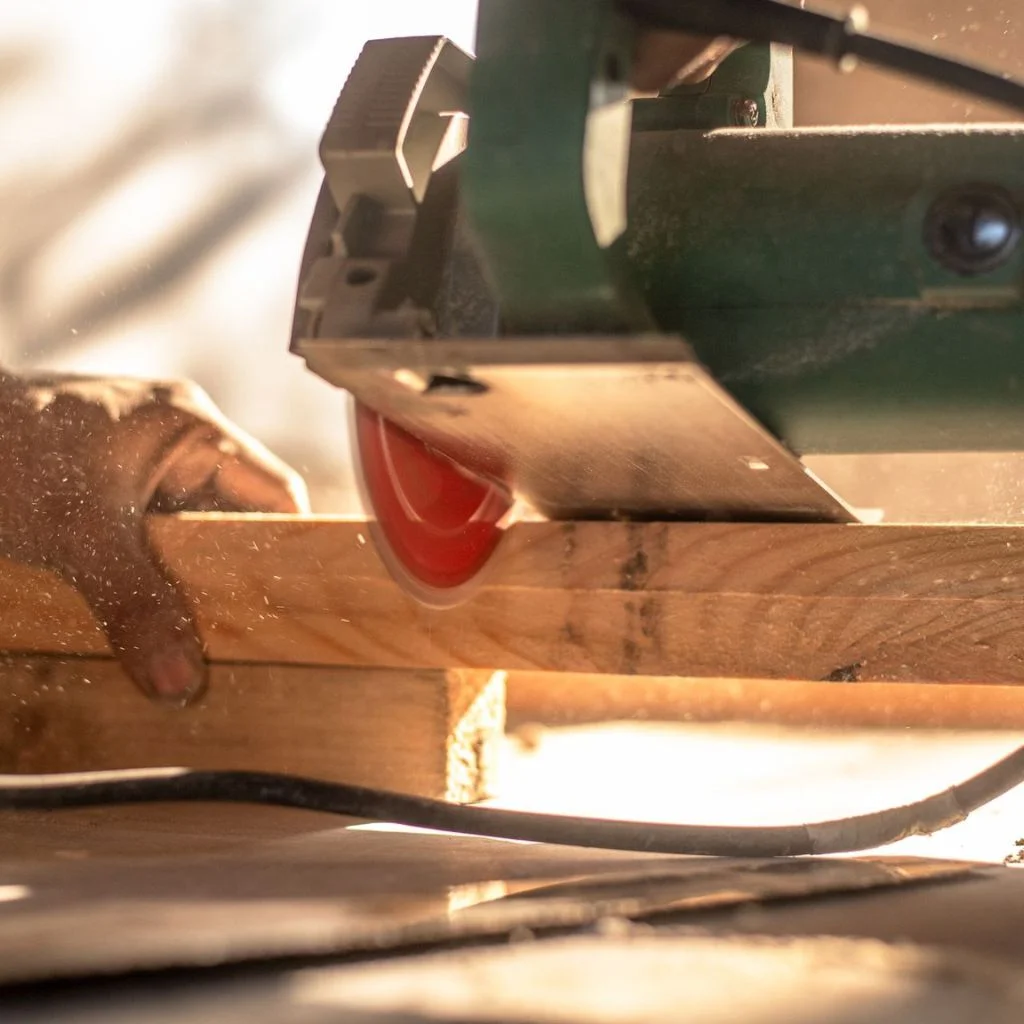
Measure twice and mark clearly with a pencil, not a pen, so lines are easy to correct if your first measurement was off. Use a fine-tooth blade for cleaner edges, especially on reclaimed or knotty wood that tends to splinter along the grain.
Cut slightly long rather than short wherever you have room to adjust. You can always trim a fraction more off a board, but you can’t add wood back once it’s too short for the gap you’re filling.
Support the panel fully while cutting, particularly with longer boards that can flex and crack near the end of a cut. A second pair of hands, or a set of sawhorses, makes this far safer and more accurate than balancing a board on one knee.
Attaching Panels Step By Step
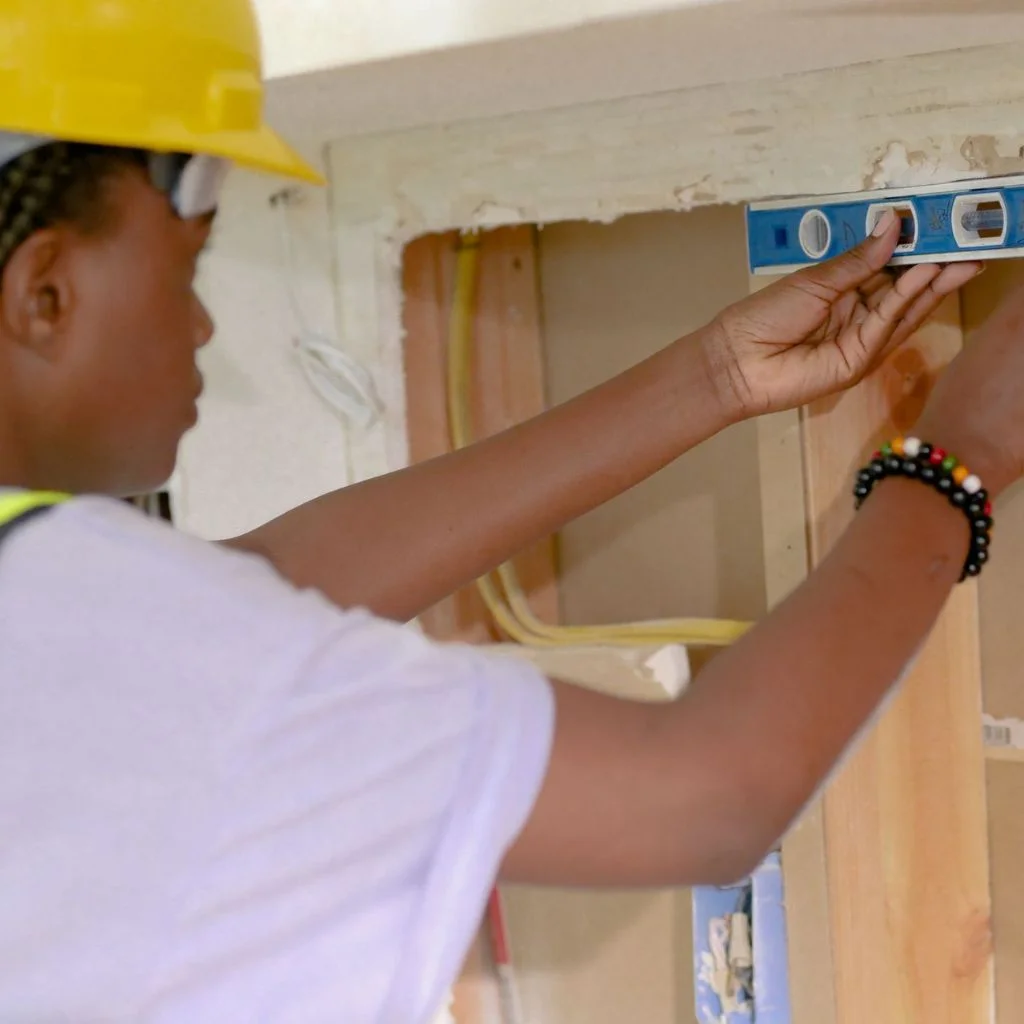
Start in the most visible corner of the room, usually the one you see first when entering. Use your level constantly here, since even a small tilt compounds across an entire wall of panels by the time you reach the far side.
Apply construction adhesive to the back of each board in a zigzag pattern, then secure it further with finishing nails driven into the studs you marked earlier. This two-step method keeps the whole wall stable through humidity changes and seasonal shifts far better than adhesive alone.
Work in small sections rather than gluing an entire wall’s worth of boards at once. Adhesive sets faster than most beginners expect, and rushing this stage is where visible gaps and misaligned seams tend to creep in.
Leave a small gap, roughly the width of a nail head, between boards for natural wood movement. Pressing panels too tightly together is a frequent cause of buckling later on, especially once the seasons change and humidity shifts indoors.
Finishing Touches That Complete The Rustic Look
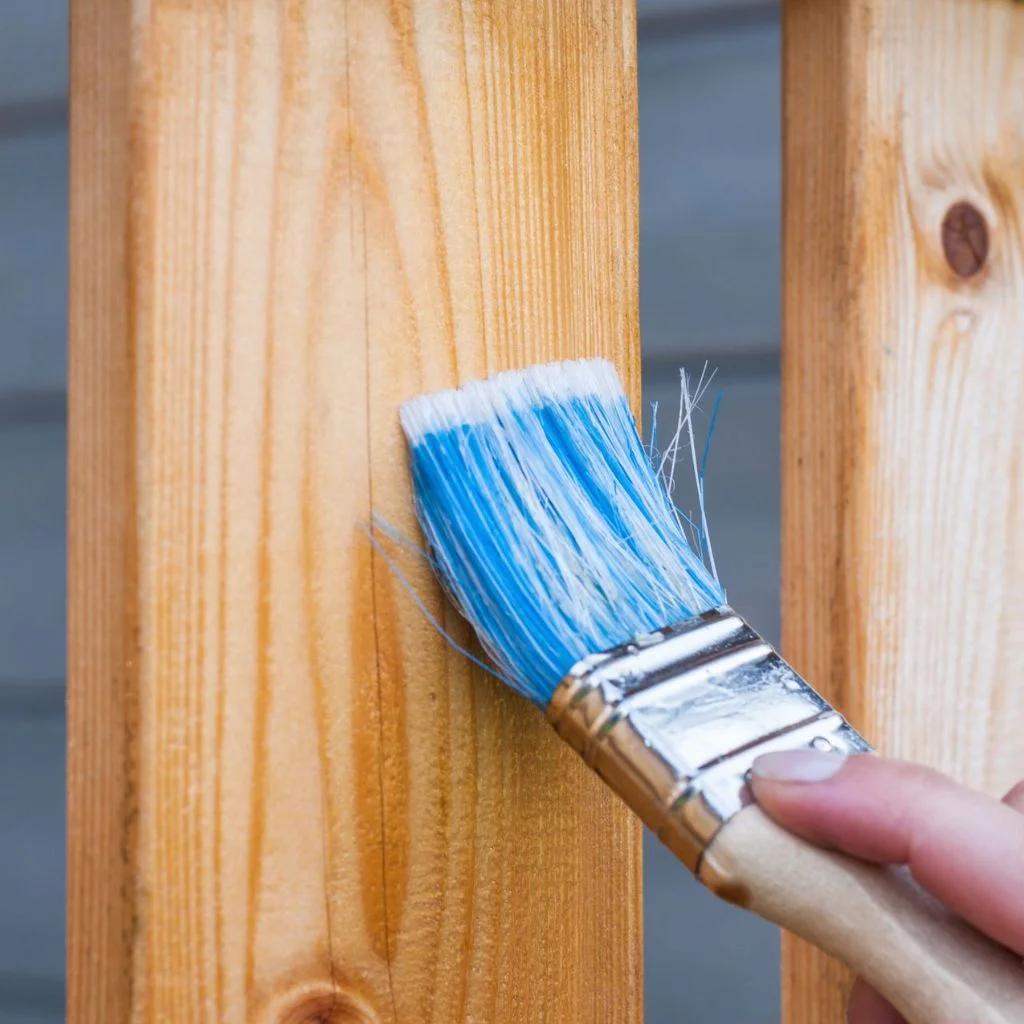
Once every board is secure, fill nail holes with tinted wood filler and caulk any gaps along the ceiling or trim line. This small step makes a handmade wall look intentional rather than unfinished, and it’s often the difference between a DIY look and a polished one.
Apply a stain, whitewash, or clear sealant depending on the tone you want to achieve. A matte sealant tends to preserve the raw, weathered character that makes rustic wall paneling so appealing in the first place, without adding an unwanted shine.
Step back and check the wall from across the room, not just up close. Small inconsistencies in colour or spacing that feel obvious while you’re working often disappear entirely once the wall is viewed.
A Common Mistake Beginners Make With Rustic Wall Paneling
Many first-timers skip the dry-fit stage because they’re eager to see progress after all the planning. This almost always backfires when the final board on a wall ends up an awkward sliver width, or when an outlet lands mid-panel instead of at a clean edge.
Taking twenty extra minutes to plan the layout on paper, then dry fitting the boards against the actual wall, saves hours of rework later. It keeps the finished wall looking deliberate rather than rushed, which is exactly the difference most people notice without being able to explain why.
Your First Rustic Wall Is Closer Than You Think
Rustic wall paneling rewards a slower, more deliberate approach far more than rushing ever will. Prep the wall properly, dry-fit before you commit, and leave room for the wood to move, and the rest of the process falls into place naturally.
Start with one wall, get comfortable with the rhythm of measuring and levelling, and the next room will go twice as fast once the basics feel familiar.
Highly Recommended: Rustic Barn Wall Ideas For Cosy Country Interiors.
Ready to plan your own feature wall? Save this guide and start sketching your layout today.
Frequently Asked Questions
Do I need special tools for rustic wall paneling?
No specialist equipment is required. A saw, level, stud finder, and standard fixings are enough for most home installations, along with basic adhesive and filler for finishing.
Can I install rustic wall paneling over drywall?
Yes, as long as you anchor into the studs behind the drywall rather than relying on the drywall surface alone to hold the weight of the boards long-term.
How long does rustic wall paneling installation take?
A single feature wall typically takes a weekend for a beginner, including prep, dry-fitting, cutting, and finishing. Larger rooms or reclaimed wood projects can take longer due to extra sanding and sorting.
Does rustic wall paneling need sealing?
Sealing isn’t mandatory, but a matte sealant protects the wood from moisture and dust while keeping the rustic texture visible rather than glossy.

