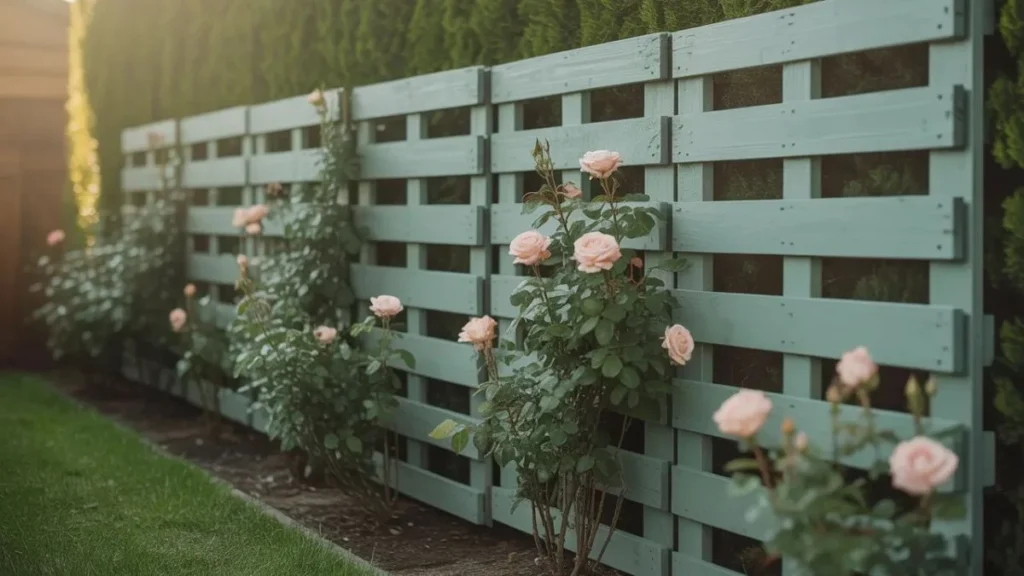
Traditional wood fencing can set you back hundreds — sometimes thousands — of dollars before a single plank goes in the ground. DIY pallet fence plans flip that equation entirely, giving you a sturdy, attractive boundary for a fraction of the cost, using materials that would otherwise end up in a skip.
Wooden shipping pallets are everywhere. Businesses pay to have them hauled away, yet each one is a ready-made fence panel just waiting for a second life. With a weekend, basic tools, and a clear plan, you can build a fence that looks intentional, keeps your space private, and does something good for the planet in the process.
Whether you want a rustic garden border, a full-height privacy screen, or a living fence dripping with climbing plants, there is a pallet fence design for your space. This guide walks you through every step — from sourcing safe pallets to the finishing touches that make the difference between a scrappy DIY and a genuinely polished result.
The Real Appeal of Pallet Fences (It Goes Beyond the Price Tag)
Cost is the headline, but the benefits of pallet fencing run deeper:
- Cost-effective or free: Many small businesses and warehouses give pallets away at no charge because recycling companies charge them to take the pallets off their hands. Facebook Marketplace and local classifieds are goldmines.
- Eco-conscious upcycling: Reusing pallets diverts solid timber from landfill. Each pallet saved is roughly 20 kg of perfectly usable hardwood reclaimed for your project.
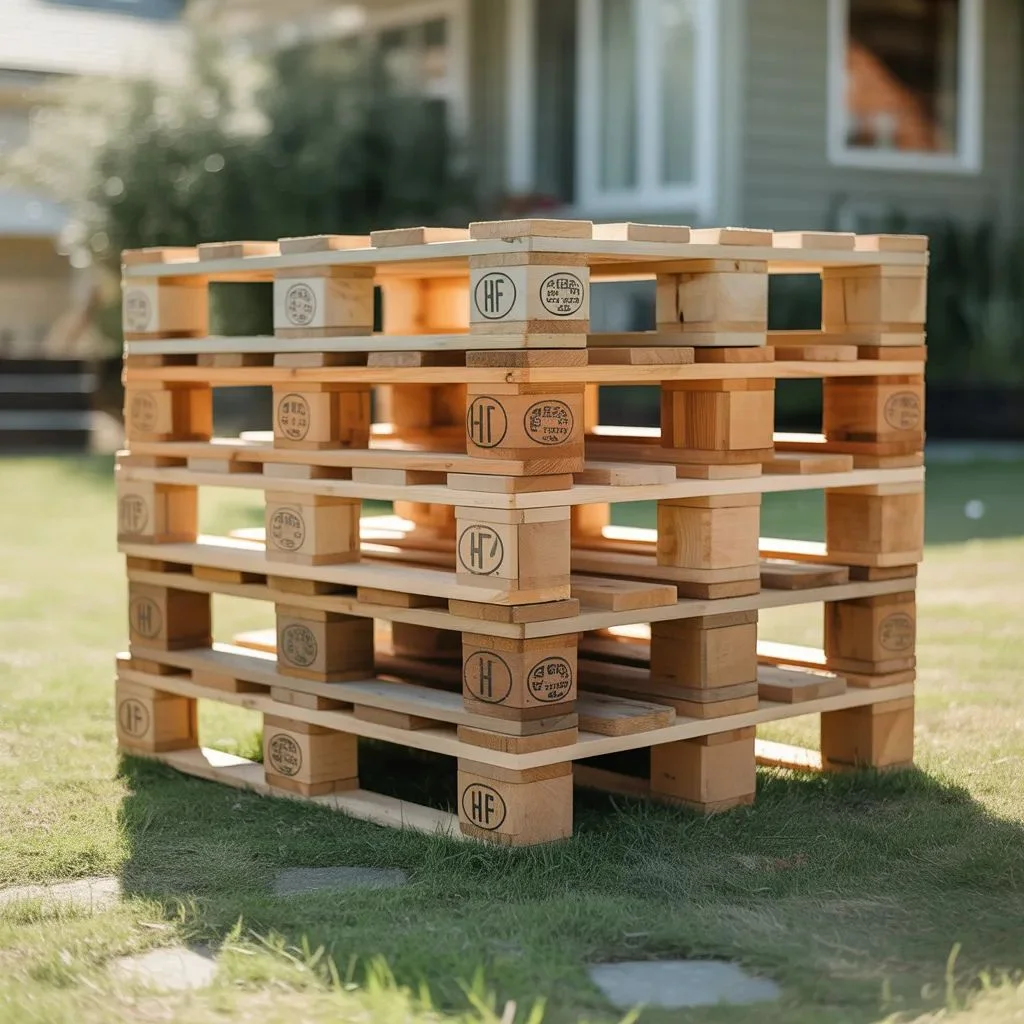
- Beginner-friendly: Standard pallets (48″ x 40″) are pre-built panels. You are not constructing a fence from scratch — you are assembling one from modular blocks.
- Highly customisable: Paint them, stain them, space the slats, stack them double-height, grow plants through them — the design possibilities are genuinely broad.
- Movable and repairable: Unlike a poured-concrete installation, pallet fences can be shifted, replaced panel by panel, or dismantled entirely without drama.
Before You Build: How to Choose Safe Pallets
Not all pallets are equal, and this is the one area where cutting corners has real consequences. Every international pallet carries an IPPC (International Plant Protection Convention) stamp — a small logo that tells you everything about how the wood was treated.
The Markings That Matter
- HT (Heat Treated): Safe. The wood was heated to at least 56°C to kill pests and larvae — no chemicals involved. This is what you want.
- KD (Kiln Dried): Safe. Heated in a kiln to reduce moisture and prevent warping.
- DB (Debarked): Safe. Simply means bark was removed before treatment.
- MB (Methyl Bromide): AVOID. This chemical fumigant is toxic, linked to serious respiratory damage, and banned in the UK since 2010 and across most of Europe. Never use MB-stamped pallets for any home project.
- Unmarked pallets: Use with caution. No stamp means no verified treatment. Best to pass on unmarked pallets for any project involving close human contact.
The quick rule: look for HT, avoid MB, skip anything unmarked. When sourcing from Facebook Marketplace or business stockpiles, always inspect the pallet physically — check for oil stains, chemical smells, or discolouration that might indicate spills.
Tools and Materials You Will Need
Materials
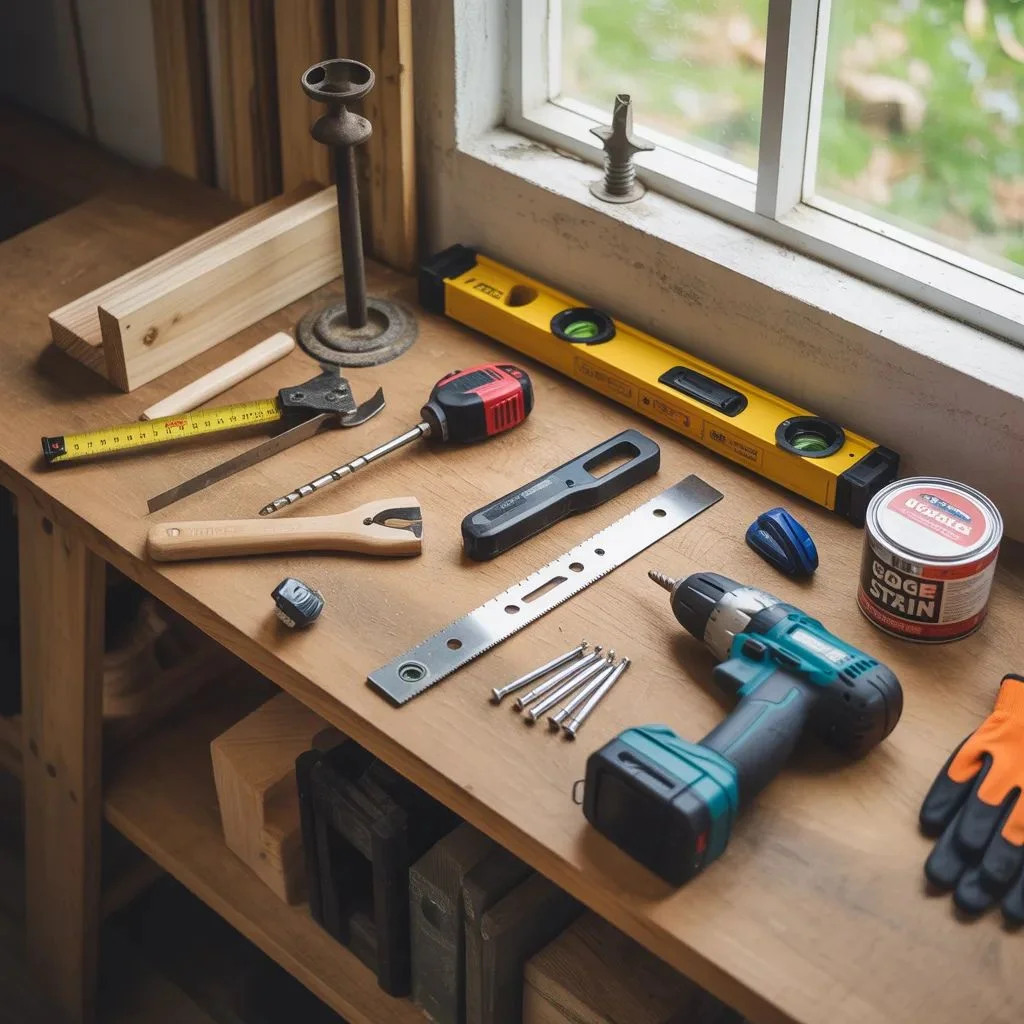
- Enough pallets to cover your fence run (one pallet = approx. 4 feet of fence width)
- 4×4 timber posts (pressure-treated) — one every 4–8 feet
- 3-inch exterior-grade decking screws
- Concrete mix (for post-setting) and gravel for drainage
- 2×4 timber rails (optional, for additional strength between posts)
- Wood sealer, exterior paint, or stain
- Gate hinges and latch (if adding a gate)
Tools
- Cordless drill and drill bits
- Circular saw or reciprocating saw (for trimming pallets to size)
- Spirit level
- Measuring tape
- Post hole digger or auger
- Sledgehammer
- Safety gloves and eye protection
Step-by-Step: How to Build Your DIY Pallet Fence
Step 1 — Plan and Measure
Measure your fence line carefully and mark the positions for your posts. Posts should be set every 4 to 8 feet depending on your pallet width. Sketch your layout first, accounting for any gate openings. Standard pallets run 48 inches wide, so plan your post spacing around that.
Step 2 — Dig Post Holes
Dig holes to a depth of one-third the total post length — for a 6-foot post, that means 2 feet into the ground. Add 4 to 6 inches of gravel to the base of each hole for drainage. This single step dramatically extends the life of your fence by preventing rot at the base.
Step 3 — Set the Posts
Place each post in its hole, check it is plumb with a spirit level, and pour in your concrete mix. Brace posts temporarily while the concrete cures — most mixes need 24 to 48 hours before they will bear load. Rushing this step is the most common DIY mistake.
Step 4 — Attach the Pallets
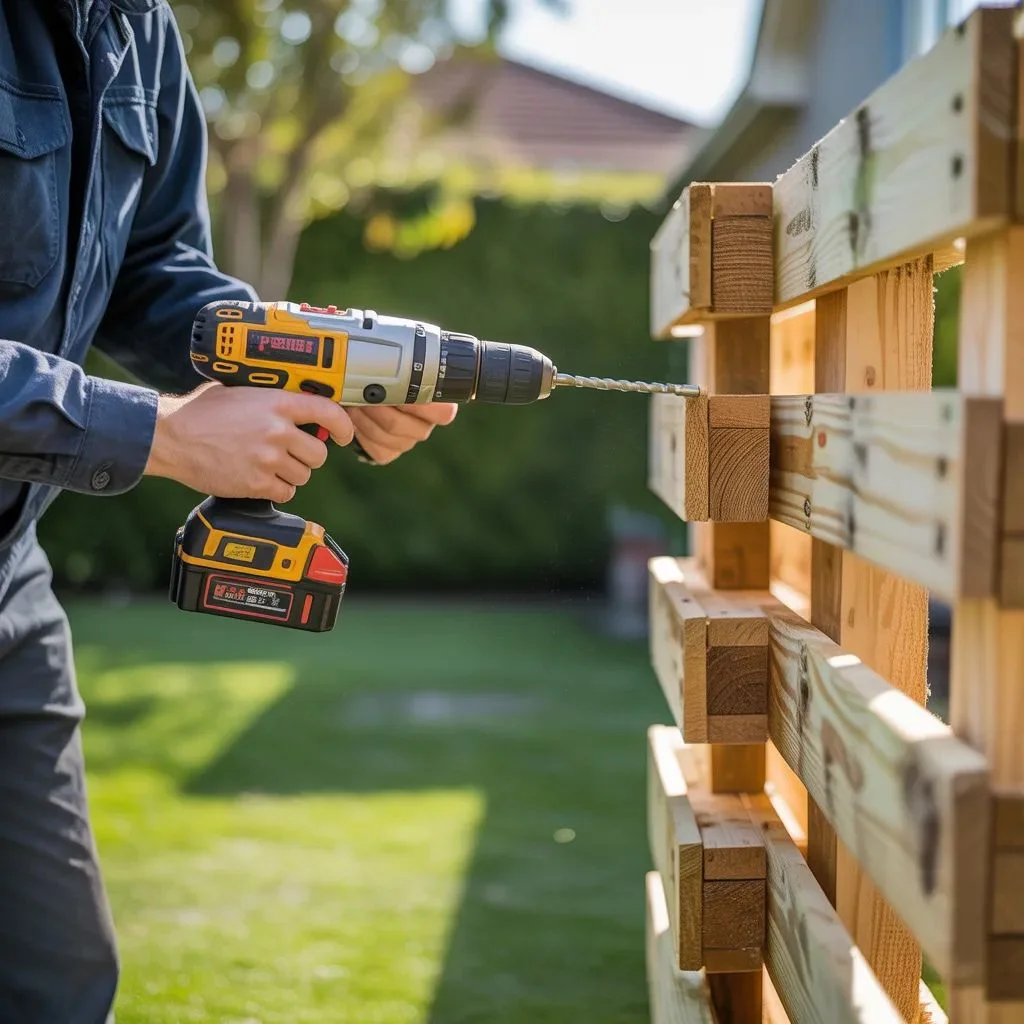
Once posts are set, align your pallets between them. Use 3-inch decking screws to fix each pallet to the posts — drive screws at an angle through the pallet frame into the post for a strong hold. Use your spirit level constantly. A fence that starts level at one end and droops at the other is hard to fix later.
Step 5 — Add a Gate (Optional)
For a gate, cut one pallet to the desired width, attach heavy-duty exterior hinges to one side and fix it to the post, then install a latch on the opposite side. If your gap is wider than a standard pallet, fix a 4×4 post in the ground to serve as the latch post.
Step 6 — Sand, Seal, and Finish
Sand any rough edges or splinters before anyone gets near the finished fence. Apply a good quality exterior wood sealer as a base, then paint or stain to your preferred colour. Two coats of exterior paint will give your fence weather protection for years.
8 DIY Pallet Fence Plans Worth Stealing
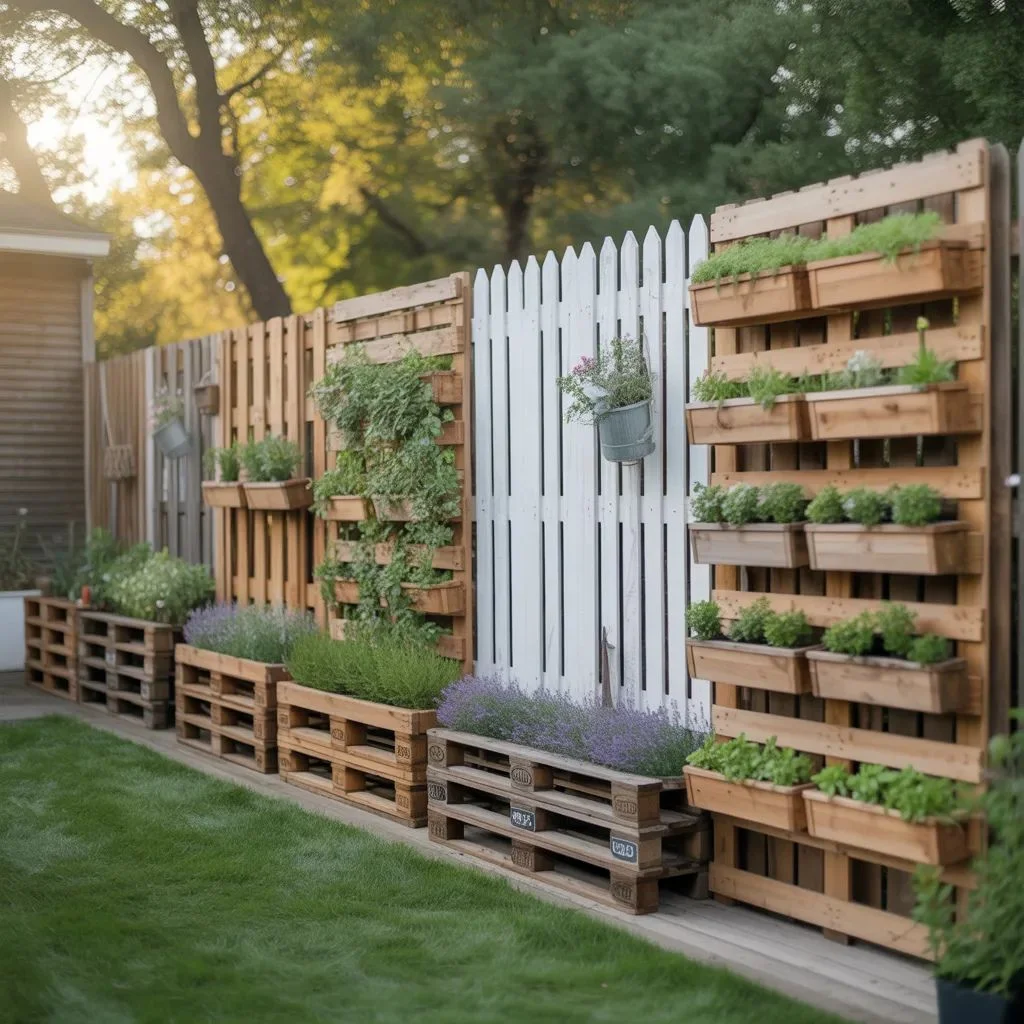
1. The Classic Full-Height Privacy Screen
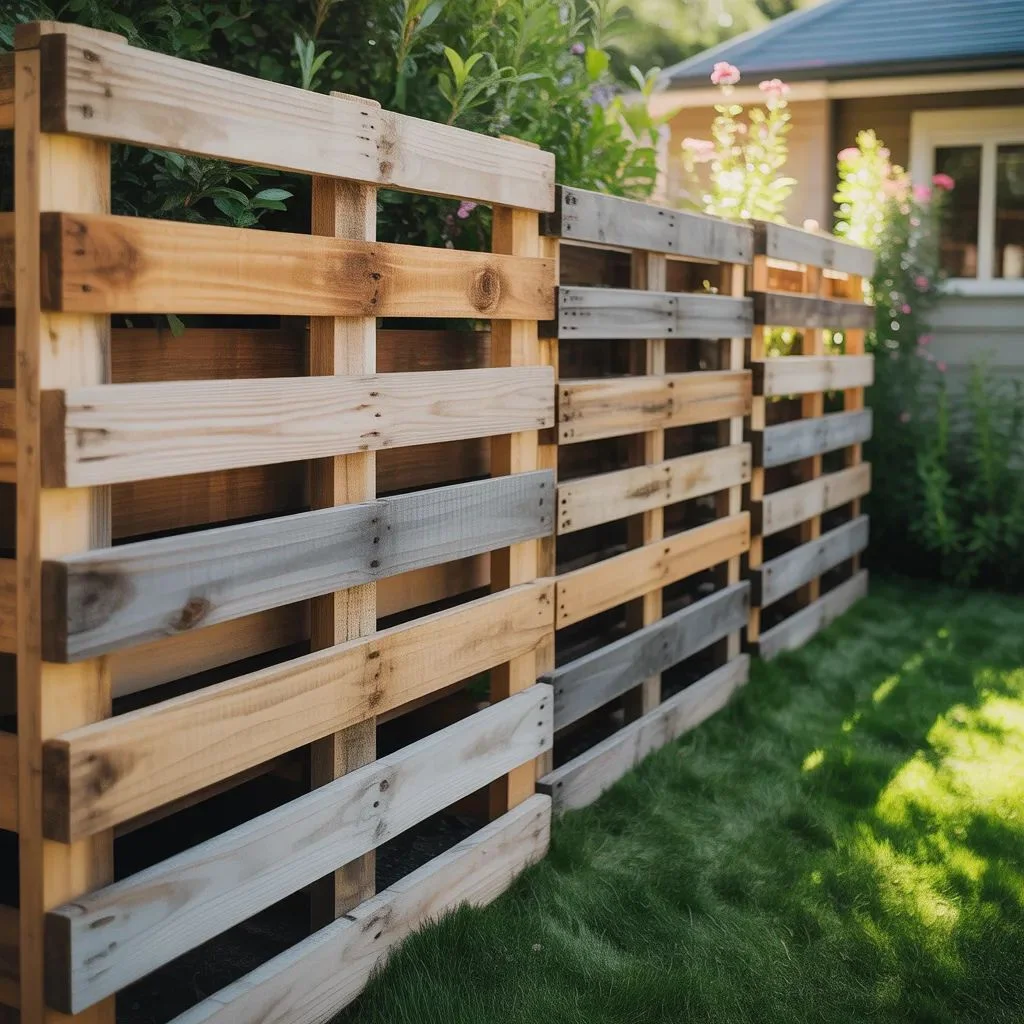
Stand pallets upright and fix them to posts for a solid privacy screen around your garden, patio, or pool area. At 48 inches tall, a single layer blocks most sightlines. Double-stack for full 8-foot privacy that rivals any professional cedar fence.
2. The Vertical Slat Feature Fence
Dismantle your pallets and reuse the individual planks to build a clean, evenly-spaced vertical slat fence. Set planks at a consistent gap (roughly half an inch) for a contemporary look that lets light filter through while maintaining a visual boundary.
3. The Living Pallet Fence
Leave the pallet cavities open and fill them with potting compost and trailing or climbing plants. Creeping Jenny, nasturtiums, and herbs like thyme all thrive in pallet planting pockets. Pair this with your balcony pots for a cohesive garden aesthetic all around your outdoor space.
4. The Rustic Garden Border
Cut pallets in half horizontally for a low-slung border fence around raised beds or flowerbeds. At roughly 20 inches tall, half-pallets create a charming, cottage-garden boundary without blocking light from your plants.
5. The Whitewashed Picket Fence
Break pallets into individual planks, cut one end into a point, and fix them to top and bottom rails for a classic picket fence effect. Whitewash paint gives it that timeless American farmhouse look — with a fraction of the cost and waste of a traditional installation.
6. The Painted Statement Fence
Use full pallets as your fence panels, then paint them in a bold, cohesive colour. Deep charcoal, sage green, or navy make a strong design statement and instantly elevate the look of any outdoor space. Add planter boxes on top for an extra layer of style.
7. The Lattice-Top Privacy Fence
Build your standard pallet fence to full height, then add a lattice topper fixed to the top of the posts. Lattice adds another 12 to 18 inches of visual privacy while staying open enough for climbing plants — jasmine and clematis are particularly effective. This idea works beautifully alongside screened porch decor for a seamless indoor-to-outdoor flow.
8. The Compost Enclosure and Multi-Use Fence
For a truly zero-waste approach, use pallets to build a three-bin compost system that doubles as a garden boundary. Stand three pallets in a U-shape, fix them at the corners with screws or bolts, and you have a contained composting station that blends right into your garden fence line.
Finishing and Long-Term Maintenance Tips
A pallet fence is only as long-lasting as the care you give it. Wood left unsealed in direct weather will grey, crack, and rot within a few seasons. These habits keep your fence looking great year-round:
- Apply exterior wood sealer before your first coat of paint or stain — sealer penetrates the grain and blocks moisture at the source.
- Reapply a maintenance coat of paint or stain every two to three years, or sooner if you notice chipping or greyness.
- Check post bases annually for signs of rot, especially after wet winters. Catch it early and you can replace a single post without rebuilding the whole fence.
- Inspect screws and fixings each season — exterior screws expand and contract with temperature changes and can work loose over time.
- Treat any cut ends of timber immediately with a wood preservative — cut surfaces are the most vulnerable point in any wooden fence.
From Skips to Stunning — Your Fence Starts Here
DIY pallet fence plans are one of the most rewarding weekend projects you can take on. The materials are essentially free, the build is manageable for a beginner, and the result — a genuinely attractive, privacy-giving boundary — is something you will be proud of every time you step into your garden.
The secret is in the preparation: source HT-stamped pallets, set your posts properly in concrete, and seal the wood before the first drop of rain hits it. After that, the design possibilities are entirely yours — rustic or refined, painted or planted, simple boundary or statement garden feature.
Pick your plan from the eight ideas above, gather your pallets, and get building. Your garden’s next chapter costs almost nothing to start.
Our Pick: 12 Fence Gate Designs That Instantly Improve Your Yard’s Curb Appeal.