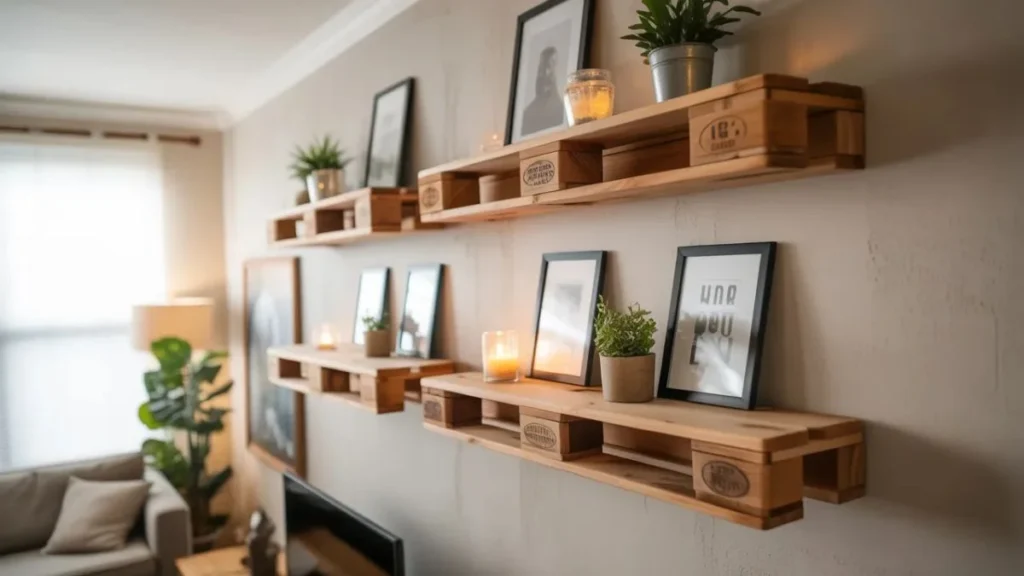
Most people walk past a stack of wooden pallets and see garbage. The ones with good taste see shelving. Handmade pallet shelves have quietly become one of the most stylish — and shamelessly affordable — home upgrades you can pull off on a weekend, and the results routinely fool guests into thinking you spent hundreds at a boutique furniture store. You didn’t. You spent almost nothing.
This guide covers everything: where to find free pallets, how to prep and finish them like a pro, and the best shelf styles for every room in your home. Whether you’re a first-time DIYer or a seasoned weekend woodworker, these ideas will give you a clear, actionable path from raw wood to a wall that stops people in their tracks.
Why Handmade Pallet Shelves Keep Winning the Internet
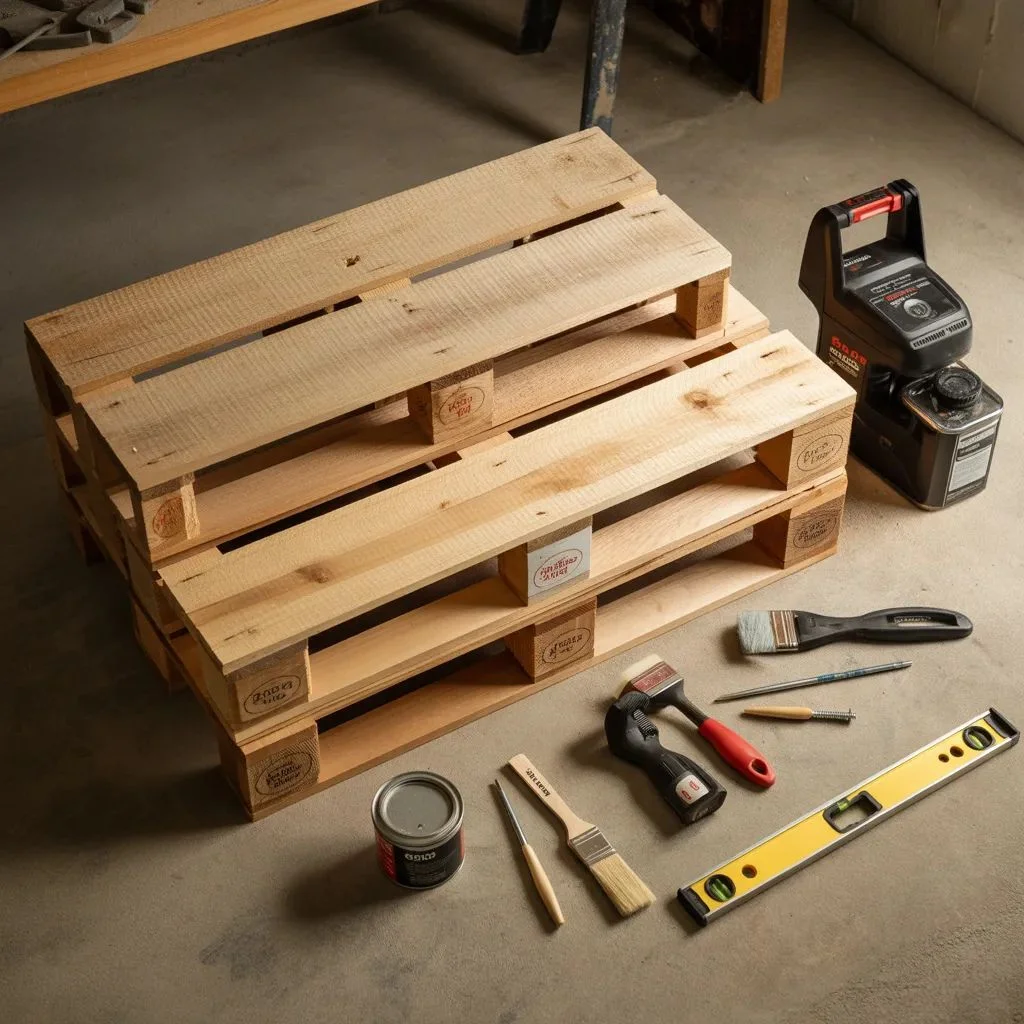
There’s a reason handmade pallet shelves dominate Pinterest boards and home decor accounts year after year. They sit at the perfect intersection of budget, beauty, and bragging rights. You built it. It looks expensive. It cost almost nothing. That combination is genuinely hard to beat.
Pallet wood is also a genuinely sustainable choice. Instead of virgin timber cut to spec, you’re giving a second life to material that would otherwise be discarded or burned.
The appeal in 2025 runs even deeper:
- Cost: Pallets are often free. Even purchased, a single pallet rarely exceeds $10–$15.
- Customization: Cut to any size, stain any color, mount in any configuration. No shelf in a store matches exactly what you imagine.
- Character: The natural grain, knots, and imperfections of reclaimed wood give pallet shelves a warmth no mass-produced piece can replicate.
- Eco-friendly: Recycled pallets reduce waste and keep usable wood out of landfills — a genuine sustainability win.
How to Find Free (and Safe) Pallets Near You
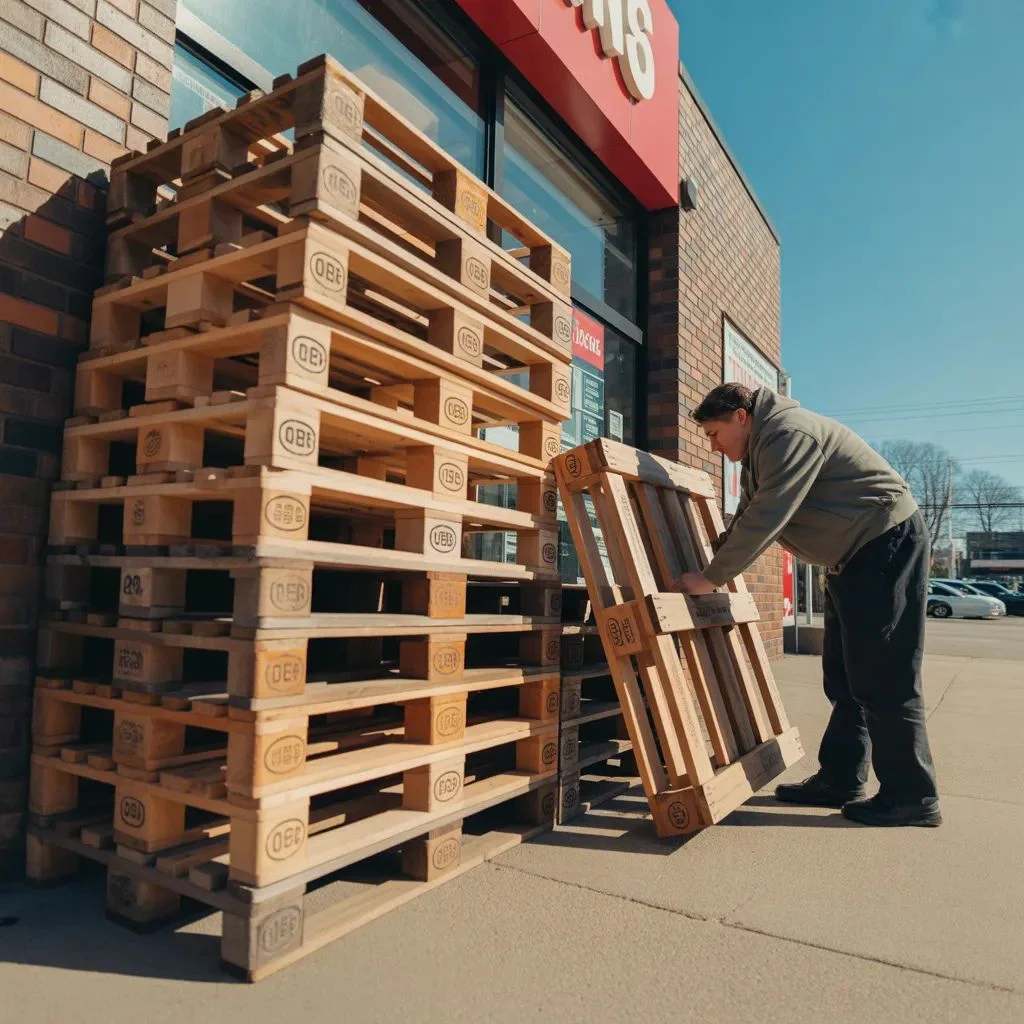
Before you start building handmade pallet shelves, you need the raw material — and the good news is it’s almost always free if you know where to look. Grocery stores, garden centers, hardware retailers, furniture warehouses, and industrial suppliers regularly stack used pallets outside for anyone to take.
The HT vs. MB Stamp — Get This Right First
Always check the stamp on the side of any pallet before you take it home. You’re looking for HT (heat treated), which is safe for indoor use. Avoid pallets stamped MB (methyl bromide), which were chemically treated as a pesticide and should never be used indoors or around food. Unstamped pallets — when in doubt, leave them out.
Best Places to Source Pallets
- Facebook Marketplace and Craigslist (search “free pallets”) — the easiest, fastest method
- Hardware stores and home improvement centers — ask at the loading dock
- Garden centers and plant nurseries after delivery days
- Liquor and beverage distributors — often use solid, heavy-duty pallets
- Small furniture and appliance shops — check the back or loading area
Choose pallets that are dry, solid, and free of oil stains or strong chemical odors. Slight weathering adds character to the finished shelf — those silver-grey tones sand up beautifully with a little effort.
Tools and Supplies You Actually Need (Keep It Simple)
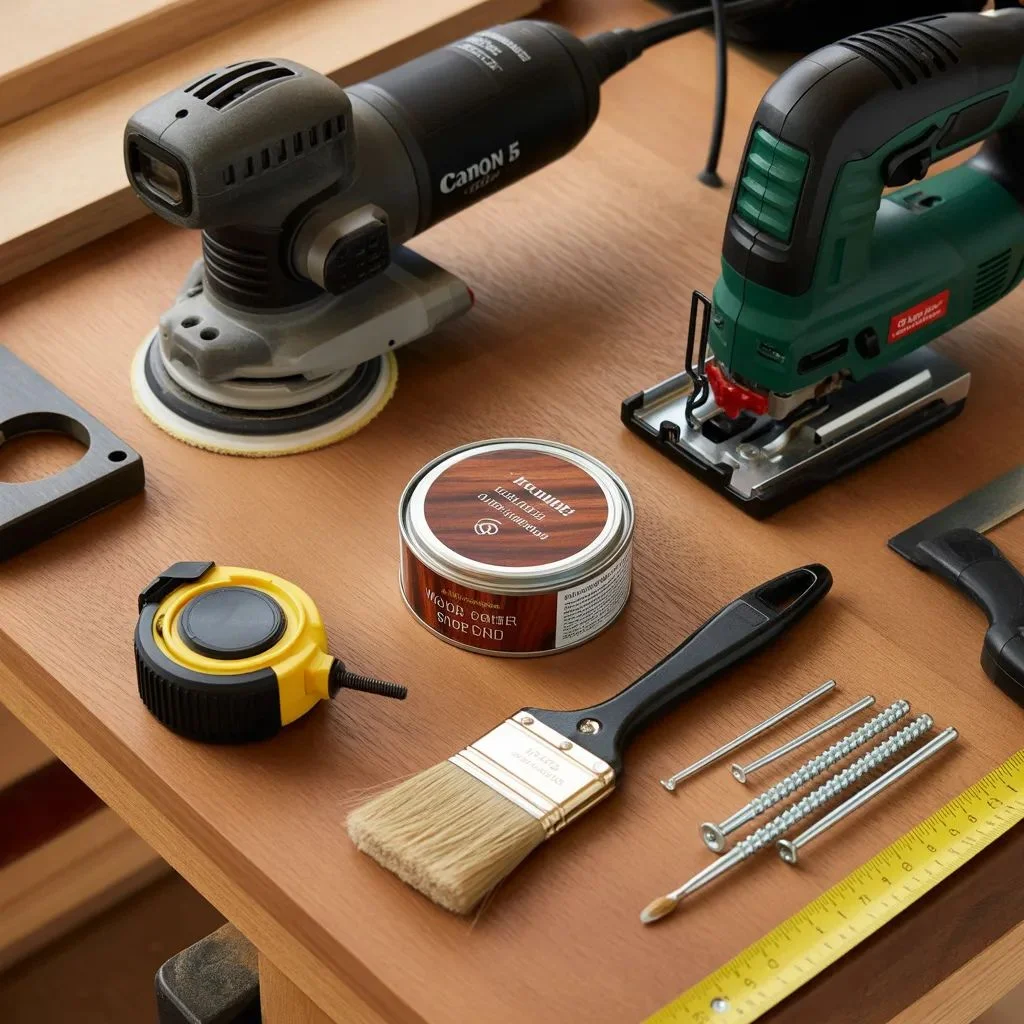
One of the great myths around handmade pallet shelves is that you need a fully stocked workshop. You don’t. A beginner can build a solid wall shelf with a short list of tools, most of which you may already own or can borrow.
Essential tools:
- Jigsaw or circular saw — for cutting planks to length
- Orbital or belt sander (or sandpaper, 80–120 grit) — essential for smooth, splinter-free results
- Stud finder — critical for safe wall mounting
- Drill and screwdriver bits — for assembly and wall brackets
- Level — because crooked shelves are noticeable from across the room
- Pry bar or hammer — for dismantling pallets cleanly
Finishing supplies:
- Wood stain, paint, or wax (your choice of finish)
- Polyurethane or clear sealant for durability
- Wall brackets or French cleats for mounting
- Wood screws and wall anchors
Prep Work: The Step That Separates Good from Great
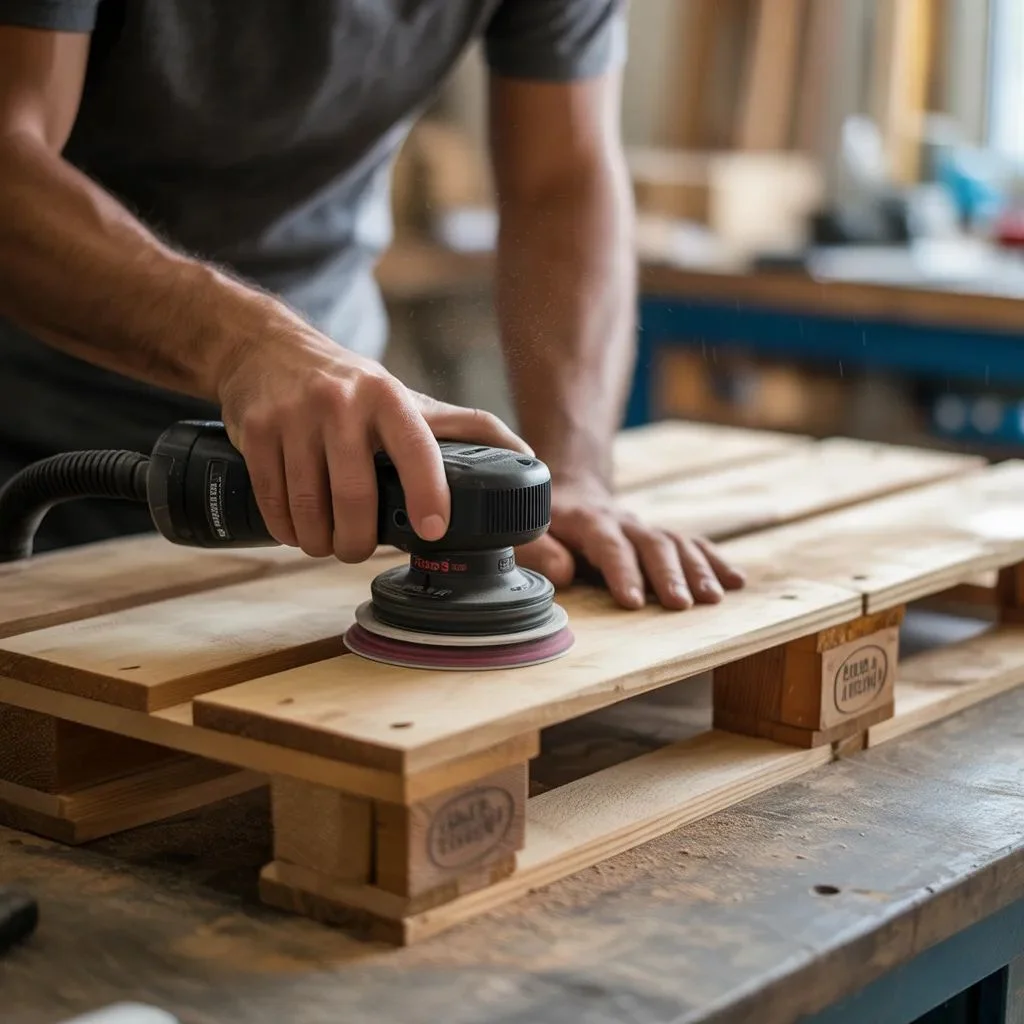
The difference between handmade pallet shelves that look polished and ones that look like an afterthought almost always comes down to prep. Skipping this step is the single biggest DIY mistake beginners make.
Step 1 — Dismantle Carefully
Use a pry bar to separate the deck boards from the stringer boards. Work slowly to avoid splitting the wood. A hammer tapped along the board seam before prying reduces cracking significantly. Remove all nails with pliers or a nail punch — no exposed metal should remain.
Step 2 — Clean the Wood
Brush off loose dirt and debris, then wipe the boards down with a damp cloth. For any oil stains, a light scrub with dish soap works well. Let the wood dry completely — at least 24 hours — before sanding. Wet wood sands unevenly and won’t absorb stain properly.
Step 3 — Sand Thoroughly
Start with 80-grit sandpaper to knock back rough patches, then follow up with 120-grit for a smooth finish. Always sand with the grain, never across it. Run your hand along every edge and corner — anything that feels sharp will snag décor items and scratch walls. This step alone turns raw pallet wood into something genuinely beautiful.
Finish Like a Designer: Stain, Paint, or Wax?
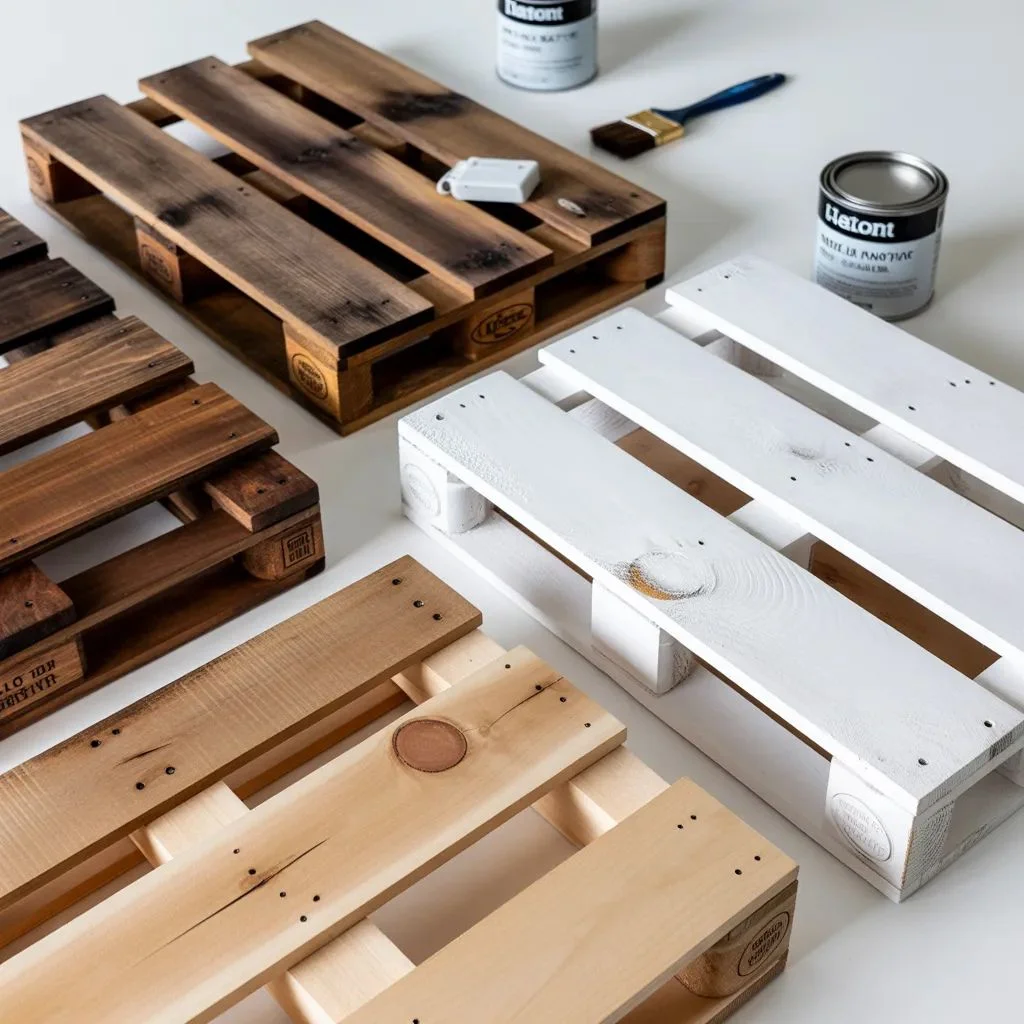
How you finish your handmade pallet shelves is where personality enters the project. The same pallet plank looks completely different depending on whether you stain it, paint it, whitewash it, or leave the grain raw under a matte sealant.
Wood Stain — The High-End Look for Low Cost
A walnut, ebony, or dark oak stain transforms raw pallet wood into something that reads as intentional, curated, and expensive. Apply with a cloth in the direction of the grain, wipe excess before it dries, and follow with a clear polyurethane topcoat. Two thin coats of stain beat one thick coat every time.
Chalk Paint or Milk Paint — Farmhouse Charm, Zero Stress
White, cream, sage green, and muted navy are the most popular paint choices for pallet wood shelving in 2025. Chalk paint is forgiving, adheres without priming, and dries fast. For an aged finish, lightly sand the painted surface once dry and seal with clear wax.
Whitewash — Airy, Coastal, and Surprisingly Versatile
Mix one part white paint with one part water and brush it onto sanded wood. Wipe back immediately with a cloth. The grain stays visible, the color goes pale and hazy, and the result works in coastal, Scandi, and modern farmhouse rooms equally well.
Raw + Matte Sealant — For the Minimalist
If the natural grain of your pallet wood is genuinely beautiful, seal it with a matte polyurethane or danish oil and let the wood speak for itself. This finish tends to look surprisingly refined against white or pale walls, especially in Japandi or minimalist-style interiors.
9 Handmade Pallet Shelf Styles Worth Building Right Now
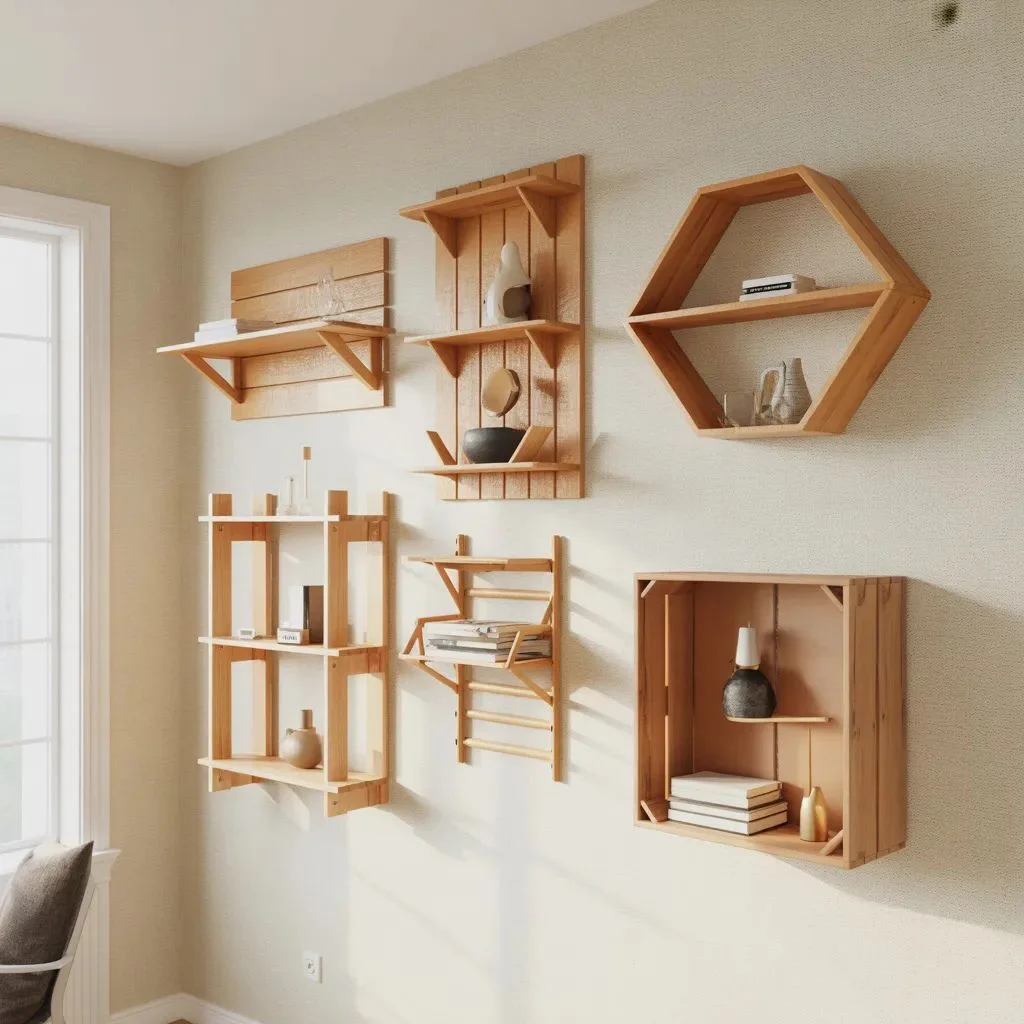
Not all handmade pallet shelves are created equal. Here are nine distinct styles, from beginner-friendly to genuinely impressive, that suit different rooms and aesthetics.
1. The Classic Floating Plank Shelf
The most beginner-friendly build: a single sanded, stained deck board mounted on concealed brackets. It reads as a floating shelf, looks intentional against any wall, and takes under two hours start to finish. Use three evenly spaced brackets screwed into wall studs for maximum stability.
2. Stacked Triple-Tier Wall Shelves
Three floating planks at staggered heights create a gallery wall effect. Vary the length of each shelf — longest at the bottom, shortest at the top — for visual balance. This style works beautifully in living rooms, bedrooms, and home offices, and is where pallet wood shelving genuinely starts to look store-bought.
3. The Corner Shelf
Two planks mitered at 45° and joined at the corner create a neat L-shaped shelf that makes use of dead wall space. Mount at picture-frame height and it becomes a statement rather than an afterthought. Paint it the same color as the wall for a nearly invisible floating effect.
4. The Box Shelf with Back Panel
Four pallet planks assembled into an open-front box, with a thin back panel of plywood or pallet slat, creates a display niche. Mount it horizontally for books, vertically for plants and art objects, or in clusters of three across a feature wall. This is the pallet bookshelf style most people recognize from Instagram.
5. The Pocket or Wine Rack Shelf
Cut a section of pallet that retains its internal cross-supports. Mount it on the wall and the natural gaps become individual pockets — perfect for wine bottles, rolled towels in a bathroom, or small potted plants. This build uses the pallet almost entirely as-is, with minimal cutting required.
6. Ladder-Style Leaning Shelf
Two long pallet planks serve as the uprights, with shorter cross-planks screwed between them at increasing intervals. The result leans against the wall without any mounting hardware — ideal for renters. Style it in a bedroom corner with plants, books, and small baskets for a look that belongs in a design magazine.
7. The Geometric Hexagonal Shelf
Cut six equal-length planks with both ends angled at 30°. Glue the mitered faces together, clamp until dry, and you have a hexagonal frame shelf. Mount in clusters of three or five for a honeycomb arrangement that looks artisan-made and genuinely gallery-worthy. Reclaimed wood shelves don’t get more architecturally interesting than this.
8. Floor-to-Ceiling Freestanding Unit
For utility spaces, workshops, or large living areas, build a vertical frame from 2×4 lumber and clad the shelves entirely in pallet planks laid piano-key style across each level. The result is a custom-fitted shelving unit that dwarfs anything flat-packed at a fraction of the retail price.
9. The Entryway Hook Shelf
A thick single plank mounted at chest height with three or four coat hooks screwed into the underside creates a functional entryway organizer. Add a small lower plank on L-brackets for shoes or a key tray. Stain it dark, add black iron hooks, and this reads as a $200 handcrafted piece that cost closer to $15.
Room-by-Room Inspiration: Where Pallet Shelves Hit Differently
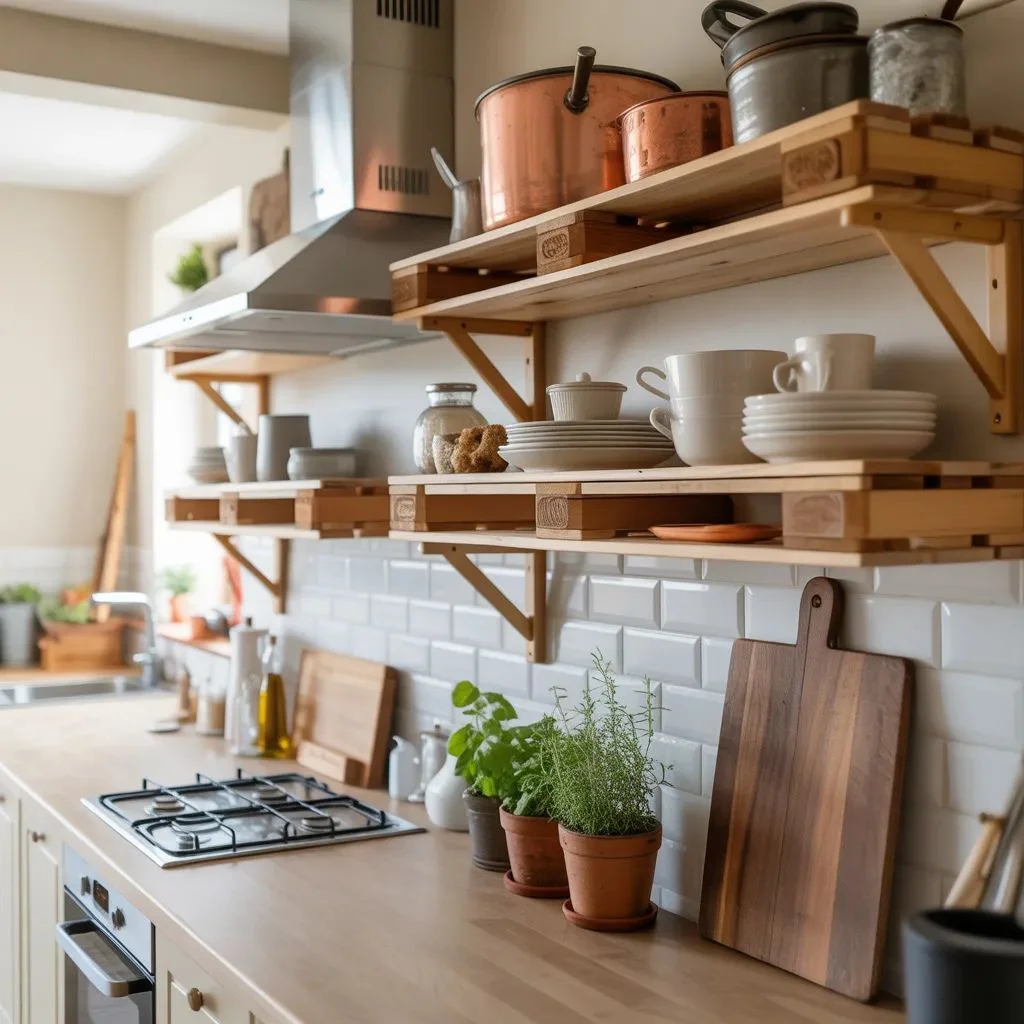
Handmade pallet shelves aren’t a one-room solution. Here’s how they play across the home:
Kitchen
Open shelving above the counter keeps everyday dishes accessible and gives your kitchen a relaxed, lived-in feel. A dark walnut stain against white subway tile is an especially effective combination. Store spice jars, oil bottles, and small herb plants for a functional-yet-styled look.
Living Room
A trio of staggered rustic floating shelves on the feature wall becomes a gallery anchor. Rotate seasonal decor — candles and pinecones in winter, trailing pothos and printed art in spring — without changing the shelf itself.
Bathroom
A single whitewashed pallet shelf above the toilet or beside the vanity holds hand towels, a candle, and a small plant. Seal it thoroughly with waterproof polyurethane — bathrooms are humid environments and unsealed wood will warp over time.
Bedroom
Flank the bed with two matching pallet nightstand shelves mounted at lamp height. Alternatively, a pallet wall shelf above the headboard creates a focal point without the weight of a traditional headboard.
Home Office
A floor-to-ceiling freestanding pallet unit beside your desk gives you serious storage — binders, books, equipment — without the cost of custom built-ins. Paint it to match the wall for an almost invisible built-in effect.
Outdoor and Garden
Pallets genuinely thrive outdoors. Build a vertical garden shelf for potted herbs on the patio, a tool shelf for the shed, or a multi-tier plant display for the garden. Seal outdoor shelves with exterior-grade varnish or teak oil, and they’ll hold up through seasons without warping.
How to Mount Handmade Pallet Shelves Safely and Squarely
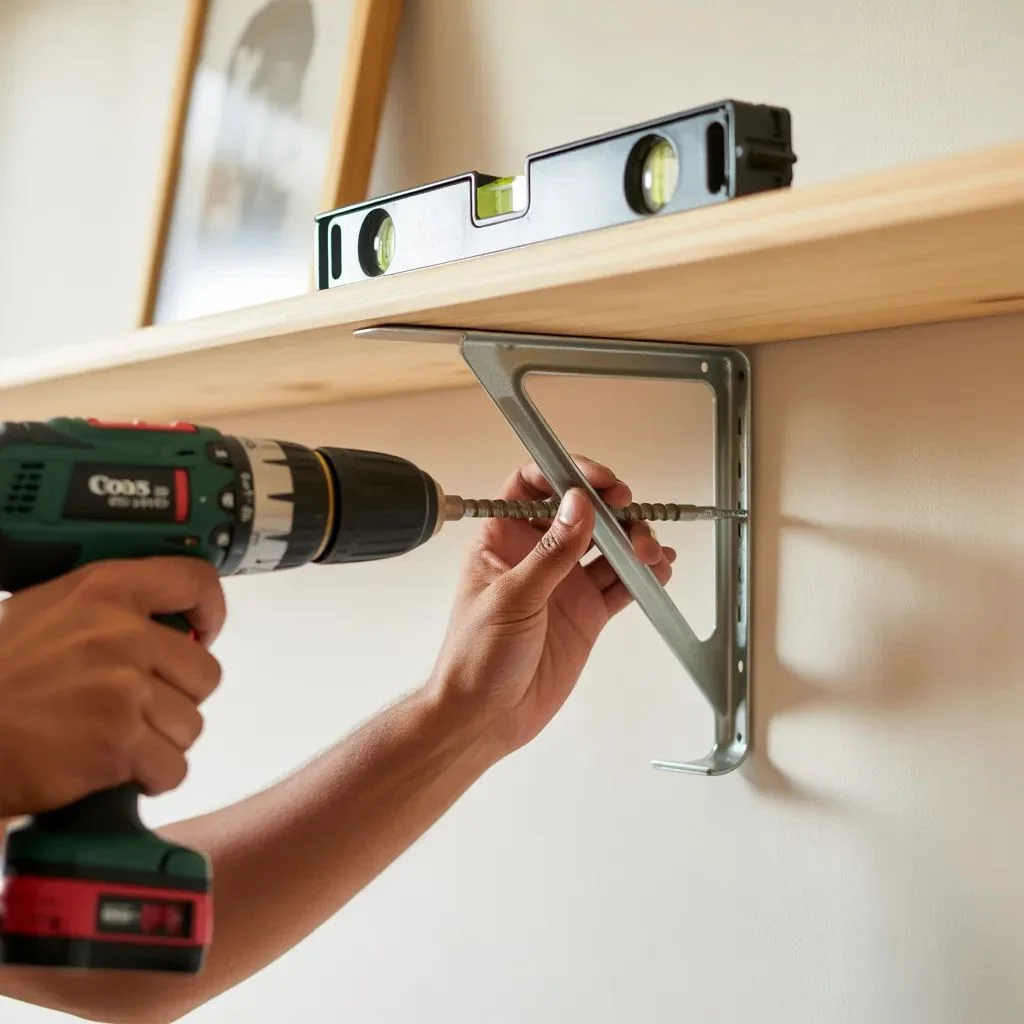
A beautifully finished shelf that falls off the wall isn’t just a design failure — it’s a safety hazard. Mounting handmade pallet shelves correctly is non-negotiable.
Step 1: Use a stud finder to locate wall studs. Mark them lightly in pencil. Screwing into studs gives you a solid, weight-bearing anchor that drywall alone cannot provide.
Step 2: Hold your bracket or French cleat against the wall at the desired height. Use a level — not your eye — to confirm it’s perfectly horizontal before marking drill points.
Step 3: Drill pilot holes slightly smaller than your screw diameter to prevent wood splitting. Drive screws in fully but not so hard that the bracket bends. If you miss the stud, use heavy-duty wall anchors rated for at least double the expected shelf weight.
Step 4: Attach the shelf to the mounted brackets and check level once more. Most brackets allow micro-adjustment before tightening fully.
French cleats are the preferred mounting method for heavier, wider shelves. They distribute weight evenly across the full length of the shelf rather than concentrating it at two bracket points, and they allow easy removal and repositioning without wall damage.
Styling Your Shelves: The Art of Looking Effortless
Building the shelf is the easy part. Styling it so it looks intentional takes a few simple rules. The same principles that interior designers use to style farmhouse shelves apply perfectly to pallet wood displays.
- Rule of odd numbers: Group items in threes and fives — odd groupings look more natural than even pairs.
- Vary the height: Mix tall items (a vase, candlestick) with mid-height objects (books, small pot) and low items (a coaster, small crystal) for visual rhythm.
- Add something living: A trailing pothos, succulent, or air plant instantly softens the shelf and makes it look designer styled.
- Leave breathing room: Overstuffed shelves look cluttered. Negative space is a design tool, not wasted shelf real estate.
- Repeat a colour: Repeat one accent colour — terracotta, black, brass — across two or three items on the shelf to create a cohesive look without trying.
From Scrap to Statement: Your Shelves Are Ready to Impress
Handmade pallet shelves are one of those rare DIY projects where the effort is modest, the cost is minimal, and the result consistently punches above its weight. A weekend, a few tools, and a pallet or two are genuinely all that stand between you and the kind of wall that makes guests ask where you found that shelving.
The key is in the details: the right pallet stamp, a proper sand, a finish that suits your room, and mounting that holds. Get those four things right and the rest is decoration. Your walls have been waiting for this.
Highly Recommended: 12 DIY Pallet Furniture Projects Ranked From Easiest to Most Impressive.