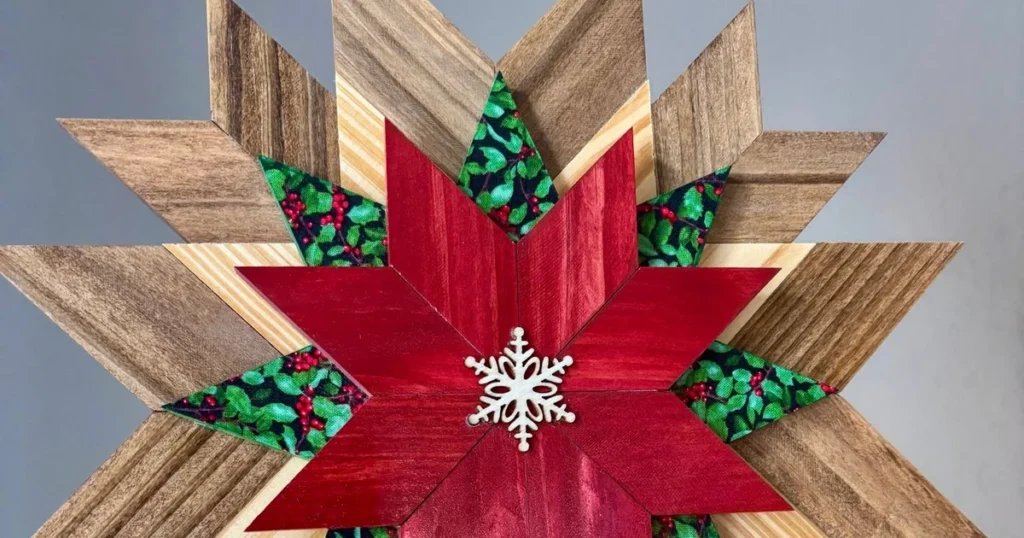
A tree topper is the last piece placed and the first thing the eye finds, so a handmade one changes the whole tree. Unlike a factory-made star, handmade tree toppers carry the marks of their making: the thickness of the yarn, the grain of the wood, the uneven edge of a fabric point. Each topper below is a different craft, and each one suits a different kind of tree, from a small tabletop tree to a full living-room centerpiece. Start with the material you already enjoy working with, and match the size of the topper to the width of your tree so the crown looks balanced rather than top-heavy.
Chunky Crochet Star Topper
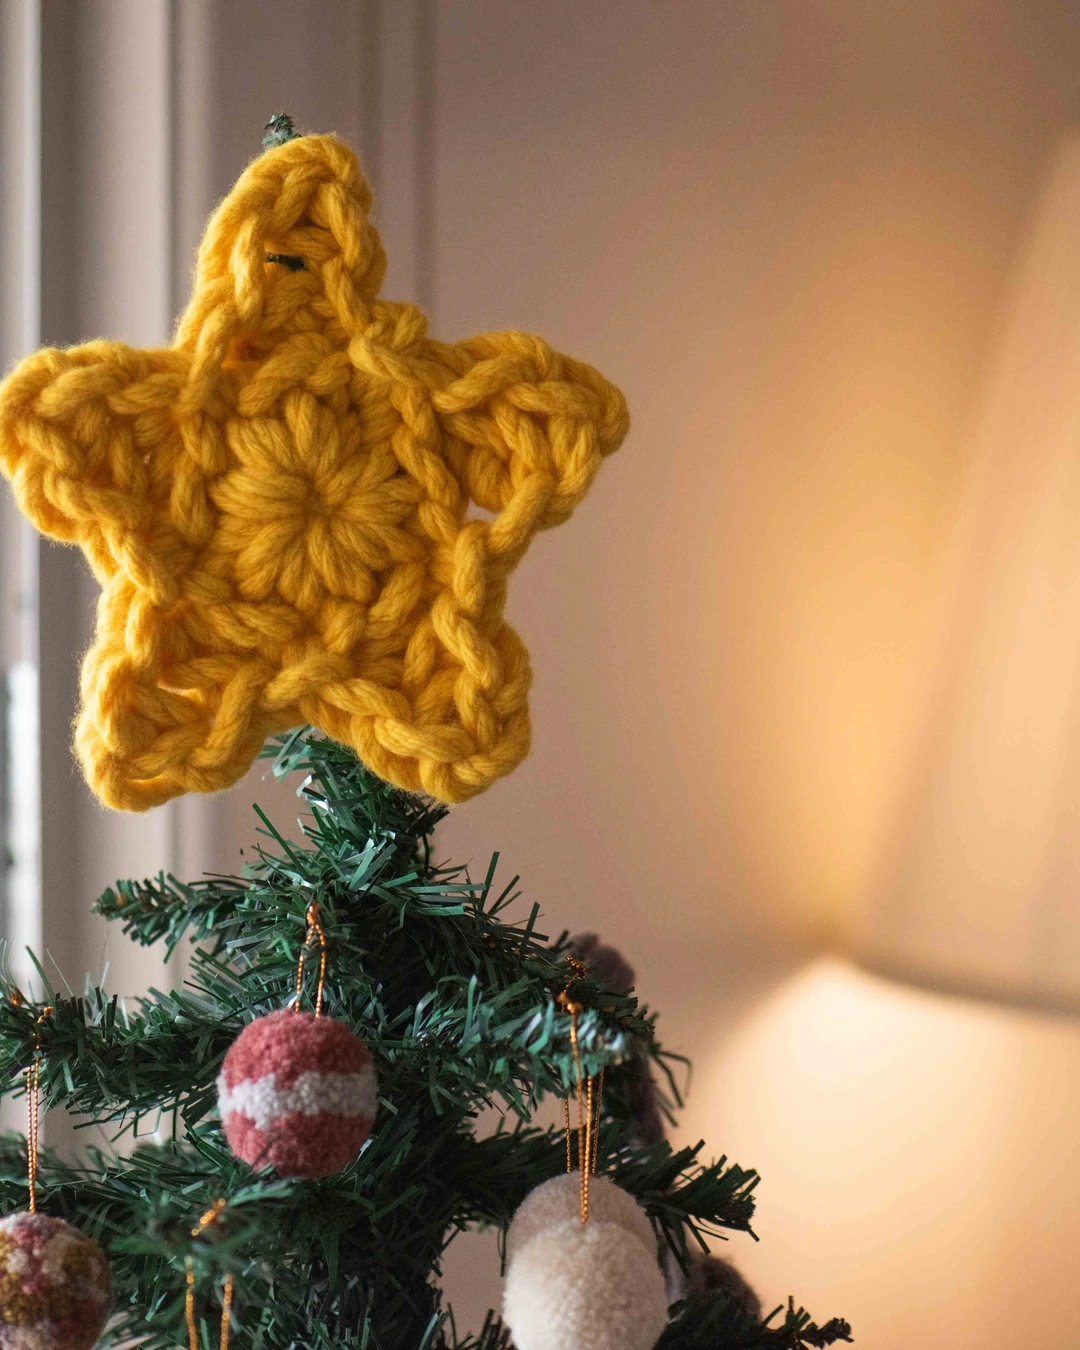
Photo by @catmagic19
A large mustard-yellow star made from thick, chunky yarn sits on top of a small artificial tree, its open stitchwork catching the light, with small pom-pom ornaments hanging from the branches below. The star is big enough to read clearly from across the room, which is exactly what a small tree needs, and the chunky yarn gives it a soft, rustic texture that a flat metal star cannot match. Chunky yarn is the key choice here, because fine yarn would disappear against the branches while thick yarn holds its shape.
To make one, crochet a five-pointed star in a single color, working each point firmly so the finished piece stays flat rather than curling. Leave a small loop on the back and thread the top branch of the tree through it, which holds the star upright without a separate base. Keep the star roughly as wide as the top third of the tree is deep, and check it from the doorway, not just from close up, since a topper is mostly seen from a distance.
Felt Star Topper with a Stitched Face
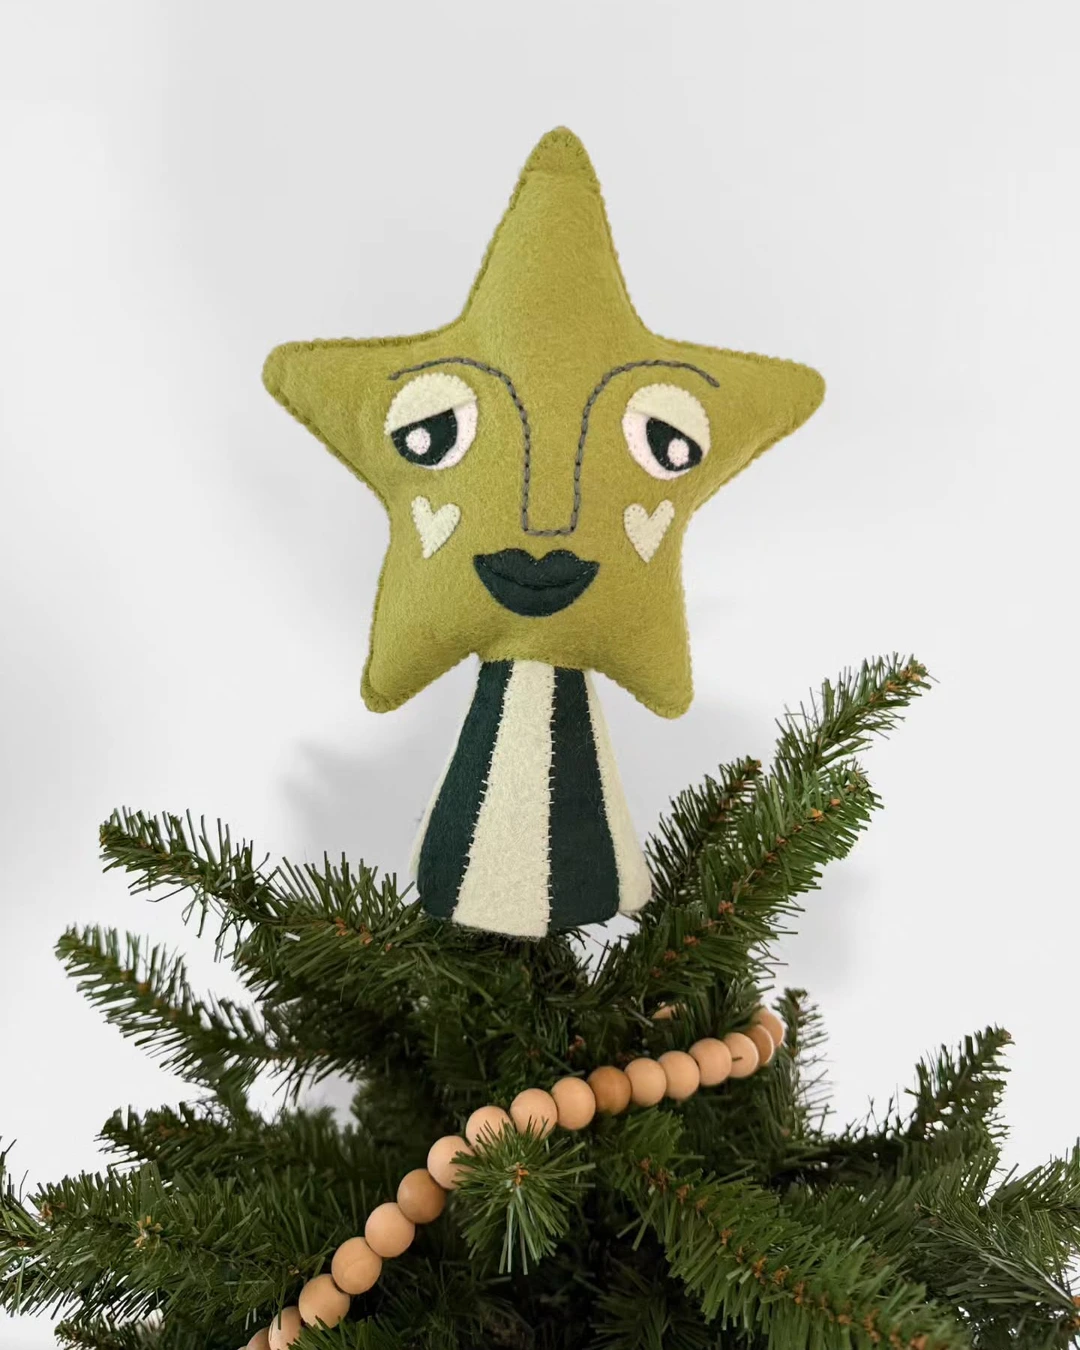
Photo by @liminals.studio
An olive-green felt star with embroidered eyes, eyebrows, heart-shaped cheeks, and dark lips sits on a striped cone base at the top of a tree, with a wooden bead garland winding through the branches below. The stitched face is what makes this topper memorable: it turns a simple star into a character, and it suits a family tree or a children’s room far better than a formal gold star would. Hand embroidery is the detail that carries the design, so the stitches should be neat and even, even if the face itself is playful.
Cut two identical star shapes from felt, embroider the face on the front piece before sewing, and stuff the star lightly so it keeps its shape without going stiff. A cone or tube base sewn to the bottom lets the star sit over the top branch, and the base can be covered in a contrasting felt stripe for a finished look. Because felt has no fraying edge, this is a forgiving first sewing project, and the face can be as simple as two eyes and a smile.
Rustic Wooden Star Toppers
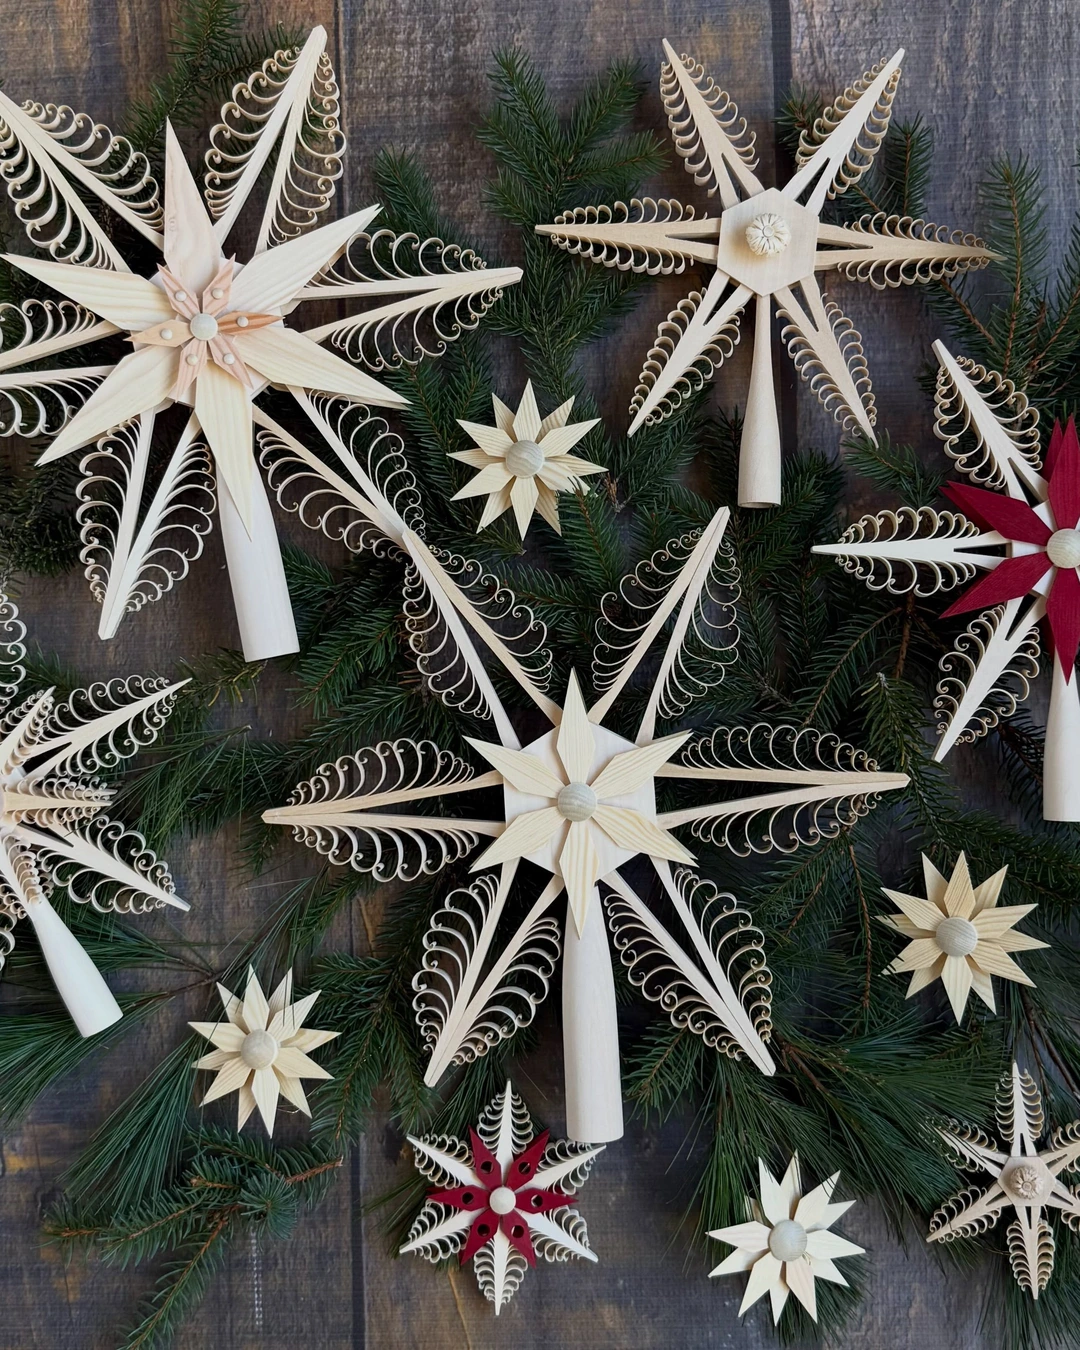
Photo by @thewoodenwagon
A collection of light-wood stars with curled, carved details lies arranged on pine branches against weathered planks, ranging from large open stars to small solid ones, with two carrying deep red centers. This image shows the range of wooden toppers rather than a single one, and that range is the point: wooden stars can be delicate and lacy or bold and simple, and the same carving style can be scaled to any tree. Natural wood suits a rustic, farmhouse, or Scandinavian tree, and it pairs well with dried oranges, pinecones, and plain string lights.
Wooden stars are usually cut from thin boards, sanded smooth, and finished with a clear coat or a light wash of paint so the grain still shows. A short wooden sleeve or a wire coil fixed to the back is what turns a flat wooden star into a topper, since it grips the top branch. If you buy unfinished wooden stars to decorate, stain or paint them before adding any carved or painted detail, and let each layer dry fully so the points stay crisp.
Crocheted Angel Topper
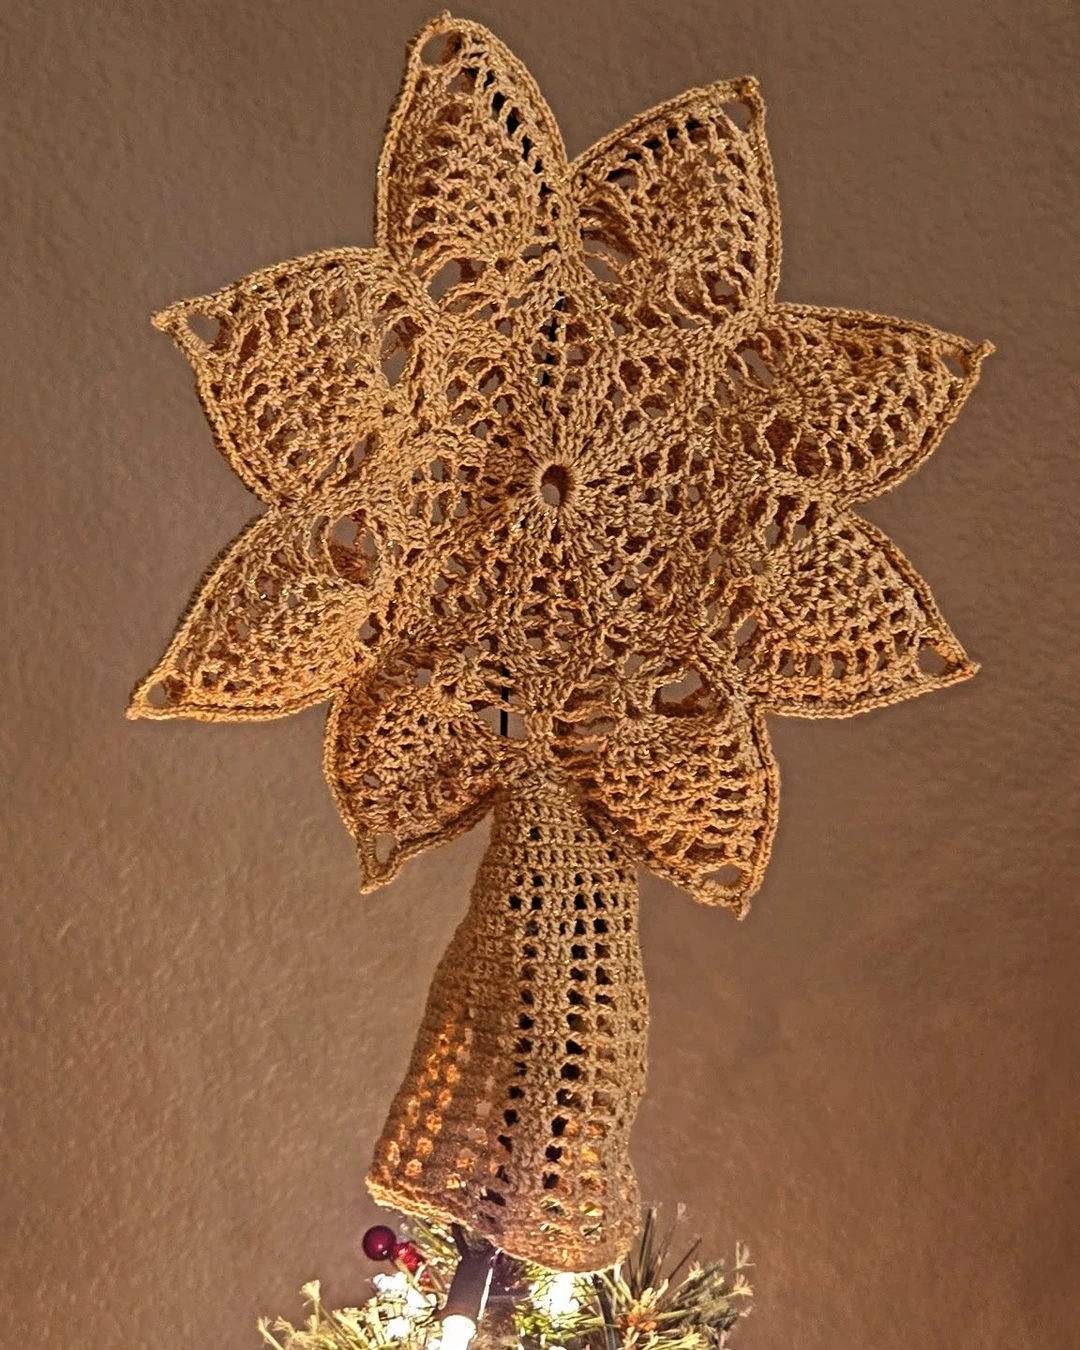
Photo by @shell_spell
A golden crocheted angel with an open lace pattern and a wide, star-shaped halo sits at the top of a tree, its long body tapering down over the upper branches. Angels are the classic alternative to stars, and crochet gives the figure a lightness that a ceramic angel does not have, since light passes through the open stitches. Open lacework is what makes this angel glow when the tree lights are on, so a fine, even yarn works better here than a heavy one.
The angel is usually crocheted in two parts, a shaped body and a halo or wing section, then joined and stiffened lightly so the figure holds its form. A narrow cone of crochet at the base fits over the tree tip, and the halo should sit high enough to clear the top branches. Because the piece is delicate, keep it on a tree that will not be bumped often, and store it flat in tissue paper after the season so the lace does not snag.
Beaded Tinsel Star Topper
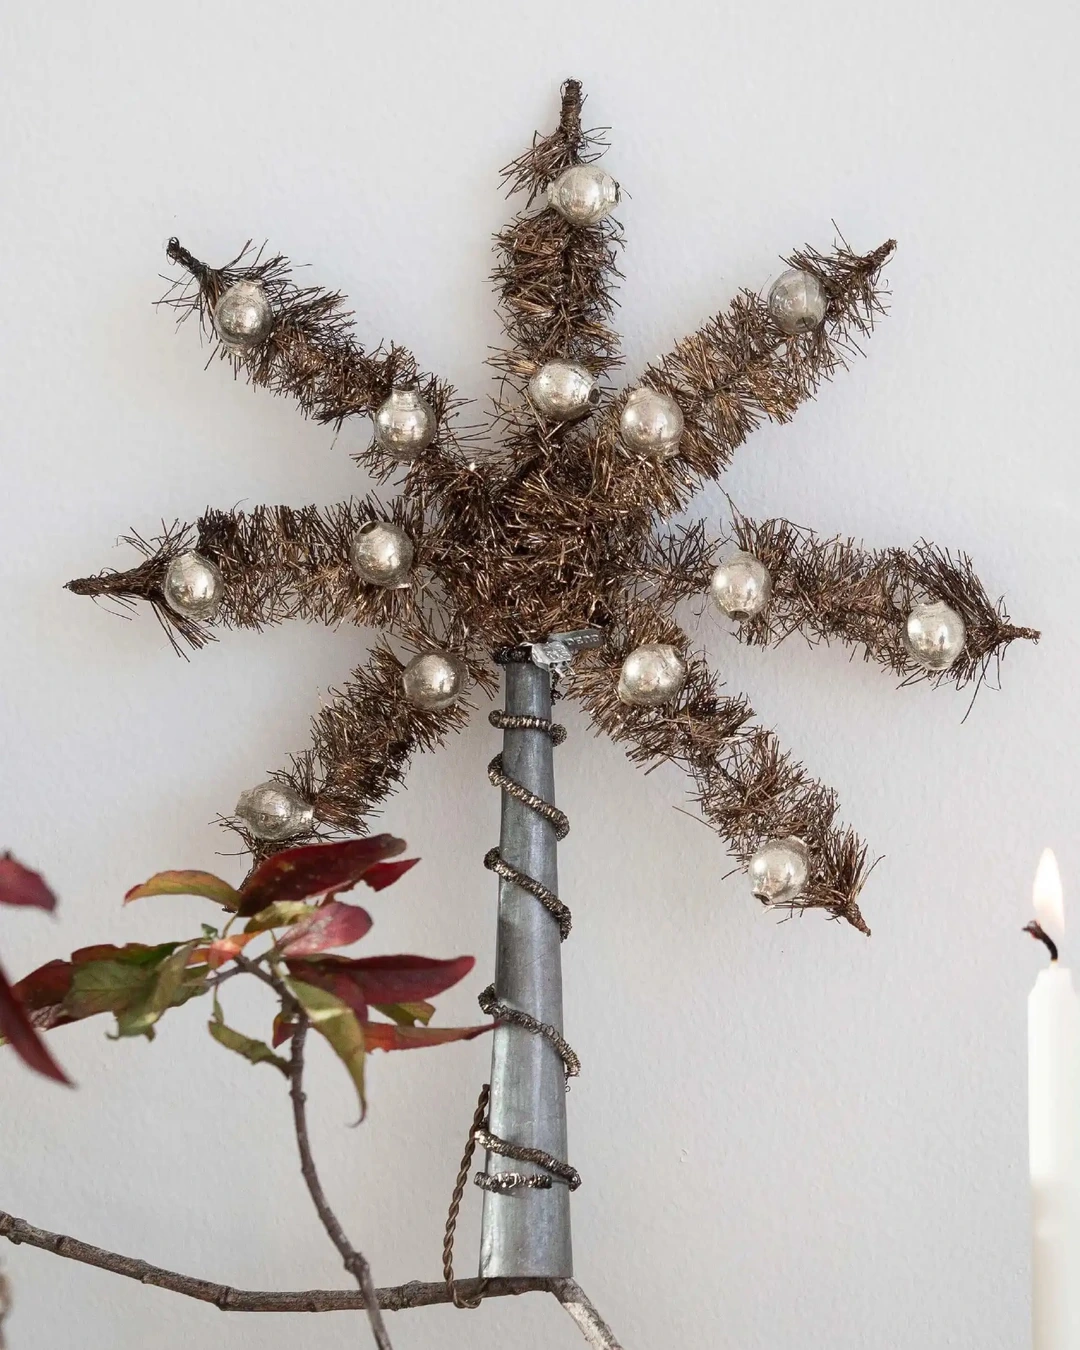
Photo by @deuxliving
A seven-pointed star made from brown metallic tinsel, with small silver mercury-glass beads fixed at the tips and along the points, rises from a tall silver cone base wrapped with wire. The beads are the star of this design: they catch the tree lights and throw small reflections across the room, which is why this topper suits a tree with warm white lights rather than colored ones. Mercury-glass beads give an old-fashioned, vintage feel that plain plastic beads cannot match.
To build one, form the star frame from wire, wrap it tightly with tinsel, and wire a bead to each point and to the center before fixing the frame to its cone base. The cone is what matters most for stability, since a beaded star is heavier than a fabric one, so the cone should fit snugly over the top branch. Keep the bead count balanced on every point, because one bare point will draw the eye more than any other detail.
Origami Paper Star Topper
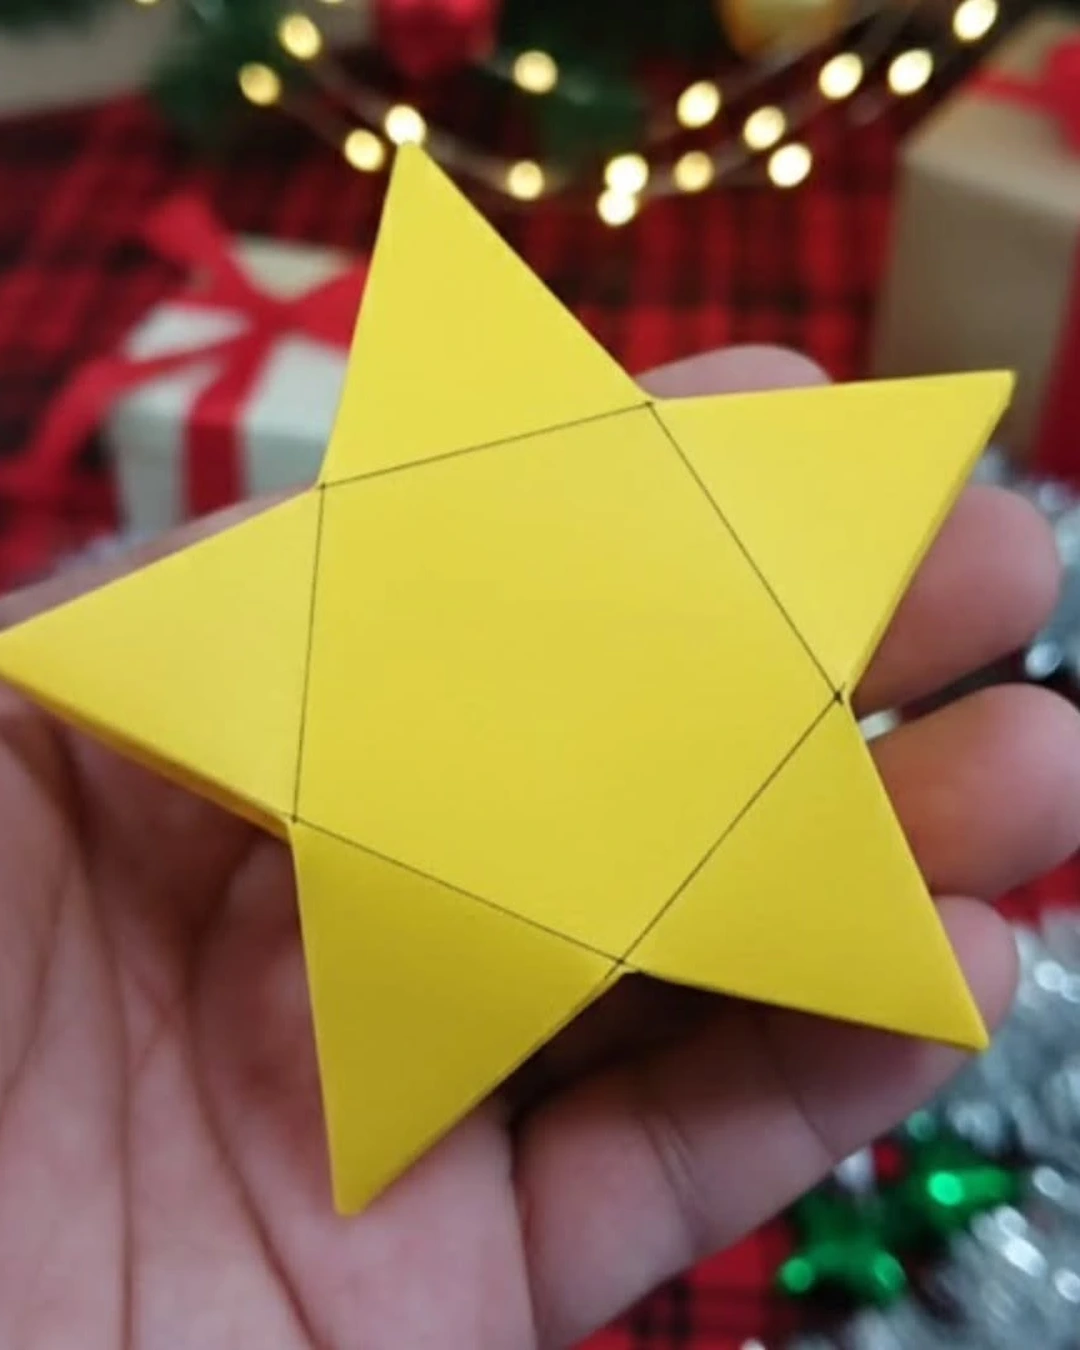
Photo by @sarjigami
A bright yellow origami star with a raised pentagonal center and five sharp points rests in a hand, with wrapped gifts, plaid fabric, and fairy lights blurred behind it. Paper stars are the most accessible handmade topper of all, since they need nothing more than paper and patience, and they are light enough to sit on even a small or slender tree. Crisp folds are the whole craft here: a sloppy fold shows immediately, while a sharp fold makes the star look precise and finished.
Fold the star from a single square of sturdy paper, creasing each fold firmly with a bone folder or a ruler edge, and finish by gluing the final seam so the points hold their shape. A small cardboard tube glued inside the base turns the paper star into a topper that slides over the tree tip, and a light coat of spray sealant helps it survive a whole season. Because paper and heat do not mix, keep a paper topper away from real candles and hot bulbs.
Twig Star Topper with Red Berries
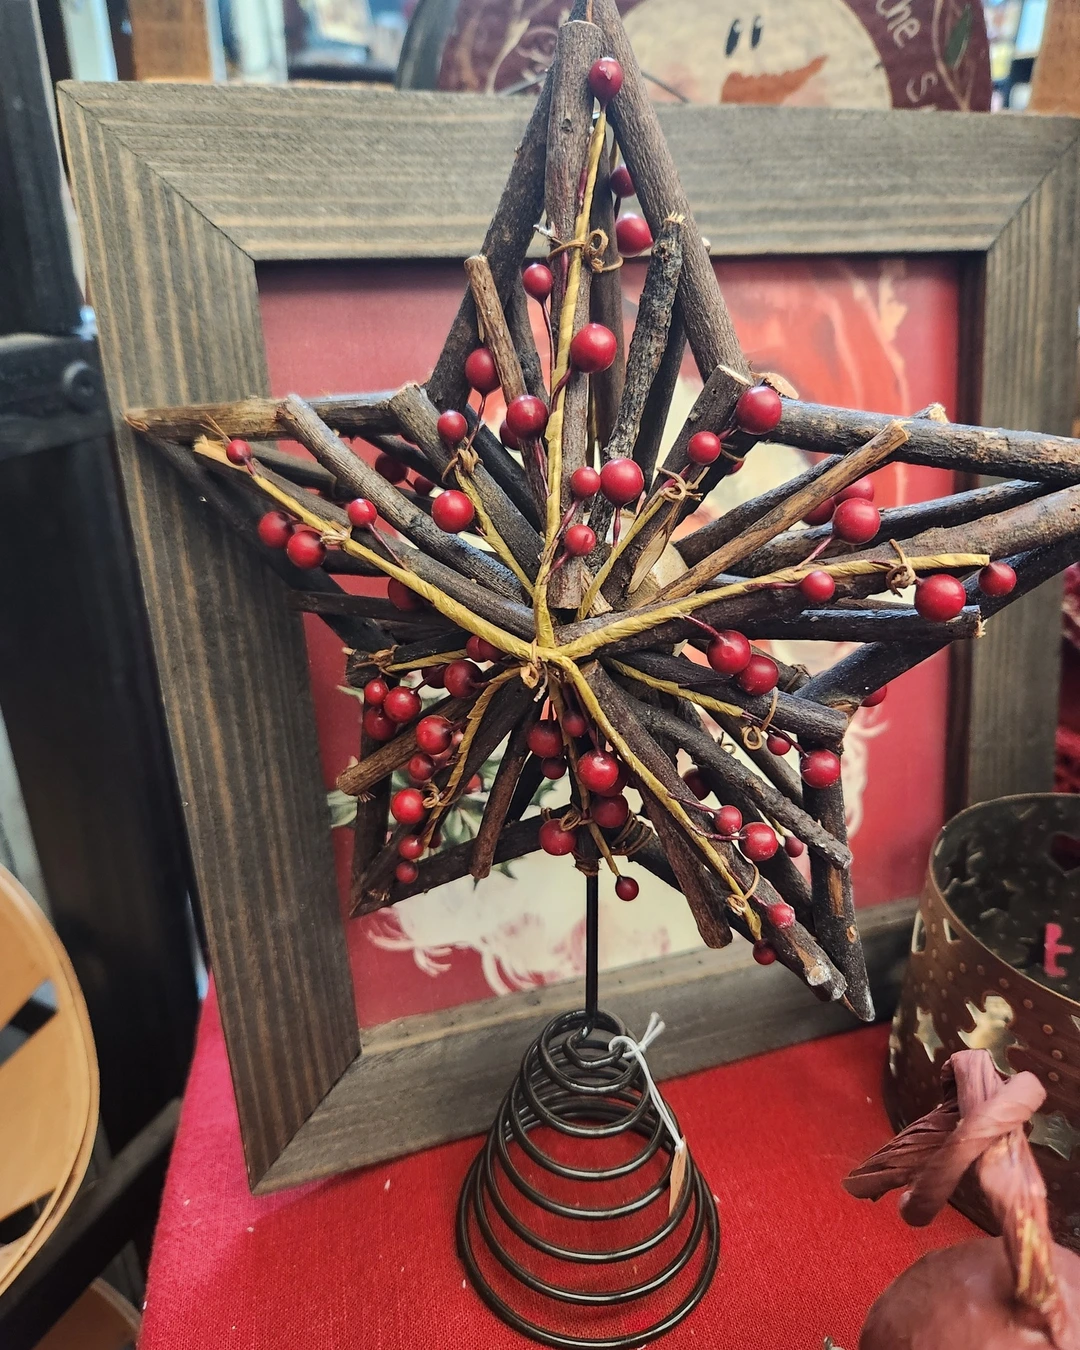
Photo by @mymothersmemories
A star built from bundled real twigs tied at the center, dotted with artificial red berries on thin stems, stands on a black metal coil base on a red surface, with a framed picture behind it. This topper is photographed off the tree, which suits its character: it is a sturdy, rustic piece that reads just as well on a mantel as on a treetop, and the coil base is what makes it a true topper rather than a wall star. Real twigs give an uneven, natural outline that no manufactured star copies, and the red berries supply the only color the design needs.
Gather straight, dry twigs of similar thickness, lay five of them into a star, and bind the center tightly with raffia or garden twine so the shape holds. Add berry stems by wiring them into the binding, then fix the star to a coil or cone base sized to your tree’s top branch. Check that no twig end pokes past the star’s outline in a way that could snag ornaments, and trim any sharp ends before the topper goes up.
Layered Velvet and Satin Bow Topper
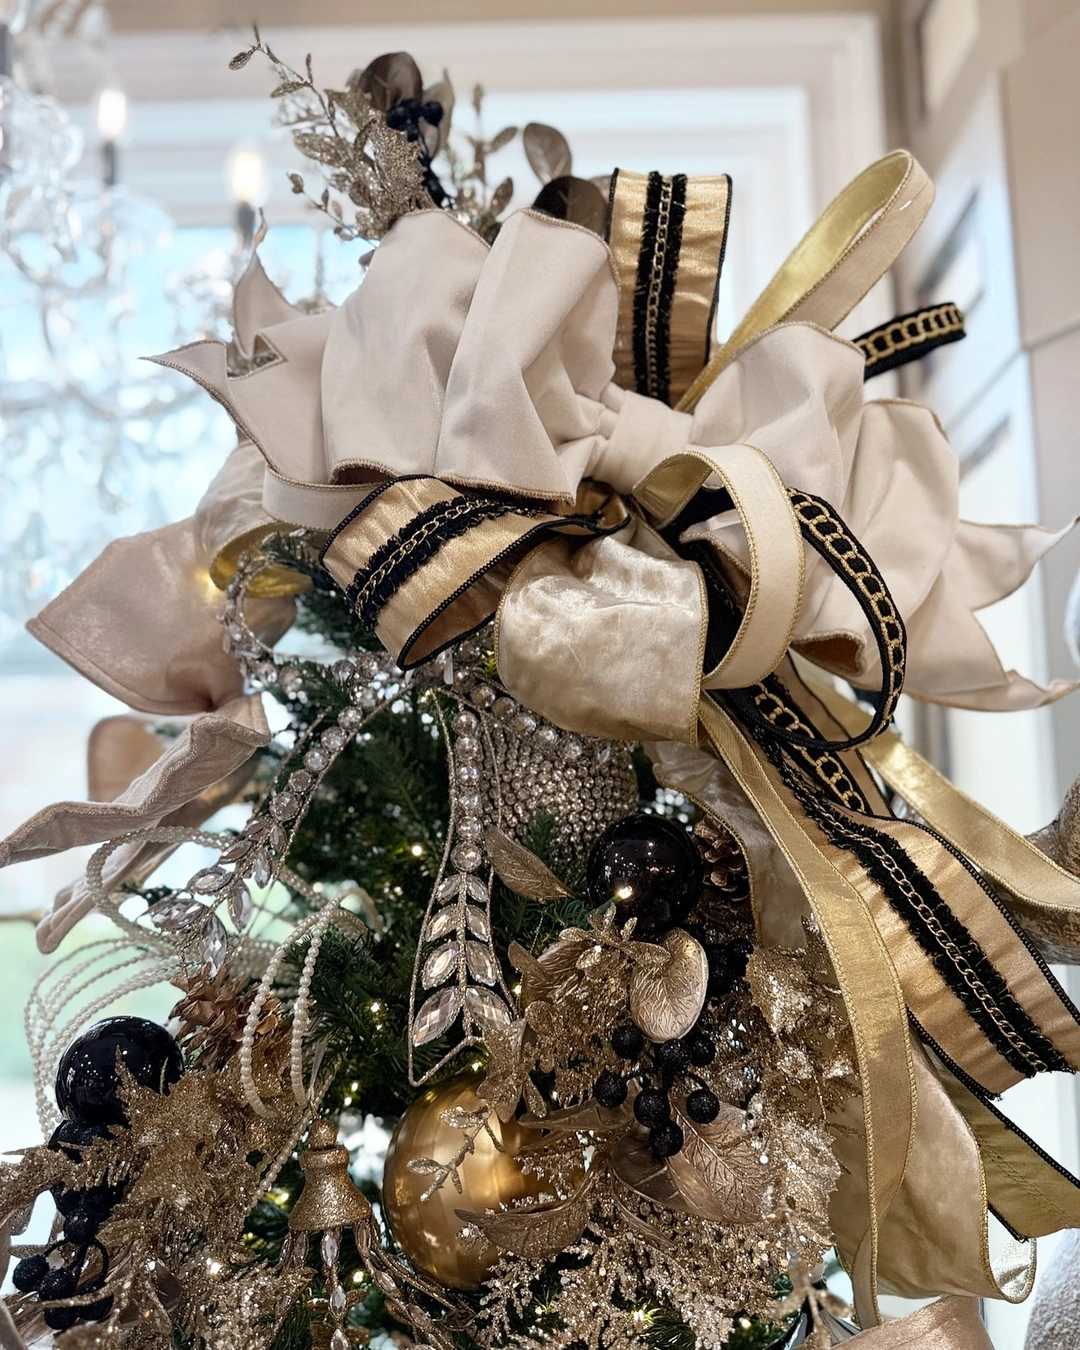
Photo by @daniellabellasxo
A large bow of cream velvet layered with gold satin ribbon trimmed in black crowns a tree dressed with gold and black ornaments, glitter foliage, and crystal garlands. A bow topper is the right choice when a star or angel feels too expected, and layering two ribbons is what keeps a big bow from looking flat. Layered ribbons in contrasting textures, matte velvet against shining satin, give the bow depth that a single ribbon cannot achieve.
Cut generous lengths of each ribbon, form wide loops for the outer layer and narrower loops for the inner one, and bind the center tightly with wire before fanning the loops out. Long tails that fall down over the top branches finish the look, and the bow should be wired, not just tied, to the tree tip so it does not slide. A bow topper suits a heavily decorated tree, since it echoes the ornaments instead of competing with them.
Macrame Snowflake Topper
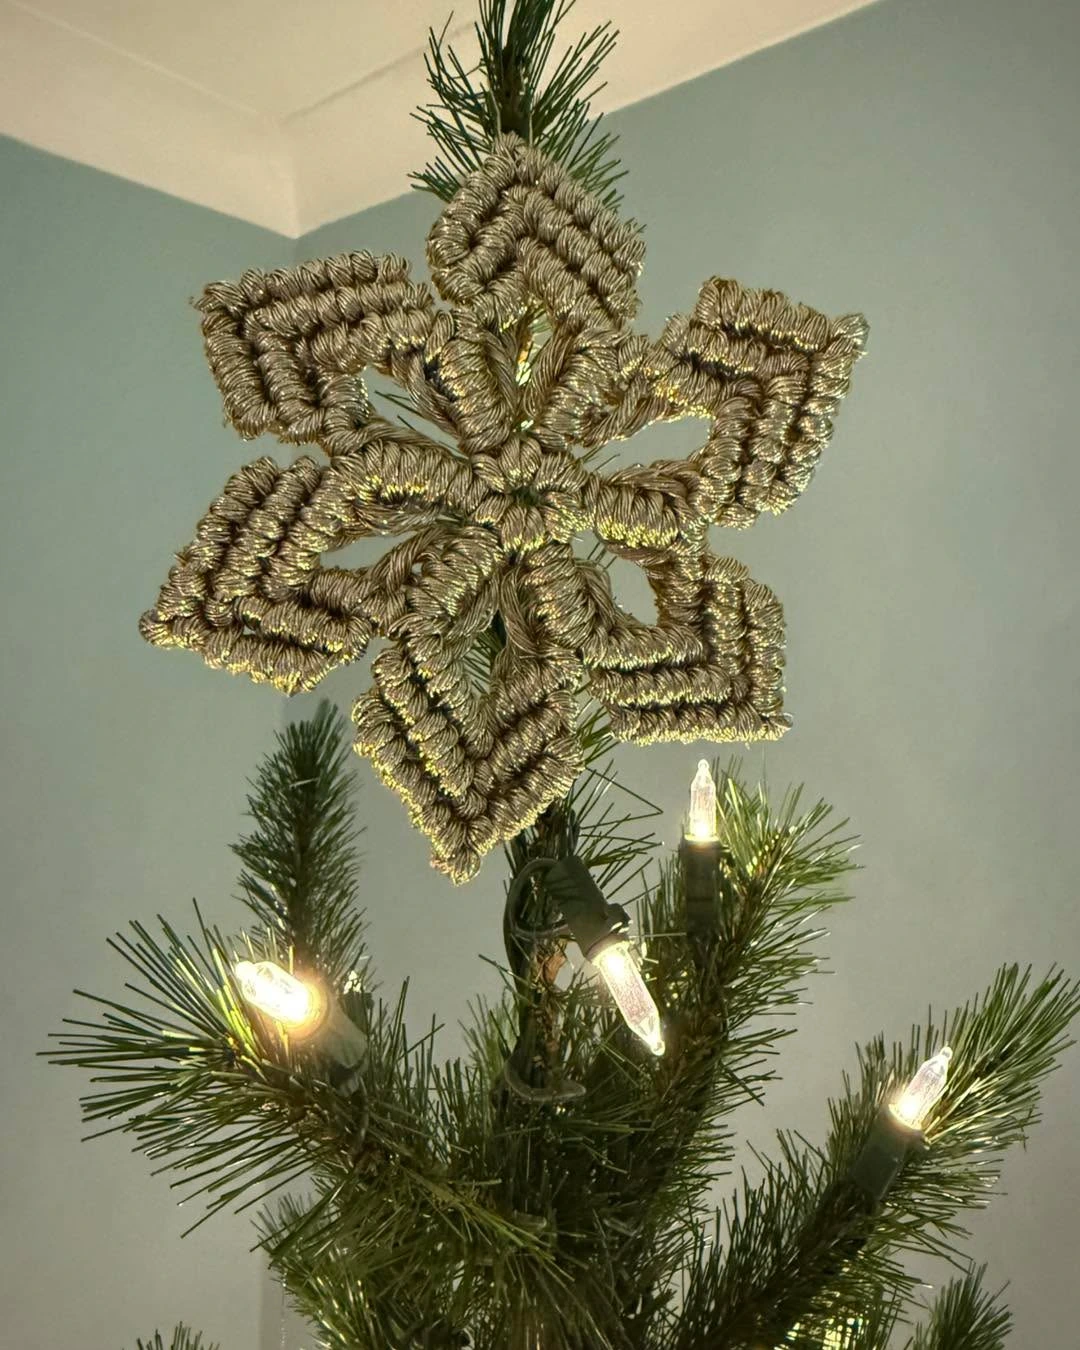
Photo by @sunflowermacrameuk
A large snowflake knotted from gold cord crowns a lit tree, its symmetrical arms and open pattern glowing against the dark green branches. A snowflake is a welcome change from the usual star, and macrame gives it a soft, textile quality that suits a cozy, natural tree. Knotted cord is the craft here, and the symmetry of the knots is what makes the snowflake read clearly as a snowflake rather than a tangle.
Work the snowflake from a central ring, knotting outward in matching arms and checking the symmetry after each round, since one long arm will unbalance the whole piece. A stiff cord holds the shape better than a soft one, and a small loop or ring at the base lets the snowflake sit on the tree tip. Because the design is open, it looks best on a tree with warm white lights behind it, which shine through the knots.
Burlap Bow Topper
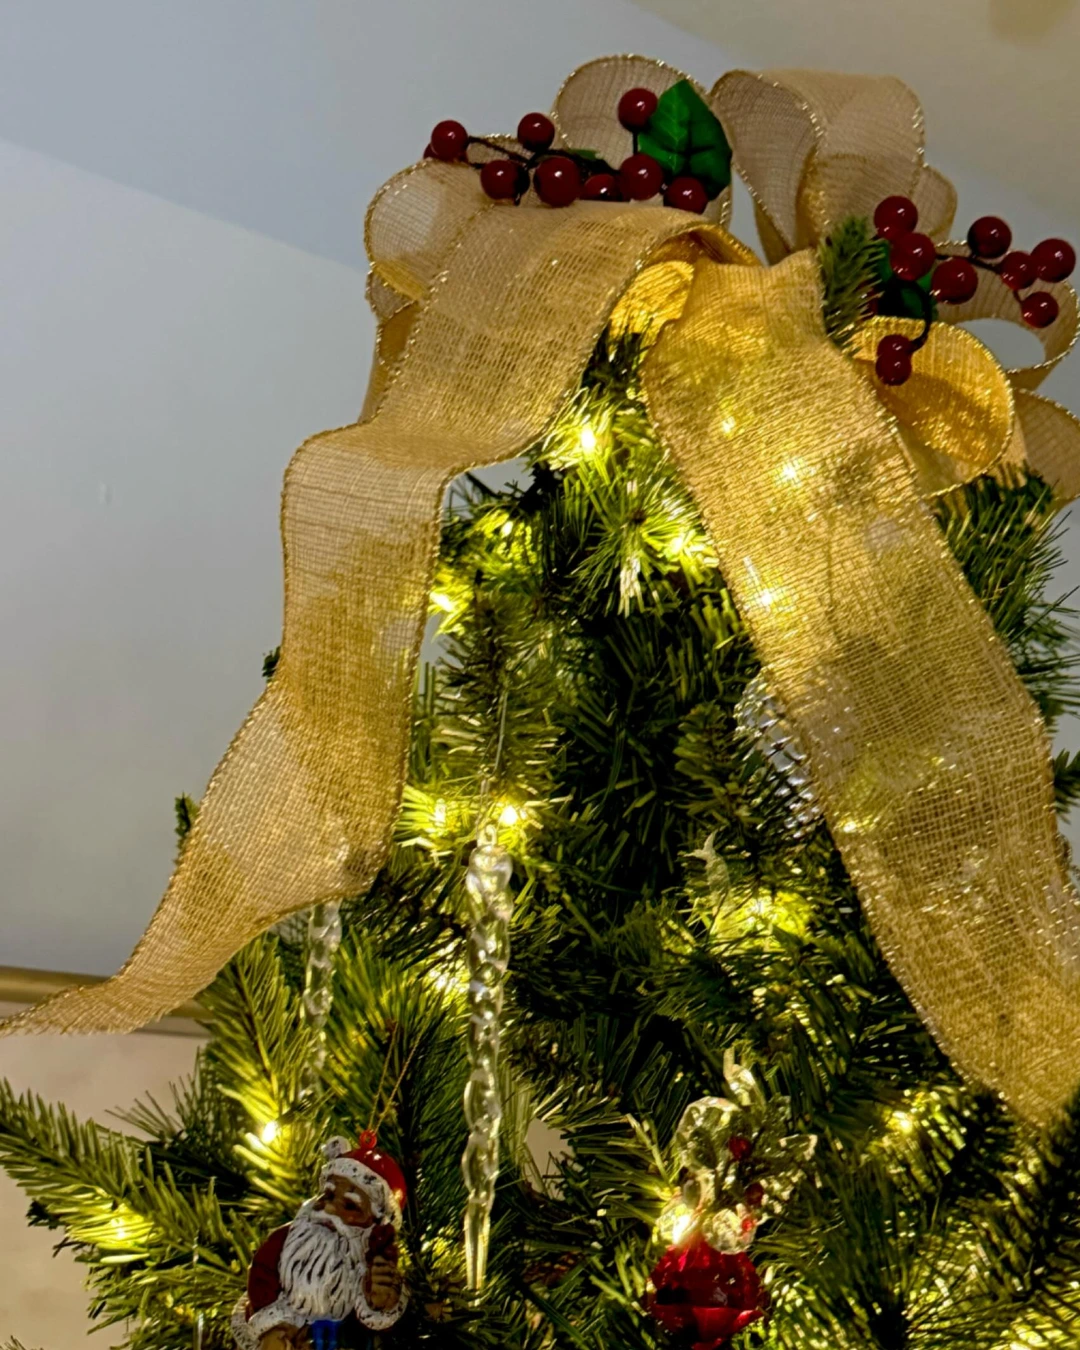
Photo by @poem132000
A large gold burlap bow with holly sprigs and bright red berries crowns a lit tree, with a small Santa figure and clear icicle ornaments hanging below. Burlap is the most forgiving ribbon for a bow topper, since its stiff weave holds loops open without wiring, and the gold tone warms up a green tree. Burlap ribbon is the right pick for a rustic or farmhouse tree, and the holly and berries add color without any extra ornament.
Form the bow from wide burlap ribbon, making the loops large and the tails long, and secure the center with wire so the bow keeps its shape all season. Tuck a small holly sprig into the center knot for a finished detail, and wire the whole bow to the tree tip rather than relying on the ribbon alone. Burlap frays, so trim loose threads before hanging, and keep the bow away from damp air so the weave stays crisp.
Pick the Handmade Tree Topper That Fits Your Tree
A handmade tree topper works best when the craft matches the tree: chunky yarn and burlap suit rustic trees, felt and macrame suit cozy family trees, and beaded or wooden toppers suit trees with a more traditional look. Measure the top of your tree before you start, choose a topper that is wide enough to be seen from the door but light enough to stay upright, and fix it firmly, whether with a loop, a cone, or a coil base. For more tree inspiration, see the article Nostalgic Christmas Tree Ideas That Bring Back Old-Fashioned Holiday Magic. The most special topper is rarely the most elaborate one; it is the one whose making you can see, and whose shape finishes the tree instead of fighting it.