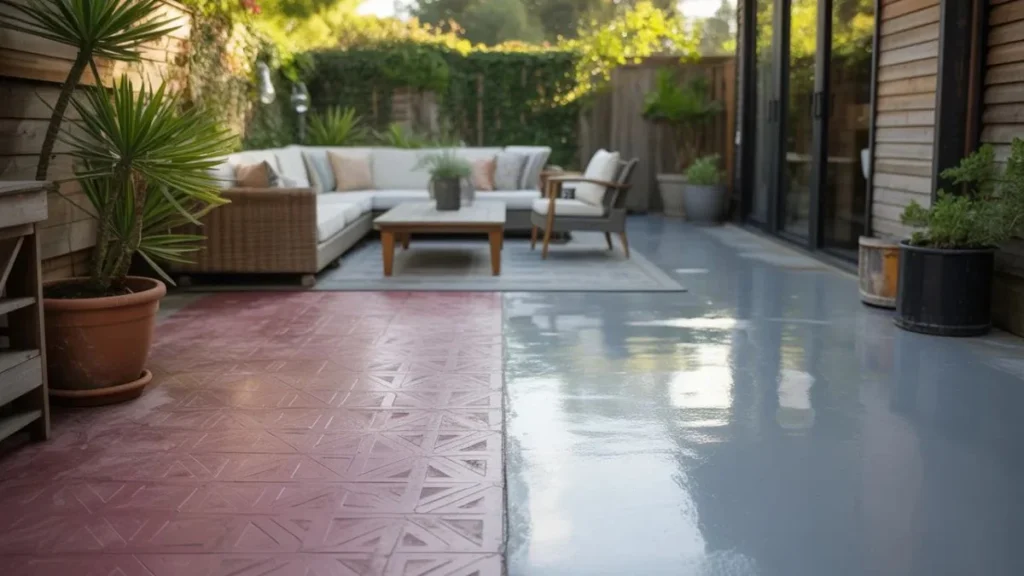
Your concrete patio has been staring back at you — cracked, dull, and completely uninspiring — long enough. The good news? You don’t need a massive renovation budget to make it look like something pulled from a design magazine.
Whether you have $50 or $5,000 to spend, the right concrete patio and porch floor makeover ideas can completely transform your outdoor space — and the results speak for themselves. This guide breaks down what’s worth doing at every price point, with no filler and no overblown promises.
Why Concrete Is Actually the Perfect Canvas
Concrete has a reputation for being boring. That reputation is completely outdated. Plain concrete is structurally sound, low-maintenance, and — critically — it responds well to almost every finish, coating, and overlay technique available today.
A concrete patio and porch floor makeover doesn’t require demolition. In most cases, you’re working with the surface as-is, adding layers of colour, texture, or material on top. That’s what makes it one of the most cost-effective outdoor renovations you can do.
The key is knowing which makeover approach fits your budget, your skill level, and how much wear your floor will face. The sections below cover all three price tiers honestly — what they cost, what they look like, and whether they’re worth it.
Budget-Friendly Concrete Patio Makeover Ideas (Under $200)
Tight budget doesn’t mean bad results. Some of the most creative concrete patio and porch floor makeover ideas cost under $100 and hold up surprisingly well with proper sealing.
1. Concrete Paint or Porch Enamel
This is the fastest entry point. A fresh coat of concrete-specific floor paint — like Sherwin-Williams Porch and Floor Enamel or Rust-Oleum’s Decorative Concrete Coating — can cover stains, hide minor cracks, and deliver a clean, solid-color finish in a weekend.
Cost: $30–$80. Apply with a roller after etching and cleaning the surface. Seal when dry for extra durability. Choose light grays, warm taupes, or charcoal for a modern look.
2. Stencilled Faux Tile or Rug Pattern
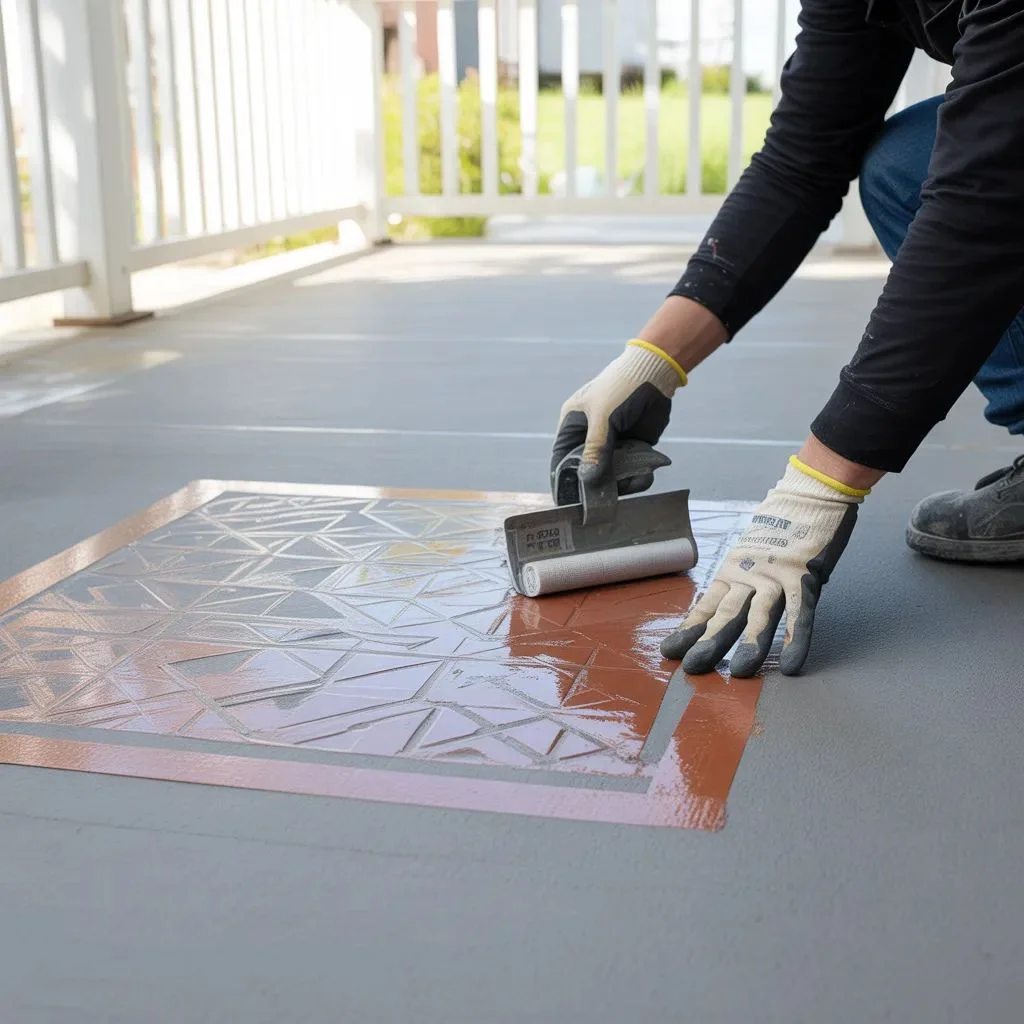
One of the most popular DIY concrete porch floor makeover techniques right now — and for good reason. Use adhesive stencils and exterior paint to mimic Moroccan tile, geometric patterns, or even a painted outdoor rug. The results genuinely fool people at first glance.
Use painter’s tape to hold the stencil, apply paint with a sponge or dense foam roller, and seal with a clear outdoor sealer. Done properly, this holds up for 2–4 seasons.
Cost: $40–$120. Choose two-tone colour combos — terracotta and white, navy and cream, or sage and sand — for maximum impact.
3. Concrete Stain (Acid or Water-Based)
Concrete stain is different from paint — it penetrates the surface instead of sitting on top, which means it won’t peel or flake. Acid stains create a mottled, natural stone effect in earthy tones like copper, walnut, and slate. Water-based stains give more consistent, vibrant colour.
Cost: $50–$150. This is a strong DIY option for those comfortable with surface prep. The finish looks far more expensive than its price tag suggests.
4. Interlocking Snap-Together Deck Tiles
For renters or anyone who wants a zero-commitment transformation, interlocking deck tiles are ideal. They snap directly onto existing concrete with no adhesive, no mess, and no permanent alteration. Available in wood composite, porcelain, and stone-look finishes.
Cost: $80–$180 for a small patio. They’re also easy to remove, rearrange, or replace if one tile gets damaged. Great for apartment balconies and small porches.
Mid-Range Concrete Porch Upgrades ($200–$1,000)
This price range is where concrete patio and porch floor makeover ideas start to feel seriously professional. You’re getting better durability, more design options, and finishes that hold up to heavy foot traffic and weather.
5. Concrete Overlay with Stamped Pattern
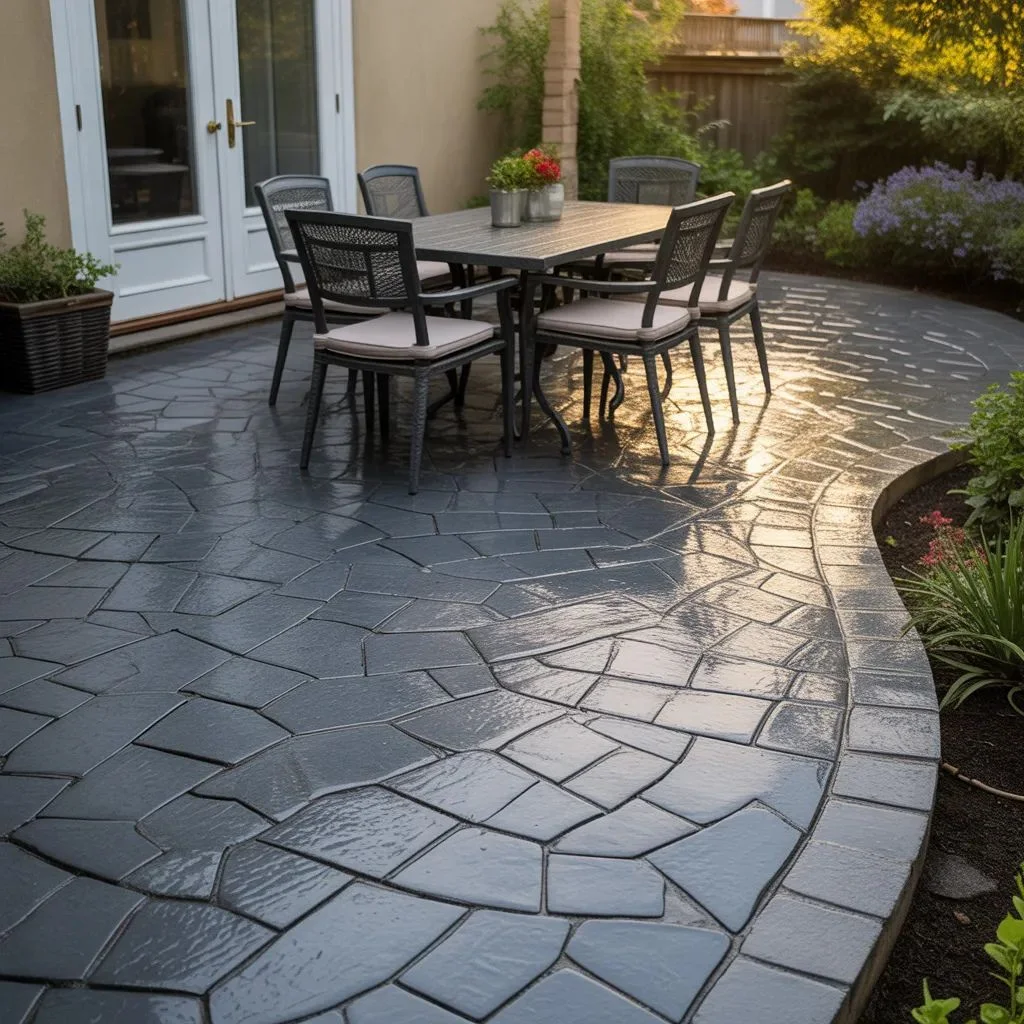
A stamped concrete overlay involves applying a thin layer of cement-based material over the existing slab, then pressing pattern stamps into it before it sets. The result can mimic brick, cobblestone, slate, flagstone, or wood planks — at a fraction of the cost of those actual materials.
This technique is especially strong for cracked or stained patios because it hides imperfections completely. The new surface is sealed and can be colored with integral pigments or surface stains for a fully custom look.
Cost: $300–$800 DIY; $800–$2,000 professional. This is one of the highest-value upgrades in this price tier.
6. Tile Installation Over Concrete
Ceramic, porcelain, and natural stone tiles can be applied directly over a structurally sound concrete slab using outdoor-rated thinset mortar. This gives you an enormous range of design possibilities — from sleek modern large-format tiles to rustic travertine looks.
Use frost-proof porcelain tiles if you live in a climate with freezing winters. The tile thickness adds slight height, so be mindful of door clearance before starting.
Cost: $400–$1,000 depending on tile choice and patio size.
7. Epoxy Coating with Decorative Chips
Epoxy floor coatings are best known in garages, but they’re increasingly popular for covered porches and patios. The process involves applying a two-part epoxy base, sprinkling decorative colour flakes, and sealing with a clear topcoat.
The result is extremely durable, slip-resistant, and easy to clean. Color-flake options come in dozens of combinations — neutral stone tones, bold terrazzo-style mixes, or clean monochrome. It handles moisture, UV exposure, and heavy foot traffic well when properly applied.
Cost: $250–$700 DIY; $600–$1,200 professional.
8. Faux Brick Stencil with Concrete Skim Coat
This technique — popularized by DIY influencers in 2024–2025 — delivers an astonishingly convincing aged brick-paver look without actual pavers. Apply a concrete skim coat, press a brick stencil over it, and use a sponge technique to add variation in colour depth.
One home DIY creator who used this method on her front patio reported that the finish held up beautifully for nearly four years and looked more authentic with age. The project costs a fraction of real brick overlay and can be done over a weekend.
Cost: $150–$400 depending on coverage area.
High-End Concrete Floor Transformations ($1,000+)
If you’re investing in your home’s long-term value and want a finish that looks completely custom, these high-end concrete patio and porch floor makeover ideas deliver lasting results with serious curb appeal.
9. Polished and Sealed Concrete
Polished concrete takes the raw slab and grinds it smooth through a multi-stage diamond grinding process. The final surface is dense, reflective, and incredibly durable. It’s the look you see in high-end restaurants and modern architecture — and it works just as well outdoors on covered patios.
Add a penetrating sealer for UV and moisture protection. The finish can be left natural (light grey, matte sheen) or enhanced with integral dyes for tonal depth.
Cost: $1,500–$4,000 for professional grinding and sealing.
10. Exposed Aggregate Finish
In this process, the top layer of concrete is removed to reveal the natural aggregate — stone, pebbles, or even recycled glass — embedded in the mix. The result is a textured, slip-resistant surface with organic, irregular beauty.
Exposed aggregate is highly durable and ages well. Recycled glass aggregate is a popular high-design variation — crushed blue, green, or amber glass sparkles across the surface in sunlight, creating a genuinely striking effect.
Cost: $1,500–$3,500 professionally installed.
11. Porcelain Paver Installation
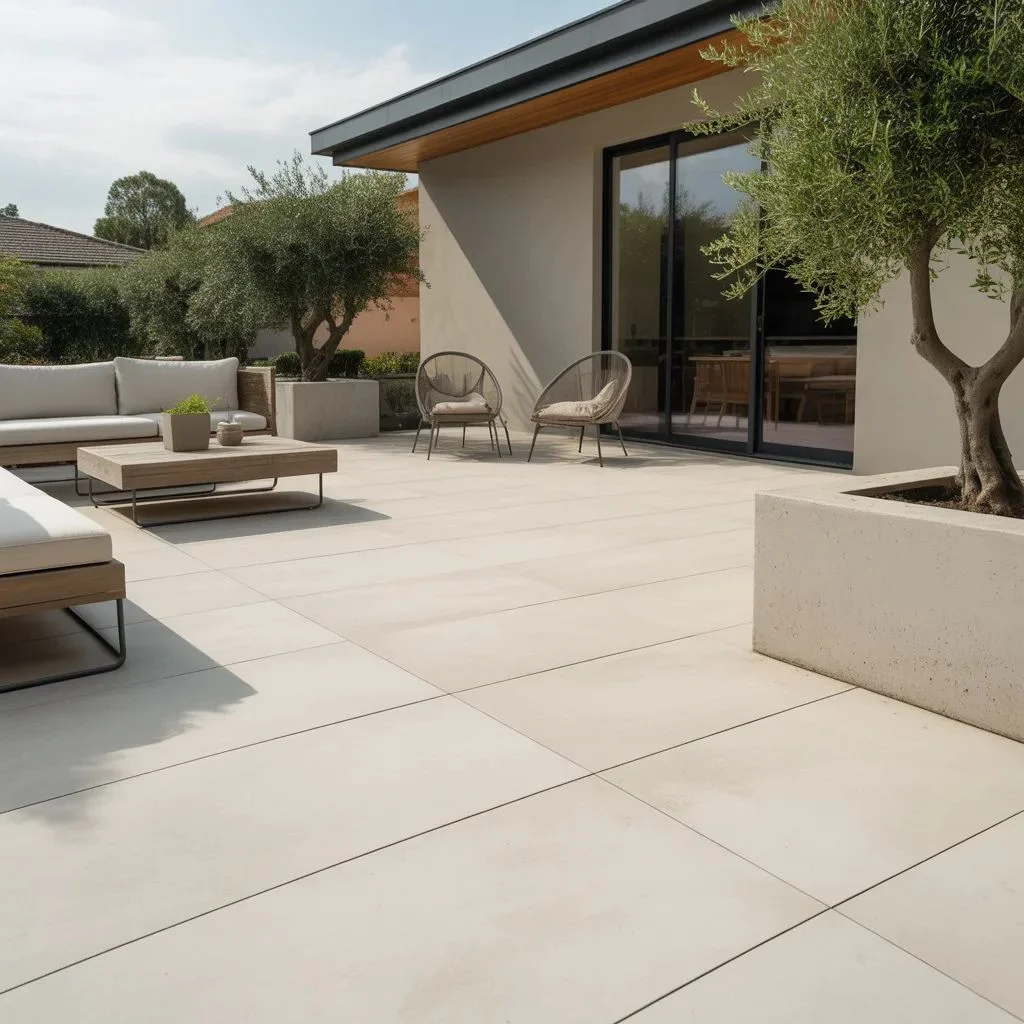
Large-format porcelain pavers — think 24″×24″ or 32″×32″ slabs — create a seamless, high-end look that rivals natural stone at lower maintenance cost. They’re UV-stable, frost-resistant, and non-porous, making them perfect for outdoor use in any climate.
Modern minimalist design favours large square and rectangular modules that create bold visual grids across the patio floor. Hexagonal tile layouts offer a more geometric, pattern-forward alternative for design-forward homeowners.
Cost: $2,000–$6,000+ depending on size, tile selection, and labor.
12. Built-In Concrete Planters and Bench Borders
For a truly custom, architectural look, built-in concrete features take a plain patio to another level. Poured concrete bench walls, raised planter borders, and integrated fire pit surrounds turn your floor into part of a cohesive outdoor room design.
Raised planter walls designed at 18–24 inches double as seating, defining zones within larger patio spaces while providing natural privacy screening. Combine with a stamped or polished patio floor finish for a fully designed outdoor space.
Cost: $2,000–$8,000+ depending on scope.
Picking the Right Finish for Your Climate and Lifestyle
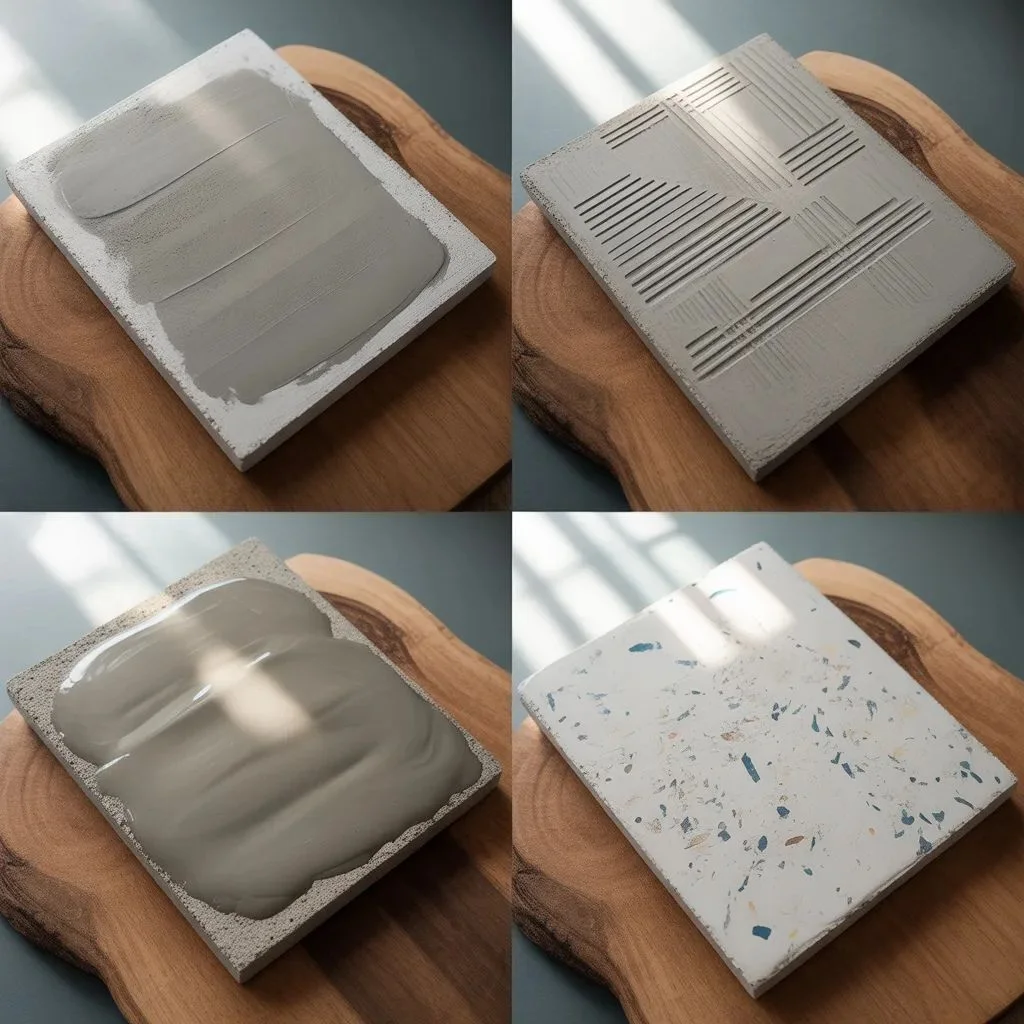
No makeover idea works well in every situation. A few honest considerations before you commit:
- Freeze-thaw climates: Avoid standard ceramic tile; use frost-proof porcelain or stamped overlay instead. Concrete stain is also a reliable choice since it doesn’t add a layer that can crack.
- High sun exposure: Dark colors absorb heat and become uncomfortable underfoot. Choose lighter tones for sun-exposed patios.
- Heavy foot traffic: Epoxy and polished concrete hold up best. Painted finishes will need re-coating every 2–3 years under heavy use.
- Renters: Snap-together deck tiles are the obvious answer — they’re removable, damage-free, and can follow you to your next place.
- Pets and kids: Skip high-gloss finishes. A matte, textured surface — aggregate, stencilled paint, or stamped overlay — provides grip and hides scuffs.
Pro Tips Before You Start Any Concrete Makeover
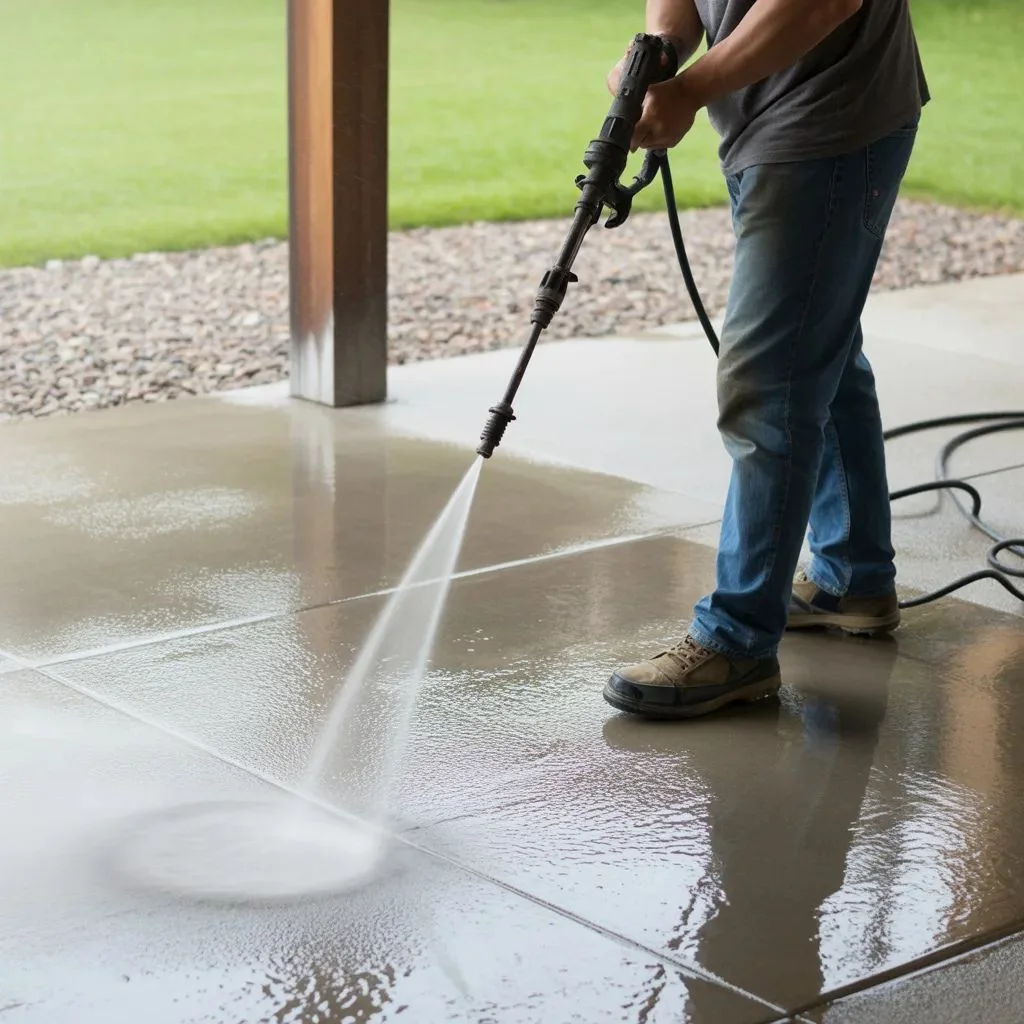
The prep work determines the result, regardless of which concrete patio and porch floor makeover technique you choose.
- Clean thoroughly first: Degrease, pressure wash, and let the surface dry completely before applying any coating, stain, or adhesive.
- Check for structural cracks: Hairline cracks are cosmetic. Wide or sunken cracks indicate foundation issues — fix those before surface treatments.
- Test your stain or paint: Always test in a small inconspicuous area first. Concrete absorbs products differently based on its mix and age.
- Always seal: Whatever finish you apply, seal it. An outdoor-rated sealer protects against UV fading, moisture penetration, and staining.
- Let it cure: Don’t rush — most coatings need 24–72 hours before foot traffic and longer before furniture placement.
The Patio You Actually Want Is Closer Than You Think
Whether your budget is $60 or $6,000, there’s a concrete patio and porch floor makeover idea that fits. The most important move is to start with a realistic assessment of your space — surface condition, climate, use patterns — and match the technique to those realities.
A stencilled pattern done carefully and sealed properly looks just as intentional as a high-end tile installation. And a polished concrete floor on a covered porch adds immediate property value. The secret isn’t the budget. It’s the planning.
Start with surface prep, pick a technique that suits your lifestyle, and commit to the sealing step. That’s the formula that makes every option on this list look amazing.
Also Read About: Porch Ideas for Summer Comfort That Make Every Evening Feel Like a Retreat.
Frequently Asked Questions
Can you make old concrete patio look new without replacing it?
Yes — and usually without major effort. Concrete overlays, stains, and epoxy coatings can refresh a worn surface dramatically. Even a simple coat of concrete floor paint delivers a clean, updated look when properly applied and sealed.
What’s the cheapest way to update a concrete porch floor?
Concrete paint or a stencilled pattern is the most affordable starting point, typically running $30–$120 for materials. Water-based stain is another excellent budget option that won’t peel and lasts longer than standard paint.
How long does a stamped concrete overlay last?
A professionally installed stamped concrete overlay, properly sealed and maintained, typically lasts 15–25 years. DIY overlays can last 8–15 years with regular resealing every 2–3 years.
Is epoxy flooring good for an outdoor porch?
Epoxy works well for covered patios and porches but is not ideal for fully exposed outdoor surfaces, as direct UV exposure can cause yellowing over time. Use UV-stable topcoats or opt for polyurea coatings, which handle outdoor conditions better.
Do I need to hire a professional for a concrete patio makeover?
Not necessarily. Staining, painting, stencilling, and snap-tile installation are solid DIY projects. Polished concrete, stamped overlays, and tile installation on larger patios typically deliver better results with professional labour.