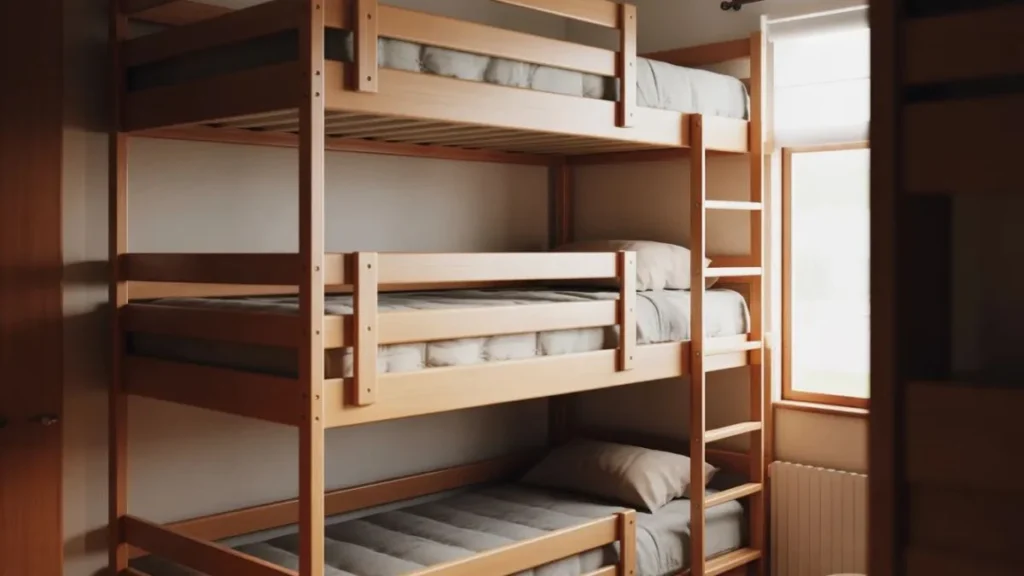
Three kids. One bedroom. That math doesn’t work — unless you build vertical. A DIY triple bunk bed is one of the smartest space-saving moves you can make, and when it’s built right, it looks like something straight out of a designer catalog.
Most parents searching for DIY triple bunk bed ideas run into the same two problems: generic plans that look flimsy, and “inspiration” photos with zero real construction detail. This guide fixes both. You’ll find design concepts, material guidance, safety standards, and Ideogram image prompts — everything you need to go from idea to finished build.
Why DIY Triple Bunk Beds Are Worth Building
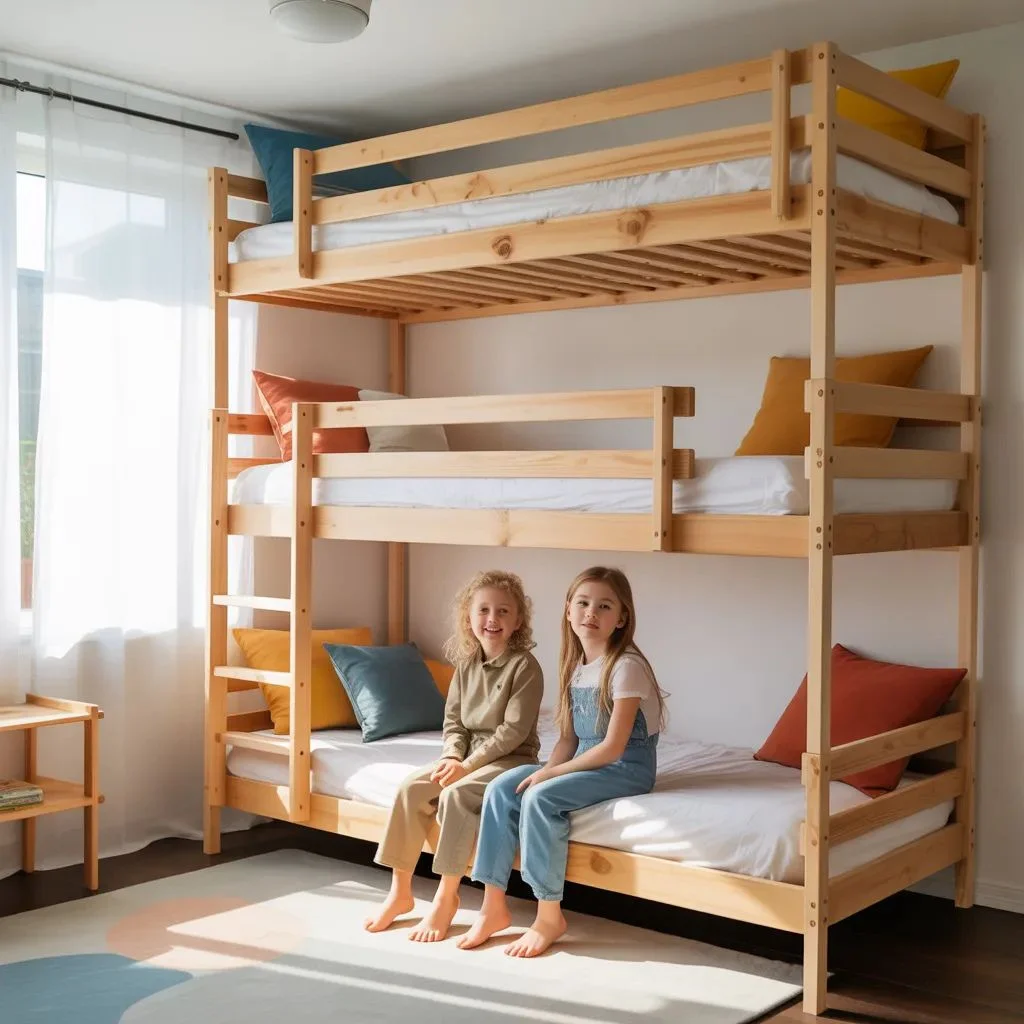
Store-bought triple bunk beds exist, but they’re rare, expensive, and almost always sized for a room you don’t have. A custom DIY build lets you design around your actual ceiling height, your kids’ ages, and the room’s layout — not the other way around.
The cost savings are real, too. A well-built DIY triple bunk using quality lumber runs $300–$700 in materials, compared to $1,200–$3,000+ for commercial options of similar quality. And you control every dimension, from mattress platform depth to ladder placement.
Beyond cost, a DIY triple bunk can be designed to grow with your kids — add a desk underneath, configure it as an L-shape, or build it as a full wall unit that doubles as a storage system. These are things factory beds can’t offer.
Safety Standards Every Triple Bunk Build Must Meet
This section comes before design for a reason. A triple bunk bed carries more vertical height and more weight than a standard bunk — and with children sleeping in it, there is no margin for structural error.
Guardrail Height
The CPSC recommends guardrails on both sides of every upper sleeping level, extending at least 5 inches above the mattress surface. For a triple bunk, this applies to the second and third levels. Don’t skip the wall-side rail — kids roll during sleep.
Ceiling Clearance
The top bunk needs a minimum of 24–33 inches of clearance between the mattress surface and the ceiling. Less than that and sitting up becomes a hazard. Measure your ceiling height before designing your vertical spacing.
Ladder Safety
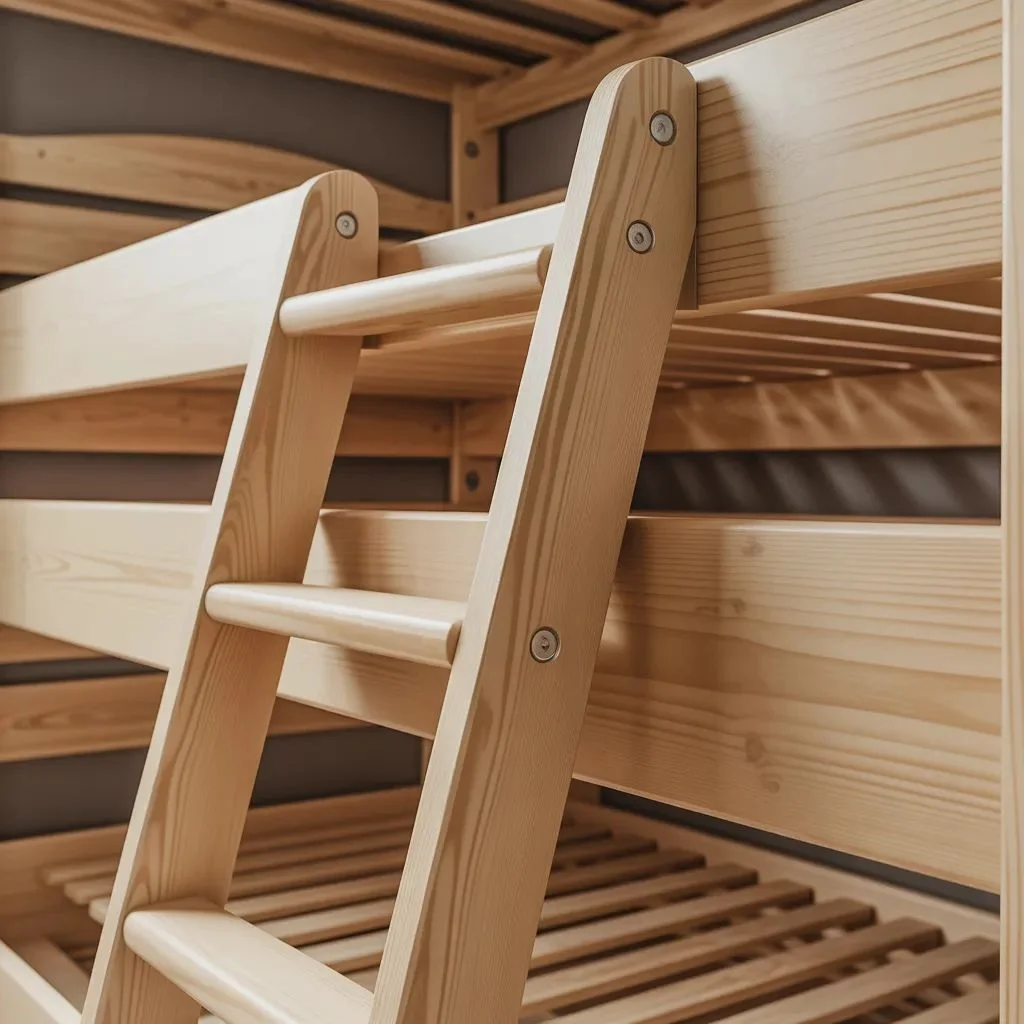
Ladder rungs should be spaced 9–11 inches apart and secured tightly — no wobble, no flex. Angled ladders are safer for younger kids than vertical ones. Always anchor the ladder to both the bed frame and the floor if it extends outward at a steep angle.
Structural Load
Each sleeping level should support a minimum of 200–250 lbs. Use 4×4 corner posts, 2×6 or 2×8 side rails, and pocket screws plus wood glue at every joint. Lag bolts into wall studs add another layer of security for wall-mounted builds.
Mattress Fit
Use mattresses no thicker than 6 inches on upper bunks. Thicker mattresses reduce guardrail effectiveness. Standard twin mattresses (38″ x 75″) are the go-to for most triple bunk builds.
Best Wood and Hardware for a Sturdy Triple Bunk Bed
Wood Species
Most successful DIY triple bunk builds use Southern Yellow Pine, Douglas Fir, or Poplar. All three offer the strength-to-weight ratio needed for a tall structure. Avoid soft pine (whitewood) for the structural posts — it compresses under long-term load.
Post dimensions: 4×4 minimum, 4×6 preferred for added stability at height.
Side rails and slats: 2×6 side rails, 1×4 slats with 3-inch maximum spacing (prevents limb entrapment).
Ladder rails: 2×4 lumber, sanded smooth to prevent splinters.
Hardware
Don’t cheap out on fasteners. Use structural screws (3″ or longer), pocket hole screws, and barrel nuts with bolts at stress points. Metal angle brackets at every corner-post-to-rail junction significantly reduce lateral wobble — this is especially important on taller triple-stack designs.
10 DIY Triple Bunk Bed Ideas Worth Building
Here are the strongest design directions for DIY triple bunk bed ideas, from the simplest stacked builds to full custom-built ins. Each includes structural notes and what makes it worth the effort.
1. Classic Vertical Stack Triple Bunk
Three beds, one footprint. This is the most space-efficient design and the most common starting point for first-time builders. Build with 4×4 corner posts, 2×6 side rails at each level, and a straight ladder on one end. Keep the total height under 90 inches to maintain ceiling clearance in standard 8-foot rooms.
2. L-Shaped Triple Bunk Bed
Two beds stacked vertically on one side, with the third bed perpendicular at the bottom. This layout gives you a ground-level bed with more open space around it — better for older kids who want their own “zone.” The perpendicular lower bunk also creates a natural alcove underneath for storage or a small desk.
3. Triple Bunk with Trundle
Stack two bunks and add a rollout trundle at floor level. Technically four sleeping spots if needed, but functions as a triple bunk day-to-day with the trundle tucked away. This is the smart pick for families who host sleepovers regularly.
4. Built-In Wall Triple Bunk
Frames anchored to wall studs on one or both sides, with a built-in ladder and optional storage shelves integrated into the headboard wall. The most architectural of the DIY triple bunk bed ideas — looks custom, costs less than a custom carpenter, and is arguably the most stable since the wall carries some load.
5. Triple Bunk with Desk Underneath
Elevate the entire structure by 48–54 inches and place a full-width desk or play area below. Only two bunks sleep at height, with a third lower level or floor mattress as option three. Great for school-age kids who need dedicated homework space.
6. Triple Bunk with Integrated Stairs
Replace the ladder with a staircase on one end. Each step can double as a drawer — a classic DIY project that adds function without expanding the footprint significantly. Stairs are safer than ladders for younger kids and make the whole unit feel more intentional and finished.
7. Cabin-Style Triple Bunk
Think solid panel headboards and footboards, tongue-and-groove cedar or pine cladding, and chunky post construction. This style reads as deliberate and cozy rather than industrial or budget. Stain in a warm walnut or honey tone and it looks like a high-end lodge piece.
8. Modern Minimalist Triple Bunk
Clean lines, black metal accents, and smooth-painted MDF panels. This is the IKEA-adjacent aesthetic done right — slimmer posts (still structural, but visually lighter), recessed guardrails, and a concealed vertical ladder. Best suited for teen rooms or modern Scandinavian interiors.
9. Triple Bunk for Tiny Rooms (Under 10 Feet Wide)
When floor space is severely limited, design the bunk to fit flush against one wall with a ladder built into the end panel. Use twin XL mattresses only if the room length allows; otherwise stick to standard twin. Every inch of overhang matters in tight rooms.
10. Triple Bunk with Curtain Nooks
Add curtain tracks or wooden dowels at each bunk level so each kid can draw a curtain for privacy. Small reading lights, a shelf, and a curtain turn each bunk into a personal pod. It’s a detail that costs almost nothing but gets used constantly.
Built-In Triple Bunk Bed Ideas
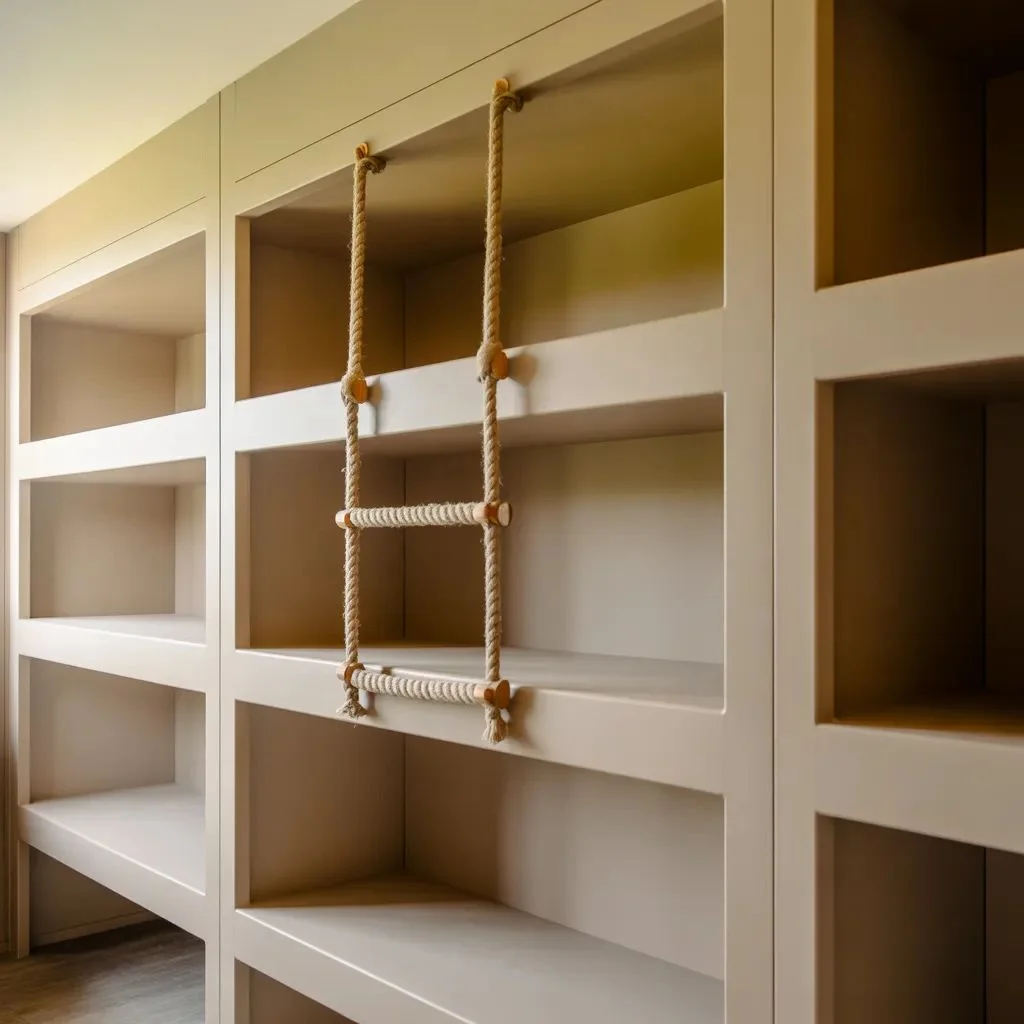
A built-in triple bunk anchors to the wall and often integrates with the room’s architecture — baseboards, crown molding, window placement. It’s a permanent solution, but it’s also the most structural and space-efficient approach.
Start by locating wall studs every 16 inches with a stud finder. Your main horizontal ledger boards will attach to these studs with 3-inch structural lag screws. The ledger replaces one side rail on each bunk level, which is why this build feels so solid — the wall itself is part of the frame.
For a clean built-in look, extend the headboard panel floor-to-ceiling and add open shelving between or above the top bunk. Paint everything the same color as the walls and the unit reads as architecture, not furniture.
L-Shaped Triple Bunk Bed Designs
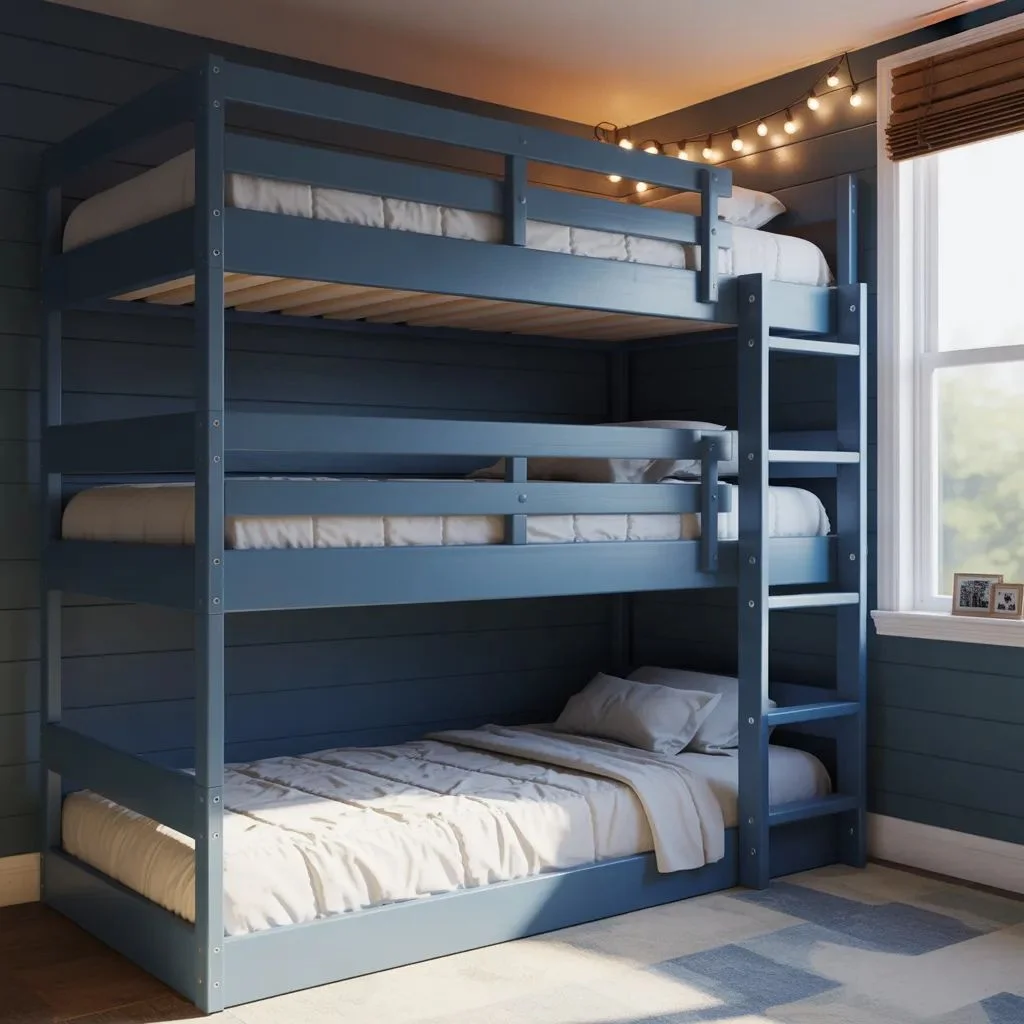
The L-shaped configuration is one of the most practical DIY triple bunk bed ideas for rooms with awkward dimensions or kids in different age groups. The corner post connects both sections, and the perpendicular lower bunk creates a natural hangout area with the upper bunks as a canopy.
A typical L-shaped build has the two upper bunks stacked on one wall and the third bunk running perpendicular along the adjacent wall at the lowest level. The corner post is usually a 4×6 or doubled 4×4 to handle the load transfer from both directions.
This layout also naturally creates space beneath the upper bunks — use that area for a desk, bean bags, or built-in cubbies. It’s one of the more design-forward configurations and one of the most photographed for a reason.
Triple Bunk Beds with Storage
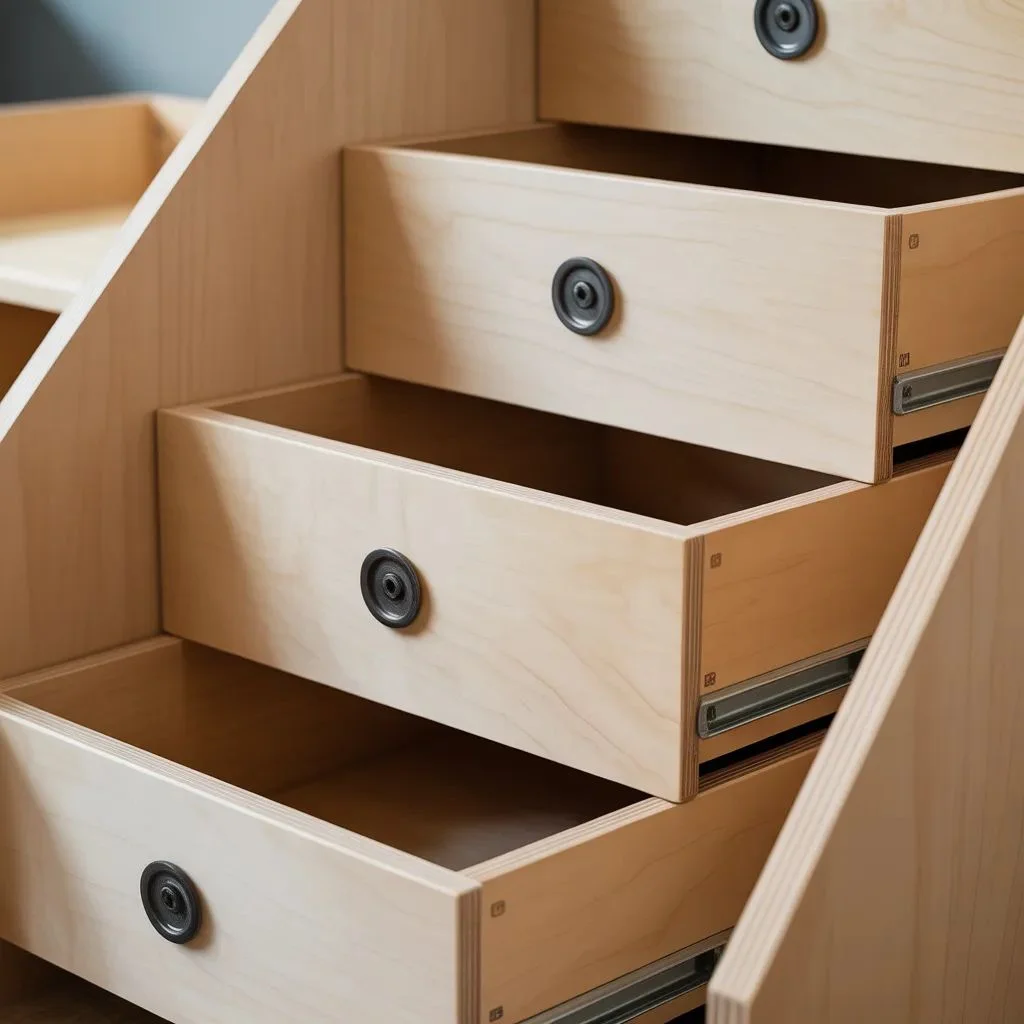
Storage is the natural partner to a triple bunk build. You’re already using vertical space — extend that logic horizontally. The most common storage integrations include:
- Stair-step drawers on the climbing side of the bed
- Under-bunk pullout drawers on the ground-level sleeping area
- Headboard shelves built into the panel at each bunk level
- Cubby wall beside the ladder for shoes, books, or personal items
- Trundle drawer on the lowest frame for extra bedding or toys
For stair drawers, build each step as a box with a full-extension drawer slide — 18-inch slides fit standard step depth well. Attach a face panel flush with the front of the step and add a small pull or finger notch. These are among the most useful add-ons to any triple bunk build.
Finishing, Painting, and Styling Your Triple Bunk
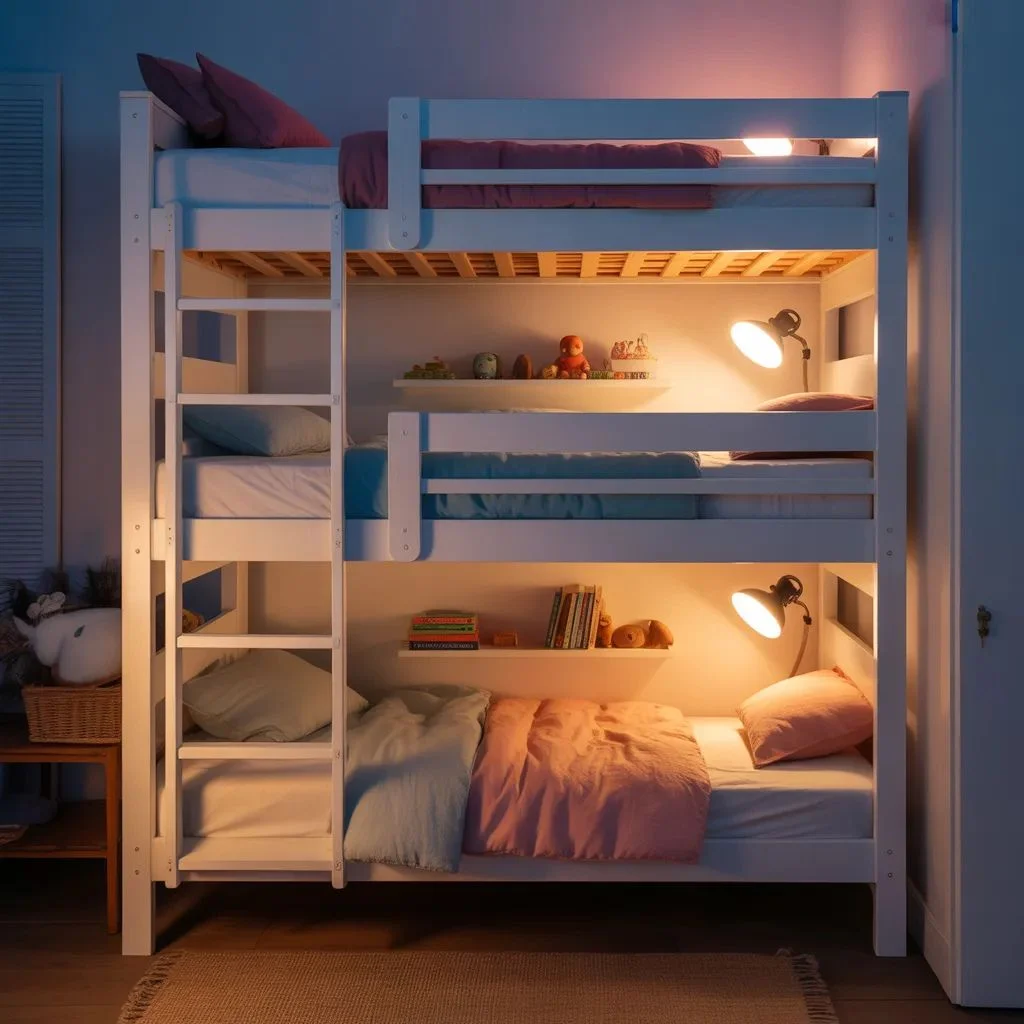
Structural integrity gets the build done. Finishing is what makes it look like it belongs in the room.
Sanding
Sand all surfaces progressively: 80 grit → 120 grit → 220 grit. Pay special attention to ladder rungs and guardrail edges — these are grip points, not decorative surfaces. Any roughness left here will splinter over time.
Paint vs. Stain
Paint (usually white or a bold color) is the most popular finish for kids’ rooms — easy to touch up, hides imperfections in joinery, and photographs well. Stain suits natural or cabin-style builds and shows off the wood grain. Use water-based, low-VOC paint or stain in any room where children sleep.
Styling Each Bunk
Each bunk level is a personal space. Let each kid choose their bedding, add a clip-on reading light, and consider a small shelf or pegboard at eye level when lying down. Curtains or canopies at each level cost almost nothing and transform the bunks from stacked beds into individual rooms.
The Bottom Bunk of It All
A well-built DIY triple bunk bed isn’t just a space-saving hack — it’s a piece of furniture your kids will remember. The L-shaped design that gives each kid their own corner. The stair drawers that finally tamed the bedroom clutter. The curtain nooks that made bedtime something they looked forward to.
The best builds start with safety specs, not aesthetics — get the structure right first and the design follows. Use 4×4 posts, anchor to the wall, keep guardrails on both sides of every upper level, and don’t rush the finishing work. Everything else is just choosing which idea fits your room and your family best.
Pick the design that excites you, grab your lumber list, and build something worth sleeping in.
Read Also About : Modern Abstract Wall Painting Ideas to Refresh Your Living Space in 2026.