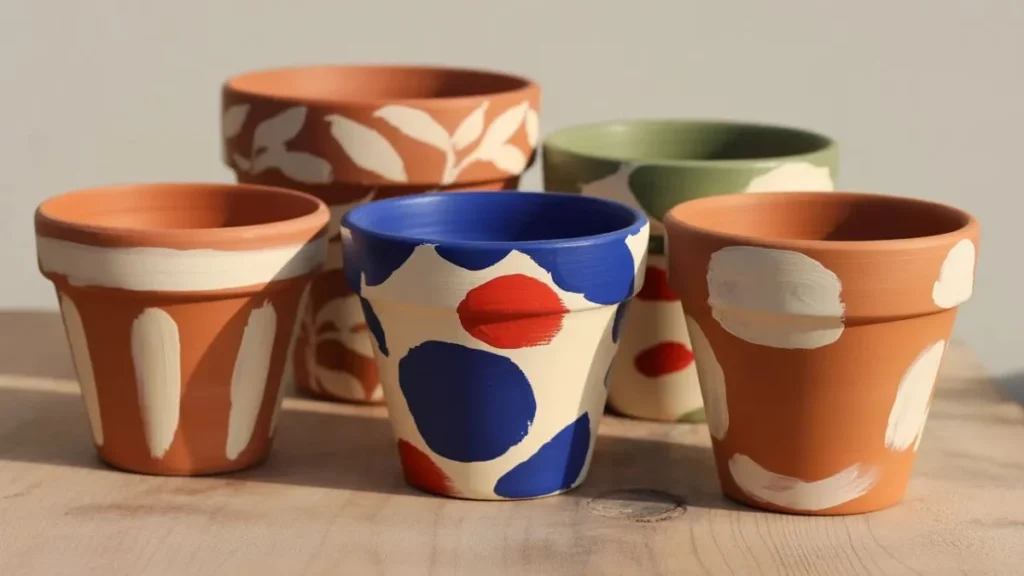
Your plain, dusty terra cotta pots are doing the bare minimum — and they deserve better. A few coats of paint, a steady hand (or a piece of masking tape), and the right idea can turn even a dollar-store pot into something people stop and compliment. Hand-painted terra cotta pot ideas have exploded across home decor feeds because they deliver real visual impact for almost no money — and every single piece ends up one-of-a-kind.
Whether you are outfitting a sun-drenched patio, adding personality to a porch corner, or refreshing a shelf of indoor plants, painted pots fit every space and every skill level. You do not need an art degree. You do not need expensive supplies. You just need the right inspiration — and that is exactly what this guide delivers.
Before You Paint: Prep, Priming, and Choosing the Right Paint
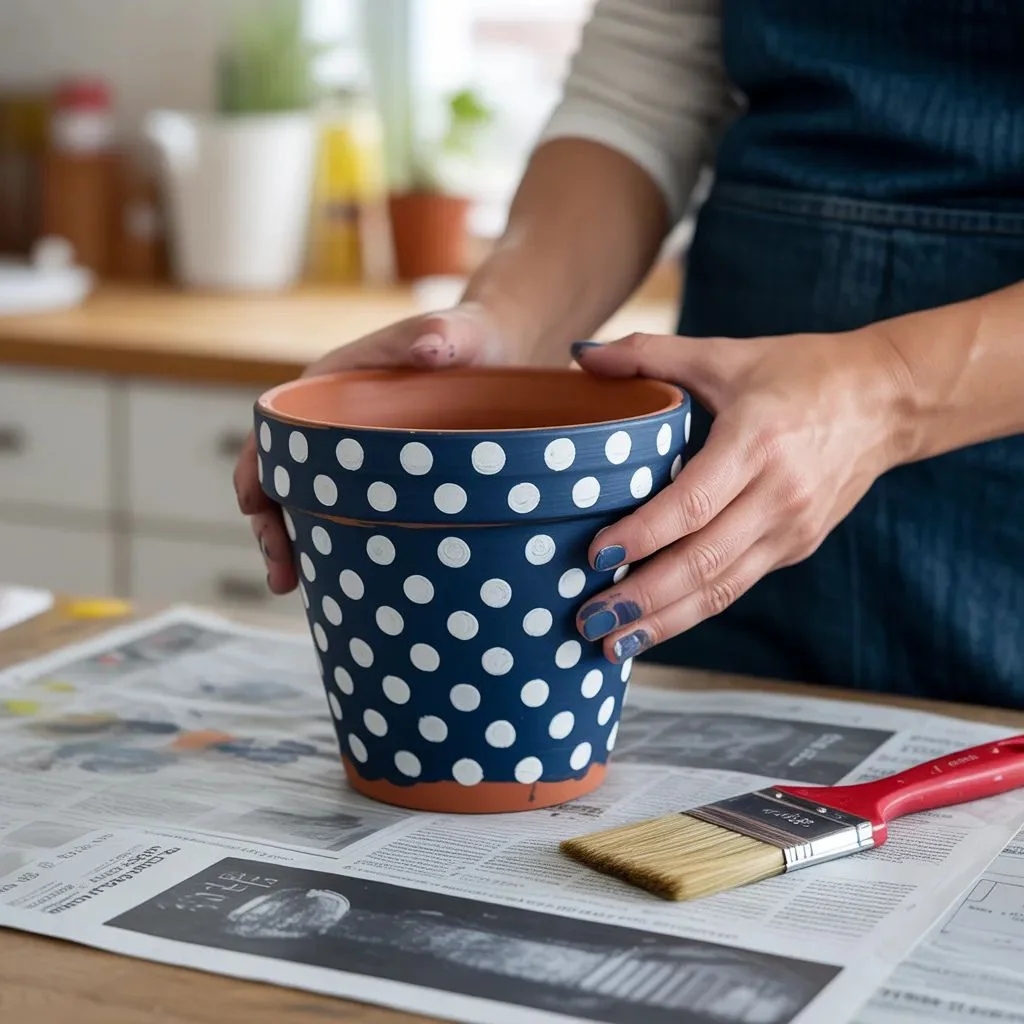
The difference between a pot that looks great for one season and one that still looks good two years later comes down almost entirely to preparation. Terra cotta is naturally porous, which is brilliant for plant health but tricky for paint adhesion. Skip the prep and your paint will peel, blister, or bubble within weeks.
Cleaning New vs. Used Pots
New pots: Rinse off any dust or debris, then let them dry completely — ideally overnight. Even factory-fresh pots can carry surface residue that interferes with paint bonding.
Used or repurposed pots: Wash thoroughly with warm, soapy water and a scrub brush. If there is any white mineral buildup or old soil, soak the pot in a solution of one part bleach to nine parts water for a few hours, then rinse well. Let dry completely before touching a brush to the surface.
Why Priming Matters
Because terra cotta draws moisture right through its walls, an unsealed surface will absorb your base coat unevenly, leaving patchy, dull coverage. Priming seals the surface, gives the paint something to grip, and ensures your colors read as vibrant as they look in the bottle. A coat of spray primer or a brush-on acrylic gesso works well. Let it dry fully before painting.
Best Paints for Terra Cotta Pots
- Acrylic craft paint: The go-to choice for most projects. It comes in hundreds of colors, dries quickly (roughly 20 minutes per coat), and bonds well to primed terra cotta. Any brand works.
- Folk Art Outdoor or Multi-Surface formulas are UV-resistant, weather-tested, and cure to the surface within 48 hours — ideal for pots that will live outside.
- Chalk paint: Great for matte, vintage, and farmhouse looks. Sticks well as a base coat and pairs beautifully with distressing techniques.
- Spray paint: Perfect for fast, even solid-color coverage. Plan on two to three coats for full opacity.
- Avoid: Regular wall paint and permanent markers. Both flake off after a few waterings.
Learn more about paint types and outdoor durability at FolkArt
Classic Hand-Painted Terra Cotta Pot Ideas for Any Skill Level
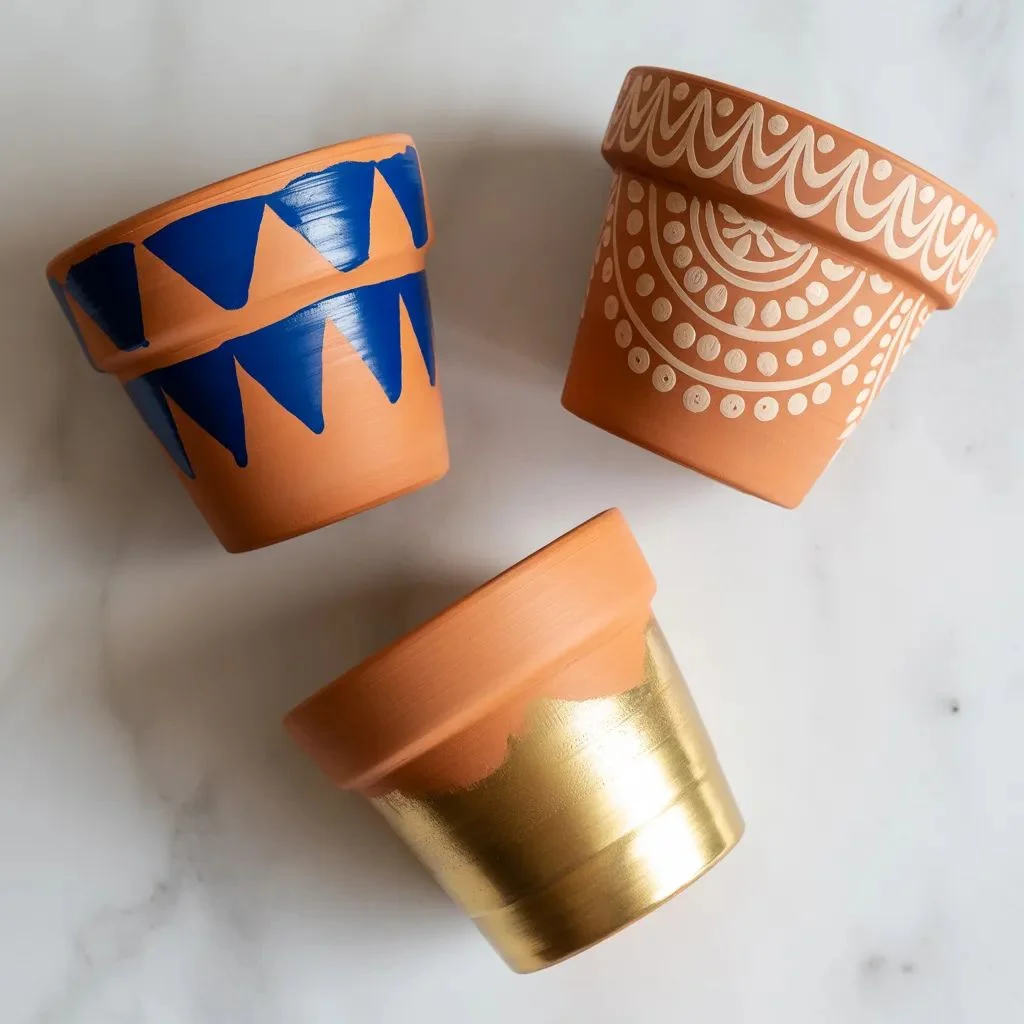
These are the designs you will come back to again and again — proven, versatile, and genuinely hard to mess up. Each one works on pots of any size, from tiny 3-inch succulents to statement-making 12-inch planters.
Solid Colour Blocks
The simplest update and still one of the most effective. Paint the entire pot one strong color — terracotta orange, sage green, slate blue, dusty pink — and let the plant do the decorative work. Use foam brushes for streak-free coverage and apply two to three coats for full opacity. This approach pairs especially well with trailing plants where the pot is partly obscured.
Polka Dots
Polka dots are endlessly satisfying to paint and immediately charming on a shelf or windowsill. Paint your base colour first, let it dry completely, then dip the blunt end of a pencil or a dotting tool into a contrasting shade and press evenly across the surface. Navy dots on white, black on cream, yellow on teal — the colour combinations are where the real personality lives.
Stripes
Painter’s tape is your best friend here. Apply strips of tape in evenly spaced or varied-width rows, press the edges down firmly to prevent bleeding, and paint between them. Peel while the paint is still slightly wet for the cleanest lines. Horizontal stripes make pots look wider; vertical stripes make them read taller.
Gradient and Ombre
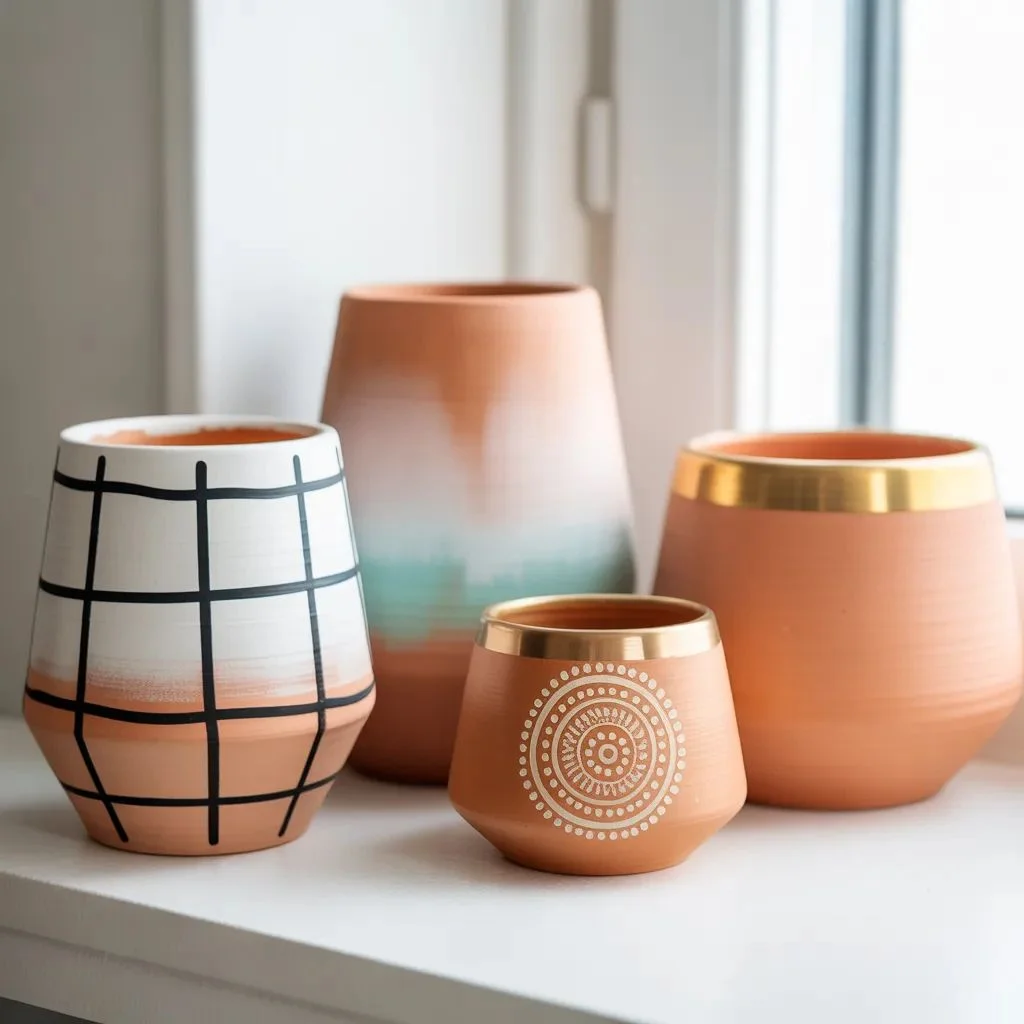
Blend two or more complementary colours from top to bottom while the paint is still wet. Start with the lighter shade near the rim, add your deeper tone toward the base, and use a dry brush or damp sponge to blur the transition in the middle. The natural texture of terra cotta helps here — it catches and blends the colours in a way flat surfaces do not.
Whitewash and Aged Finish
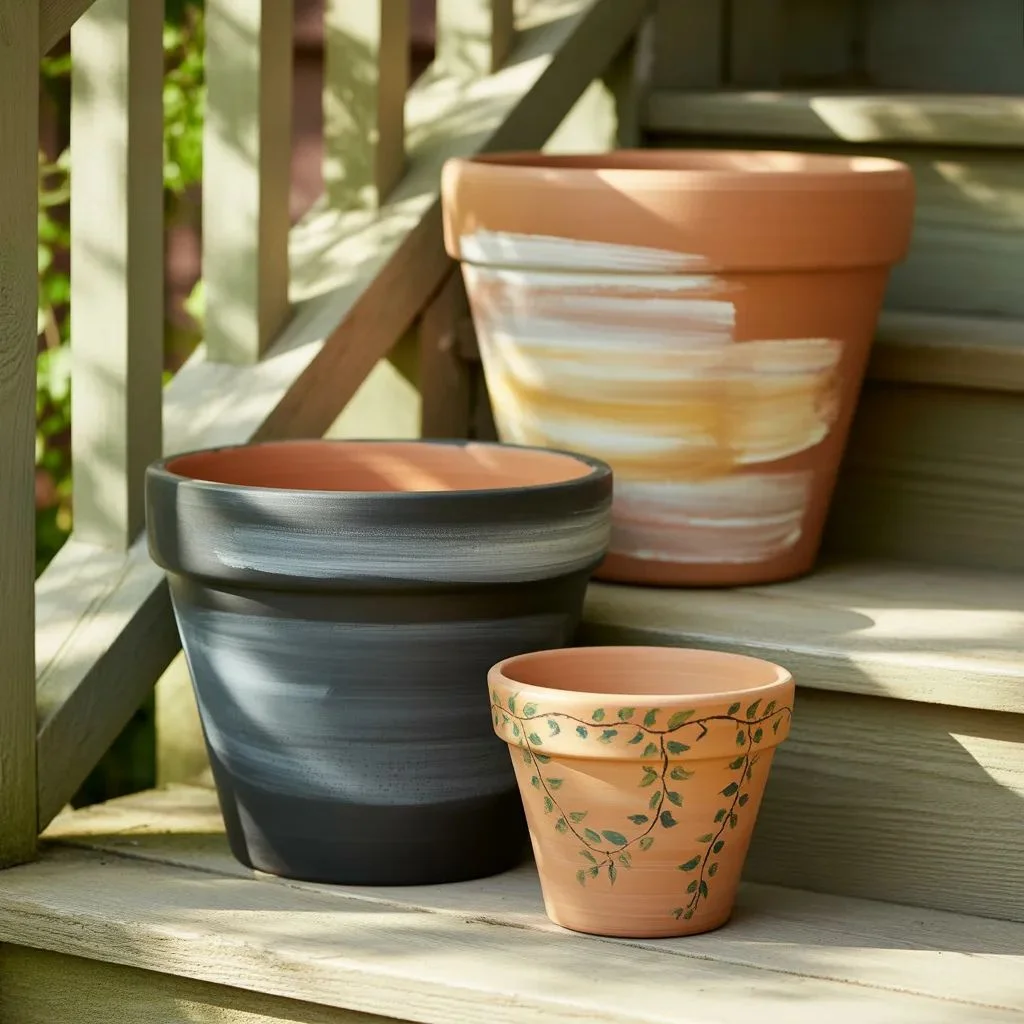
Thin white acrylic paint with water to a milky consistency, brush it across the pot, then wipe back lightly with a cloth before it dries. The result is a soft, weathered look that feels like the pot has been sitting in a garden for decades. This is one of the easiest techniques to execute — imperfections only make it look better.
Bold and Aesthetic Designs Worth Trying Right Now
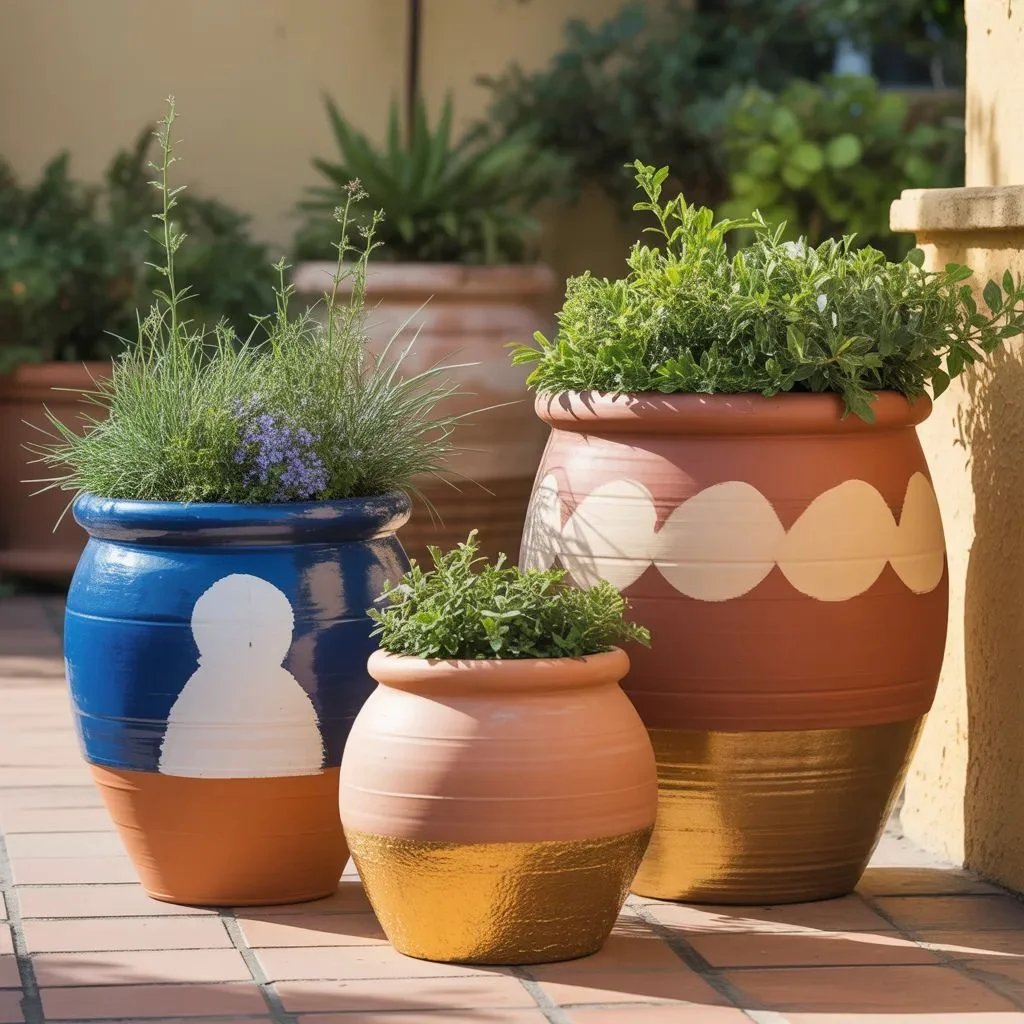
If you want your pots to function as actual decor objects — things people notice before they even notice the plant — these design directions are worth exploring.
Geometric and Colour Blocking
Sharp triangles, chevrons, colour-blocked halves, and diamond grids turn a standard pot into something that looks like it came from a boutique home store. Use painter’s tape to get clean, crisp edges and lean into high-contrast combinations: black and white, terracotta and white, mustard and navy. The dipped pot look — where only the bottom third is painted — is particularly clean and contemporary.
Boho Mandala Patterns
Mandala designs work in concentric rings of dots, lines, and petal shapes radiating outward from a central point. Start with a pencil sketch or light chalk marks to map out the composition before committing with paint. Earthy tones — rust, cream, soft black, ochre — keep things warm. Bright accents like coral or teal give it energy. This is one of the most pinned hand-painted terra cotta pot ideas for good reason.
Floral Illustrations
You do not need to be a botanical illustrator to pull off painted florals. Simple flower shapes — loose petals, dot flowers, trailing vines — look intentional and beautiful when kept consistent in colour and scale. Soft pastels deliver a cottagecore feel; bolder blooms in cobalt and gold read more maximalist. Use a thin liner brush for detail work and a larger flat brush for background petals.
Metallic Accents
Gold, copper, and silver paint immediately elevate the look of any pot. Even a basic solid-color pot becomes something special with a metallic rim, a dipped metallic base, or a few brushed-on strokes of gold leaf. During late afternoon light, metallic pots catch and scatter sunlight in a way that looks genuinely expensive.
Cobalt Blue Mediterranean Style
The pairing of cobalt blue and terracotta clay is one of the most visually striking combinations in home decor. It recalls the sun-bleached villages of coastal Greece and works equally well on a patio, a porch railing, or a kitchen windowsill. Paint the entire pot cobalt blue over a white primer base, then add white geometric or floral details for added dimension.
Cultural Pattern Inspiration
Mexican Talavera-style florals, Indian Madhubani line work, and African tribal geometric patterns all translate beautifully onto terra cotta. These designs are labor-intensive but produce statement pieces that function as art objects. Start with reference images and work section by section rather than trying to plan the whole composition at once.
Patio and Outdoor Pot Ideas That Hold Up in the Elements
Outdoor pots face a different set of challenges than indoor ones: UV exposure, rain, temperature swings, and direct sun all conspire to degrade paint faster than you expect. The designs that look best outside are those built with outdoor-rated materials and properly sealed from the start.
Paint Selection for Outdoor Use
For any pot that will live outside, reach for Folk Art Outdoor or Multi-Surface acrylic formulas. These are UV-tested, weather-resistant, and formulated to cure properly to porous surfaces. In very exposed settings — full sun or frequent rain — add two coats of a waterproof outdoor acrylic sealer over the finished design.
High-Contrast Colores That Read Well Outdoors
Softer pastels can fade quickly in direct sun. Outdoors, colors that hold their saturation best are deep jewel tones and high-contrast combinations: cobalt blue, forest green, burnt orange, deep teal, and chalky white. These read clearly against green foliage and do not look washed out in bright afternoon light.
Glow-in-the-Dark Pots for Evening Patios
Glow-in-the-dark acrylic paint is a surprisingly practical choice for outdoor entertaining spaces. During the day, the pots look like standard painted designs; after dark, they softly illuminate walkways, steps, and seating areas. Apply the glow paint as a top layer over a white base — the brighter the base, the stronger the glow effect.
Seasonal and Rotating Designs
One of the underrated advantages of painted terra cotta is how easy it is to repaint when you want a change. Paint pumpkins and warm autumn leaves for fall, snowflakes and bare branches for winter, cherry blossom sprigs for spring, and bold suns or tropical florals for summer. A collection of seasonally painted pots keeps your patio feeling intentional year-round.
Outdoor-rated acrylic paint options at Plaid Crafts
Porch-Perfect Hand-Painted Terra Cotta Pot Ideas
A porch is a semi-sheltered space that bridges indoors and outdoors — and hand-painted terra cotta pot ideas designed for porch settings can afford to be a little more decorative and detailed than purely outdoor garden pots. Wind and rain still play a role, but direct sun exposure is usually lower, giving paint a longer life.
Chalkboard Paint Pots
Chalkboard paint turns a pot into a living label. Brush on two coats, let cure for 24 hours, then write plant names, watering reminders, or seasonal greetings directly on the surface in chalk. Wipe clean and rewrite anytime you want a change. The matte black finish also looks sharp against terracotta clay and pairs especially well with herbs by the front door.
Personalized and Lettered Pots
Hand-lettering a name, initial, short quote, or plant variety directly onto the pot surface is one of the most requested hand-painted terra cotta pot ideas for gifts and home decor alike. Use a fine-tipped liner brush and practice your text on paper first. For cleaner results, print the text, trace it onto the pot with graphite transfer paper, then paint over the traced lines.
Whimsical and Character Designs
Animal faces, fairy doors, mushroom caps, and fox expressions painted onto the front of a pot add playfulness to a porch arrangement. These work especially well in groupings — a cluster of three pots with different character faces creates an instantly charming tableau. They are also a great family project; children can design and paint their own characters for their own plant.
Cottagecore Floral Vines
Trailing vine patterns — small leaves, loose florals, and curling stems painted in soft greens, pale pinks, and dusty yellows — are quintessentially cottagecore and translate beautifully to porch settings. The asymmetrical, organic quality of vine designs means you cannot really make a mistake. Start at one side of the pot and let the pattern flow naturally around the form.
Indoor Hand-Painted Terra Cotta Pot Ideas for Every Aesthetic
Indoor pots live in more controlled environments — no rain, no UV — so you have more freedom with paint types and finish levels. This is where delicate detail work, pastel palettes, and fine line designs really shine.
Minimalist Monochrome
A single neutral colour — soft white, warm beige, matte black, or cement grey — with no additional decoration is one of the most versatile looks for modern interiors. It lets the plant and the pot’s natural shape do the work. Add a thin contrasting rim in a complementary shade to give it a finished, considered look.
Pastel Ombre for Soft Spaces
Gradient fades in blush, lavender, sage, and powder blue feel right at home in bedrooms, nurseries, and reading corners. Work quickly with a damp sponge to blend the transition zone while the paint is still wet. Two colours per pot is usually enough — more than three can get muddy.
Illustrated Plant Portraits
Painting a miniature version of the plant inside the pot — a tiny monstera leaf, a cactus silhouette, a cluster of succulents — on the outer surface is both clever and charming. This approach works especially well for herb collections where the painted illustration helps identify what is growing inside, functioning as both art and practical label.
Abstract Line Art
Thin black lines on a white or cream base — loops, arcs, loose floral shapes, face profiles — deliver a gallery-quality look that works in contemporary and Scandinavian-inspired spaces. No shading or filling required; the line itself carries the design. Use a fine liner brush or a waterproof marker rated for craft use (not standard markers, which fade and run).
Quote and Typography Pots
A meaningful word or short phrase — “grow”, “bloom where you are planted”, or a plant’s Latin name — painted in clean block letters or flowing script adds personality to a desk, bookshelf, or kitchen counter. These are among the most popular handmade gift ideas for plant lovers.
Sealing Your Pots: Making the Finish Last
Sealing is the step most beginners skip — and it is the reason most painted pots start looking worn within a few months. A good topcoat protects the paint from moisture, UV exposure, everyday handling, and the natural wicking action of the clay.
- Indoor pots: A brush-on or spray matte or satin acrylic sealer is sufficient. Apply two thin coats after the final paint layer is completely dry.
- Outdoor pots: Use a dedicated outdoor waterproof acrylic sealer. Apply two to three coats, letting each dry fully between applications. For pots in direct sun, reapply annually.
- Timing: Let all painted layers cure fully — at least 24 to 48 hours — before sealing. Rushing this step traps moisture under the topcoat and causes bubbling.
- Rim sealing tip: Do not forget the rim and inner lip of the pot. These areas see the most friction from repotting and handling.
- Interior sealing: For pots used with actual plants, some gardeners apply a coat of waterproof sealer or shellac to the interior as well. This slows the clay’s moisture wicking but note it will slightly reduce the pot’s breathability, so monitor soil moisture more carefully.
From Plain Pots to Personal Statements
Plain terra cotta is just a starting point. With a clean surface, the right paint, and any one of these hand-painted terra cotta pot ideas as a guide, you can build a collection of pots that feels intentional and uniquely yours — whether you are refreshing a patio, layering a porch vignette, or curating an indoor plant shelf.
The best part? Every pot you paint gets easier. Your brush control improves, your colour instincts sharpen, and the designs that once felt ambitious start to feel natural. Start with one pot and a technique that excites you. The rest follows.
Highly Recommended: Flower Pot Painting Ideas That Transform Plain Pots Into Garden Art.