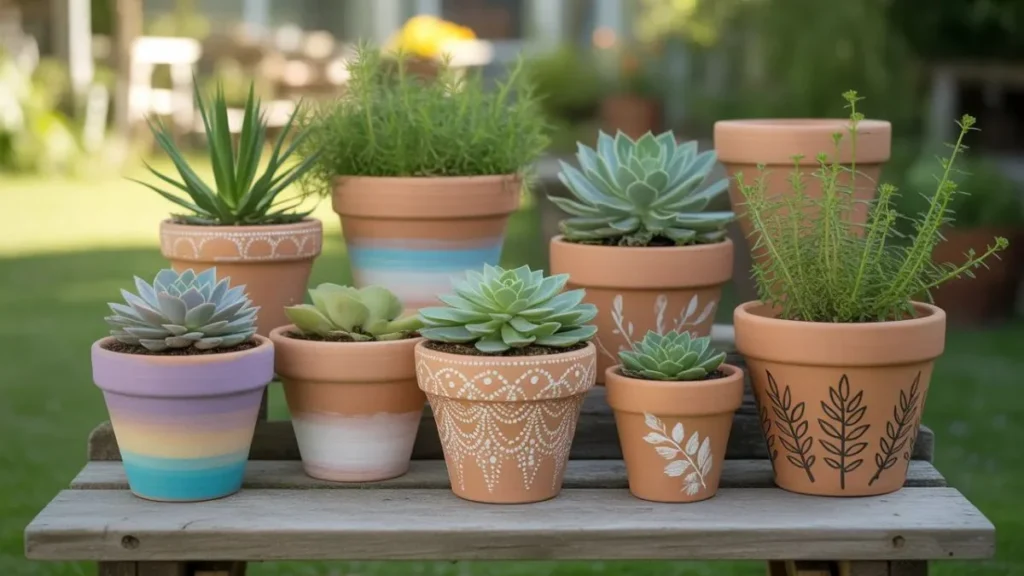
A plain terracotta pot is just a container — until paint touches it. With the right flower pot painting ideas, even the dullest clay pot becomes a statement piece that rivals anything sold at a boutique garden store. Whether you have five minutes or an entire Sunday afternoon, there’s a design here that’ll fit your skill level, your space, and your personal style.
From beginner-friendly ombre washes to boho mandalas and galaxy-themed glazes, this guide walks you through the most creative flower pot painting ideas trending right now — complete with technique tips, paint types, and styling advice so every pot you finish looks intentional and beautiful.
Why Paint Your Flower Pots?
Garden centers are full of identical brown pots, and there’s nothing wrong with them — until you realize what they could be. Painting flower pots is one of the most cost-effective DIY upgrades you can make to a patio, balcony, or indoor shelf. A $2 terracotta pot and a few dollars of acrylic paint can produce something that looks handcrafted and intentional.
Beyond the aesthetic win, painted pots let you match your planters to a room’s colour palette, a seasonal theme, or a garden vibe you’ve been chasing. They also make genuinely meaningful gifts — a hand-painted pot with someone’s favourite plant inside says more than any store-bought item could. Plus, the flower pot painting process itself is meditative, fun with kids, and completely forgiving. You can always repaint.
What Paint Works Best on Flower Pots?
Before you pick up a brush, choosing the right paint matters more than most people expect. The surface, the plant’s needs, and whether the pot lives outdoors all affect which type holds up best.
Acrylic paint is the go-to choice for terracotta, ceramic, and plastic pots. It dries quickly, comes in every colour imaginable, and adheres well with a primer base coat. For indoor pots, a standard craft acrylic works perfectly. For outdoor pots, look for outdoor or multi-surface acrylics formulated to resist UV fading and moisture.
Chalk paint gives pots a matte, vintage finish with almost no prep needed — it sticks to nearly any surface without priming. It’s ideal for a shabby-chic or rustic look but needs a good sealant if the pot will be exposed to rain or watering.
Spray paint covers large areas fast and creates an even base coat. It’s excellent for geometric designs when combined with painter’s tape but use it in a ventilated area and let it cure fully before adding detail work.
For any pot that will be watered regularly, always seal your finished design with a clear waterproof topcoat — either a brush-on Mod Podge outdoor formula or a spray sealant rated for outdoor use. This single step is what separates a painted pot that lasts a season from one that lasts for years.
Beginner Flower Pot Painting Ideas
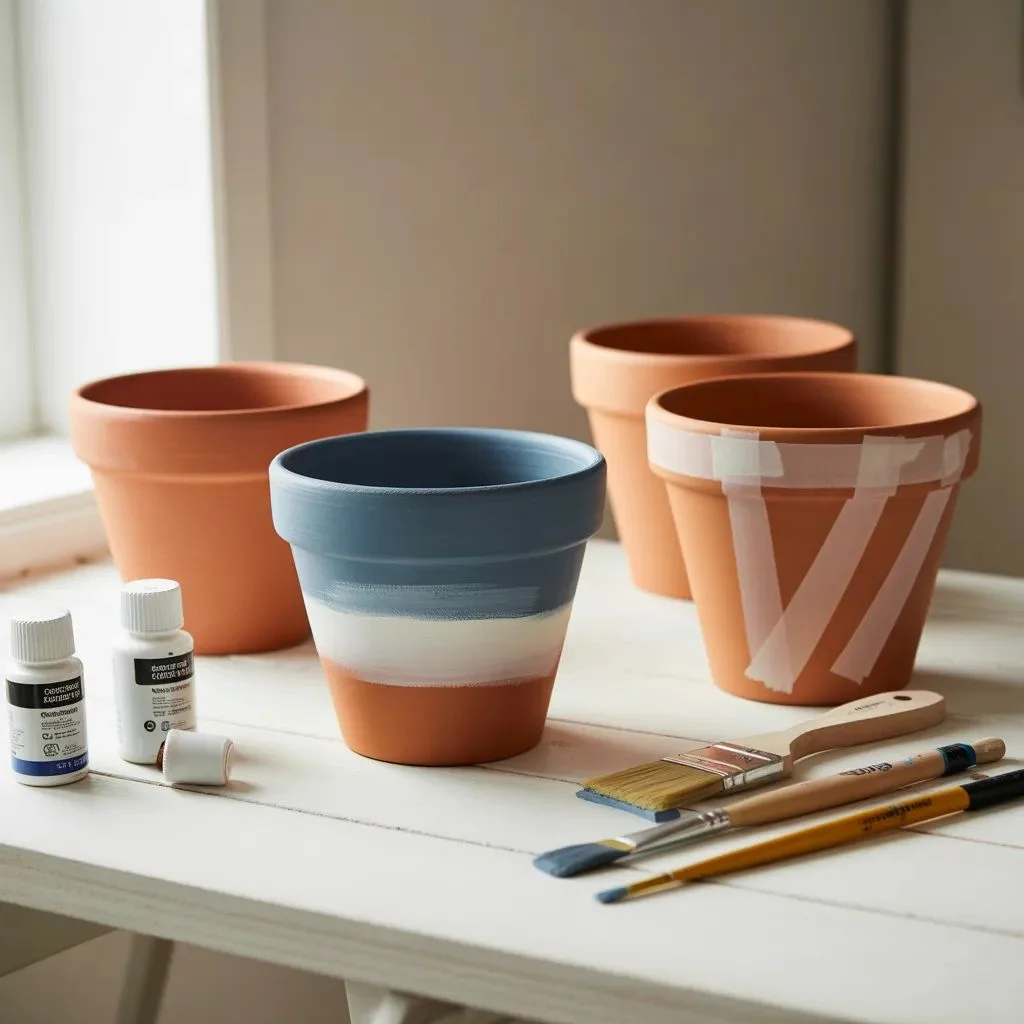
Ombre and gradient pots are the perfect starting point if you’ve never painted a pot before. Pick two complementary colours — sage green and cream, terracotta and blush, navy and sky blue — and blend them from bottom to top while the paint is still wet. A flat brush and a little patience are all you need. The result looks intentional and polished, even when the blending isn’t perfect.
Solid base with a contrasting rim is even simpler. Paint the entire pot one color, let it dry, then use a small brush to paint just the top rim in a contrasting shade. Navy body with a white rim, forest green with a gold rim, or matte black with a terracotta rim — minimal effort, maximum impact.
Paint pour pots skip the brush entirely. Thin your acrylics slightly with water, pour two or three colours over the pot in slow streams, then tilt and rotate until the colors flow together into a swirled, marble-like pattern. No two pots ever look the same, which is half the charm.
Tape-resist geometric designs use painter’s tape to mask off clean-edged shapes before you paint. Diagonal stripes, triangles, or colour-blocked halves all come out sharp when you remove the tape while the top coat is still slightly wet. It’s a cheat code for geometric perfection without any drawing skill required.
Boho and Nature-Inspired Designs
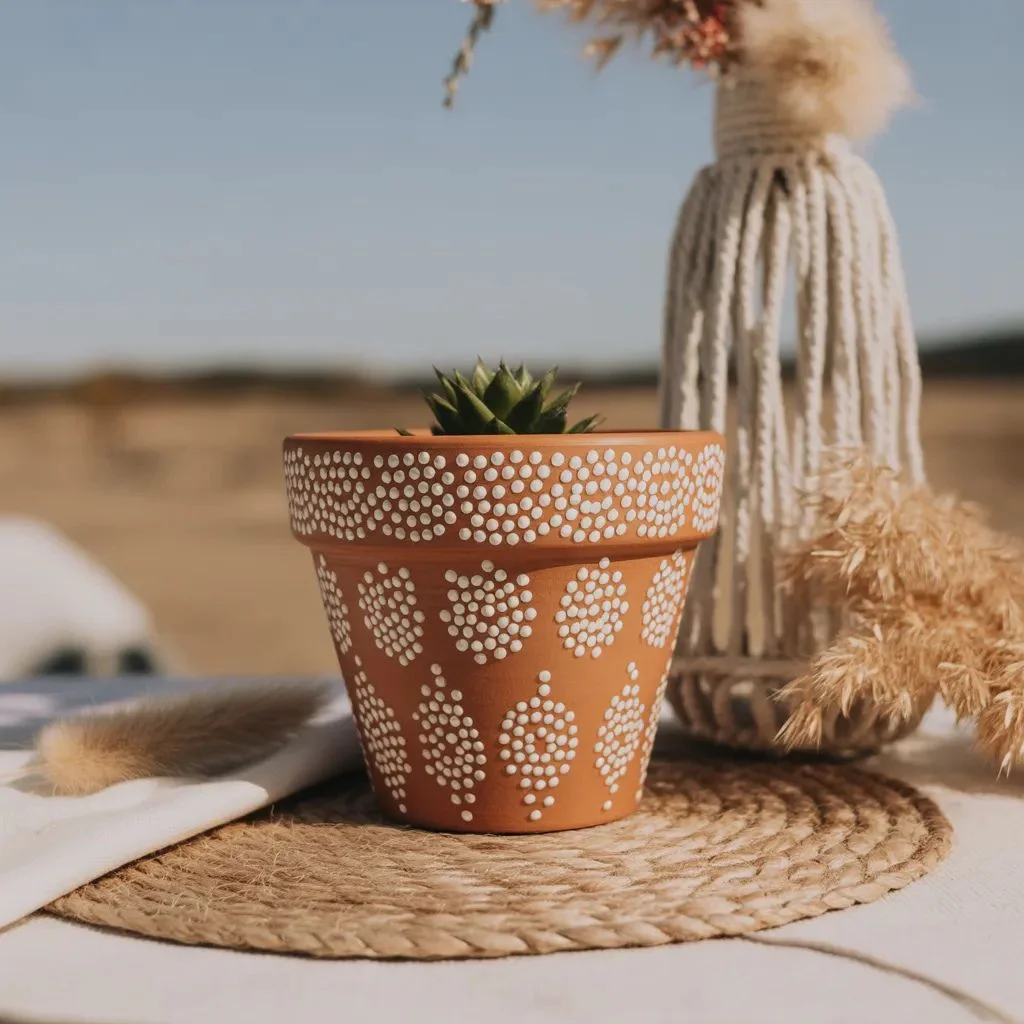
Bohemian flower pot painting ideas are some of the most searched and shared styles online — and for good reason. They blend organic shapes, earthy palettes, and hand-drawn imperfection into something that feels alive.
Mandala pots use a toothpick, the eraser end of a pencil, or a dotting tool to build repeating circular patterns. Start from the center and work outward in rings, alternating dot sizes and colours. White on terracotta, or black on white, creates a striking contrast that works in any setting.
Macramé-inspired line work mimics the knotted cord patterns of boho wall hangings. Use a fine-tip paint marker or a liner brush to draw geometric knot shapes, fringe lines, or diamond lattice patterns around the pot’s midsection. Earthy beige, cream, and warm brown on a natural terracotta base keeps it cohesive.
Pastel floral paintings are ideal for anyone who wants something soft and garden appropriate. Sketch loose, imperfect daisy or tulip shapes in pencil first, then fill them in with pastel pinks, lavenders, and yellows. Leave plenty of the white or cream base showing between flowers — negative space is what makes the design feel fresh rather than crowded.
Leaf and botanical prints work by coating an actual leaf with paint, pressing it onto the pot, then peeling it away to reveal the detailed vein pattern. Layer multiple leaf prints in overlapping angles for a lush, nature-print effect. It’s one of the easiest flower pot painting ideas with the most professional-looking results.
Bold and Graphic Pot Painting Styles
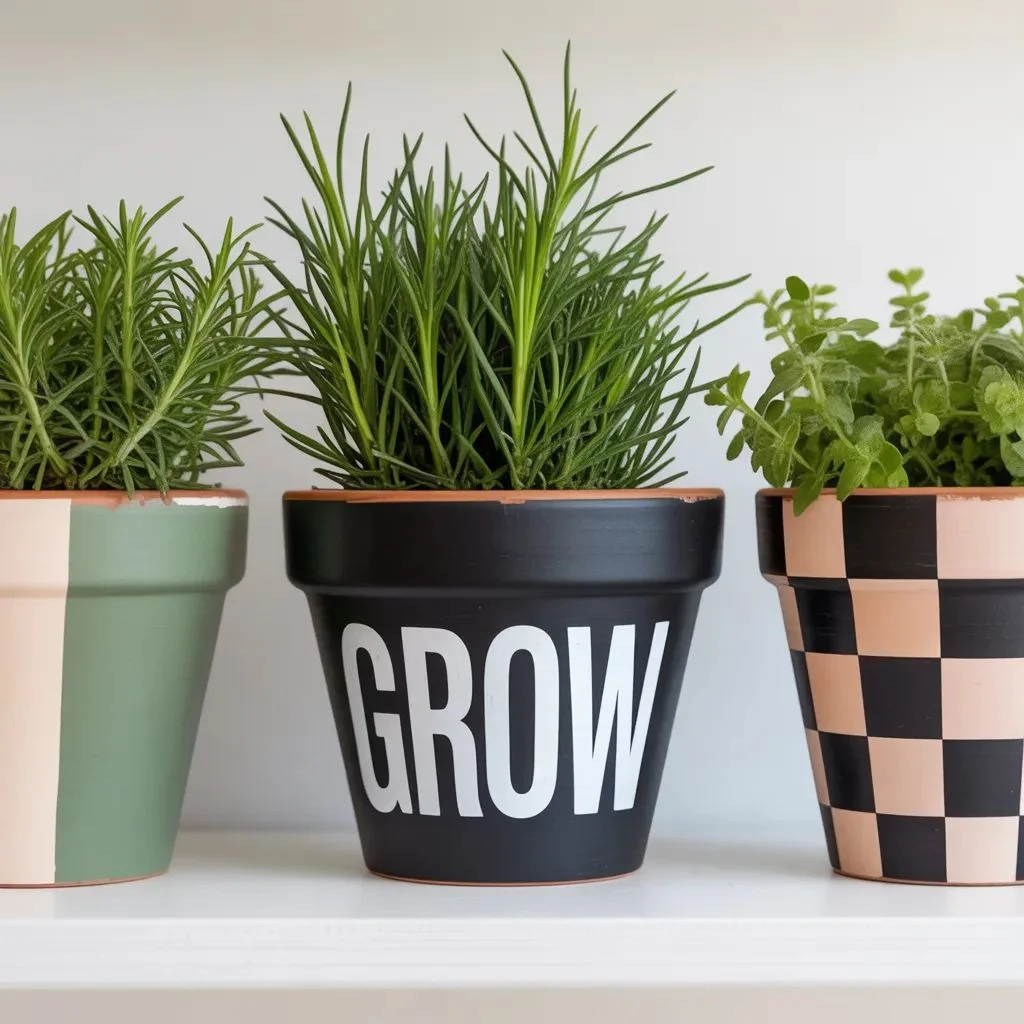
Not every painted pot needs to whisper. Some of the most striking flower pot painting ideas lean into contrast, pattern, and colour confidence.
Black and white graphic pots never go out of style. Use a paint marker to draw bold stripes, polka dots, checkerboard patterns, or simple line art directly onto a white pot. The high contrast reads beautifully against green foliage and photographs well for anyone building a styled shelf or patio corner.
Color-blocked pots divide the pot into two or three distinct colour zones using horizontal or diagonal lines of tape. Deep emerald green on the bottom, cream on top. Burnt orange on one half, matte black on the other. Colour blocking feels current, graphic, and very easy to execute cleanly with tape.
Rae Dunn-inspired word pots paint the pot white or black and write a single word in bold capital letters using the opposite colour — the name of the plant, a word like “grow” or “bloom,” or something personal. These make excellent gifts and look effortlessly editorial grouped together on a windowsill.
Sashiko-pattern pots translate the Japanese embroidery art form into painted geometric stitching patterns — running stitch lines, cross-hatching, and wave motifs in white against deep indigo or navy. The effect looks incredibly intricate but is built from simple straight lines.
Whimsical and Themed Flower Pot Ideas
Themed painted flower pots are where creativity really gets to run — especially for kids’ rooms, gifting, or adding personality to a garden corner.
Face pots turn the plant into hair. Paint a sleeping or smiling face on the front of the pot, and let succulents, aloe, or trailing vines grow out of the top like a wild head of hair. They’re playful enough for a child’s shelf but charming enough for a grown adult’s bathroom.
Fruit-themed pots are incredibly popular right now — avocado pots with a painted pit and green gradient, watermelon pots with a pink base and black seed dots, and strawberry pots with a red body and green rim. Kids love painting these, and they make adorable herb garden containers.
Donut pots use the brown terracotta rim as the “chocolate frosting” of a donut, with the lower body painted in pink and dotted with colourful sprinkle marks made from a cotton swab. Simple, instant, completely charming.
Character and animal pots — painted ladybugs, bees, hedgehogs, or cats — give a pot a complete personality. These work especially well in pairs or small groupings, and they’re some of the most giftable flower pot painting ideas out there.
Celestial and Metallic Finishes
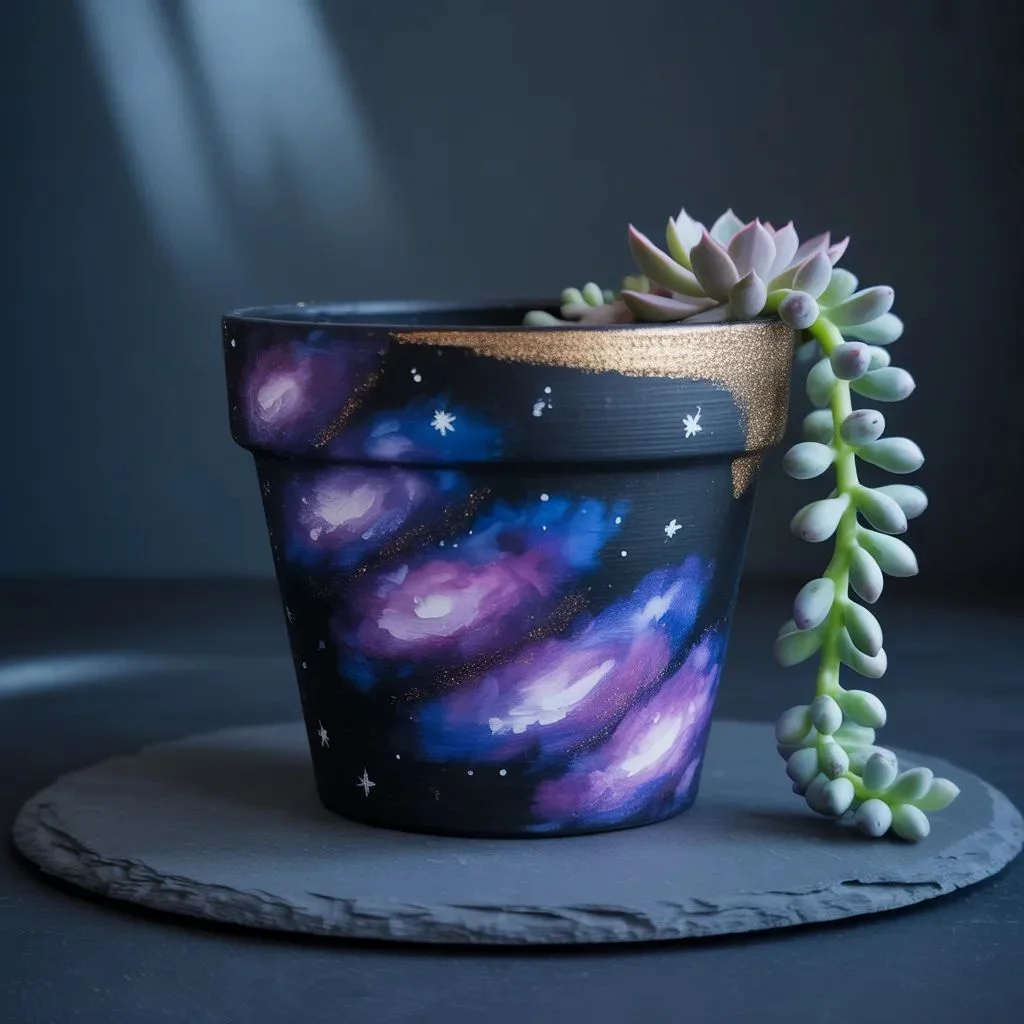
When you want your pots to feel a little otherworldly, celestial themes and metallic techniques deliver drama with relatively simple execution.
Galaxy pots start with a black base coat. Dip a makeup sponge into deep blue, purple, and violet paint and dab it on in cloudy, uneven patches to create the look of nebulas. Once dry, flick glittery white or silver paint from a stiff brush across the surface to suggest stars. The result is moody, dimensional, and genuinely striking.
Metallic painted pots use gold, silver, copper, or bronze craft paint applied over a neutral base. A single coat of metallic on just the rim, the lower third, or in a brushed-on abstract stroke can transform a plain pot into something that looks intentionally curated. Gold paint on a deep green pot is a particularly elegant combination.
Celestial symbol pots use paint markers or a fine brush to draw moons, stars, sun faces, and constellation maps on dark backgrounds. White or gold on black is classic. These resonate with anyone drawn to astrology or mystical home decor themes, and they photograph beautifully.
For inspiration on metallic and specialty paints that hold up on terracotta and ceramic, FolkArt’s outdoor paint line is a well-reviewed option available at most craft stores.
Seasonal and Holiday Pot Painting Ideas
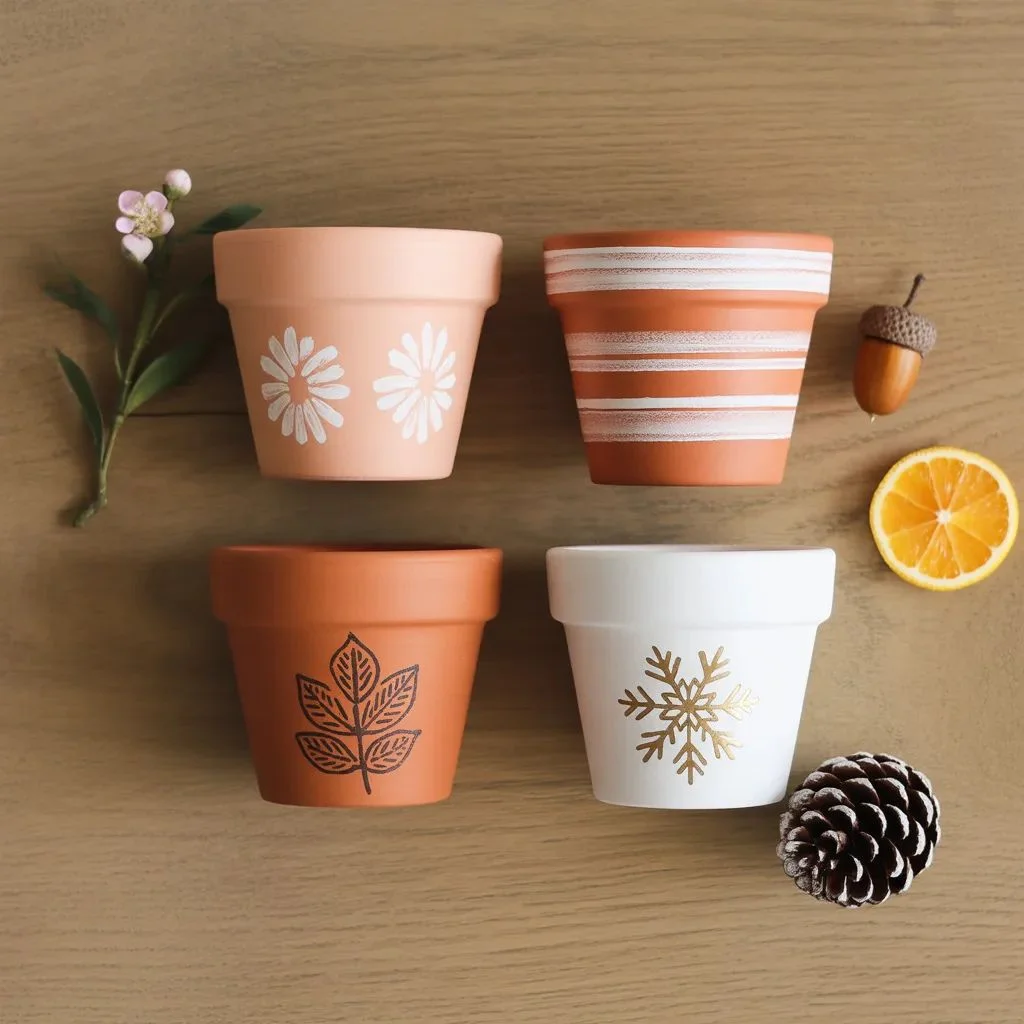
One of the underrated advantages of painted pots is how easily you can rotate them with the seasons. Keep a small collection and redecorate as the year moves.
Spring pots lean into pastels, butterflies, and floral motifs. Sponge-blended pastel colours in soft pinks, lavenders, and yellows on a white base create an Easter-ready planter in under an hour.
Summer pots can handle bright colour: neon paint pour designs, tropical leaf prints, or bold stripe combinations in turquoise and coral. These work especially well outdoors where they compete with full garden colour.
Autumn pots look stunning in burnt oranges, deep reds, and warm golds. Leaf-stamp techniques using fall foliage, or hand-painted pumpkin faces on terracotta for Halloween, make the transition between seasons festive without being over the top.
Winter and holiday pots in white, silver, and gold feel elegant. Try snowflake stenciling, a plaid pattern in red and black, or a simple evergreen branch motif in dark green with tiny red berry dots. Poinsettias in hand-painted pots make gorgeous hostess gifts.
For more creative seasonal craft ideas and technique guides, The Spruce Crafts has an extensive library of pot-painting tutorials by skill level.
How to Seal and Protect Your Painted Pots
Painting the pot is only half the job. Sealing it properly is what keeps your work looking fresh through watering, rain, and sunlight. Skipping this step is the most common reason painted pots chip, peel, or fade within a season.
For indoor pots, a brush-on clear acrylic varnish or Mod Podge Hard Coat works well. Apply two coats, letting each dry fully before the next. It protects against moisture from watering without adding a plastic sheen.
For outdoor pots, use a spray-on clear coat rated for outdoor use — look for UV protection on the label. Krylon or Rust-Oleum both make clear sealants that bond well with acrylic paint on terracotta and ceramic. Apply in thin, even coats from about 12 inches away.
Seal the inside too. If you’re planting directly in a terracotta pot, the moisture from soil will eventually push through and loosen paint from the outside. Apply two to three coats of water-based sealant to the interior before filling with soil, and the exterior paint will last significantly longer.
From Drab to Display-Worthy
The best part of these flower pot painting ideas is that they scale to any skill level, any budget, and any aesthetic. You don’t need art school training or a studio full of supplies. A few pots, a handful of acrylic colours, a brush, and a sealant are genuinely all it takes to turn a corner of your garden — or your windowsill — into something worth photographing.
Start with one technique that feels manageable. Once you’ve finished that first pot, you’ll understand why painted planters are so addictive. Every plain pot in your garden is going to start looking like an opportunity.
Editor Choice: Concrete Walkway Painting Ideas: From Simple Solid Colours to Faux Stone Finishes.
Questions People Usually Ask
What kind of paint do you use on flower pots?
Acrylic paint is the most versatile and widely used option for terracotta, ceramic, and plastic pots. For outdoor pots, choose an acrylic labelled for outdoor or multi-surface use. Always seal the finished design with a clear waterproof topcoat.
Do I need to prime a pot before painting it?
For terracotta, a light coat of white acrylic or a brush-on gesso primer helps your colors look brighter and adhere more evenly. For ceramic or glazed pots, lightly sand the surface and apply a primer designed for slick surfaces before painting.
How do I make painted flower pots last longer?
Seal with a waterproof clear coat, seal the interior before planting, and avoid leaving pots in standing water. Outdoor pots should be brought inside during extreme weather if possible, especially if they’re painted with standard chalk paint rather than outdoor-rated acrylics.
Can kids do flower pot painting?
Absolutely — it’s one of the best kids’ craft projects because there’s no wrong result. Ombre, sponge painting, fruit themes, and rainbow pour designs all work beautifully with minimal skill required. Use non-toxic acrylic paint and set up outside for easy cleanup.
What’s the easiest flower pot painting idea for beginners?
A solid base colour with a contrasting rim requires no drawing ability and looks intentionally designed. Ombre gradients and tape-resist geometric stripes are close seconds — both are forgiving, fast, and produce results that look far more advanced than the technique requires.