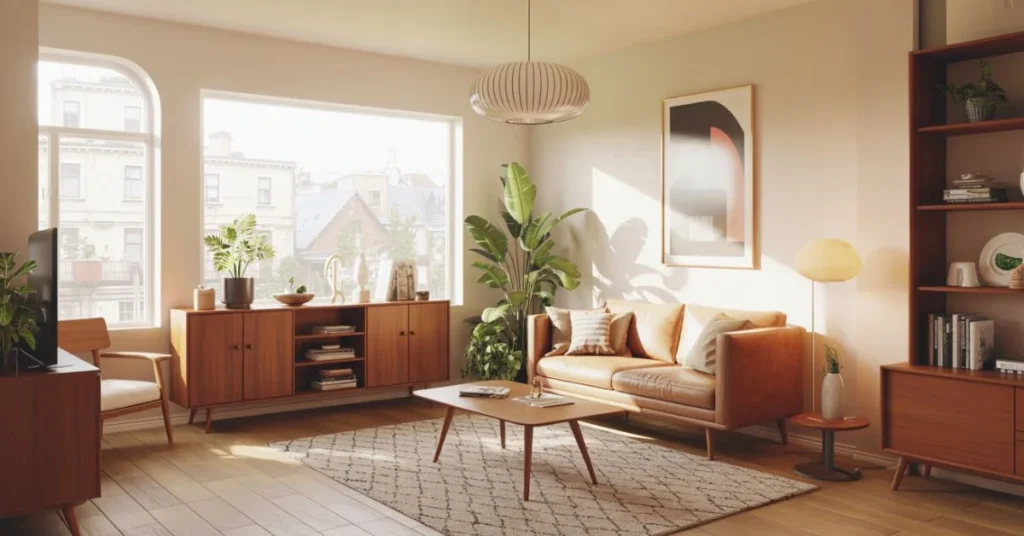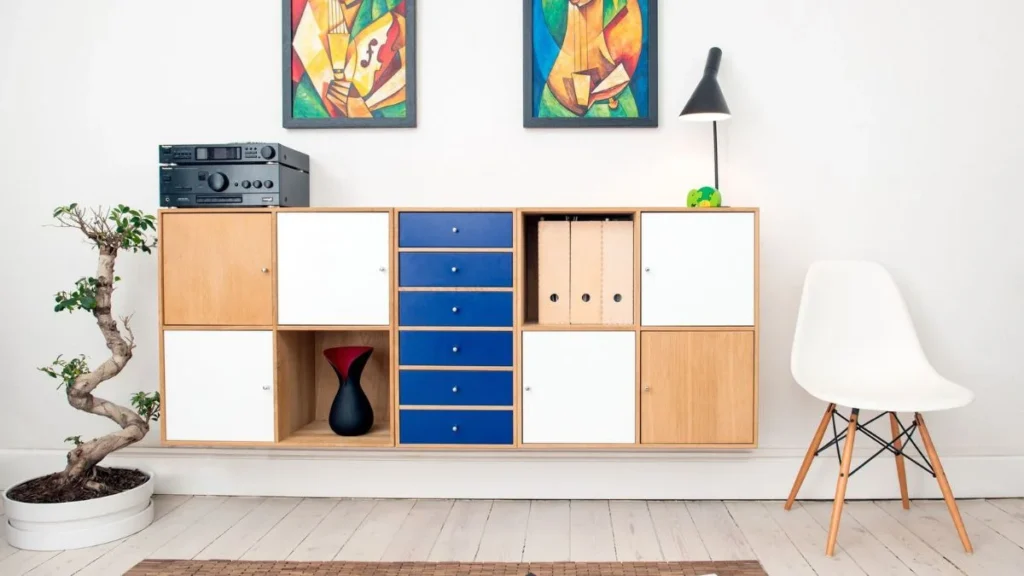
The Ikea Ivar cabinet is one of the most underestimated pieces of furniture in any home — solid pine, simple lines, and a price tag that leaves plenty of budget for making it brilliant. With the right Ikea Ivar cabinet hacks, this humble box of untreated wood becomes a sideboard, a media unit, a bar cabinet, or a bespoke-looking bedroom statement that nobody would ever peg as flat-pack.
Whether you want a full-colour makeover, a texture-forward update, or something as quick as swapping the hardware, the Ivar is endlessly forgiving. It accepts paint, stain, wallpaper, and legs with equal willingness. This guide covers the most creative Ivar cabinet hacks trending right now — from subtle one-afternoon projects to transformations that genuinely rival expensive custom furniture.
Why the Ikea Ivar Cabinet Is the Ultimate Hack Candidate
Most furniture arrives finished and fixed — what you buy is what you get. The Ivar is the opposite. Untreated solid pine means it takes stain, paint, and sealant straight away with minimal prep. Its modular design allows multiple units to be connected, stacked, or wall mounted. And its low price makes experimentation feel low stakes.
The Ivar range also comes in two depths — 30 cm and 50 cm — which makes it versatile for everything from shallow hallway storage to deeper kitchen-adjacent units. The design has remained largely unchanged since its introduction in 1967 (originally sold as the BOSSE system), which means older and newer units can be mixed without visible mismatch.
What makes Ivar so hackable:
- Solid, untreated pine — takes any finish without sanding down existing lacquer
- No pre-drilled leg holes — full freedom to choose leg style, height, and placement
- Flat, plain doors — a blank canvas for paint, wallpaper, cane, fluting, or decals
- Wall-mountable — can float as a credenza or hang as upper storage
- Modular — units connect side by side or stack vertically
Paint It Bold: Colour Transformations That Stop the Scroll
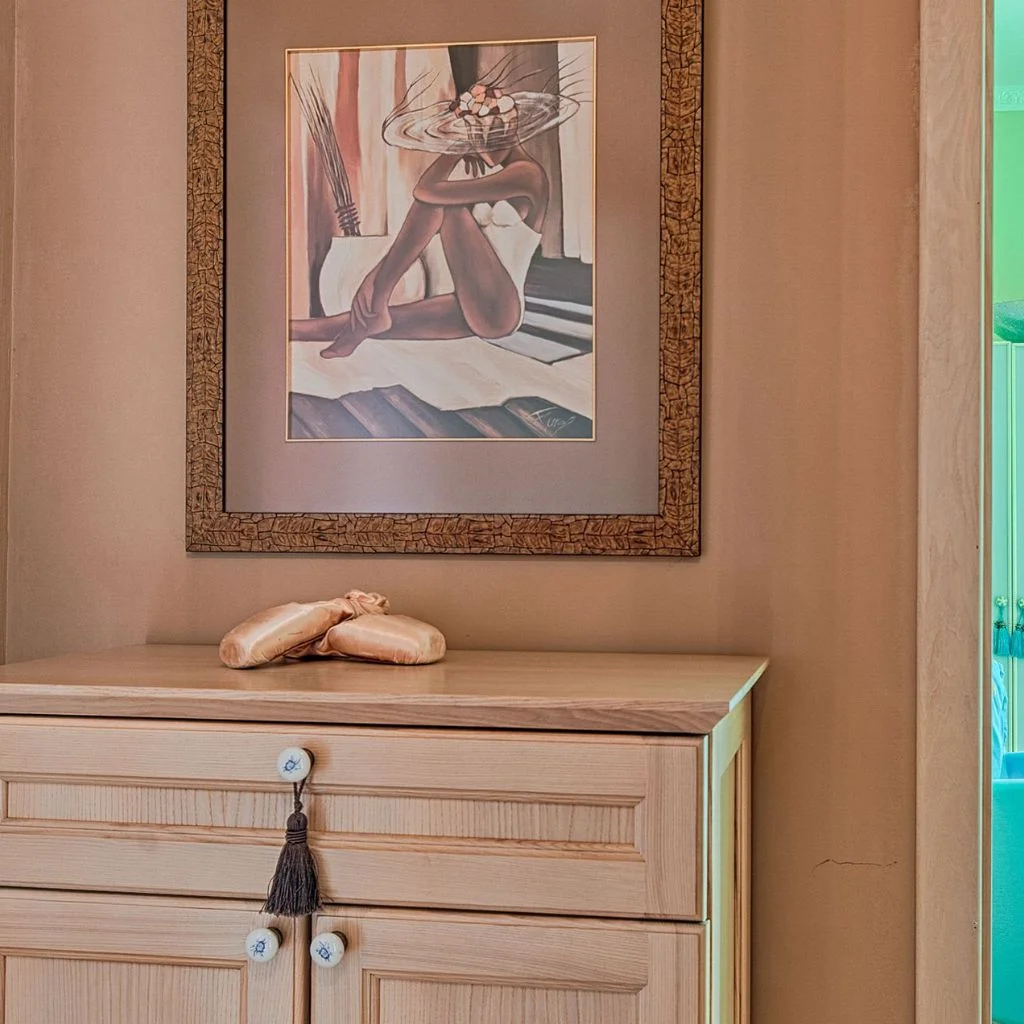
Of all the Ikea Ivar cabinet hacks, painting remains the most dramatic single-step transformation. Deep forest greens, warm terracotta’s, moody navy blues, and even chalky off-whites all read as intentional and expensive against the Ivar’s clean lines.
Because the pine is untreated, chalk paint and furniture paint both bonds well with minimal prep. A light sanding with 120-grit paper, a wipe-down, and two coats of your chosen colour is usually all it takes. Seal with a wax or water-based topcoat for durability, especially on pieces in high-traffic areas.
Quick Paint Hack Tips
- Use chalk paint for a matte, velvety finish — no primer required on raw pine
- For a two-tone effect, paint the cabinet body one shade and the door panels a complementary or contrasting colour
- Paint the interior a different colour — even visible only when the door is open, it adds a layer of personalisation
- Bold colours like burnt orange, cobalt, or deep burgundy turn a single cabinet into a room’s focal point
Add Legs: The Fastest Way to Make Ivar Look Custom
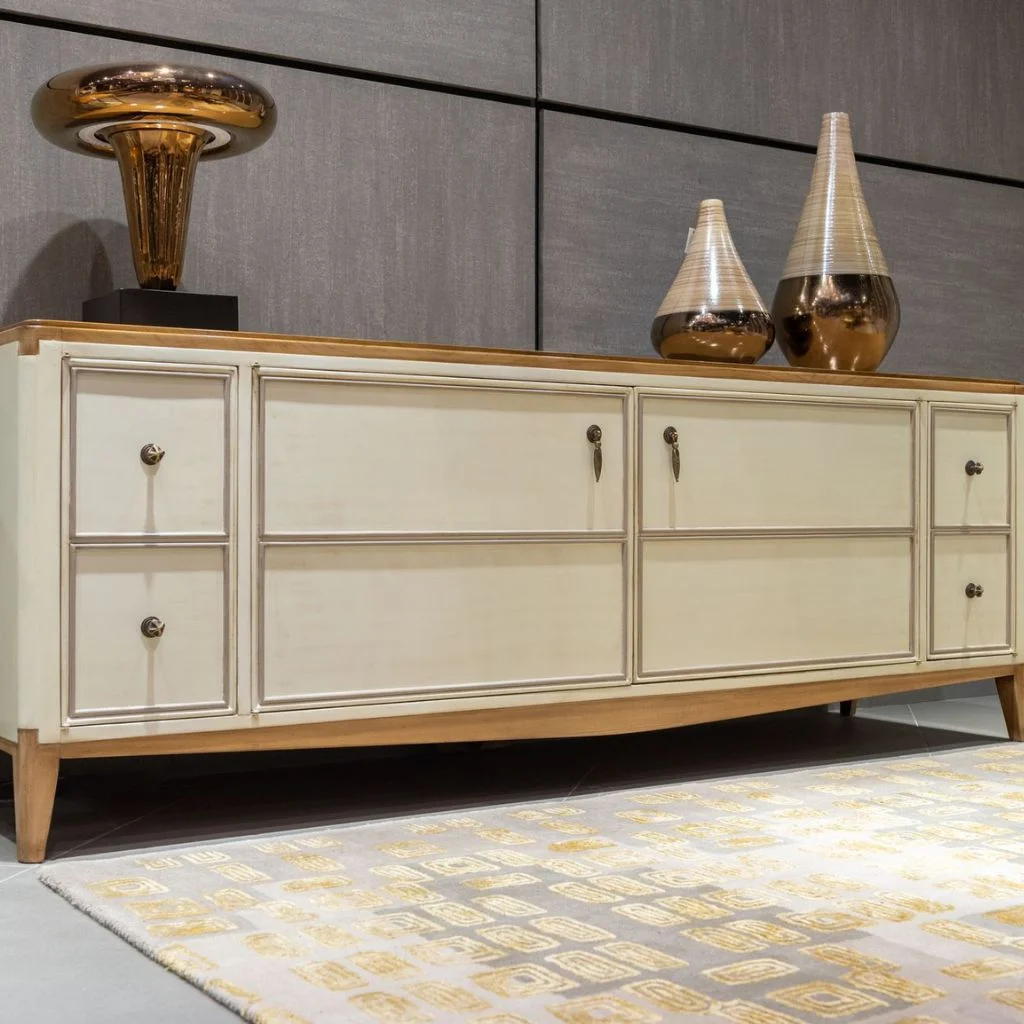
The Ivar ships without legs — it sits flat on the floor or mounts to the wall. Adding legs is one of the most popular Ikea Ivar hacks because it instantly changes the piece’s proportions and elevates it from “storage box” to “actual furniture”.
Shorter legs (around 10 cm) create a low sideboard profile that suits living rooms and bedrooms. Taller legs (15–20 cm) lift the piece to console height and improve floor-cleaning access beneath it. Specialist retailers such as Prettypegs design legs specifically for Ivar proportions, though standard furniture legs with the right thread fitting work equally well.
Leg Styles Worth Trying
- Tapered wooden legs — mid-century look, works with any paint colour
- Black metal hairpin legs — industrial-modern edge, best with dark or neutral cabinet colours
- Coloured ball feet — playful and retro, great contrast against soft pastel cabinets
- Caster wheels — adds mobility; works brilliantly for a rolling bar cabinet or studio storage
Fluted & Reeded Panels: The 2026 Texture Trend for Ivar Doors
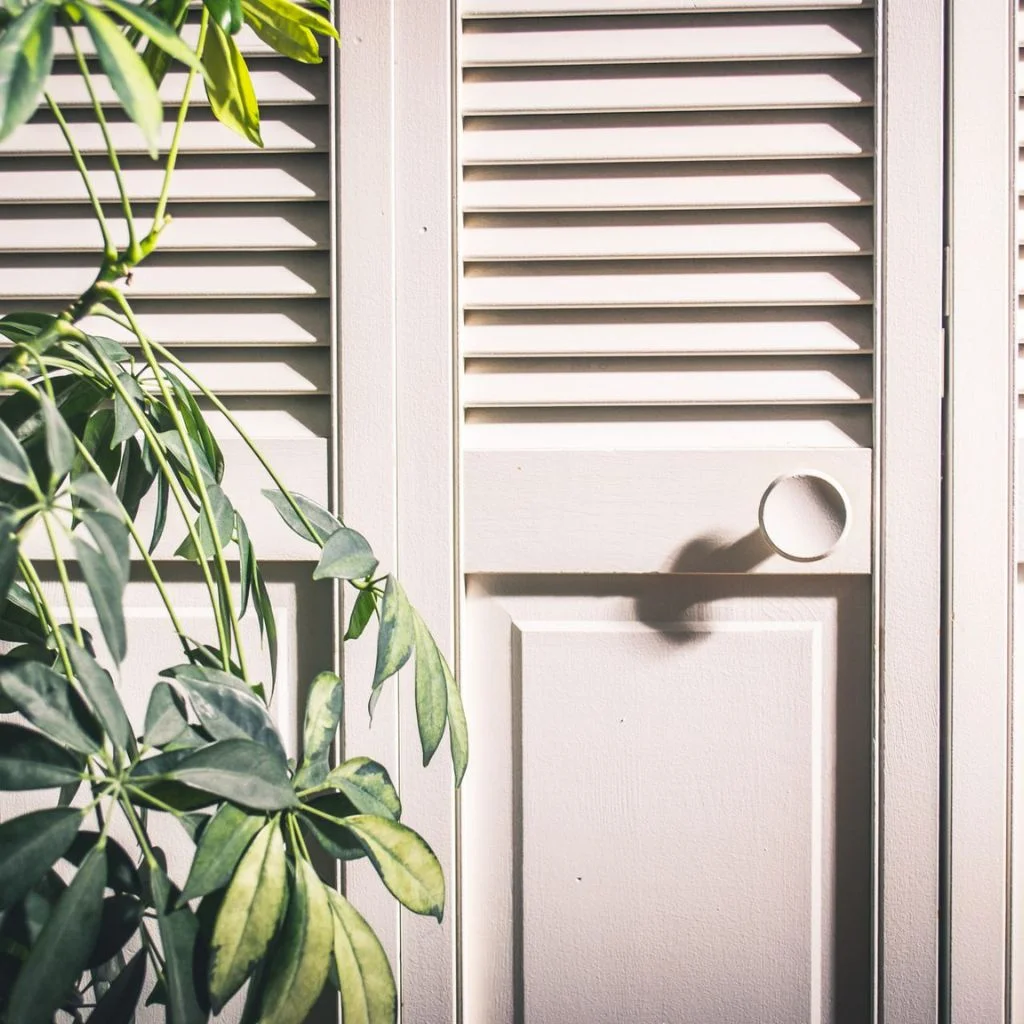
Fluted and reeded surfaces are among the biggest interior trends of 2026, appearing on everything from wall panelling to kitchen cabinet fronts. Applying this treatment to Ikea Ivar cabinet doors adds serious visual depth and transforms the piece into something that looks far more expensive than it is.
The technique involves fixing thin wooden slats or a pre-made reeded panel to the flat cabinet doors before painting. Some retailers now offer fluted panel kits specifically sized for Ivar doors, which simplifies the process considerably. Once painted in a solid colour, the ridged texture catches light differently throughout the day — an effect you simply cannot get with a standard flat door.
How to Achieve the Fluted Look
- Purchase wooden dowel rods or tongue-and-groove slats from any hardware shop
- Cut to door height and attach vertically using strong wood adhesive
- Allow to cure fully, then paint in one cohesive colour — the ridges do all the visual work
- For a quicker route, buy pre-made reeded panel sheets and trim to size
Peel-and-Stick Wallpaper: No-Drill, No-Mess, All Impact
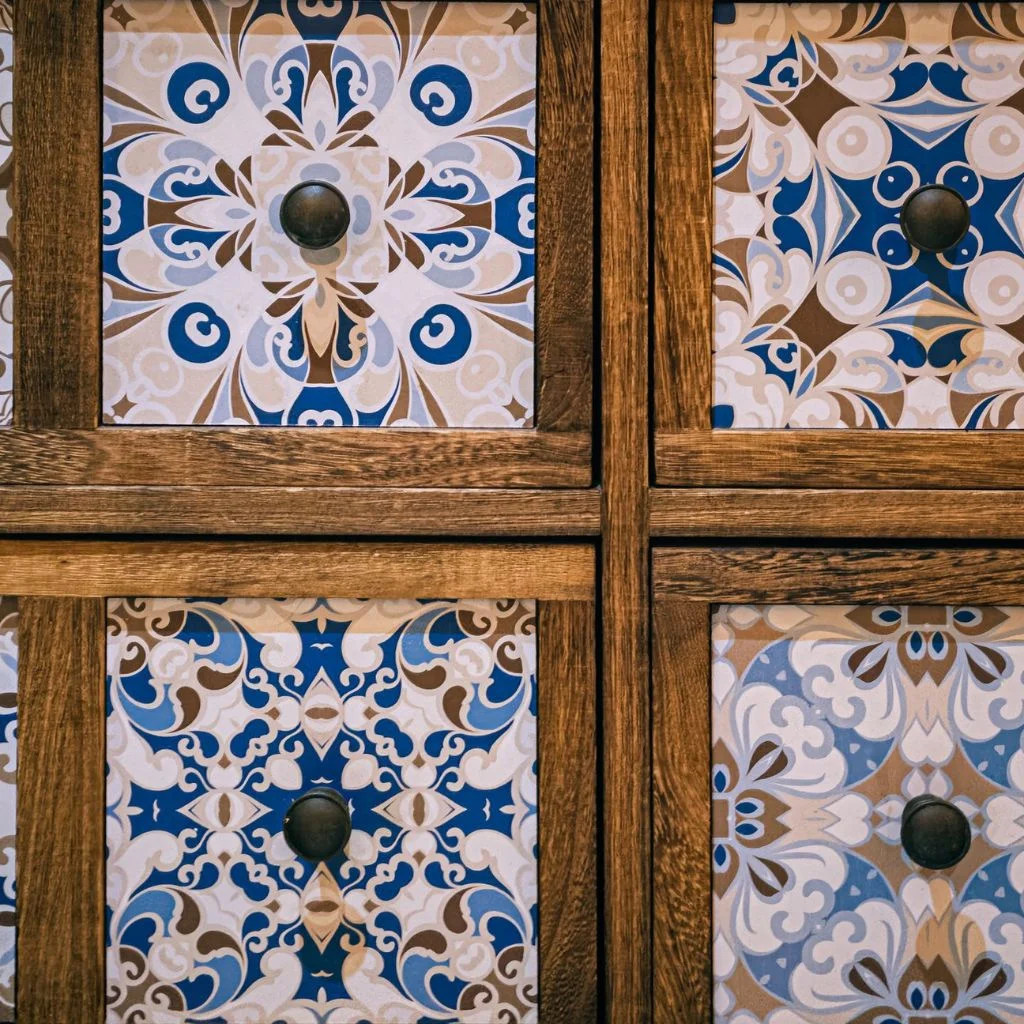
Not every Ivar cabinet hack needs a paintbrush. Peel-and-stick wallpaper applied to the cabinet doors is one of the most reversible and renter-friendly options available — and the results can be genuinely striking.
Graphic patterns — wide stripes, bold botanicals, geometric tiles, or even a subtle textured linen — completely change how the cabinet reads in a room. Because the paper is removable, you can update the look seasonally or whenever the mood shifts, making it ideal for anyone who likes to refresh their interiors without committing to permanent changes.
Peel-and-Stick Styling Tips
- Clean the cabinet doors thoroughly before applying — any dust or grease reduces adhesion
- Use wide horizontal or vertical stripe patterns for a maximalist graphic look
- Pair bold patterned doors with neutral leg colours to balance the design
- For a cohesive finish, wrap the paper slightly around the door edges
Swap the Hardware: Knobs and Pulls That Change Everything
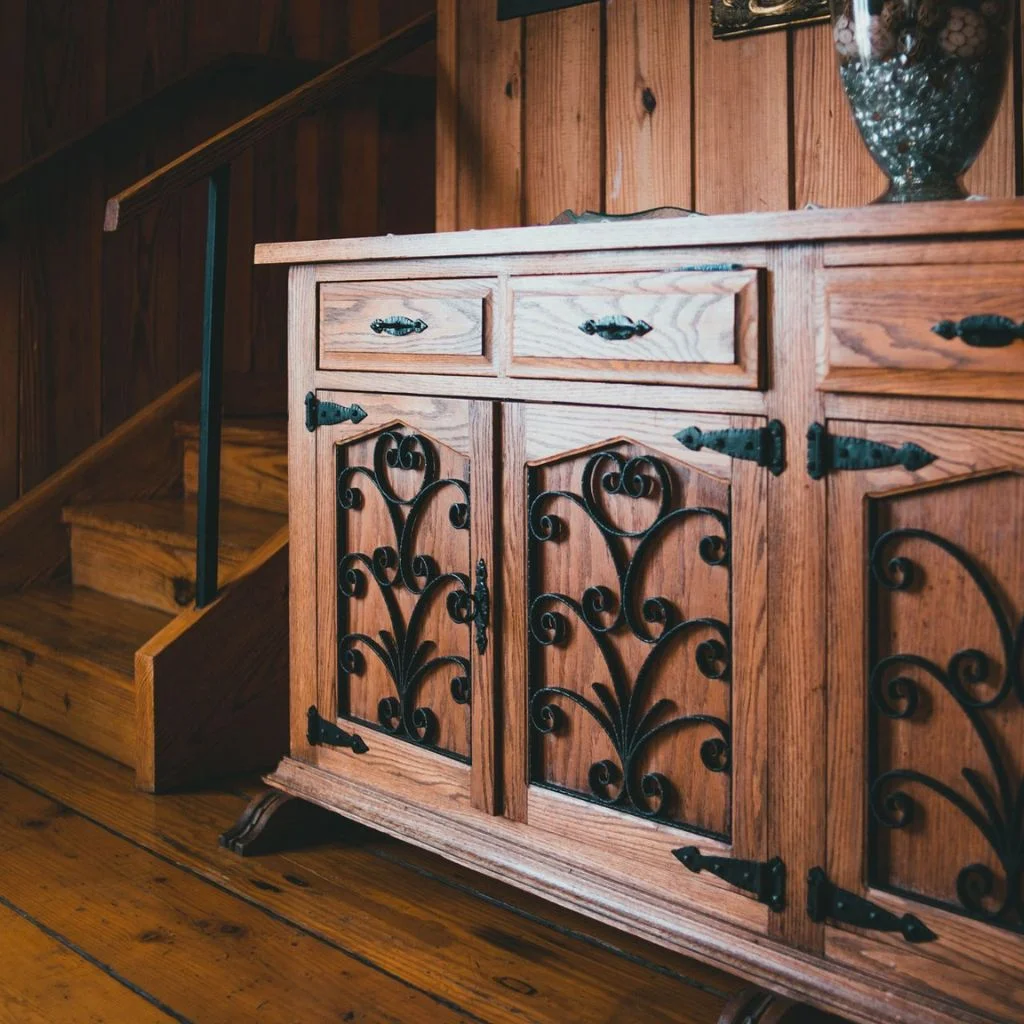
The original Ivar doors have no handles — which is both its limitation and its greatest opportunity. Choosing hardware is one of the simplest Ikea Ivar cabinet hacks, yet the impact on the finished piece is disproportionately large.
Brass, brushed nickel, matte black, and ceramic knobs each signal a different aesthetic. Leather pulls — whether bought or DIY’s from a cut strip of leather folded and drilled into the door — add a natural, artisan quality that pairs beautifully with stained or painted pine.
Hardware Pairings by Style
- Brass cup pulls + deep green paint = classic English country
- Matte black T-bar pulls + white or greige cabinet = clean contemporary
- Ceramic floral knobs + sage green or cream = cottage or maximalist
- Leather tab pulls + raw or stained pine = organic modern or wabi-sabi
- Coloured resin knobs + bold cabinet colour = playful eclectic
Float It on the Wall: The Sideboard Hack You Didn’t Know You Needed
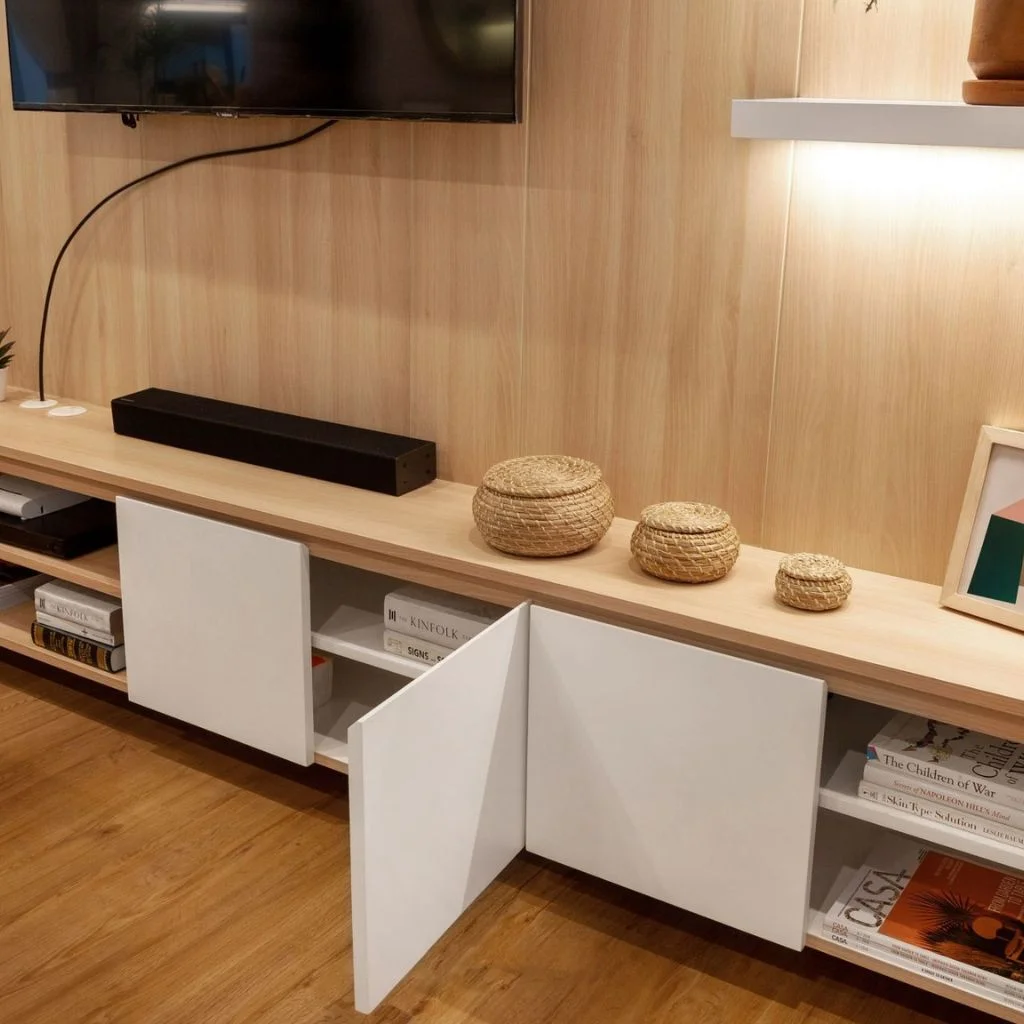
Wall-mounting one or two Ivar cabinets side by side creates a floating sideboard effect that adds serious design credibility to any living room, bedroom, or hallway. The clean gap between the cabinet base and floor reads as intentional and architectural — not unlike the kind of bespoke joinery that costs many times more.
Fix the units at a consistent height, leave a small deliberate gap between them if using two, and pair with wall-mounted sconces or a long shelf above. For under £150 in most markets, this approach replicates the look of a fitted sideboard without the fitted price.
Wall-Mounting Tips
- Always fix into wall studs or use appropriate wall anchors rated for the cabinet weight plus contents
- Mount at 40–50 cm from the floor for a sideboard height that also allows floor sweeping beneath
- Use a spirit level across multiple units to ensure a seamless horizontal line
- Paint units before mounting to avoid brushing against walls during installation
Group Multiple Ivar Units for a Built-In Look
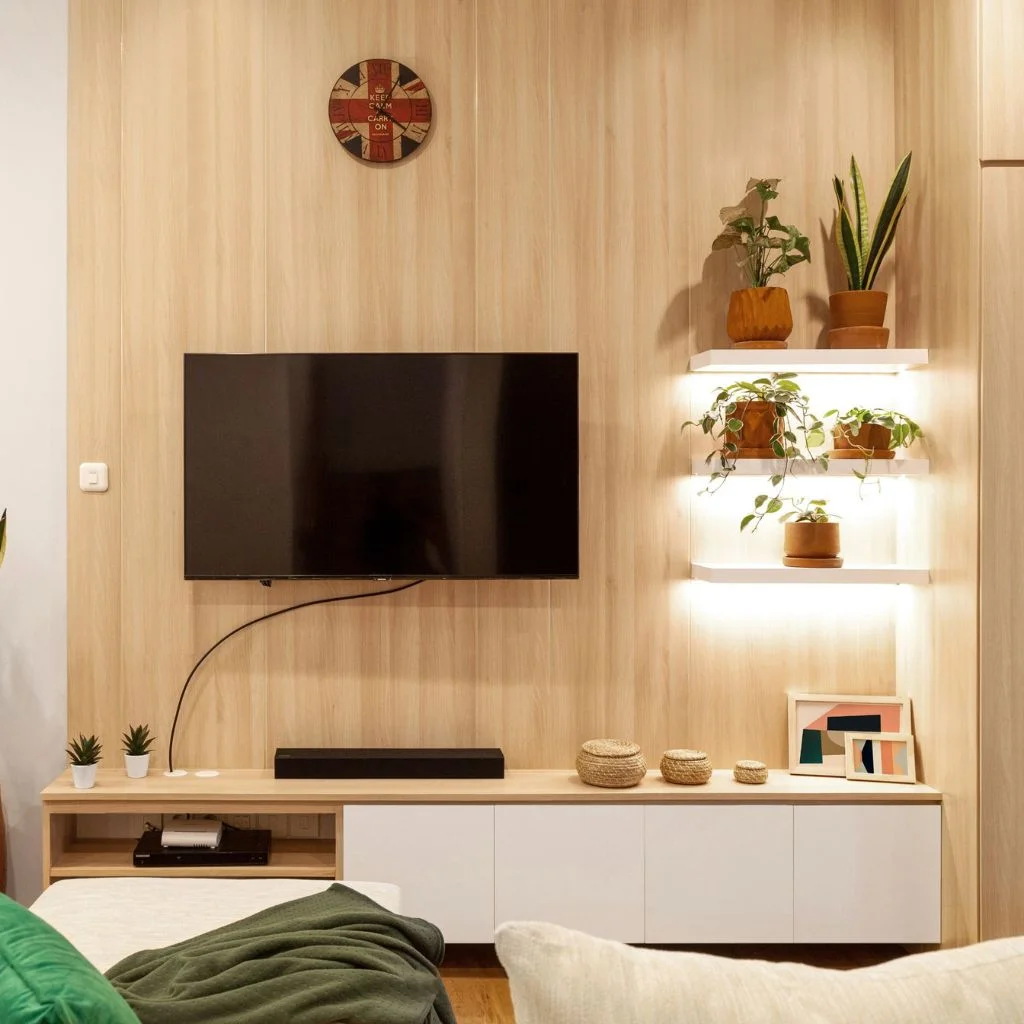
One Ikea Ivar cabinet is useful. Three grouped together is architectural. Connecting multiple units side by side and treating them as a single piece — one consistent paint colour, matching legs, aligned hardware — creates the visual effect of a bespoke built-in unit at a fraction of the cost.
Connecting plates keep the units stable and properly aligned. Once joined and finished, the modular origins become invisible. This approach works particularly well in home offices, living rooms with media requirements, or bedroom alcoves where floor-to-ceiling storage would otherwise require custom cabinetry.
- Use Ivar connecting plates to join units securely without visible gaps
- Add a continuous run of moulding across the top for a fully integrated look
- Mix cabinet and open shelf units within the grouping for visual rhythm
- Paint the back wall the same colour as the cabinets for a truly built-in effect
Add a Statement Top: Marble, Butcher Block, and Solid Wood
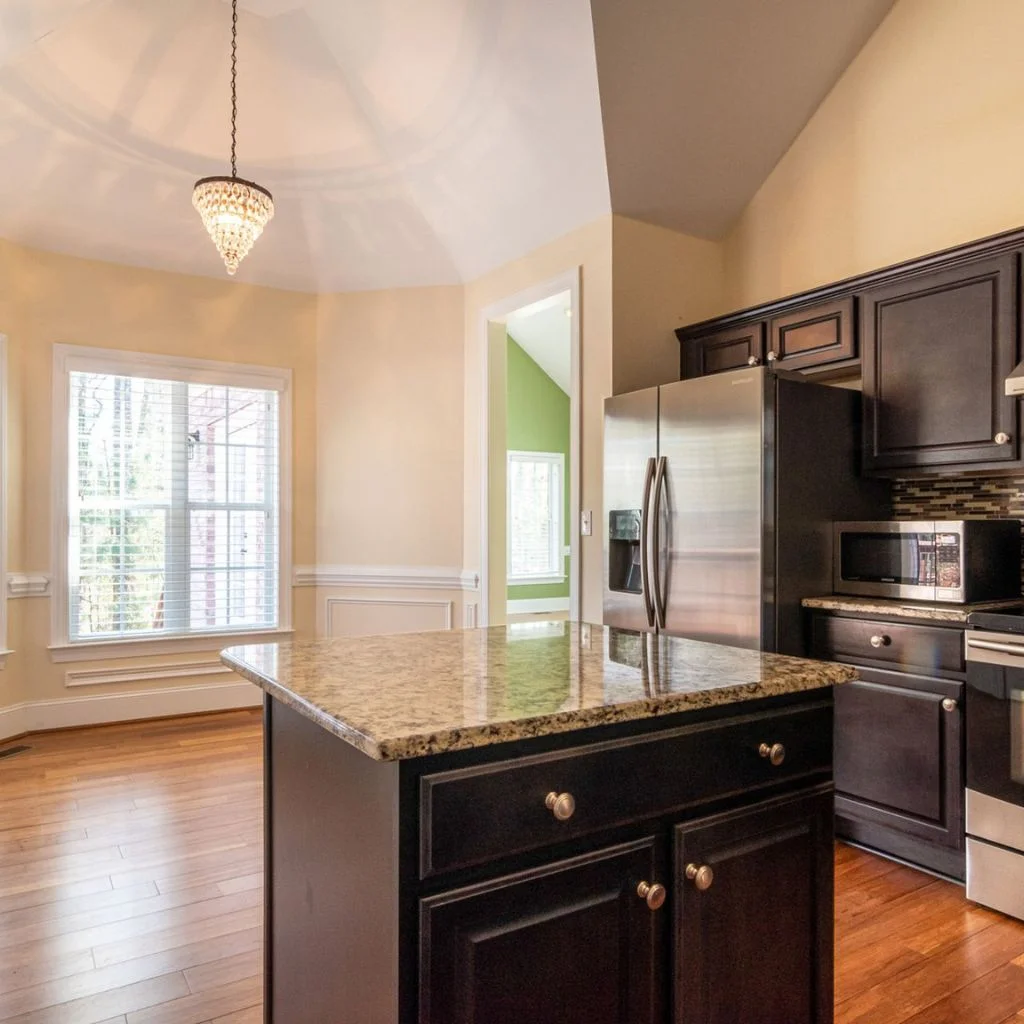
Adding a premium surface across the top of grouped Ivar units is one of the most effective ways to elevate the hack from DIY project to designer-grade furniture. Marble, honed granite, butcher block, live-edge wood, and thick oak boards all read as luxurious against painted pine cabinetry.
Measure the grouped cabinet footprint carefully, then source a cut-to-size top from a stone fabricator, timber merchant, or even a kitchen worktop supplier. Secure the top with furniture adhesive or L-brackets fixed from the inside of the cabinet. This technique is especially popular for Ivar kitchen island hacks where a durable, food-safe surface is needed.
Top Material by Room
- Marble or quartz — bathrooms, hallways, luxury living rooms
- Butcher block or oak — kitchens, home offices, dining-adjacent spaces
- Painted MDF — budget-conscious makeovers where a seamless monochrome look is the goal
- Live-edge wood — organic modern, boho, or artisan interiors
Dark Stain Finishes: From Pine Yellow to Rich Warmth
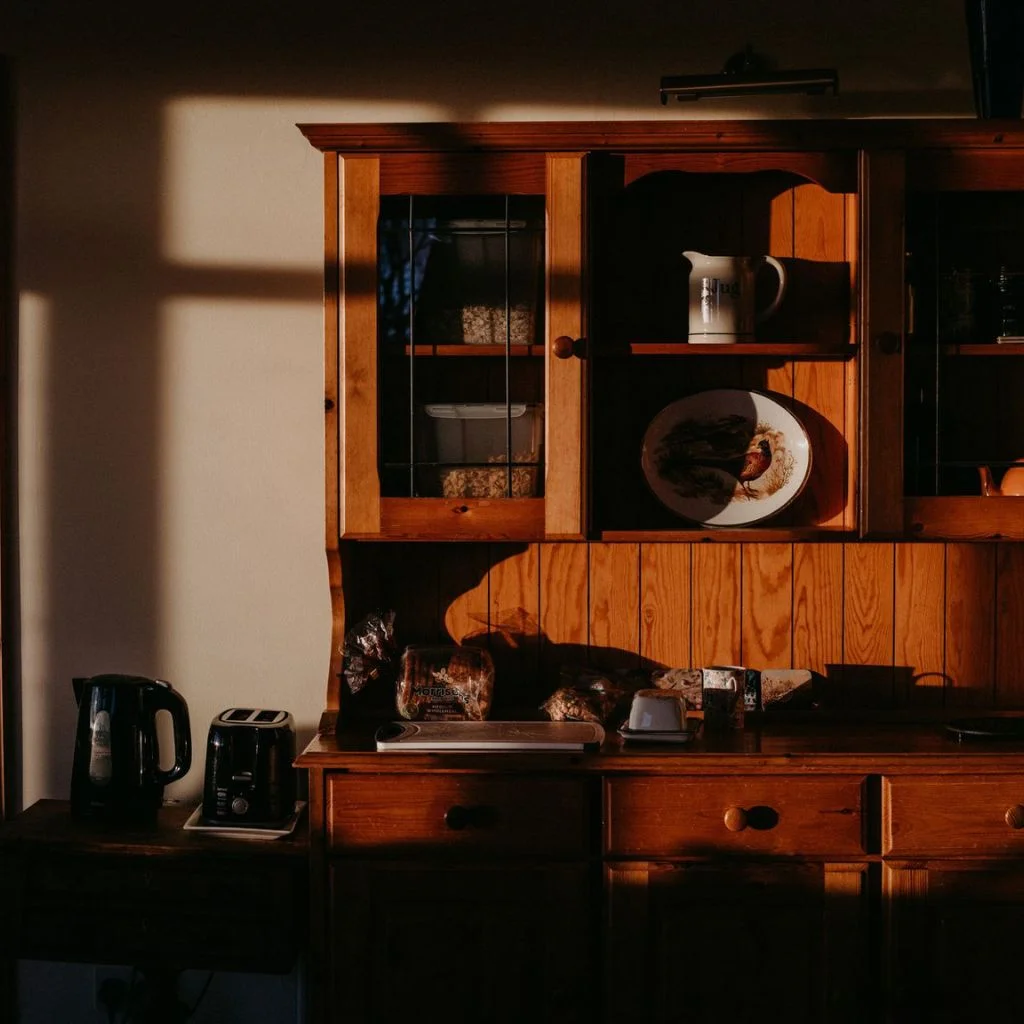
Raw pine tends to yellow — a tone that reads cheap in most interior contexts. A dark wood stain is one of the quickest Ikea Ivar hacks for erasing that flatpack association and replacing it with the rich warmth of walnut, oak, or ebony.
Water-based, oil-based, and gel stains all work well on raw pine. Gel stains are particularly forgiving for beginners as they allow a more controlled, blotch-free application. Two or three coats in a medium walnut or dark oak shade transforms the cabinet into something that looks authentically wooden — not assembled from a box.
- Always sand in the direction of the grain before staining to avoid cross-grain scratches showing through
- Apply stain with a lint-free cloth rather than a brush for more even coverage
- Seal with a clear matte or satin polyurethane once the stain has cured fully
- Pair dark stain with warm metal hardware — aged brass or copper complement brown tones beautifully
Fold-Down Door Hack: Reinventing the Cabinet Structure
For those who want to go beyond cosmetic changes, the structural reworking of the Ivar cabinet opens up genuinely novel design possibilities. One particularly clever hack involves repurposing the original shelves as fold-down doors — removing the standard hinged doors entirely and replacing them with a drop-front mechanism.
This technique, first shared widely by designer E. Stübing, also incorporates push-open mechanisms for a handle-free exterior finish. The result is a sleek, contemporary cabinet silhouette with unexpected functionality — a shelf that reveals itself only when the door folds down. Pair with a stain and caster wheels for a piece that functions as mobile studio or bar storage.
- Use piano hinges for the fold-down mechanism — they distribute weight evenly across the full door width
- Add soft-close push openers (Ikea’s own UTRUSTA mechanism works here) for a handle-free exterior
- Attach mini caster wheels to the base for mobility without compromising the cabinet’s low-profile look
Room-by-Room Ideas: Where to Use Each Hack
Part of what makes Ikea Ivar cabinet hacks so endlessly useful is that the cabinet performs in every room of the house. Here’s a quick overview of the best hacks matched to specific spaces:
Living Room
- Group three units, add legs and a marble or wood top — instant media unit or sideboard
- Wall-mount two unit’s side by side at sideboard height for a floating credenza
Bedroom
- Single painted unit with tapered legs and new hardware as a bedside cabinet or wardrobe supplement
- Dark stain + rattan-insert doors for an organic modern wardrobe companion
Home Office
- Grouped Ivar units as a custom credenza below a wall-mounted monitor
- Single unit with caster wheels as mobile filing and supply storage
Hallway
- Two wall-mounted units at console height for entryway storage with a surface for keys and decor
- Single unit with bold colour and statement legs as a hallway focal point
Kitchen
- Grouped units with a butcher block top as a freestanding kitchen island
- Single painted unit as additional pantry or crockery storage
From Basic Box to Beautiful: Final Thoughts
The Ikea Ivar cabinet has been a blank canvas for DIY creativity for over fifty years — and the range of Ikea Ivar cabinet hacks available today proves that its potential is nowhere near exhausted. Whether you spend an afternoon swapping hardware and adding legs or invest a weekend in a full painted-and-textured transformation, the results consistently punch well above the Ivar’s modest price point.
The best hack is always the one that fits the room it lives in. Start with a clear vision of the finished aesthetic, choose one or two techniques from this guide, and give the solid pine the upgrade it deserves. The raw material is already excellent — it just needs a little imagination to become something genuinely extraordinary.
Editor Pick: Frameless Mirror Closet Doors vs Framed — Choosing Right for Your Home.
Ikea Ivar Cabinet Hacks FAQs
Do I need to sand the Ivar cabinet before painting?
Light sanding with 120-grit paper helps the paint bond more evenly, but it is not strictly necessary on raw, untreated pine. A clean, dust-free surface is more important than heavy sanding. If using chalk paint, you can often skip the prep step entirely.
Can I add legs to the Ivar without drilling into the floor?
Yes. Furniture legs attach directly to the underside of the cabinet using threaded inserts or mounting plates. No floor drilling is involved. Specialist retailers like Prettypegs offer legs designed specifically for Ivar proportions with all necessary fixings included.
Is the Ivar cabinet strong enough to hold a marble top?
The solid pine construction of the Ivar is reasonably robust, but a heavy stone top should be distributed across at least two grouped units rather than resting on a single cabinet. If wall-mounting units with a marble top, always fix into structural wall studs and have the top professionally cut and edged to minimise weight where possible.
Can I use the Ivar cabinet in a kitchen?
Yes, but with some modifications. Raw pine is not inherently water or grease resistant, so any kitchen Ivar hack should include a sealed paint or stain finish on all surfaces. The top should be a non-porous material — butcher block with a food-safe oil finish, or stone — rather than bare wood.
How do I create the built-in look with multiple Ivar units?
Connecting plates (available separately at Ikea) join units securely. Once connected, paint all units the same colour and add a continuous length of slim moulding or trim across the top front edge to visually merge the cabinets into a single structure. Painting the wall behind the same colour reinforces the built-in illusion.