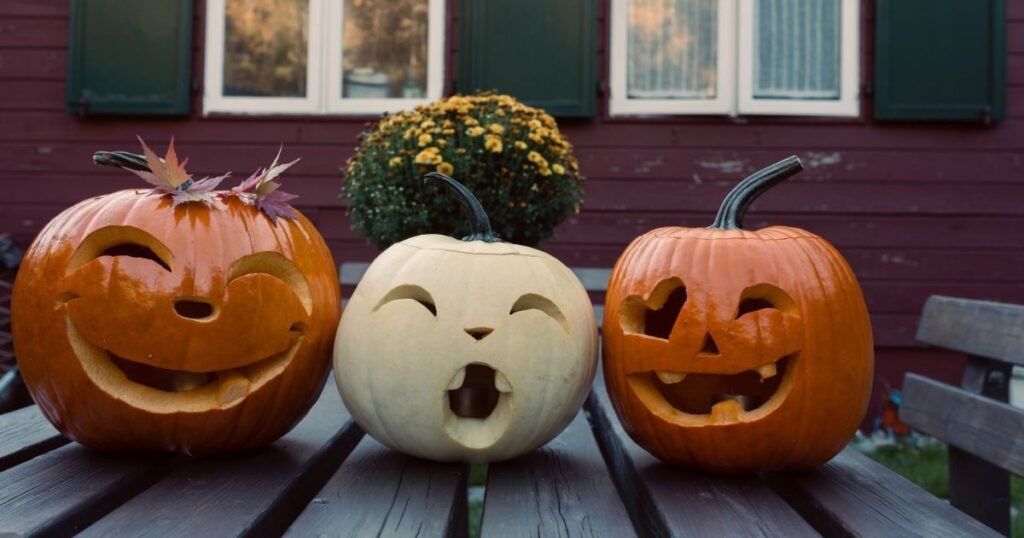
Pumpkin carving ideas worth copying tend to share one trait: a single clear picture, cut well, rather than a hundred fiddly details. Halloween falls on a Saturday this year, which leaves a few evenings to get the knife, the lights and the porch ready.
This collection sorts twelve designs into three moods: spooky, funny and elegant. Each comes with the look itself, the carving method that suits it and one practical tip, so you can match a design to your skill level, your pumpkin and your doorstep.
Whether you want a skull that makes trick-or-treaters slow down or a lace-patterned luminary for a candlelit dinner-party arrival, there is a design here that fits.
Pumpkin Carving Ideas Start With Choosing the Right Technique
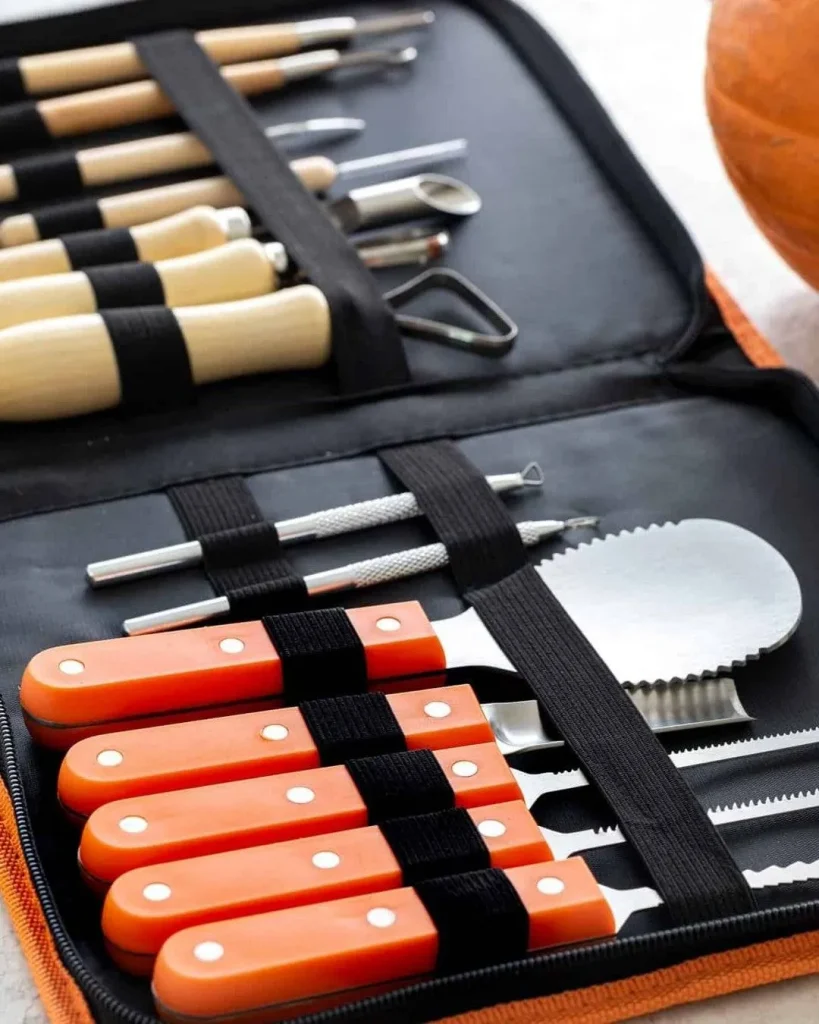
Photo Credit: jessica_gavin
Pumpkin carving ideas look very different depending on how deep the blade goes. Cut-through carving removes skin and flesh completely, so light pours straight out of the opening. It suits bold shapes such as skulls, bats and teeth.
Shaving, often called etching, strips away only the orange skin and a little flesh. What remains glows softly and gives fine lines, feathers and leaf veins a delicate look. Drilling punches clean round holes in any pattern and is the least fiddly route to a polished finish.
Whichever method you choose, scrape the base flat so the pumpkin sits level, and thin the walls wherever light needs to travel. Keep hands, tools and pumpkin dry, and work on a non-slip surface so the blade stays where you put it. Ripe pumpkins without bruises or nicks last longer, and carrying one by its stem is a good way to snap it off.
Skull Face With Hollow Eye Sockets
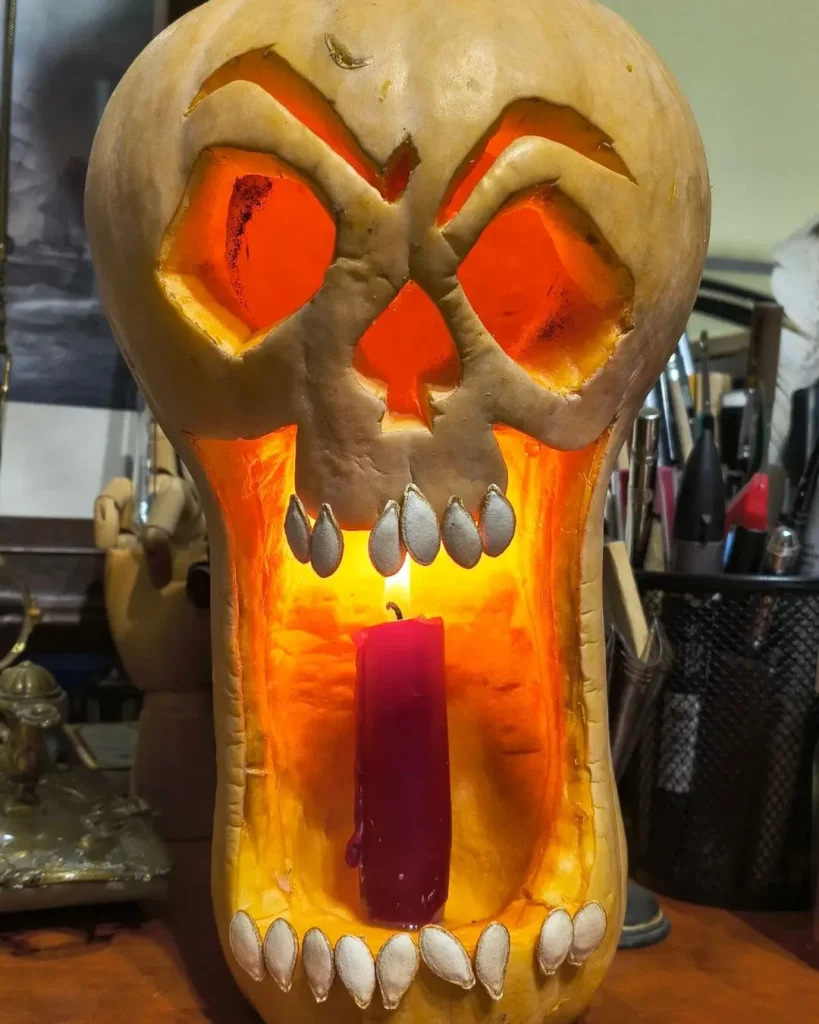
Photo Credit: foodwizardart
Spooky designs reward high contrast, and a skull face delivers plenty with very few cuts. Carve two large, slightly uneven eye sockets, a small triangular nose and a row of narrow vertical teeth, leaving slim bridges of flesh between them so the mouth stays strong.
Dark hollows read instantly from the pavement, even in poor light. Pale heirloom pumpkins give a bone-like surface, while classic orange ones keep the look traditional.
Practical tip: cut the eye sockets bigger than feels right. Cut edges shrivel as the pumpkin dries, and generous openings still look sharp on night three.
Cobwebs Creeping Across One Side
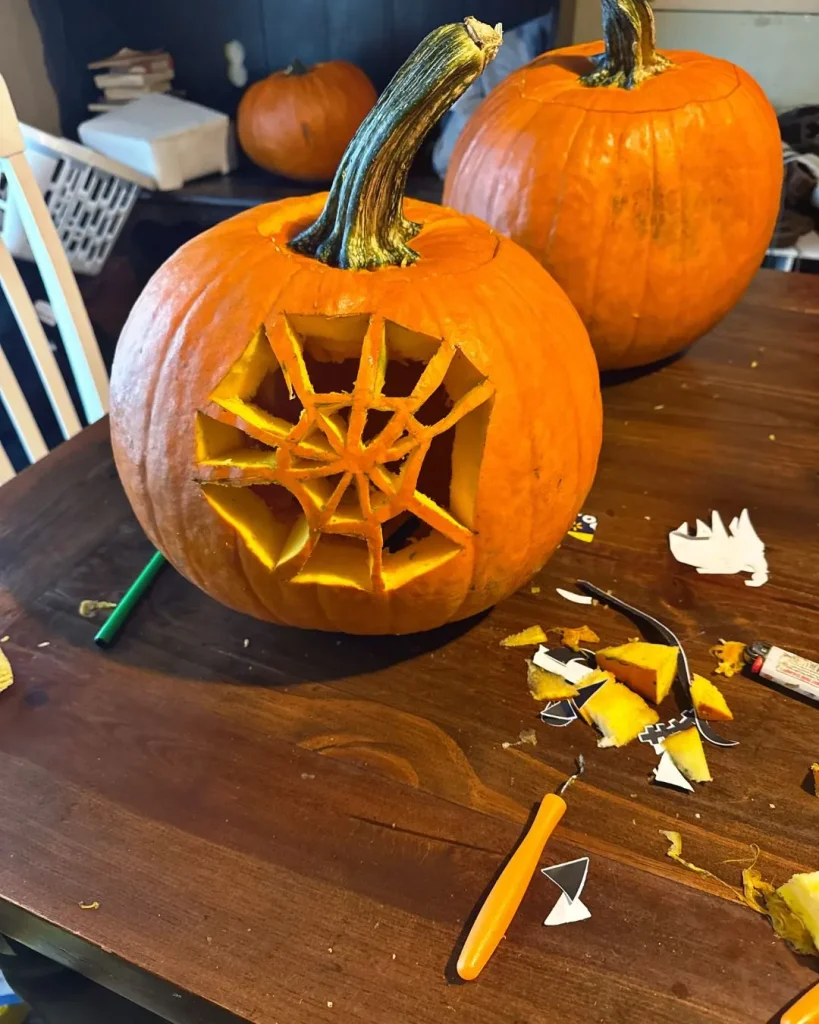
Photo Credit: lifewithashley_thrivinmama
Web lines curving across one side of the face turn an ordinary pumpkin into a cobwebbed relic. Add a small spider carved as a solid silhouette, hanging from a single thin thread beside one eye.
Shaving the web lines gives a softer, glowing strand effect, while cut-through lines look sharper and spookier in the dark. Both work well on a tall, narrow pumpkin.
Practical tip: keep strands well spaced. Thin cuts packed closely together weaken the shell and can cause sections to sag as the flesh softens.
Bat Swarm Taking Flight at Dusk
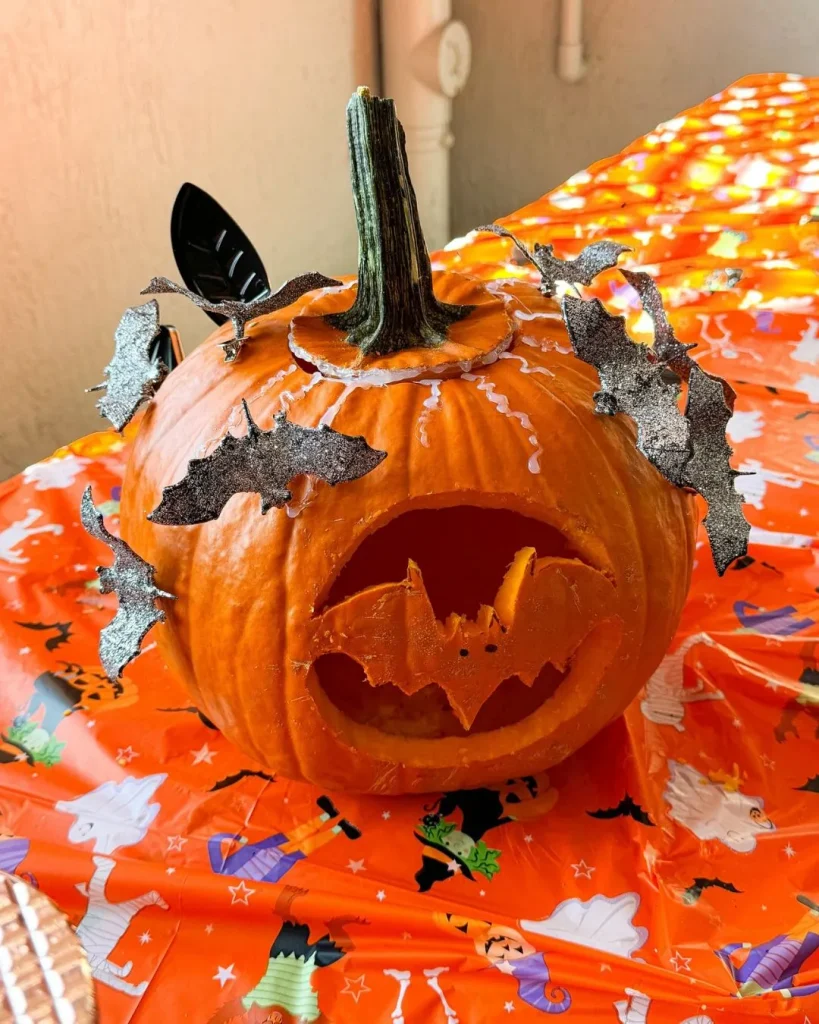
Photo Credit: jessifernandez
Wide, squat pumpkins give a bat swarm room to fly. Carve bats in three or four sizes, with the largest near the bottom and the smallest drifting towards the top, so the flock appears to climb into the night sky.
Solid bat shapes with pointed wing tips read best. Fussy detail disappears once the light is on, so keep each silhouette bold and simple.
Practical tip: print the bats at different sizes, tape the paper to the skin and prick along the outlines with a pin. Joining the dots with a marker gives a tidy outline without freehand wobble.
Haunted Hill Scene Glowing Behind Bare Branches
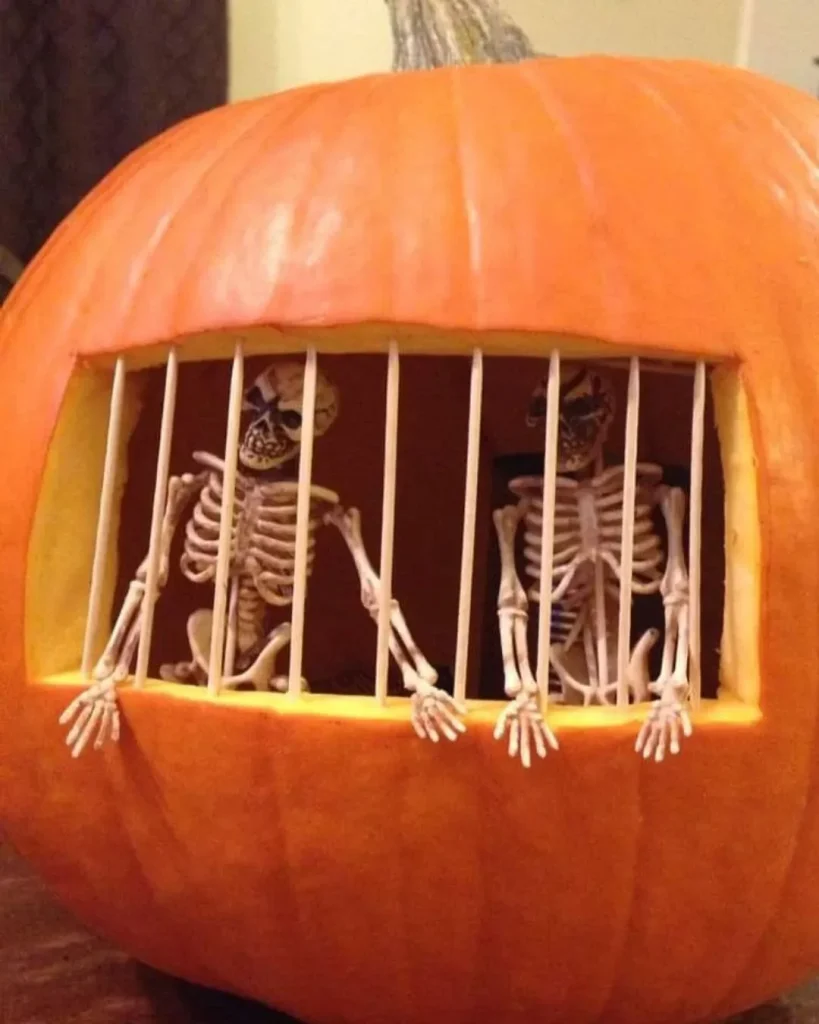
Photo Credit: ctcgeek
Pumpkins with smooth, flat sides suit a haunted hill scene: a crooked house on a ridge, a bare twisted tree and a few bats against a glowing sky. Shave the sky area so it glows amber and leave the skin on the house and tree, so both stand out as dark silhouettes.
Cut a few windows right through for a sharp yellow flicker. Simple outlines matter more than detail here, and one slanted roof, one leaning tree and a handful of windows are plenty.
Practical tip: shave in thin, even layers and hold a torch behind the pumpkin to check the glow. Stop once the sky lights evenly.
Queasy Pumpkin That Steals the Show
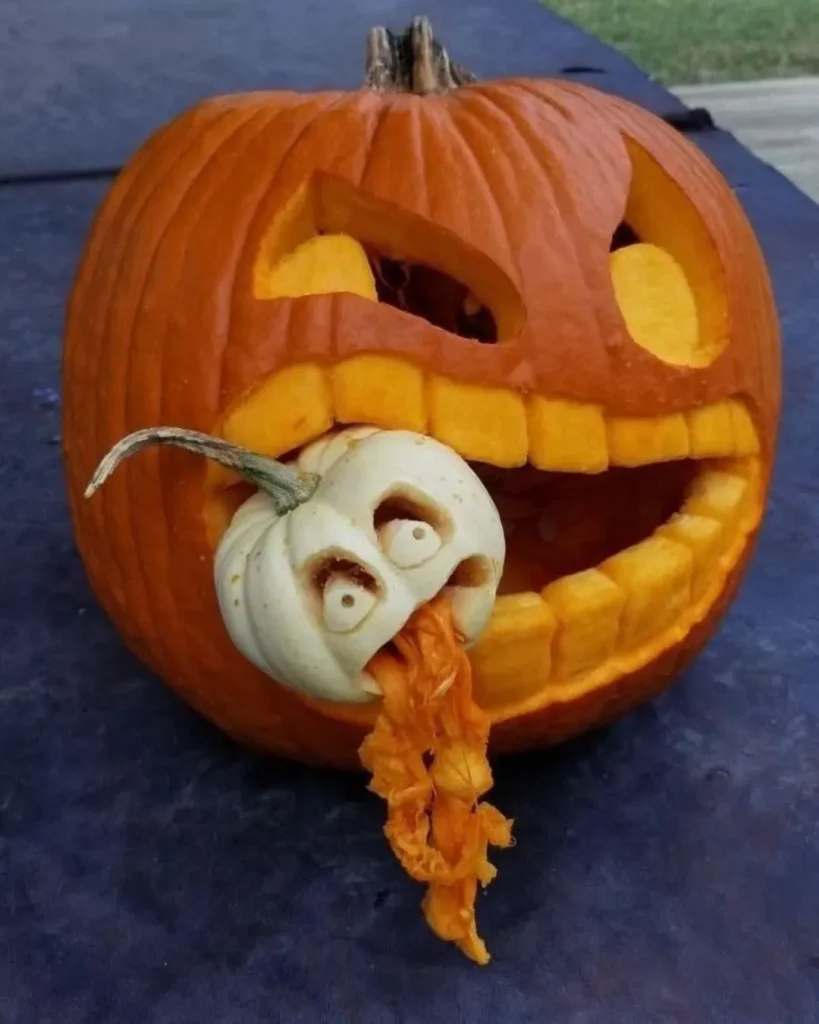
Photo Credit: juniorsartanddiy
Funny pumpkins land best when the joke is obvious from the pavement, and a queasy pumpkin makes the point at once. Carve a wide, wobbly mouth with squeezed-shut eyes, then let a pile of seeds or a smaller pumpkin spill out of the opening and down the step.
Green-tinted LED lighting adds to the sickly effect and gets a laugh from trick-or-treaters before they reach the door.
Practical tip: set a shallow tray beneath the spilled seeds. It keeps the doorstep tidy and makes clearing up after Halloween a one-step job.
Mismatched Teeth in a Grin That Refuses to Behave
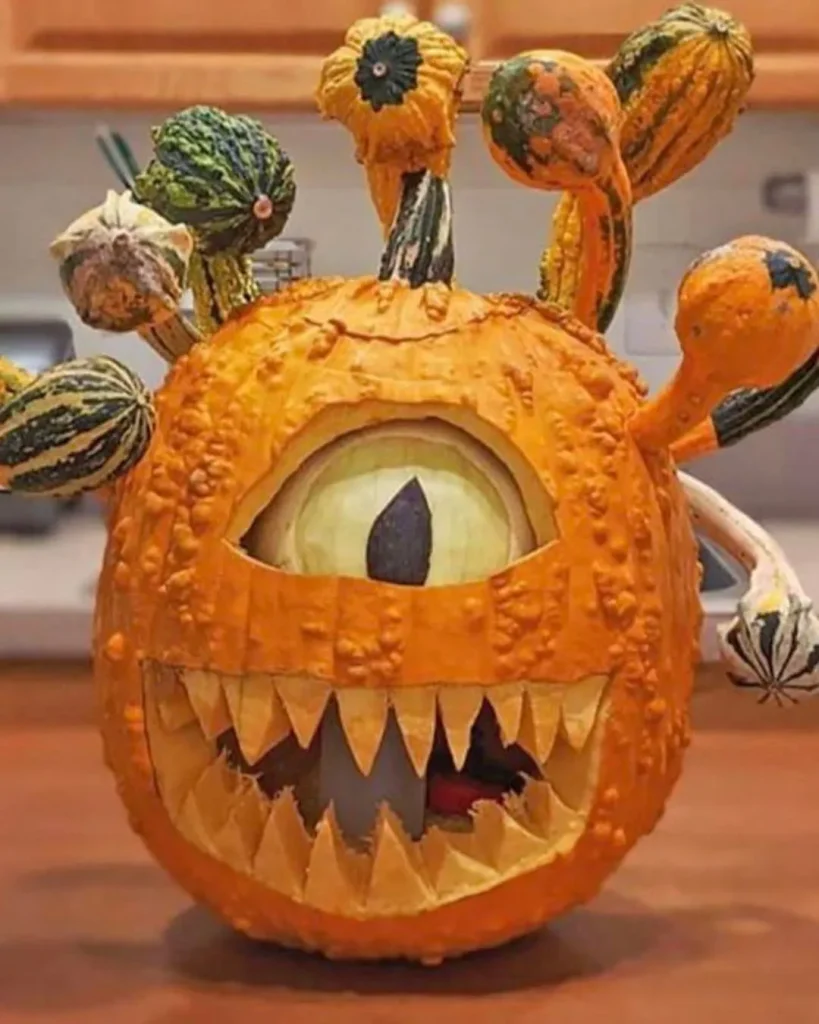
Photo Credit: juniorsartanddiy
Symmetry is the enemy of funny, which makes mismatched teeth one of the easiest ways to get a laugh. Carve a huge, lopsided grin with a few chunky teeth, one giant front tooth and an obvious gap. Eyes of different sizes, one round and one squinting, complete the look.
Leave every tooth attached to the top or bottom edge of the mouth so none drops out when you push the cut-out through.
Practical tip: draw the grin in marker first and rub out anything that looks too tidy. Wobbly lines are the whole point.
Five-Minute Googly Eyes Pumpkin
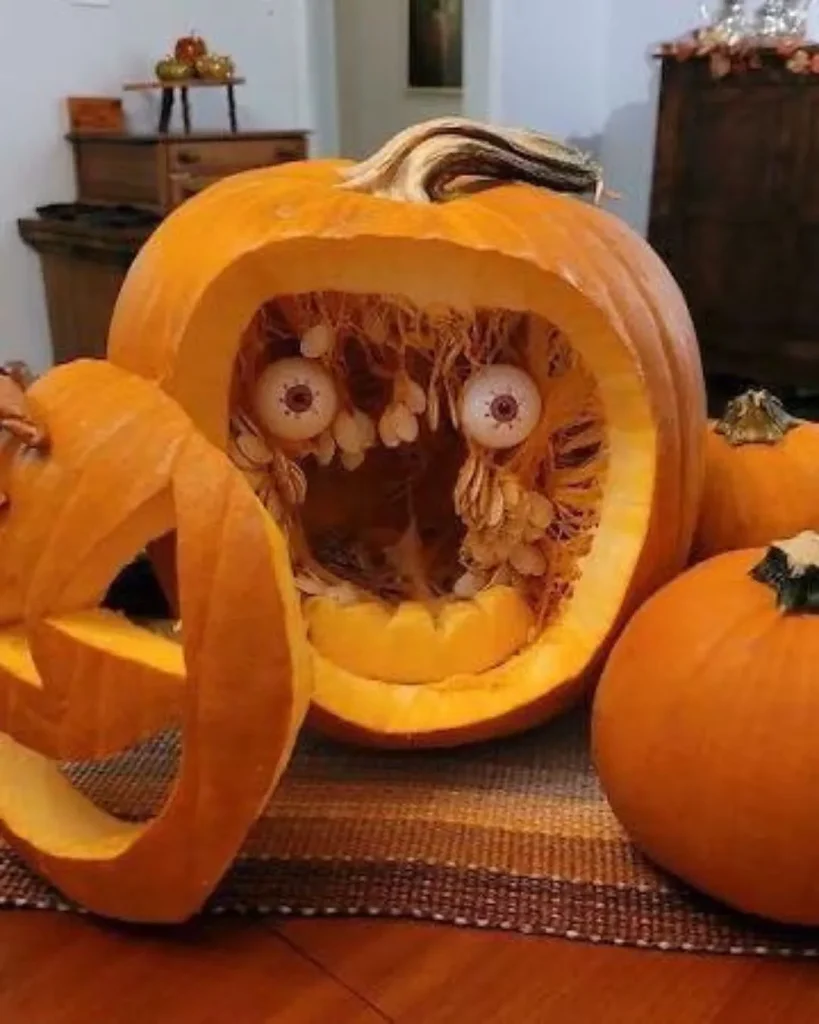
Photo Credit: juniorsartanddiy
Googly eyes do most of the work in this quick design. Carve a simple smile or an open, surprised mouth, then fix oversized craft eyes on the skin above it and the pumpkin comes alive.
It suits children and anyone short on time, and it keeps knife work to a minimum. Mix sizes for extra personality, with one huge eye and one small.
Practical tip: wipe the skin dry first and use strong craft glue, since damp pumpkin skin shrugs off weak adhesive.
Cheeky Word Pumpkins With a Pun
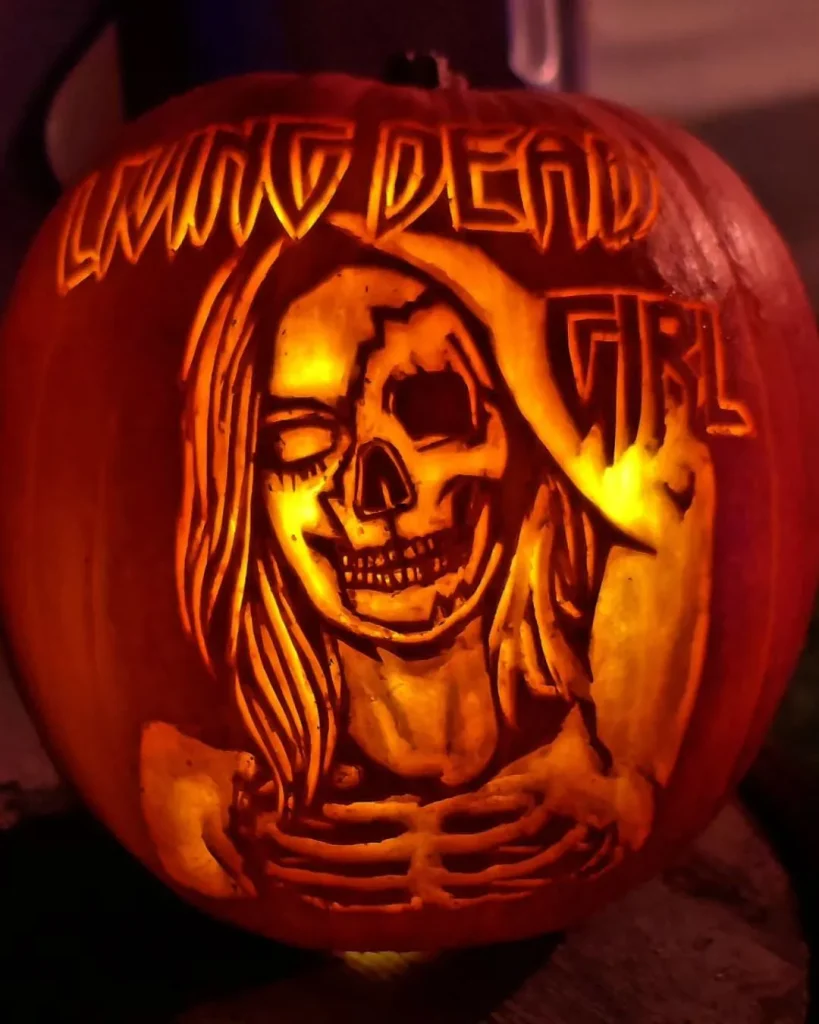
Photo Credit: carvictures
Pun lovers will enjoy word pumpkins, where a short phrase such as BOO, Fang You or Gourd-geous does the talking. Block capitals cut cleanly and stay legible from the pavement.
Letters such as O, A, B and R contain islands that fall out when cut, so pick stencil-style lettering with small bridges holding each island in place.
Practical tip: keep to three or four words at most. Longer messages need smaller letters, and small letters blur together as the pumpkin shrinks.
Drilled Lace Luminary for Candlelit Evenings
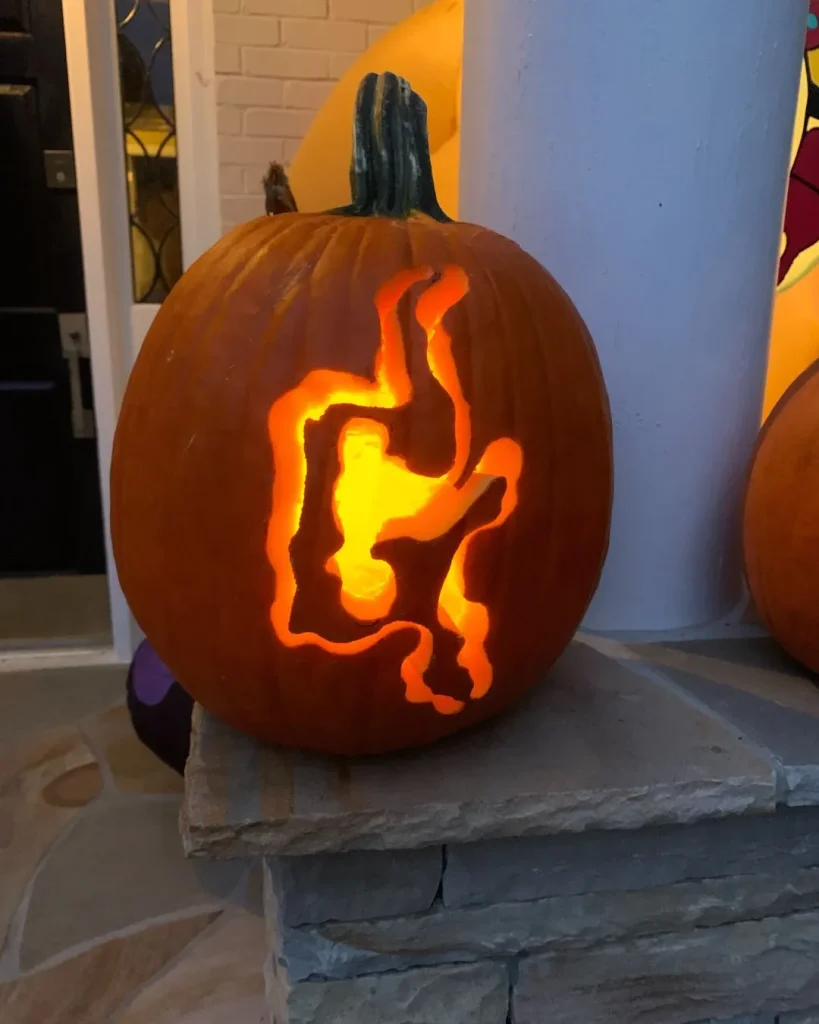
Elegant pumpkins swap bold cut-outs for patterns of pinpoints, and a drilled lace pattern is the most refined of them. Mark a floral or lattice design on a white pumpkin, then drill rows of small and medium holes so the light spills through like candlelit lace.
Warm white light keeps the pattern crisp against pale skin. Using two or three drill bit sizes gives the lace some depth and rhythm.
Practical tip: drill straight in, never at an angle, and clear the pulp from each hole with a cotton bud or small skewer so every pinpoint glows clean.
Botanical Etching on a White Pumpkin
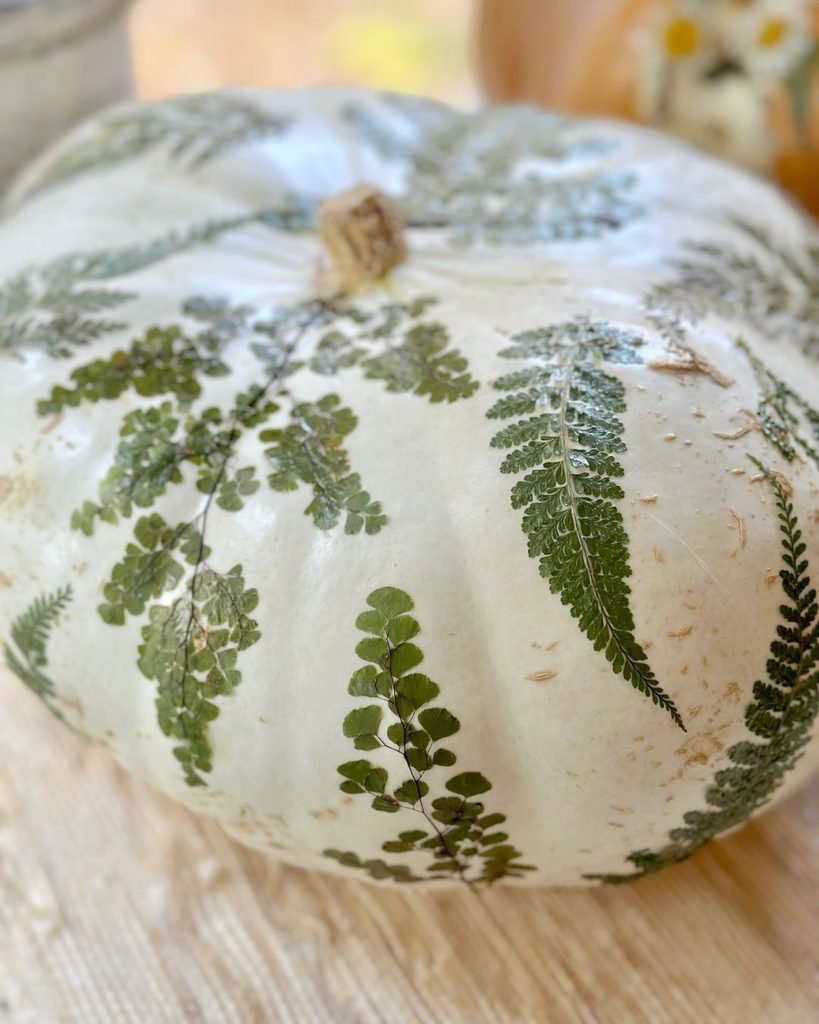
Photo Credit: celebrated_nest
Botanical etching gives a white or pale pumpkin the feel of a pressed-flower print. Shave away skin in the outline of ferns, oak leaves or eucalyptus stems, letting the thin remaining flesh glow in soft, translucent lines.
Pair it with dried grasses and brass candlesticks on a table for a calm, autumnal centrepiece that still counts as Halloween.
Practical tip: press a real leaf against the skin and trace around its edge with a pen. Natural shapes look convincing with no drawing skill required.
Moon Phase Row for a Mantel or Dining Table
Five moon phase pumpkins in a row suit a mantel, dining table or long window ledge. Carve a full circle in the middle pumpkin, then work outwards with half and crescent shapes on either side.
Mini pumpkins in matching sizes make the row feel like a set. Brass candlesticks and dried grasses alongside push it firmly towards styled-table territory.
Practical tip: use battery tealights so the row can sit indoors on a mantel without a naked flame.
Art Deco Fans and Sunbursts
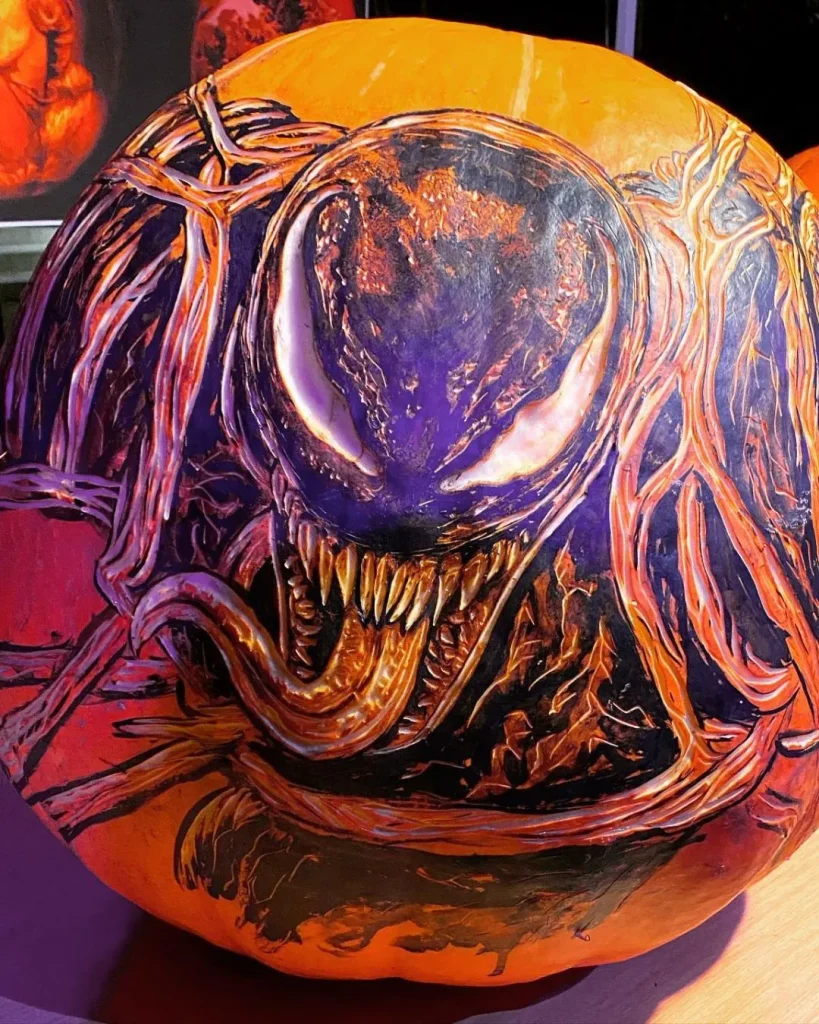
Photo credit: rachaelkolby
Art Deco fans and sunbursts bring Roaring Twenties glamour to a pumpkin without any figurative carving at all. Carve a fan of long, evenly spaced lines radiating from the base, then echo the shape with a row of small arches around the middle.
Charcoal-painted skin with gold details makes the glow look like polished metalwork. Plain black or white pumpkins work just as well if paint feels like too much effort.
Practical tip: use a ruler and the pin-prick transfer method for the lines. Dead straight lines are what make this look expensive.
Mistakes That Make Carved Pumpkins Rot Early
Picture the scene: a design carved on Sunday, rained on by midweek and slumped by Halloween night. Just a few habits cause most of that heartbreak.
Carving too early is the most common culprit. Depending on temperature and humidity, a carved pumpkin usually lasts roughly five to ten days before rot sets in, so carve within a few days of the big night.
Skipping the clean-out invites mould. Scrape out every scrap of pulp and seed, rinse the inside and brush petroleum jelly along the cut edges to slow moisture loss, a trick professional carvers recommend in this guide from This Old House.
Reaching for real candles heats the inside, speeds up decay and adds a fire risk. Urgent care physicians at Prisma Health suggest battery-operated LED lights or glow sticks, which stay cool and are far safer around children and costumes. When the pumpkin is off display, keep it somewhere cool, dry and out of direct sunlight.
Three Moods, One Doorstep and Plenty of Room to Mix
Spooky pumpkins command the pavement, funny ones start conversations and elegant ones set a tone, so the best choice depends on who walks up your path. Googly eyes and queasy faces suit a doorstep full of young trick-or-treaters, while lace and moon phase designs suit a candlelit dinner-party arrival.
Mixing moods works too. One bold skull beside two quiet etched pumpkins gives a doorstep a focal point and some breathing space, and repeating a single carving style across different sizes keeps a group looking intentional.
Recommended: Pumpkin Painting Ideas From Soft Pastel to Spooky Black and Gold.