
Painted pumpkins can look as soft as a macaron box or as dramatic as a gothic ballroom, and these pumpkin painting ideas cover both extremes. There is no carving, no slimy seeds and no collapsing jack-o’-lantern by Halloween weekend. Just a few tubes of acrylic paint, a handful of brushes and a free afternoon.
Every look below follows one colour journey, beginning with dusty pastels and finishing in black and gold. Each section describes the finish, the palette and one practical tip, so you can copy a design exactly or borrow the parts that suit your porch, mantel or party table.
Soft Pastel Pumpkins in Blush, Mint and Lilac
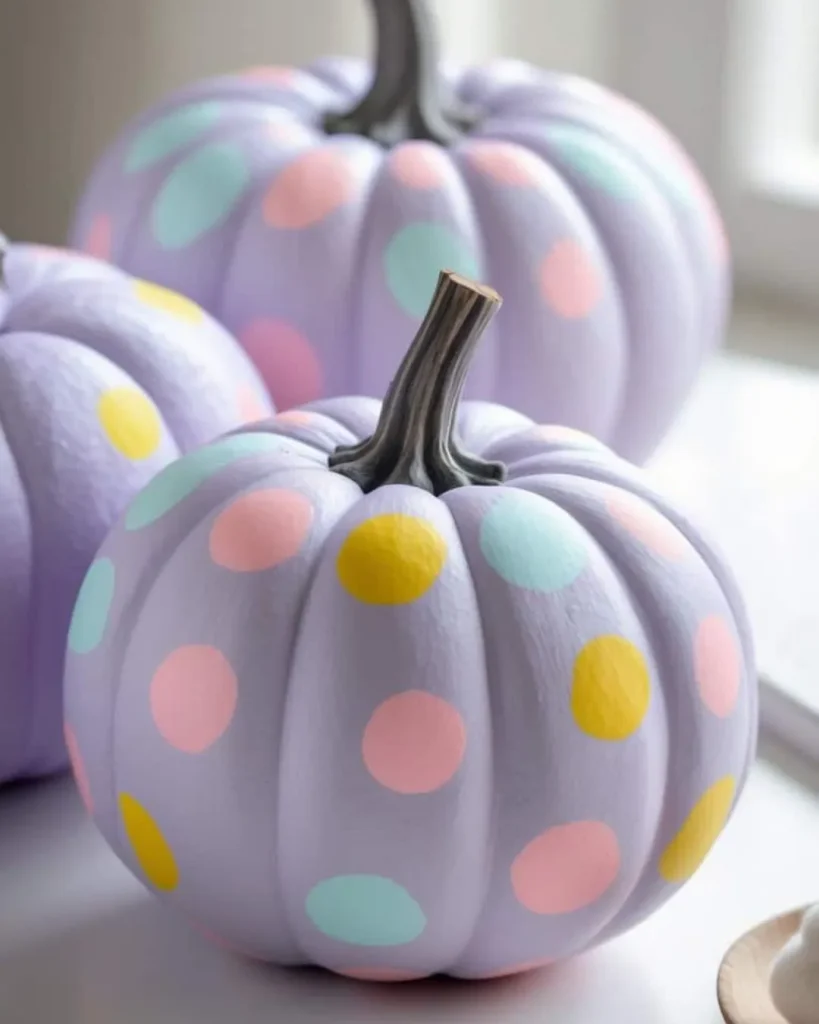
Matte pastels are the gentlest way into the season. Blush, sage mint and lilac on medium pumpkins feel like spring decor that wandered into autumn, which is exactly why they stand out among rows of orange. Two thin coats of acrylic over a white base give that chalky, powdery finish.
Group three or five pumpkins in one colour family and vary their heights. Pastels look best when the shades sit close together, so resist adding a bright accent pumpkin. Practical tip: mix a little white into each colour instead of buying separate pastel tubes, and the whole set will feel cohesive.
Why it works: pale, low-contrast colours calm the busy orange of an autumn porch, and a matte finish stops the paint looking glossy or plasticky. Layer them with cream knitted throws, white ceramic jugs and wheat stems to keep the scheme soft instead of sugary.
Milk White Pumpkins for a Gallery Style Porch Row
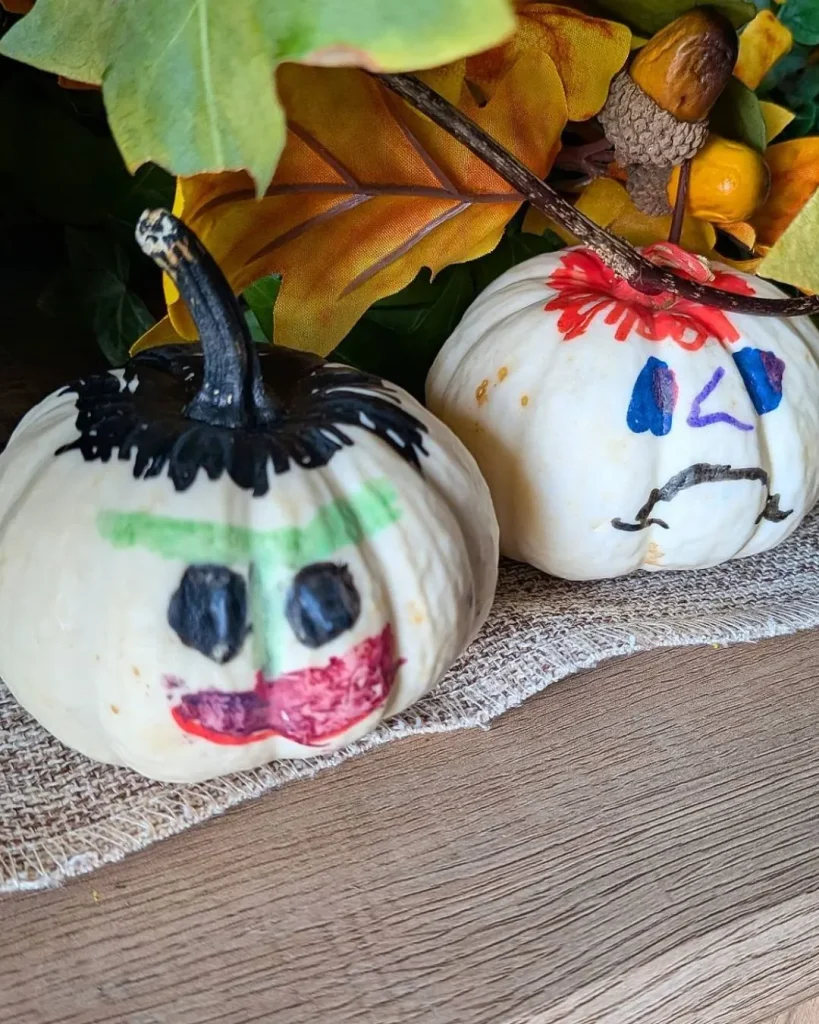
Photo Credit: littleblairs
All-white pumpkins look quietly expensive. Paint small and medium pumpkins in creamy milk white, leave the stems natural, and add one tiny detail such as a stitched line of dots or a thin band around the middle. Restraint is the whole design.
Picture them lined up along porch steps or a long console, with uneven sizes creating a gentle rhythm. Naturally pale pumpkin varieties need only a light wash of paint, which saves time and coats. Practical tip: keep every white in the same family, since a cool white next to a warm cream shows up straight away.
Why it works: with colour removed, texture and shape carry the display, so slightly ribbed or bumpy pumpkins look more interesting than perfectly smooth ones. Add a wooden bowl, a stack of linen napkins or a pale ceramic vase of dried stems to finish the scene.
Boho Sand and Terracotta
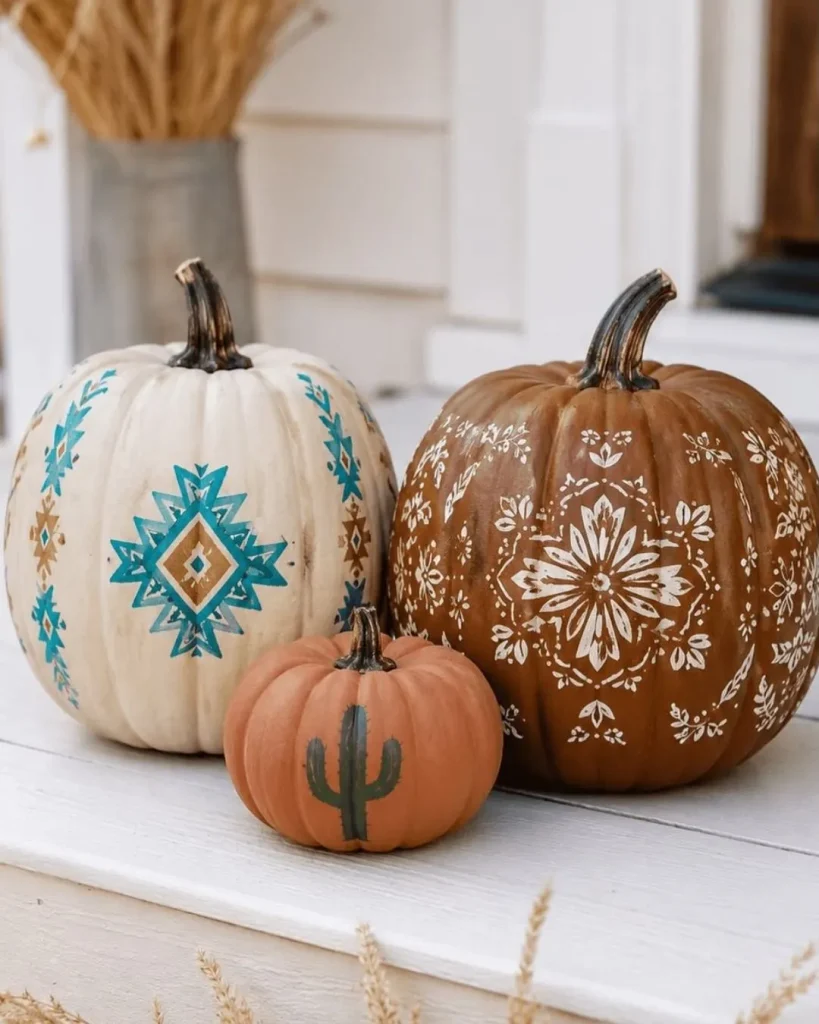
Photo Credit: westernlifeandstyle
Warm earth tones give pumpkins a relaxed, bohemian feel. Paint a sand or oat base, then add arches, dots, half moons and wavy lines in terracotta and rust. Slightly imperfect lines are part of the charm, so there is no need for a ruler.
These pumpkins sit comfortably beside woven trays, dried pampas grass and linen runners. Practical tip: dip the rounded end of a pencil eraser in paint to stamp perfectly even dots.
Why it works: terracotta and sand come from the same warm family as natural pumpkin skin, so the paint feels part of the fall palette rather than a bright add-on. Dabbing the base coat with a sponge gives a clay-like surface that suits the look even more.
Hand Painted Florals That Make Orange Disappear
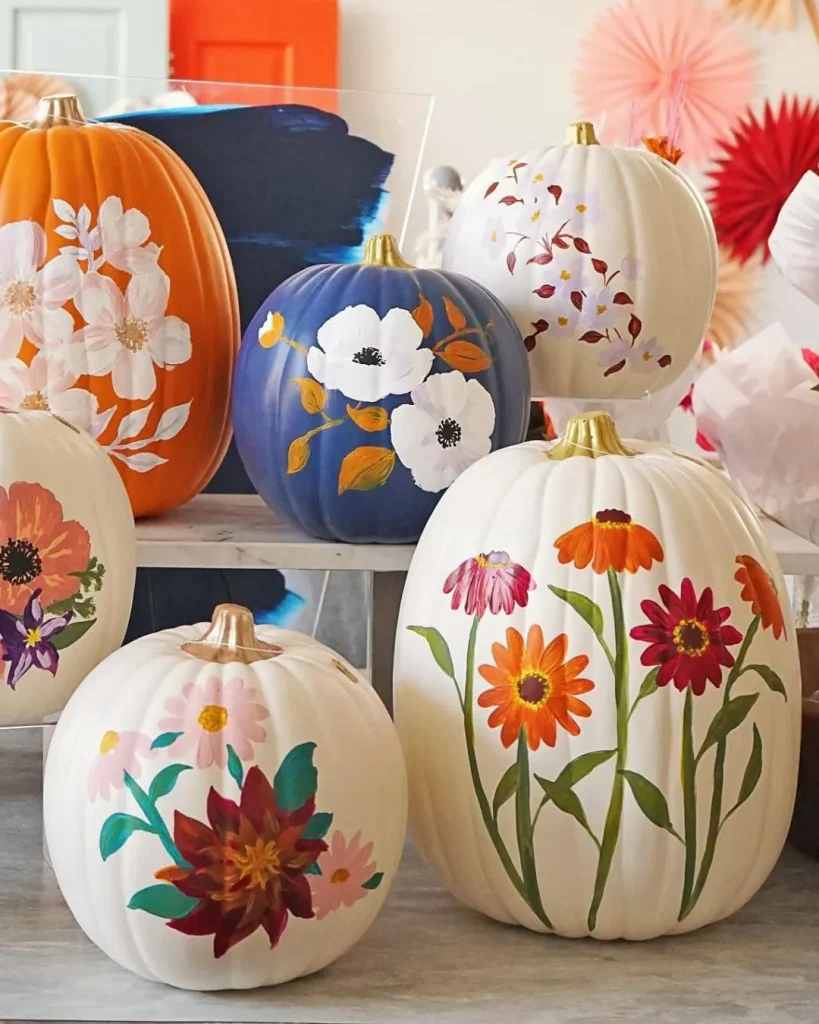
Photo Credit: besspapergoods
Florals have a clever advantage, because the design itself does the covering. Start with a cream or soft sage base, then paint loose daisies, tulips or a trailing leafy vine up one side so the pumpkin looks like a flowering vase. Five dabs of a small round brush make a daisy, and a press-and-flick makes a leaf.
Leave the back plain if the pumpkin will sit against a wall, which saves time and keeps the front bold. Practical tip: let the base coat dry fully before painting petals on top, or the colours will drag and turn muddy.
Why it works: flowers bring a freshly picked, cottage-garden softness that sits well beside real autumn blooms such as chrysanthemums. Vary the flower sizes across a set so the display looks gathered rather than copied from one pattern.
Marble Swirls Using Just Three Colours
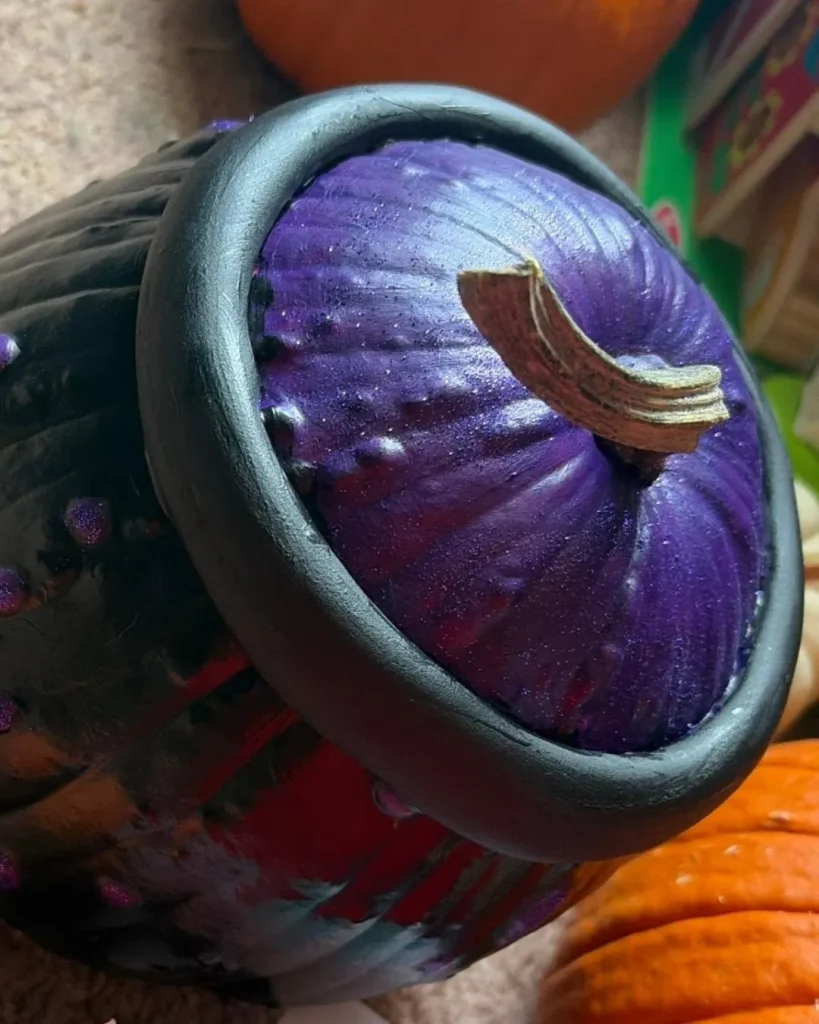
Photo Credit: shueysmarket2
Marbling looks complicated but mostly depends on restraint. Use white, soft grey and a touch of charcoal, dab thinned paint in loose diagonal veins, then soften the edges with a dry sponge or crumpled kitchen roll. One fine gold line along the biggest vein gives a stone-and-brass look.
Marble pumpkins suit modern mantels and neutral tablescapes where bright colour would feel out of place. Practical tip: work in thin layers while the previous coat is still slightly damp, which helps the veins blend naturally instead of sitting on top like stripes.
Why it works: grey and white blend into most interiors, so these pumpkins stay stylish well past Halloween and into November table settings. Pairing one large marbled pumpkin with two smaller plain white ones lets the veining stand out.
Can a Pumpkin Fade From Pastel to Plum?
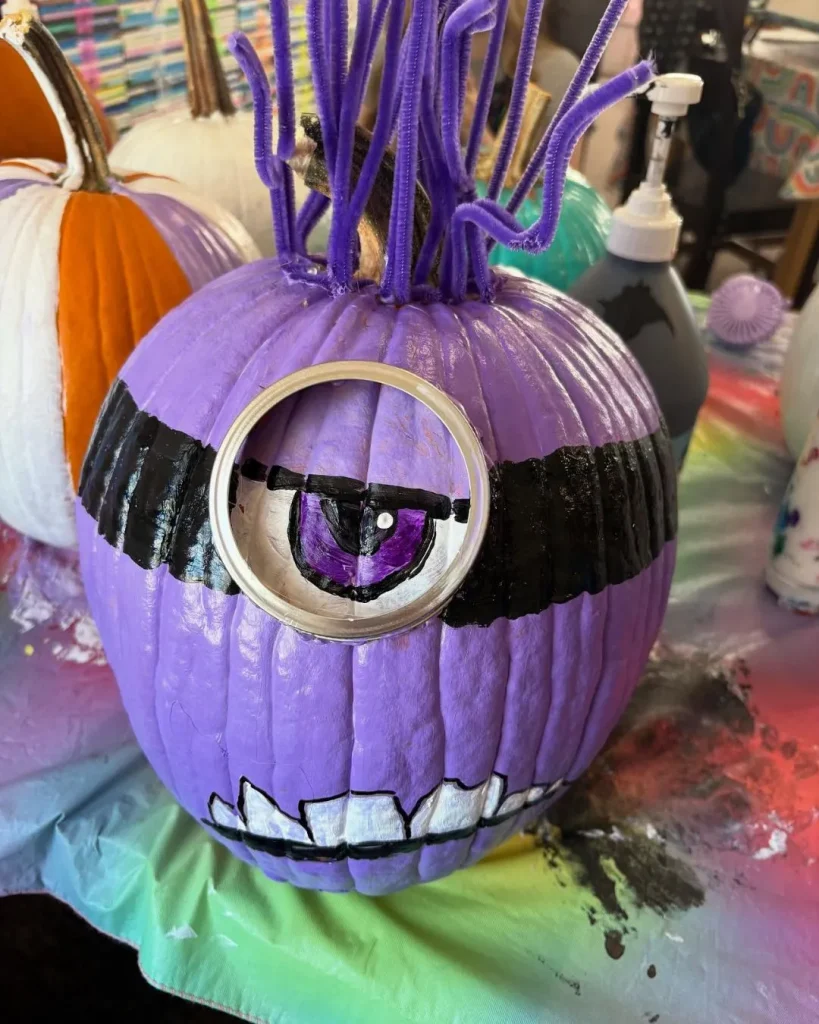
Photo Credit: the_angry_easel
Ombre pumpkins prove it can. Begin with lilac or blush near the stem, then blend down towards a deep plum or berry shade at the base. Shifting from soft to moody makes this the natural bridge between the pastel and spooky halves of this list.
Acrylic dries quickly, so paint in three bands rather than blending two colours in one go. Practical tip: mix the top and bottom shades to make a middle colour, then dab the seams with a damp sponge while the paint is still wet.
Why it works: the gradient adds depth, so even a single pumpkin looks like a deliberate centrepiece. Place a plum-toned pumpkin beside deep red candles or dried hydrangea heads for an autumn mood without leaning on orange.
Gold Leaf Touches
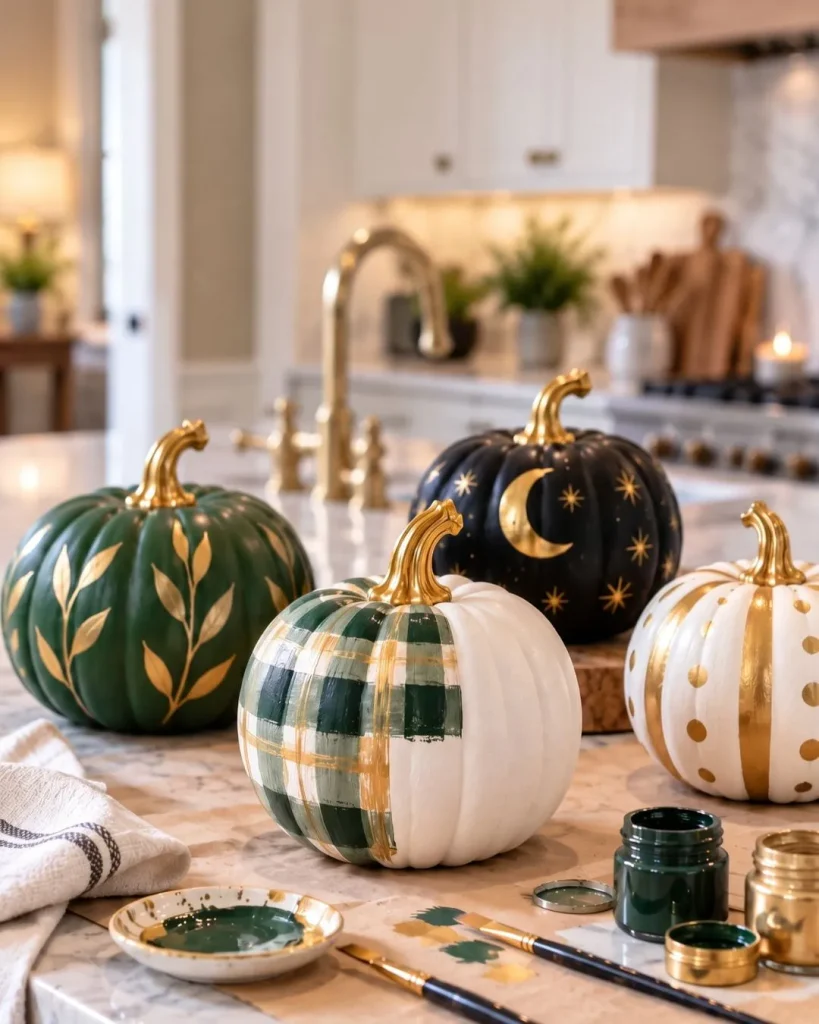
Photo Credit: havenedit_homedecor
Gold turns a plain pumpkin into a styled one with very little effort. Dip the stem in gold paint, add a band of gold leaf around the middle, or scatter small flecks over a deep green or navy base. Gold against a dark colour glows beautifully in candlelight.
Gold leaf needs a thin layer of adhesive size, but beginners can get a similar effect from a metallic paint pen. Practical tip: a gold stem alone is the lowest-effort upgrade, and it looks good on every pumpkin in this article.
Why it works: metallics reflect light, so a few gold touches make a dim hallway or porch feel brighter in the evening. Keep gold to one or two details per pumpkin so the design stays elegant instead of glittery.
Black and Gold Geometry for Dinner Party Tables
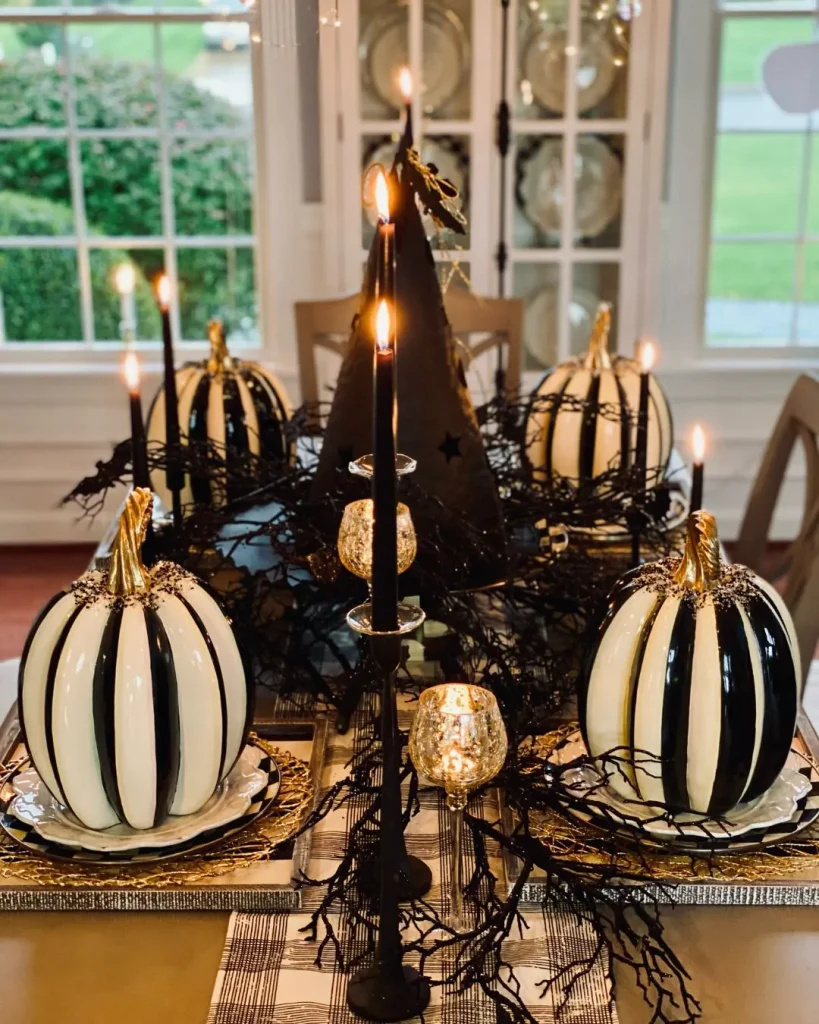
Photo Credit: haverstrawhill
Matte black pumpkins with fine gold lines feel closer to art deco than Halloween. Think triangles, chevrons and fan shapes that wrap around the ridges, then pair them with brass candlesticks and dark linen. Mini versions make smart place settings.
Masking tape rarely seals perfectly on a curved, bumpy surface, so paint leaking under the edge is a common frustration. Practical tip: draw guidelines in chalk and trace over them with a gold paint pen, which gives crisp lines without any tape.
Why it works: strict lines and a limited palette feel formal, which suits grown-up dinners and Halloween parties where kitsch decor would look out of place. Repeat the same gold pattern at different scales, with small pumpkins at each setting and one tall pumpkin as the centrepiece.
Matte Black Pumpkins Wear Gold Cobwebs Well
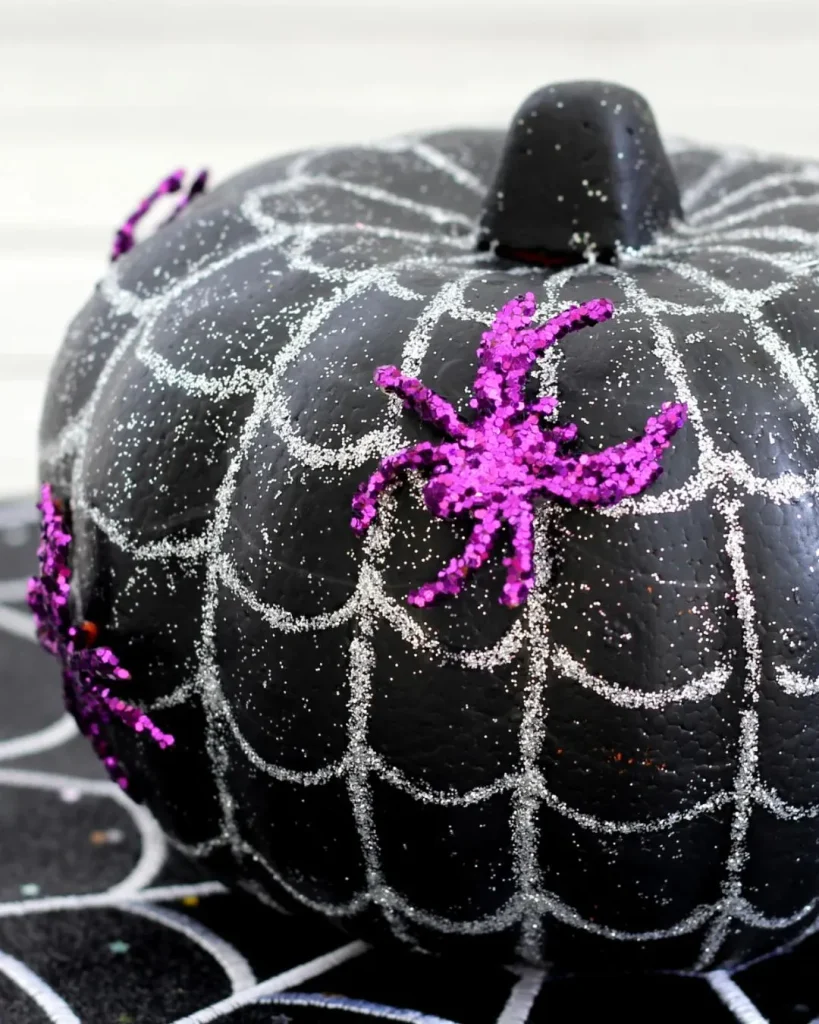
Photo Credit: funmoneymom.com
Here is where the look turns properly spooky. Start with two coats of matte black, then add fine gold cobwebs that radiate from one side of the pumpkin and drape over the shoulder. One tiny gold spider on a thread finishes it off.
Because the contrast is so strong, even simple webs read clearly from the pavement. Practical tip: sketch the web in white chalk first, since it wipes away if the curves go wrong and lets you plan the spacing before any gold goes on.
Why it works: gold on black keeps the spooky symbol but loses the cartoonish look, so it suits homes that prefer grown-up Halloween decor. Group two or three with black taper candles and bare branches for a haunted-manor effect.
Midnight Moon Phases in Black and Gold
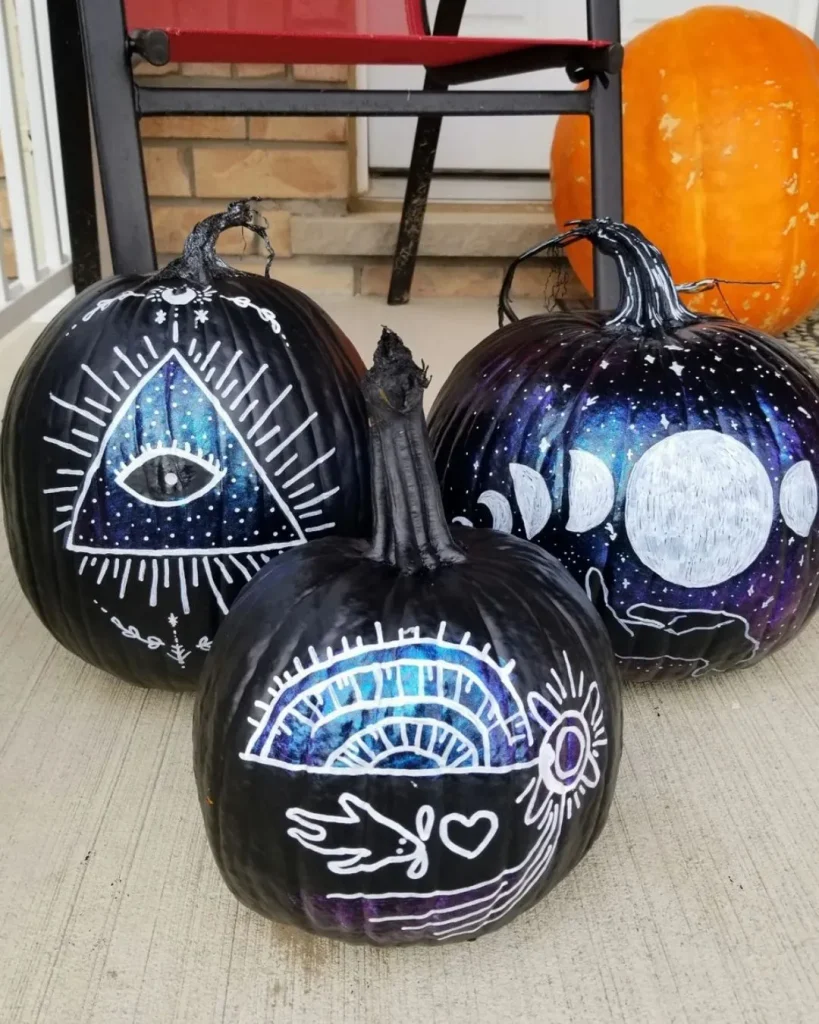
Photo Credit: WitchesVsPatriarchy
Pumpkin ridges work like built-in frames for a moon phase design. Paint each segment matte black, then add a gold crescent, half moon and full moon across a row of segments, with tiny gold stars scattered in between. Lined up on a mantel, the set looks like it belongs to a very stylish witch.
This one suits moody Halloween rooms with black candles and dried stems. Practical tip: use a round sponge dabber or a bottle cap to print the full moon in one press, then shape the crescent by painting part of it back over in black.
Why it works: moon phases tell a small story from left to right, which gives visitors a reason to look closely. Vary the size of the gold stars slightly so the night sky feels natural rather than stamped.
Prep and Sealing Habits That Keep Paint Looking Fresh
Acrylic craft paint is the usual choice for pumpkins, because it is water-based, quick drying and easy to clean up. Wipe the pumpkin with a damp cloth, let it dry completely, and test any unusual paint on a small hidden patch first. Design experts at Homes & Gardens also point out that sealing the finished design is one of the most important steps for a long-lasting result.
Orange showing through light colours is the most common mistake, especially with pastels, florals and marble. A white base coat, or a naturally pale pumpkin, fixes it, and two thin coats beat one thick one. Avoid painting right down to the base, where wet paint can stick to newspaper or a tray.
Sealing protects the design. Once the paint is fully dry, add a clear acrylic sealer, and keep the pumpkin out of rain and direct sunlight. Painted pumpkins are not immune to rot, but without cut flesh they generally last far longer than carved ones, and painted faux pumpkins can come out of the box again next year.
Pick a Palette and Let the Pumpkin Do the Rest
Strong pumpkin displays share one principle: a clear palette repeated across different sizes and finishes. Pastels and florals suit daylight porches, while black and gold comes into its own after dark.
Also Read About: Crochet Table Runners for Christmas, Easter and Autumn Tablescapes.