You hang a picture, step back, and something feels off. It is too high, slightly crooked, or just too small for the wall. Most hanging mistakes happen before the nail ever goes in, and they are easy to avoid once you know what to check. The right way to hang pictures on the wall is not about expensive tools or perfect taste. It is about height, weight, spacing, and a little planning before you drill.
Work through these twelve steps in order, and your walls will look considered instead of accidental.
Hang Art at Eye Level
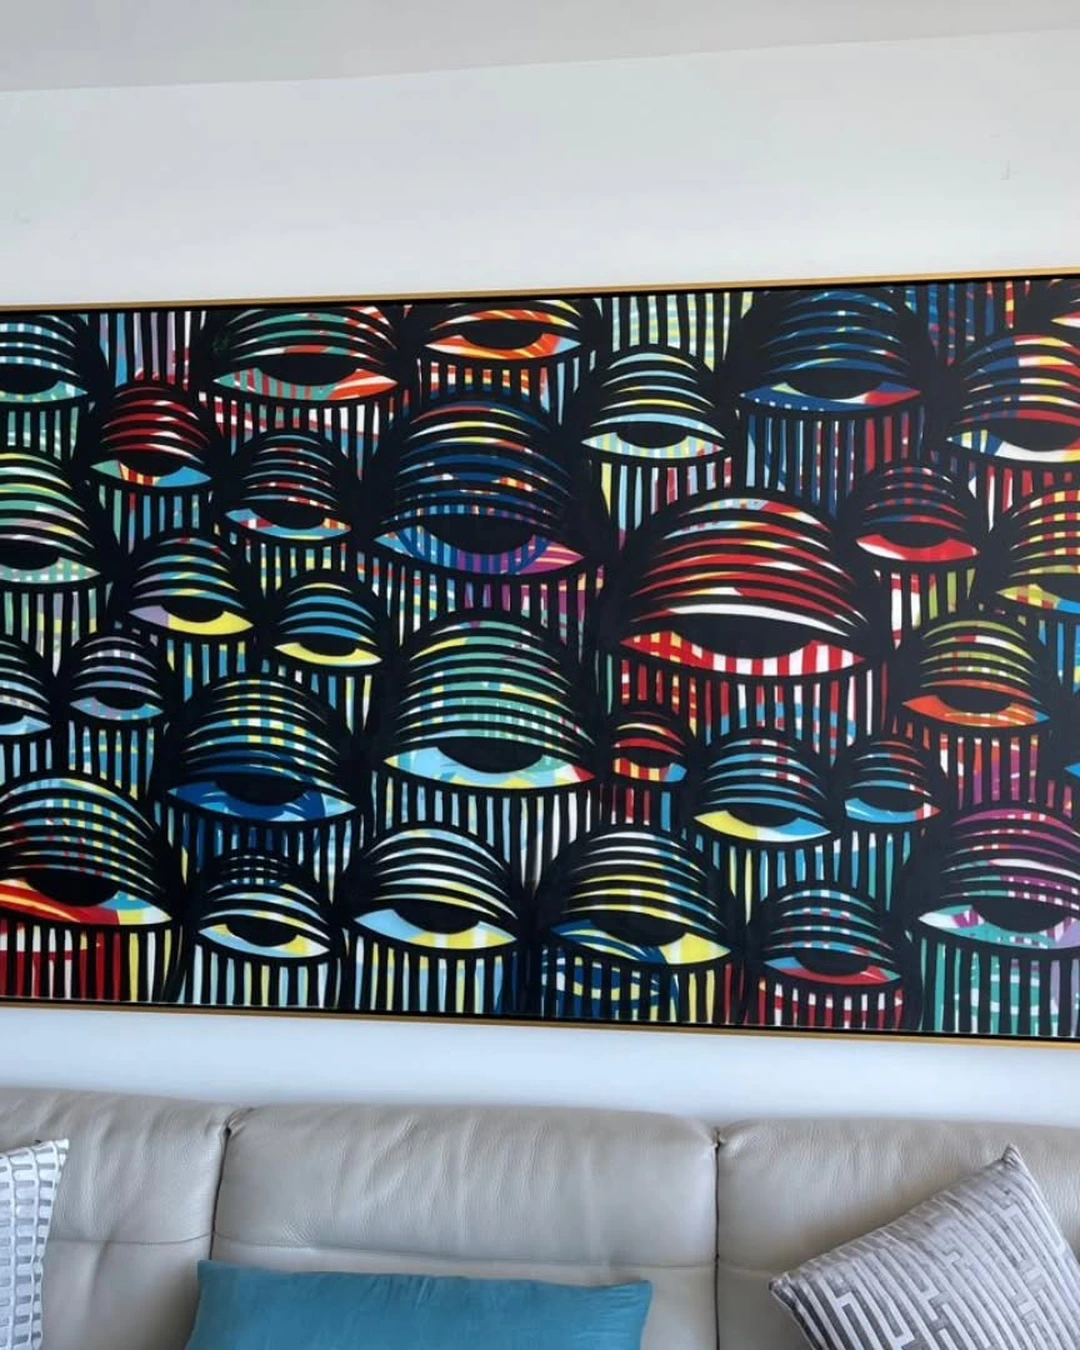
Photo by @aholsniffsglue
The single most common mistake is hanging art too high. In this photo, a large, colorful abstract painting hangs above a light leather sofa at a natural viewing height, filling the wall without floating near the ceiling. The rule that professionals use is simple: the center of the artwork should sit at eye level, about 57 inches from the floor, which is average standing eye height.
Measure the height of your frame, divide it in half, and mark that center point at 57 inches. When art hangs above furniture, this rule bends slightly — the bottom of the frame should sit 6 to 8 inches above the sofa or console, which usually lands the center close to eye level anyway. Stand back and check from the spot where you will actually look at it, not from a ladder.
Measure and Mark Before You Drill
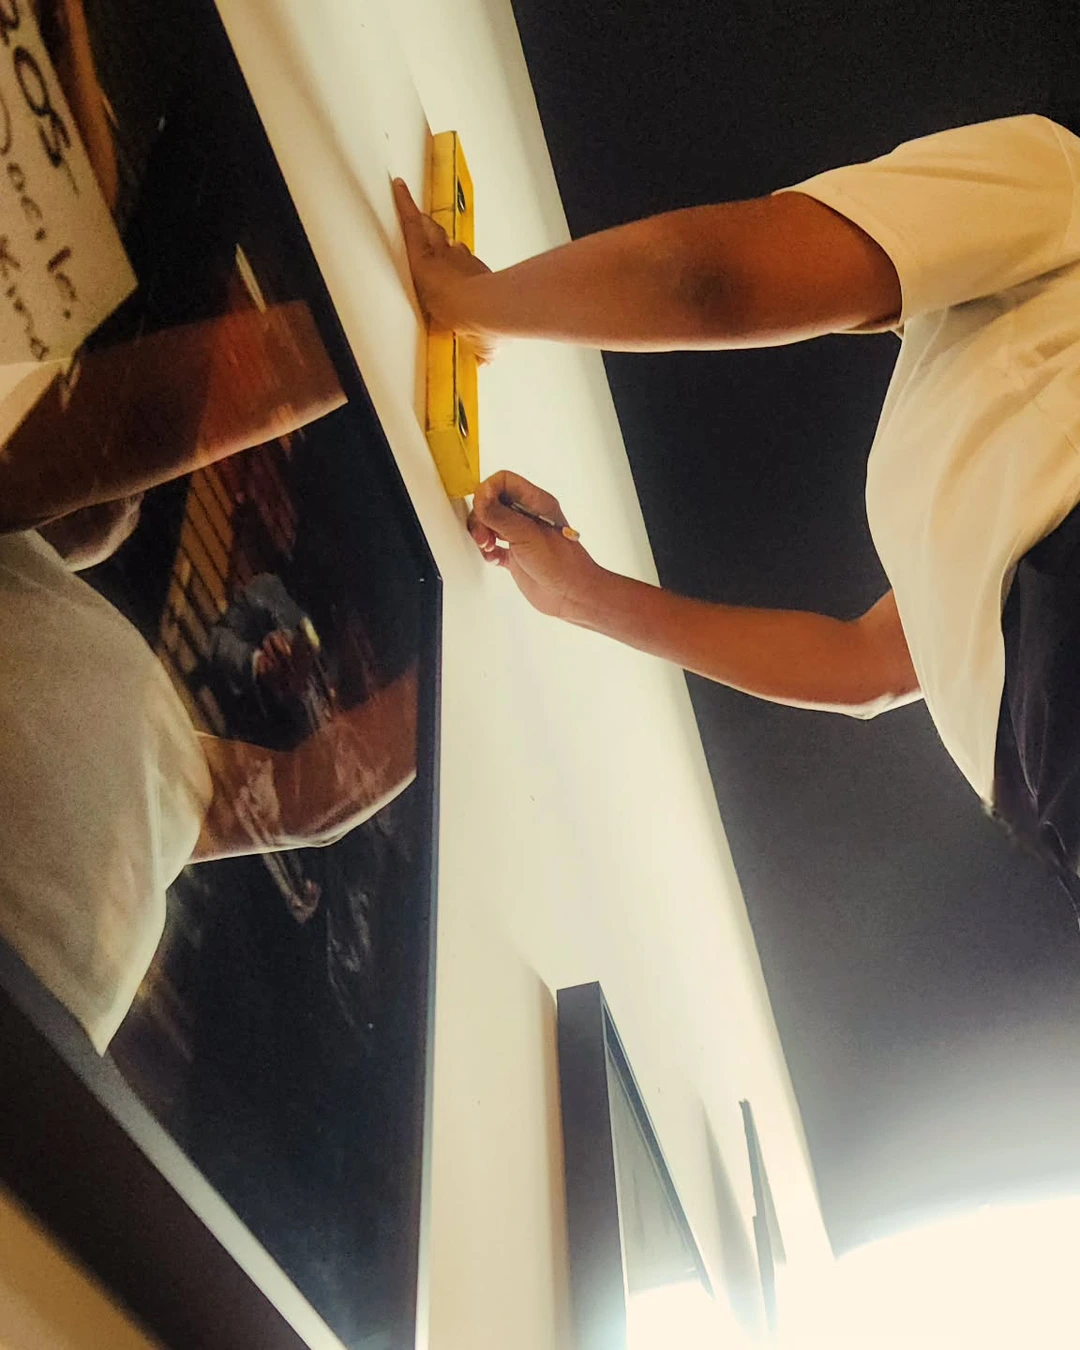
Photo by @sltwtrartgallery
Guessing is how walls end up full of extra holes. Here, a person holds a yellow spirit level against a white wall and marks the spot with a pencil while a framed photograph already hangs nearby. That small pause is the whole job. Measure twice, drill once is not just a saying; it is the difference between one clean hole and a patching job.
Measure the distance from the top of the frame to the hanging wire or hook, then transfer that measurement to the wall from your marked center point. Mark lightly in pencil so the line disappears behind the frame or erases easily. If you are hanging a pair or a group, mark every position before you drill the first hole.
Use a Paper Template for Perfect Placement
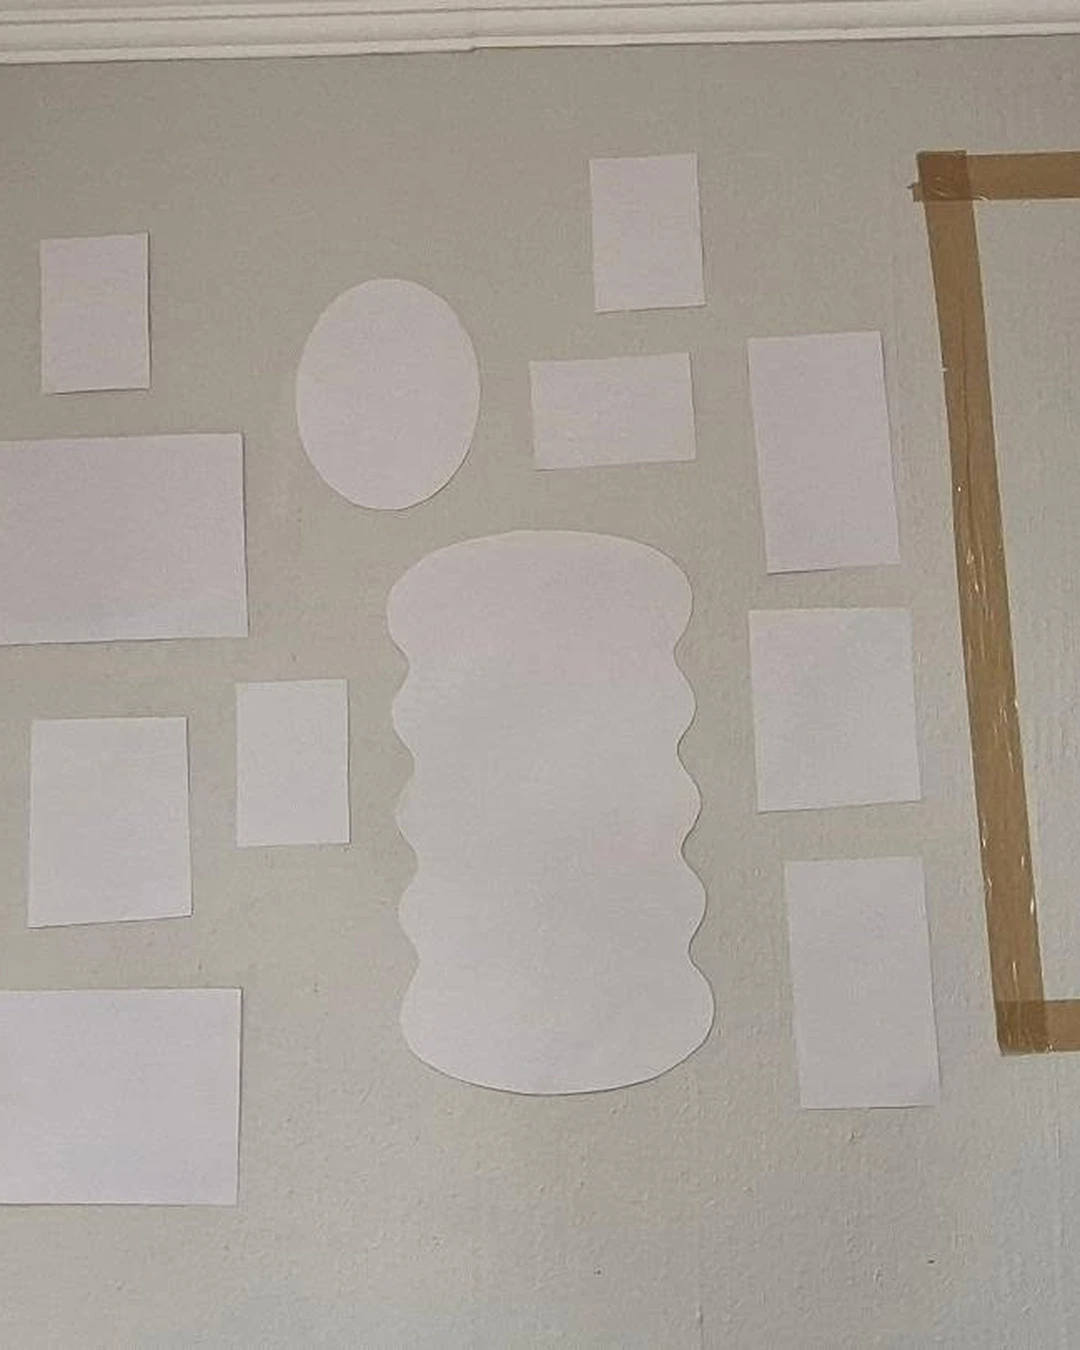
Photo by @the.recyclebin
For a gallery wall or any arrangement with more than one frame, paper templates save you from the hardest part: spacing. This photo shows the method clearly — blank white paper cutouts in different shapes and sizes taped to a light gray wall, with a larger frame outlined in brown packing tape on the right. Each cutout stands in for a real frame, so you can see the whole layout before committing. Paper templates let you move pieces around, step back, and check the balance without a single hole in the wall.
Cut each template to the exact size of its frame, tape them up with painter’s tape, and live with the layout for an hour if you can. Mark the nail positions through the paper, then remove the templates and drill only where you marked.
Choose the Right Hook for the Weight
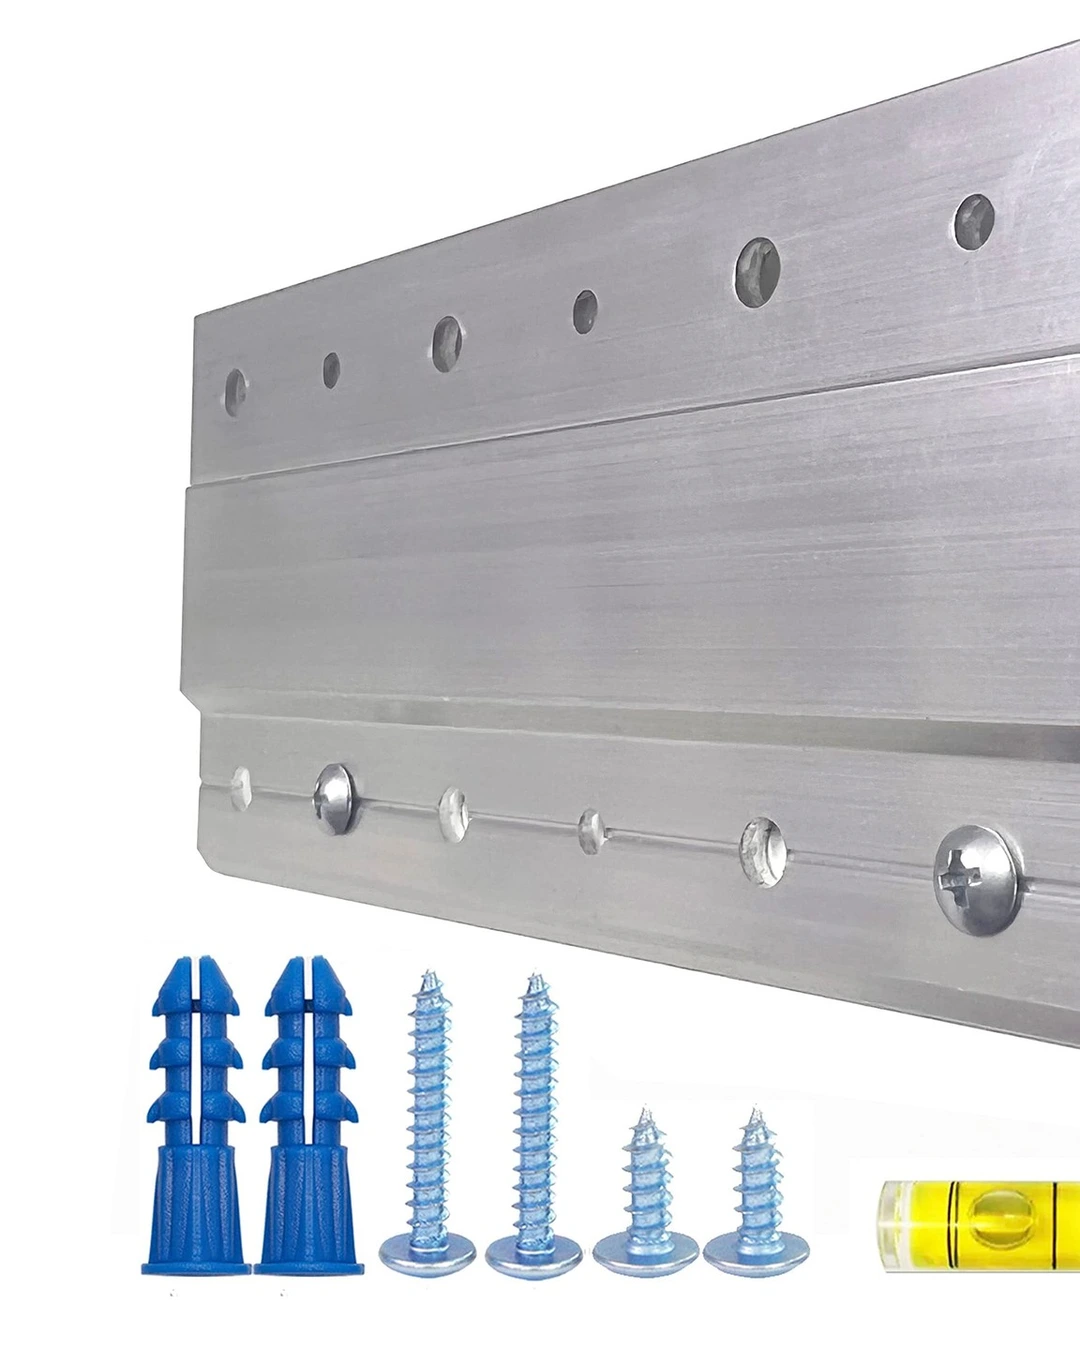
Photo by @myhomesteadtreasures
A picture falls for one reason: the hardware was not rated for the weight. This photo shows the kind of hardware that holds heavy pieces safely — a silver aluminum French cleat with mounting holes, plus blue wall anchors, screws, and a small spirit level. A weight-rated hook is not optional for anything heavier than a small print.
Weigh the framed piece on a bathroom scale if you are unsure, then choose hardware rated above that weight. Small frames do fine on a single picture hook, medium frames need two hooks or a wall anchor, and anything heavy belongs on a French cleat or into a wall stud. Plaster and drywall behave differently, so match the anchor to your wall type as well as the weight.
Build a Gallery Wall That Looks Planned
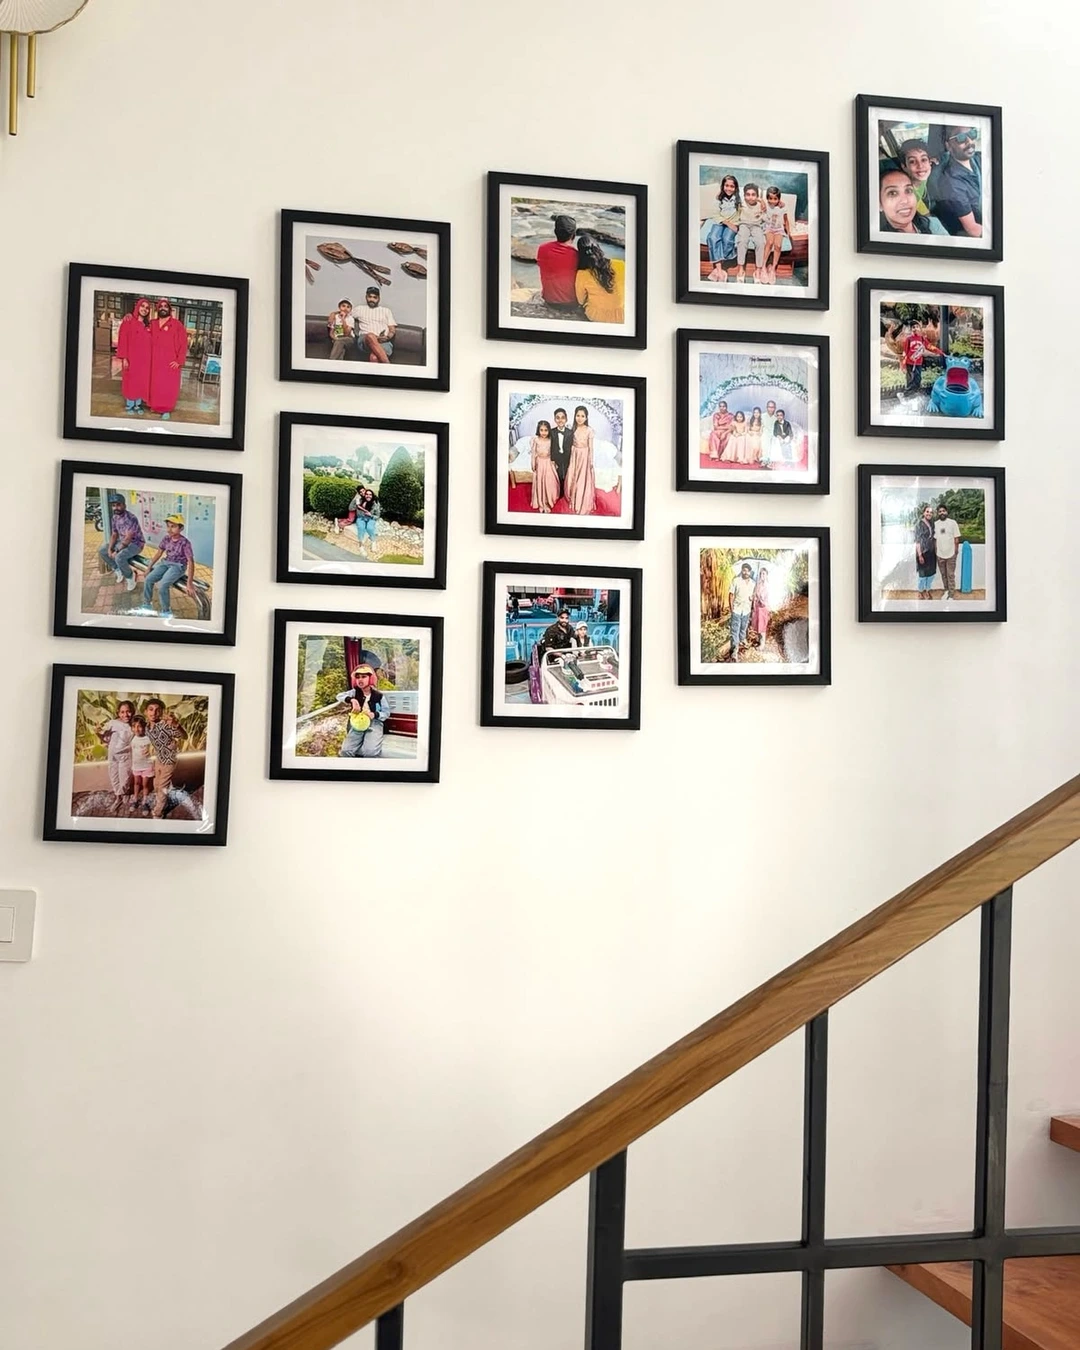
Photo by @grid_frames
A gallery wall looks effortless only when it is planned. In this photo, fifteen black-framed family photographs climb a white stairwell wall in a neat ascending arrangement, following the slope of the stairs with even spacing between every frame. The result reads as one composition, not fifteen separate decisions. The secret is consistent spacing — pick one gap, usually 2 to 3 inches, and keep it the same between every frame.
Start with the largest piece near the center, then build outward. Lay the whole arrangement on the floor first, or use paper templates from step three. Mixing frame styles works when the spacing stays steady and one element repeats, such as the same mat color or frame finish. For more gallery wall inspiration, see Trending Gallery Wall Ideas.
Hang One Large Statement Piece
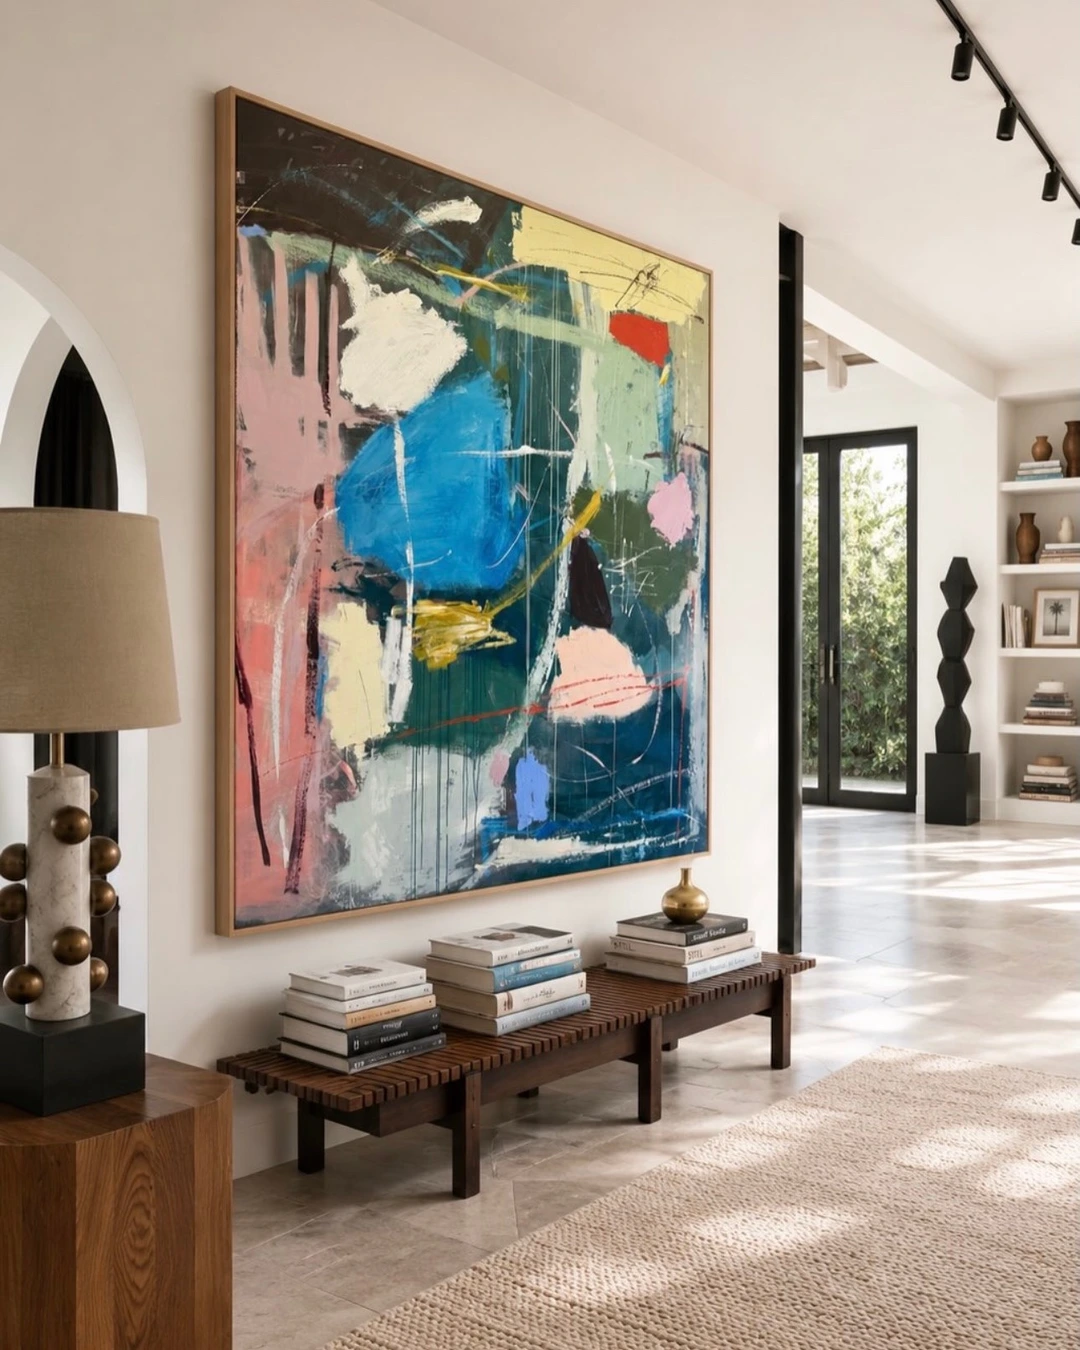
Photo by @altforliving
When a wall is big and empty, one large piece beats a cluster of small ones. This photo shows why: a single oversized abstract painting in bold blue, pink, yellow, and green dominates an entryway wall above a low wooden bench, and nothing else competes with it. A statement piece should span roughly two-thirds of the width of the furniture below it — that proportion is what makes it look intentional rather than lost.
Choose the wall first, then the art. A large piece needs breathing room, so keep the surrounding wall mostly clear and resist the urge to fill the gaps beside it. If your largest frame still looks small on the wall, the wall needs a bigger piece or a group, not a higher hook.
Hang Art Above a Sofa with the Right Gap
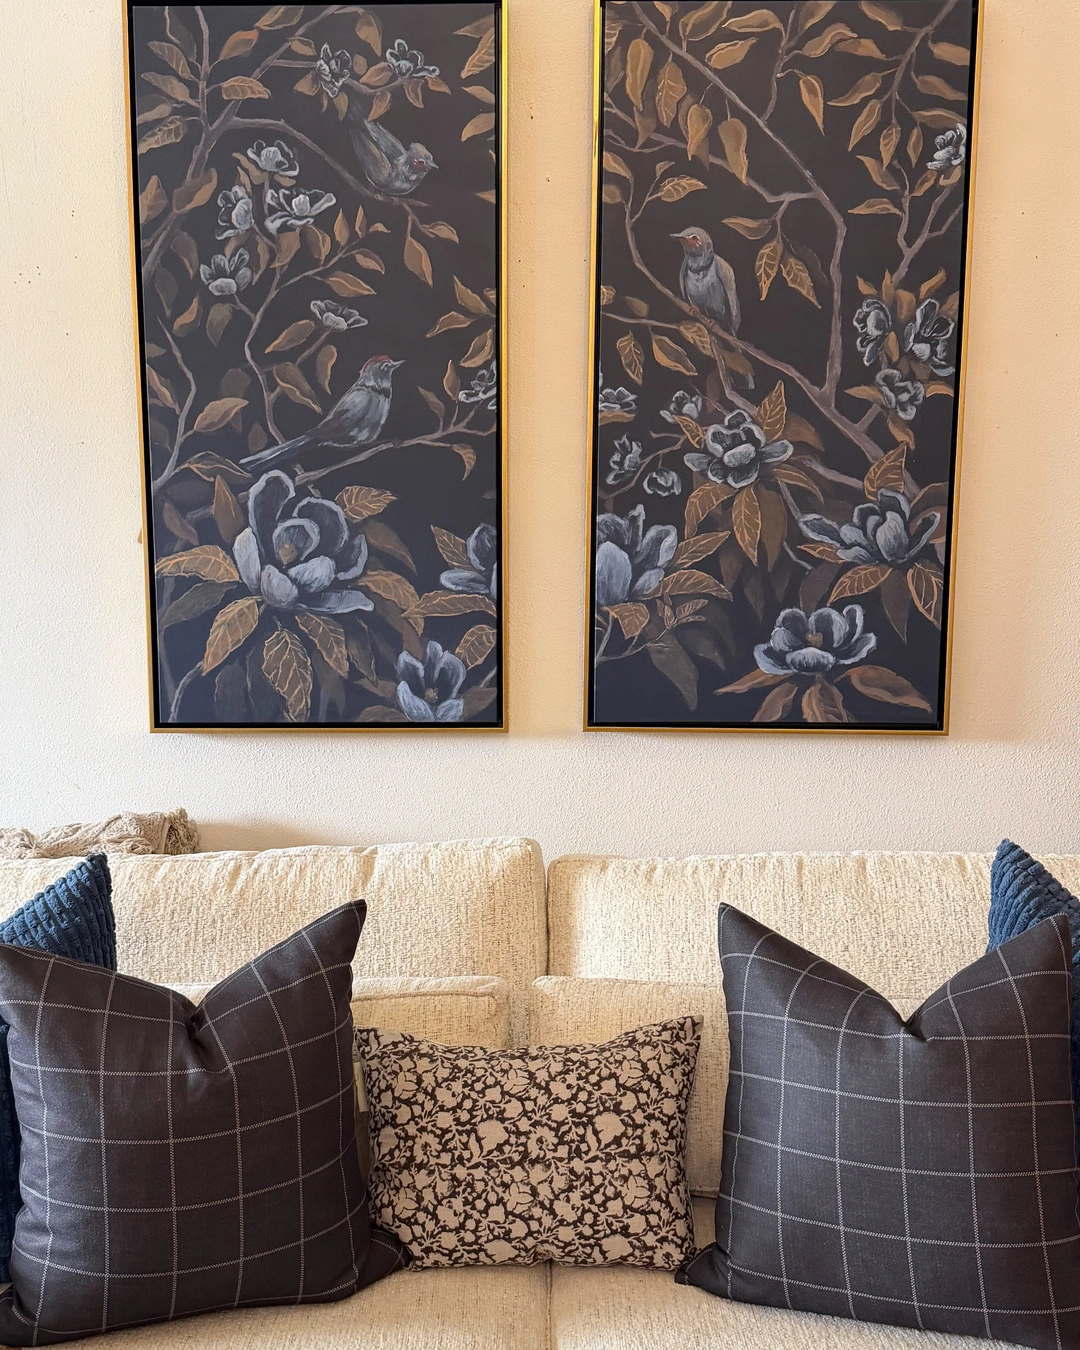
Photo by @hartley_haus
Art above a sofa follows its own rule. In this photo, two tall botanical paintings with gold-edged frames hang side by side above a cream sofa, with a comfortable gap between the top of the sofa cushions and the bottom of the frames. The art connects to the sofa instead of floating away from it. The right gap is 6 to 8 inches above the sofa back — close enough to read as one arrangement, far enough that nobody bumps the frame when they sit down.
The width matters too. The art, or the group of frames, should cover about two-thirds of the sofa’s width. A tiny frame centered over a long sofa looks stranded, while a piece wider than the sofa crowds the room.
Hang Pictures in Pairs or Symmetrical Sets
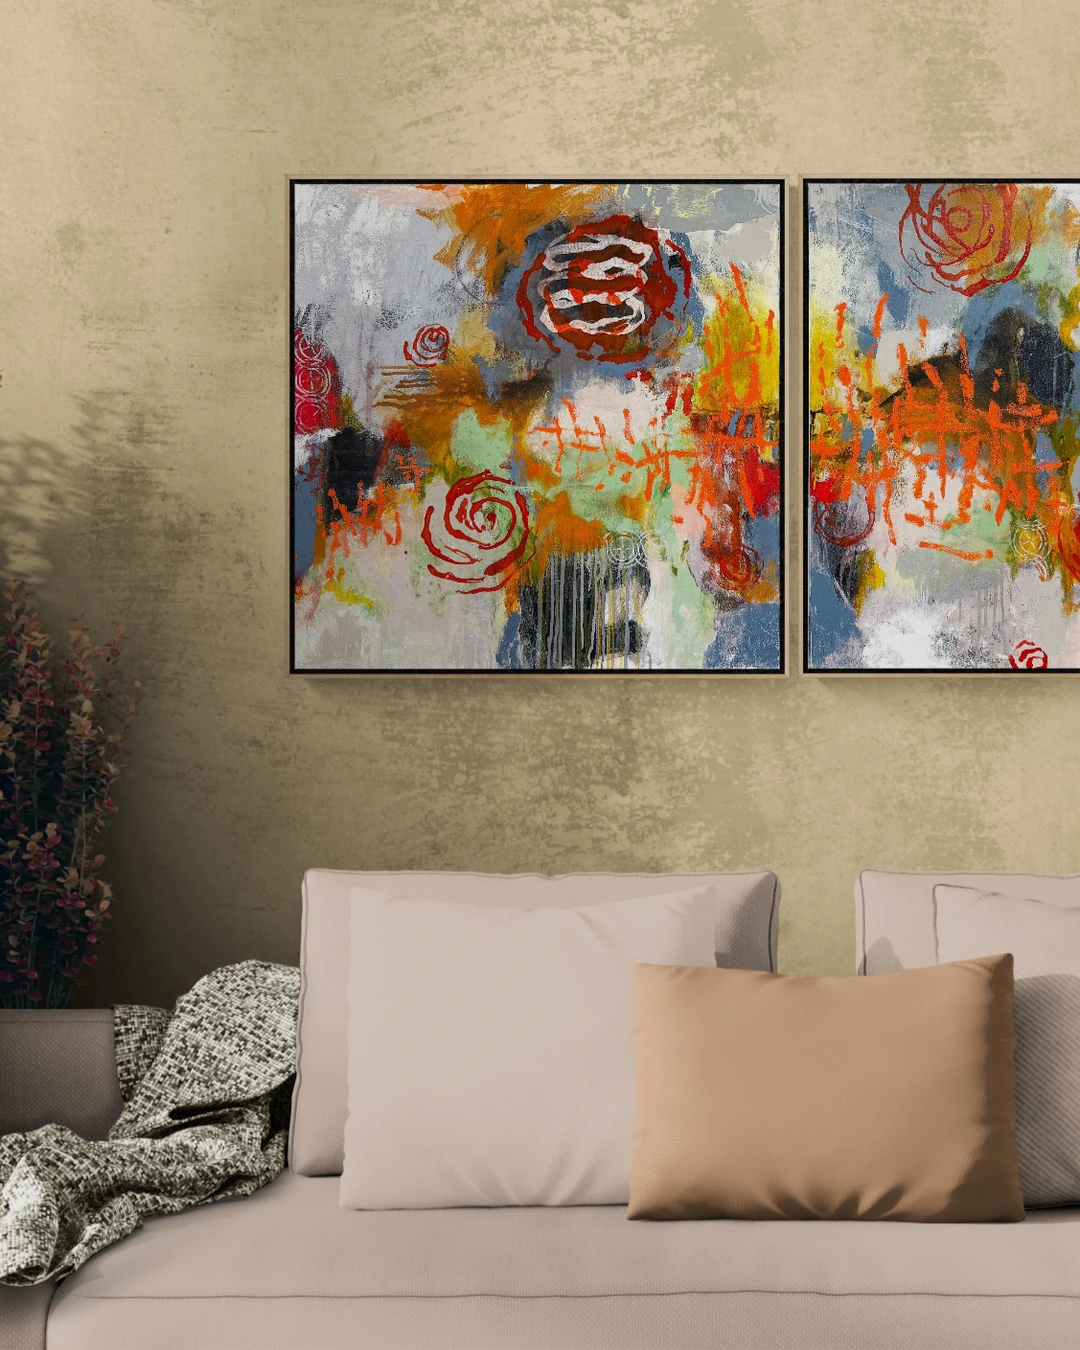
Photo by @jeffreytoverart
Pairs are the easiest way to make a wall look finished. This photo shows a textbook example: two large square abstract paintings with red spiral motifs hang side by side as a diptych above a sofa, matching in size, frame, and height. Symmetrical hanging works because the eye reads the pair as one unit, which instantly calms a room.
Hang both frames at the same height, with a small, even gap between them — 2 to 4 inches is plenty. Pairs work above a console, flanking a bed, or on either side of a doorway. The two pieces do not need to be identical, but they should share a size, a frame style, or a color story so the symmetry holds.
Hang Heavy Mirrors and Frames Safely
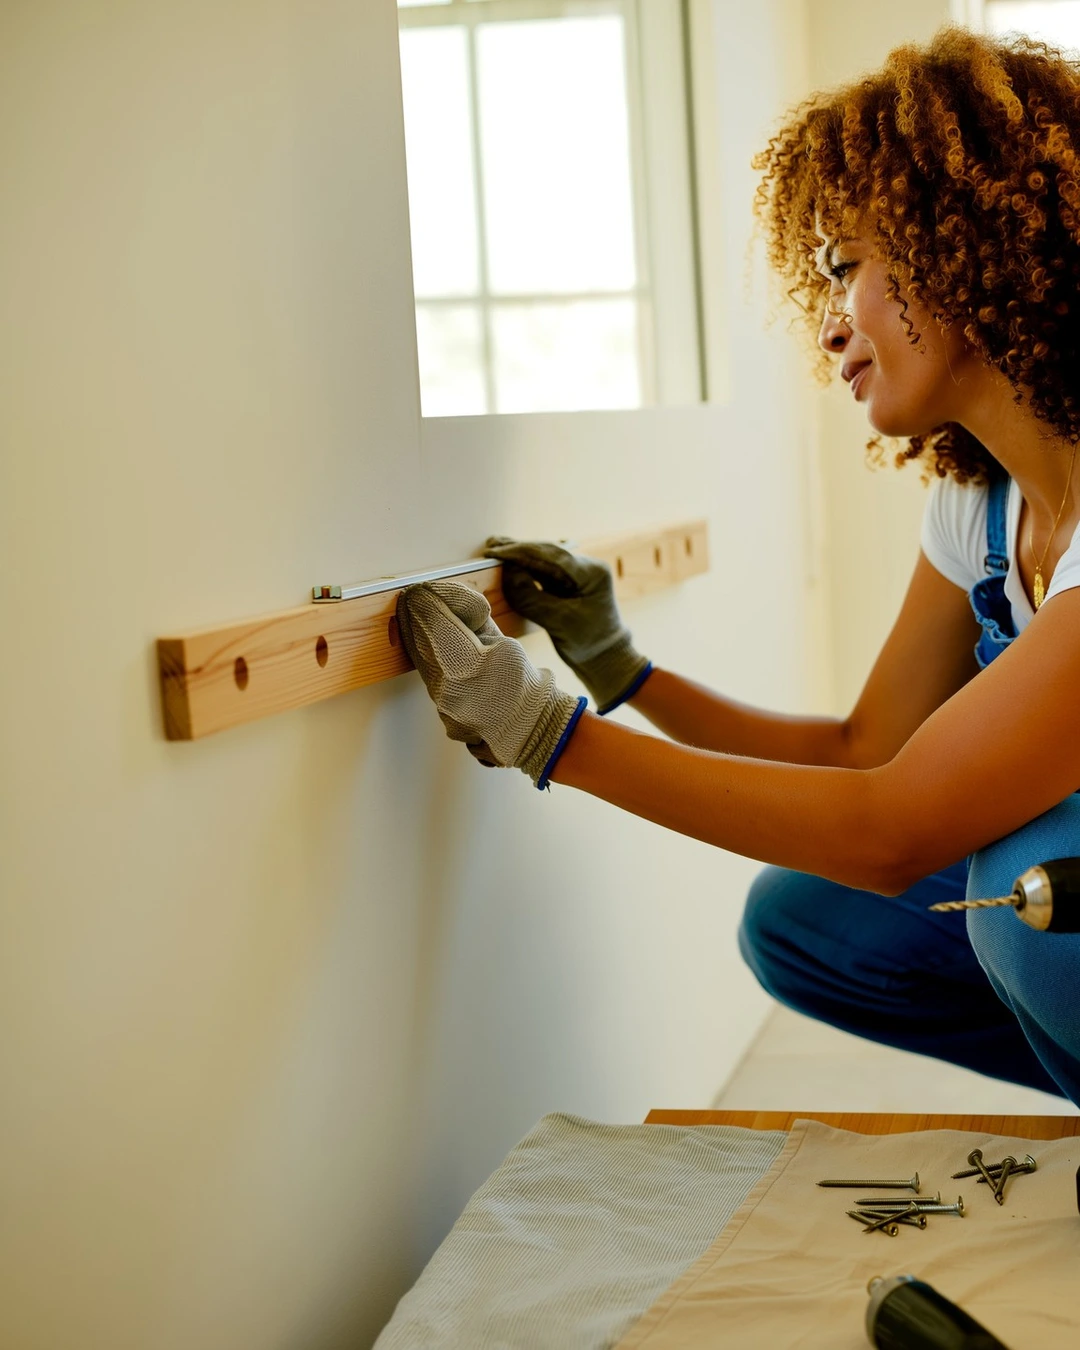
Photo by @lolobondz
Heavy pieces are where shortcuts turn dangerous. Here, a woman in work gloves levels a wooden French cleat strip on a white wall, with a cordless drill and screws ready nearby. The cleat is the right tool for the job: two interlocking strips spread the weight across the wall instead of hanging it all from one nail. French cleats into studs are the safest way to hang a heavy mirror or oversized frame.
Find the studs with a stud finder and drive the wall-side cleat into at least two of them. If no stud lines up, use heavy-duty wall anchors rated well above the mirror’s weight. Never hang a heavy mirror from a single nail, an adhesive hook, or a wire looped over one picture hook, and always have someone help you lift it into place. For more on mixing mirrors with frames, see Mixing Ikea Mirrors and Frames.
Use Picture Ledges for a Flexible Display
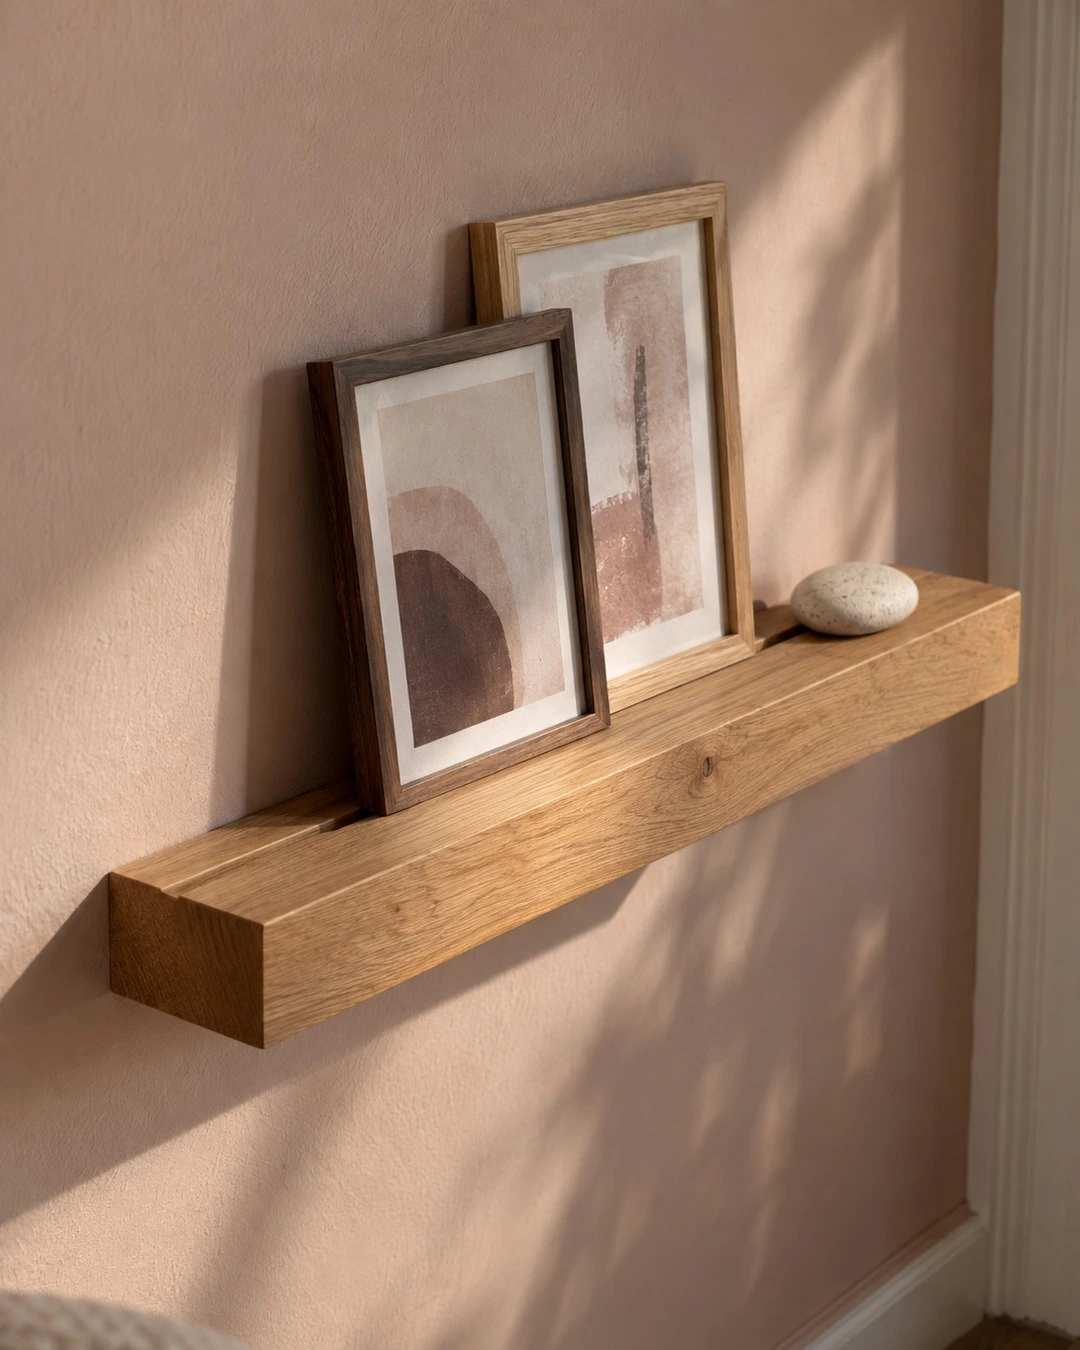
Photo by @hearthandhewn
If you like to change your art often, or you rent and want fewer holes, picture ledges are the answer. This photo shows a light oak ledge on a soft pink-beige wall holding two framed abstract prints leaning against the wall, with a small speckled stone beside them. A picture ledge lets you layer frames, swap pieces in seconds, and lean art instead of hanging it.
Mount the ledge level and into studs or with proper anchors, since a loaded ledge is heavier than it looks. Lean larger frames at the back and smaller ones in front, overlapping slightly, and keep the front edge clear so nothing slides off. Ledges work beautifully above a desk, a console, or a bed, and they are forgiving: if the arrangement looks wrong, you just move a frame.
Avoid Hanging Art Too High or Too Small
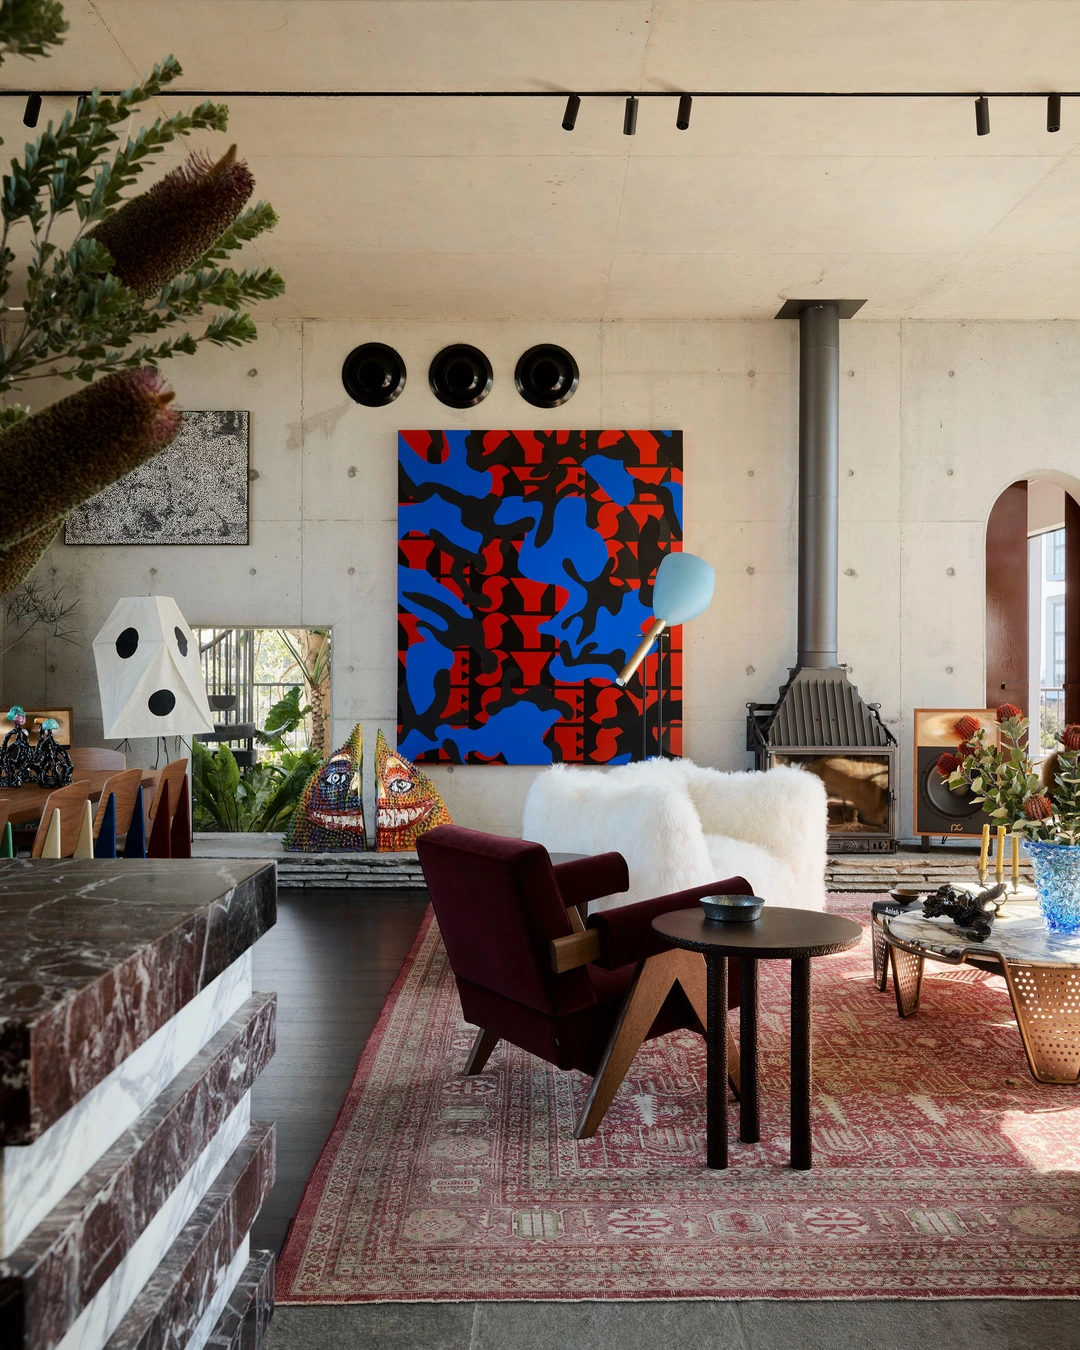
Photo by @flackstudio_
Two mistakes ruin more walls than any other, and they usually arrive together. This photo shows the opposite: a large, bold red and blue painting scaled generously to the concrete wall and the white armchair below it, so the art and the furniture belong to each other. Scale and height are a pair — art that is too small for its wall looks lost no matter where you hang it, and art hung too high disconnects from the furniture beneath it.
Before you buy or hang, hold the frame up and check two things: does it cover at least half to two-thirds of the furniture width below it, and does its center sit near eye level or 6 to 8 inches above the furniture? If the answer to either is no, change the size or the height before you drill. A too-small frame can still work in a group, but on its own it needs a smaller wall.
Use Adhesive Strips for Damage-Free Hanging
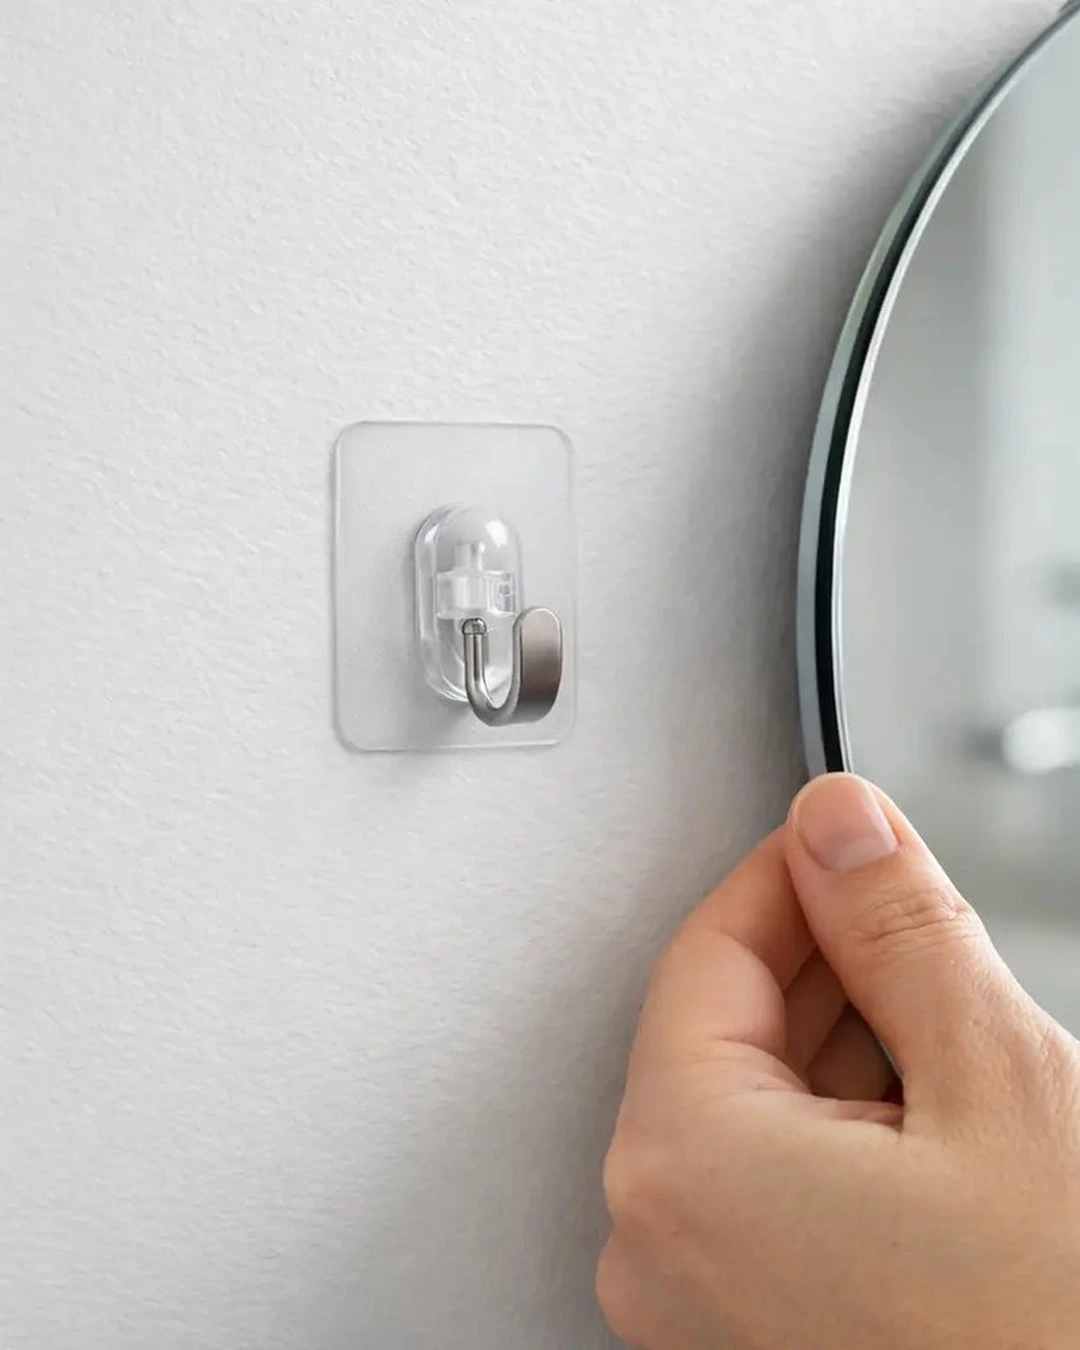
Photo by @takkerdiy
Renters and fresh paint both call for a no-hole option. In this photo, a hand positions a round frameless mirror beside a clear adhesive hook already mounted on a white wall — the damage-free method in action. Adhesive hanging strips hold light to medium frames without nails, and they remove cleanly when you follow the instructions.
Match the strip to the frame’s weight, and use more strips than you think you need on anything over a few pounds. Clean the wall with rubbing alcohol first, press firmly for the full time the package states, and wait at least an hour before hanging the frame. Adhesive strips are not for heavy mirrors, textured walls, or fresh paint that has not fully cured — those still need real hardware.
Step Back Before You Call It Done
Hanging pictures well comes down to a short checklist: center at eye level, the right gap above furniture, hardware rated for the weight, even spacing, and art scaled to its wall. Check the level one last time, step back to where you will actually see the piece, and look at it the way a guest would. A few careful minutes before the first hole saves a wall full of patches, and it is the difference between pictures that just hang there and a room that feels finished.