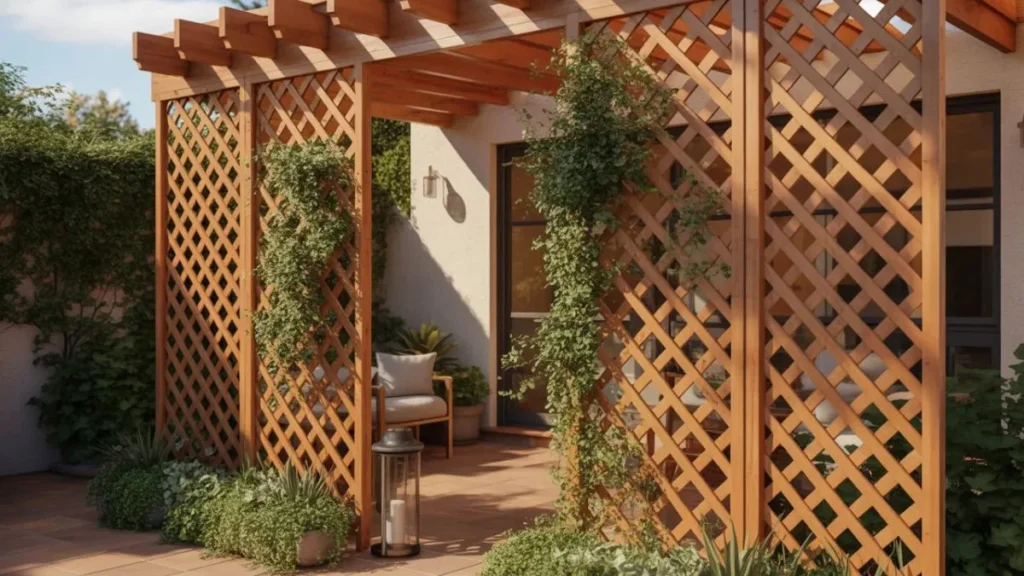
When Your Yard Needs Breathing Room and Boundaries at the Same Time
Privacy doesn’t have to come with an eyesore attached. A well-built DIY lattice screen can block your nosy neighbour’s sightline, muffle street noise, and become one of the most beautiful design elements in your entire outdoor space — all without calling a contractor or blowing your budget.
Whether you’re working with a tiny balcony, a sprawling backyard patio, or an awkward side yard, there’s a lattice screen idea here that fits. These 12 creative builds cover every style, budget, and skill level — so you get the privacy you want and a yard you’re proud to show off.
1. Classic Cedar Diamond Lattice Panel
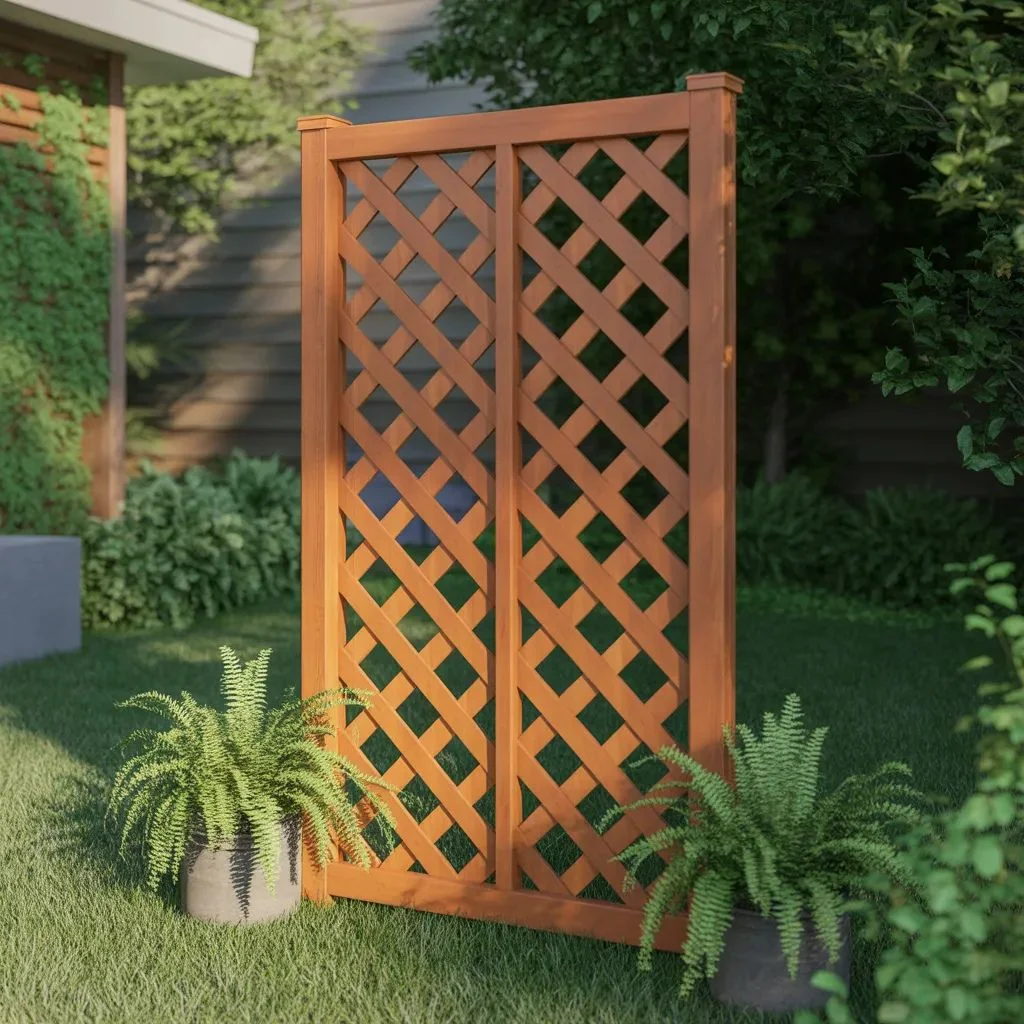
The classic cedar diamond lattice is the gold standard of DIY lattice screens — and for good reason. Cedar is naturally rot-resistant, easy to cut, and ages beautifully to a warm silver-gray if left untreated.
Start with pre-made 4×8 cedar lattice panels from your local hardware store. Frame them with 2×4 cedar boards to give the panel structural rigidity. Set your posts 6 feet deep in concrete for a screen that won’t wobble in the wind.
Pro tip: Apply a clear sealant on all cut edges before assembly. This one extra step can add years to your screen’s lifespan.
- Best for: Traditional, cottage, and farmhouse style yards
- Skill level: Beginner-friendly
- Cost estimate: $80–$150 per panel
2. Painted Black Lattice for a Modern Look
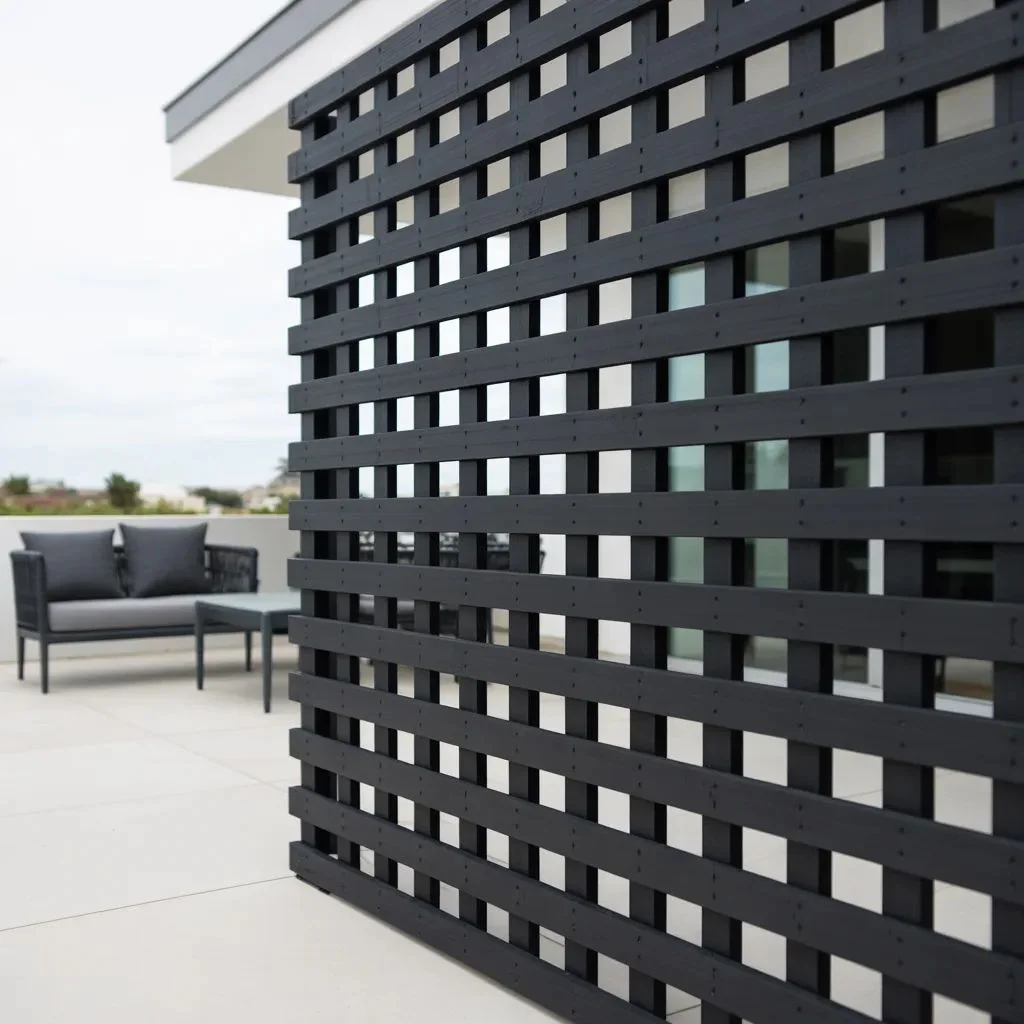
If your outdoor space leans modern or industrial, a matte black DIY lattice screen instantly elevates the aesthetic. The dark paint colour acts almost like negative space — your plants and furniture pop against it.
Use a standard diamond or square lattice panel, prime it with a bonding primer, then apply two coats of exterior matte black spray paint or brush-on paint. The whole transformation takes one afternoon.
Style note: Pair black lattice with concrete planters, ornamental grasses, and brushed metal furniture for a cohesive contemporary feel.
- Best for: Modern, industrial, or Scandinavian outdoor aesthetics
- Skill level: Beginner
- Cost estimate: $60–$120 per panel including paint
3. Freestanding Lattice Screen with Planter Base
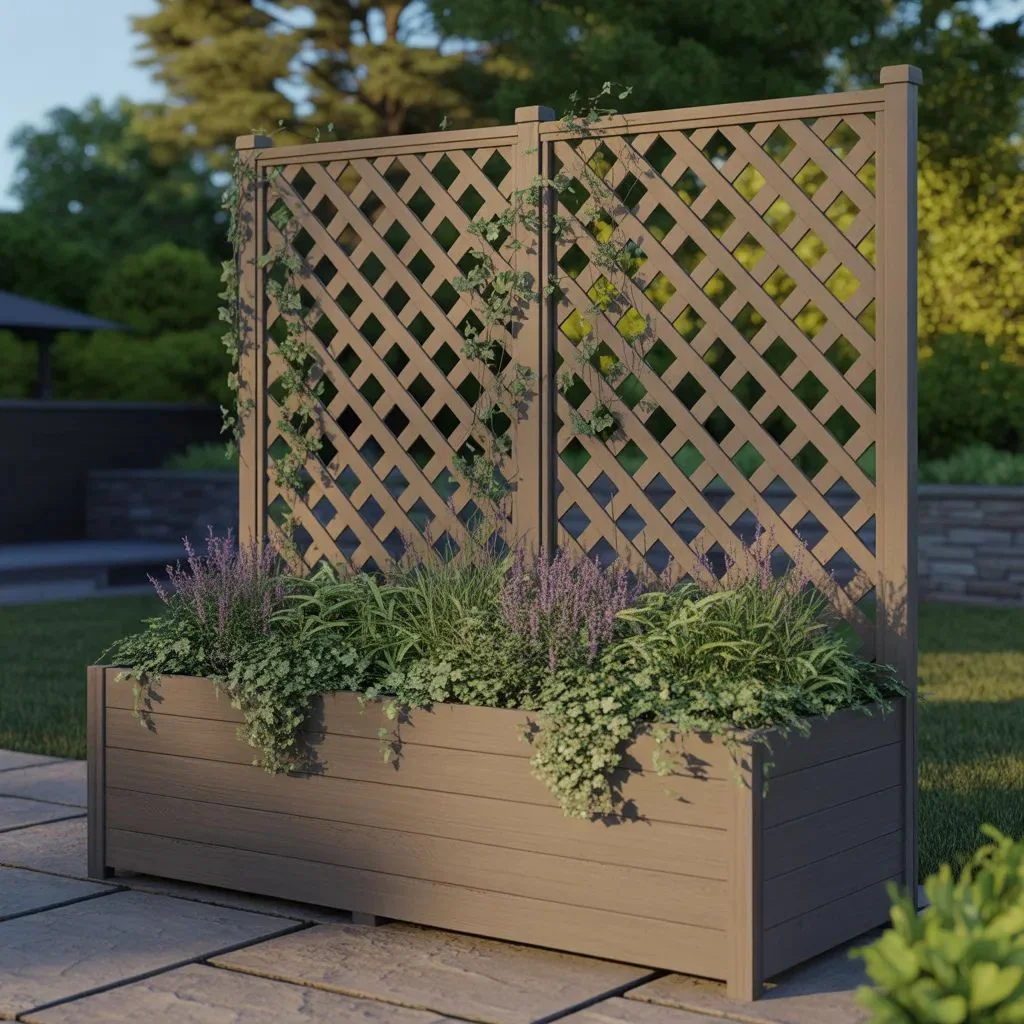
Not everyone can drive posts into the ground — especially on concrete patios, apartment terraces, or rental properties. That’s where a freestanding lattice screen with a weighted planter base is a game-changer.
Build or buy a deep rectangular planter box (at least 12 inches deep for stability), fill it with gravel at the bottom, then potting soil on top. Attach two vertical posts directly into the planter interior, secure with concrete or gravel, and mount your lattice panel between the posts.
Add climbing plants like sweet potato vine, trailing nasturtium, or compact ivy — and within one season, your screen is as green as it is private.
- Best for: Patios, balconies, renters, or temporary setups
- Skill level: Intermediate
- Cost estimate: $100–$200
4. Lattice on a Metal Frame for Sleek Outdoor Spaces
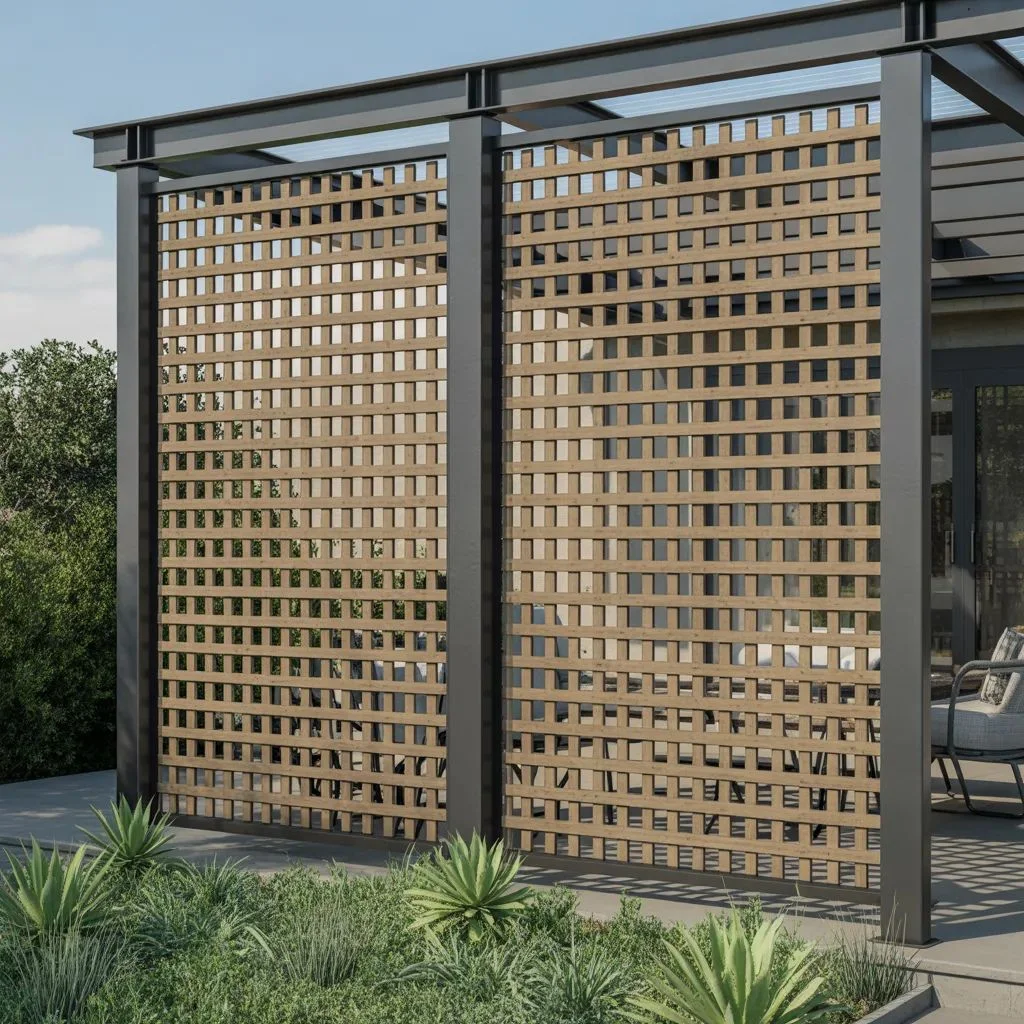
Wood frames are classic, but metal frames give your DIY lattice screen a precision that wood simply can’t match. A welded or bolted steel frame keeps panels perfectly square and handles moisture far better over time.
Use square-pattern lattice panels set into powder-coated steel angle iron frames. If welding isn’t in your skill set, metal hardware stores will often cut and drill frame pieces to your measurements for a small fee.
This combo of wood lattice inside a metal frame is especially stunning in mid-century modern and industrial-modern yard settings.
- Best for: Contemporary, industrial, and architectural yard styles
- Skill level: Intermediate to advanced
- Cost estimate: $150–$300 per panel
5. White Lattice with Climbing Roses
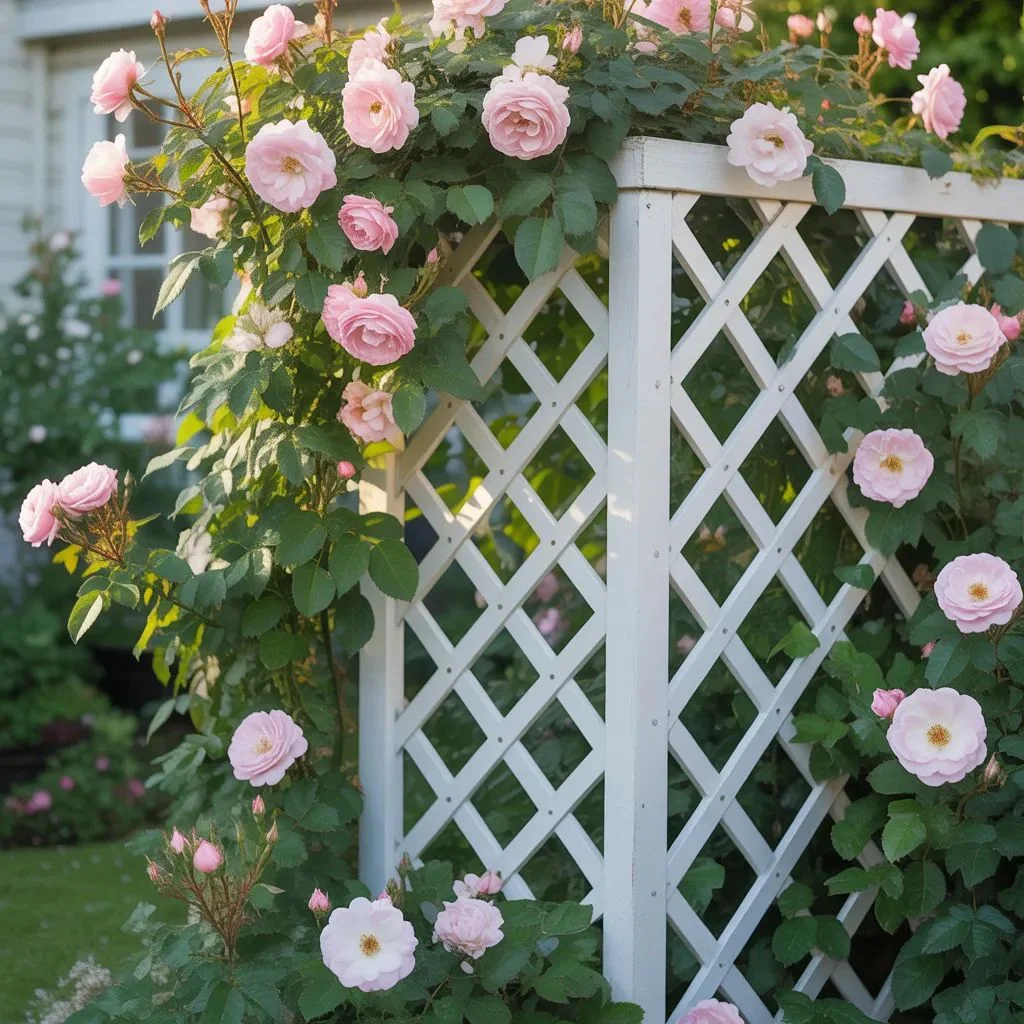
Few things in gardening are as romantic as a white lattice screen smothered in climbing roses. This is a DIY project that pays dividends in beauty every spring and summer.
Paint your lattice panels crisp white with an exterior gloss paint — glossy finishes are easier to clean and resist mildew better than matte. Install the screen in a sunny spot, then plant climbing roses like ‘New Dawn,’ ‘Eden,’ or ‘Cecile Brunner’ at the base.
Train the canes horizontally across the lattice using soft garden ties. Within two growing seasons, you’ll have a living privacy wall that blooms on a schedule and smells incredible.
- Best for: Cottage gardens, romantic outdoor spaces, English garden aesthetics
- Skill level: Beginner to intermediate
- Cost estimate: $90–$160 for screen; $20–$40 per rose plant
6. Horizontal Slat Lattice for a Contemporary Vibe
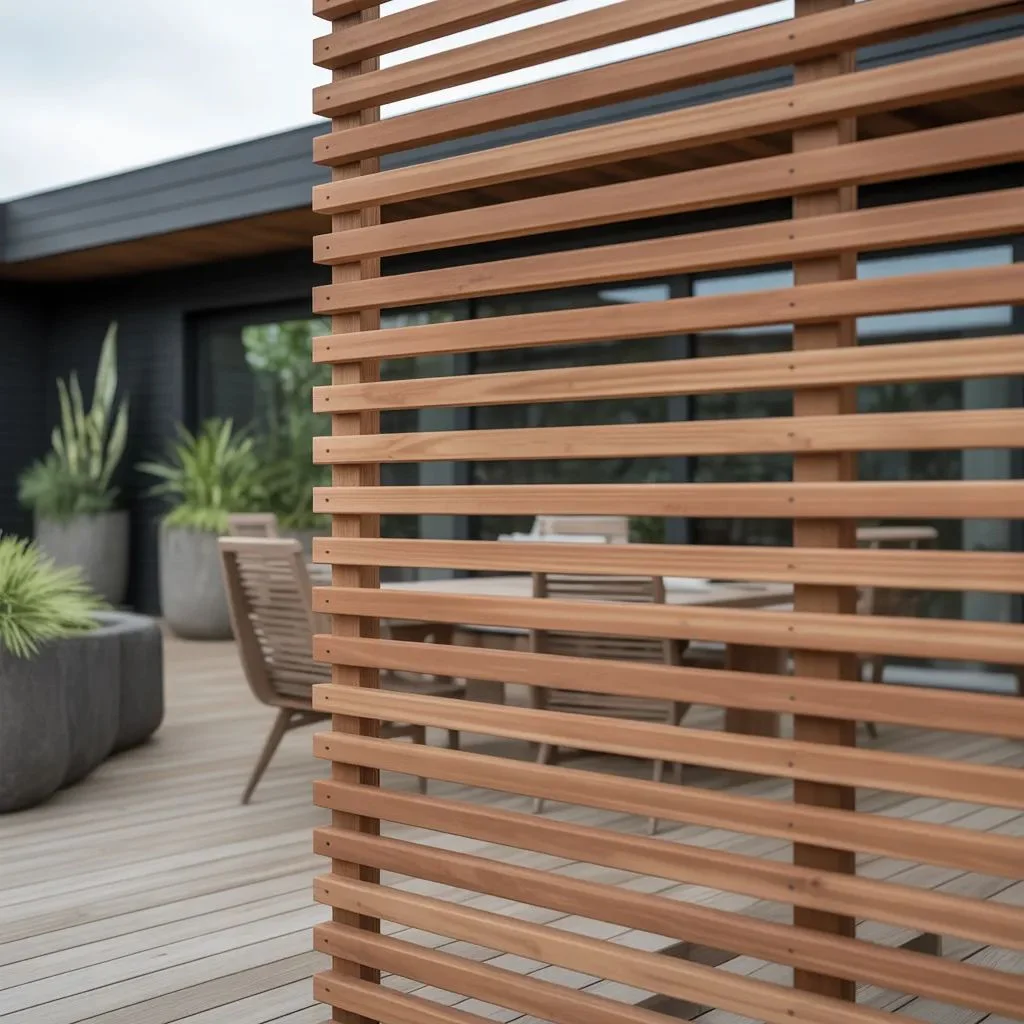
Traditional diagonal diamond lattice is gorgeous — but if your aesthetic is more contemporary or Japandi, a horizontal slat lattice screen is the move.
Cut cedar or pine boards to identical lengths, space them evenly (typically 1 to 2 inches apart), and attach them to a sturdy vertical frame. The horizontal repetition creates a calm, orderly rhythm that feels modern and intentional.
The gap between slats can be adjusted for privacy versus airflow — tighter gaps block more view, wider gaps let more breeze through. This is the most customizable variation of the classic DIY lattice screen concept.
- Best for: Modern, Japandi, Scandinavian, and minimalist yards
- Skill level: Intermediate
- Cost estimate: $100–$180
7. Recycled Pallet Lattice Screen
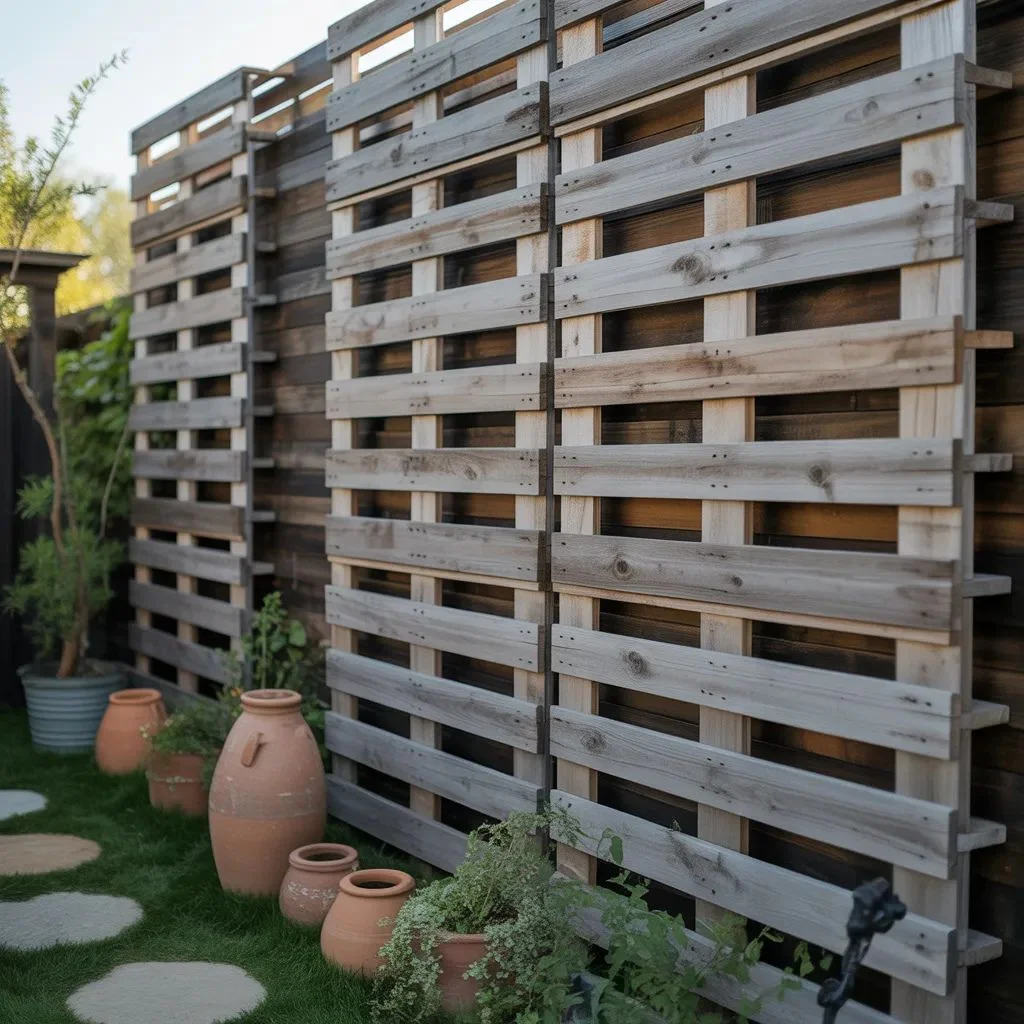
If budget is a serious concern, pallets are one of the most cost-effective materials for building a DIY lattice screen. Many businesses give away heat-treated (HT-stamped) pallets for free — and those natural gaps between boards create a built-in lattice effect.
Sand the pallets thoroughly, remove any protruding nails, and apply a weatherproofing stain or paint. Stand them upright and secure to fence posts or to each other using heavy-duty carriage bolts.
What to look for: Always use pallets stamped ‘HT’ (heat treated) — avoid any stamped ‘MB’ (methyl bromide treated), which is a chemical you don’t want in your garden.
- Best for: Bohemian, rustic, eco-conscious, and budget builds
- Skill level: Beginner
- Cost estimate: $0–$50 (mostly hardware costs)
8. Lattice Room Divider for Covered Patios
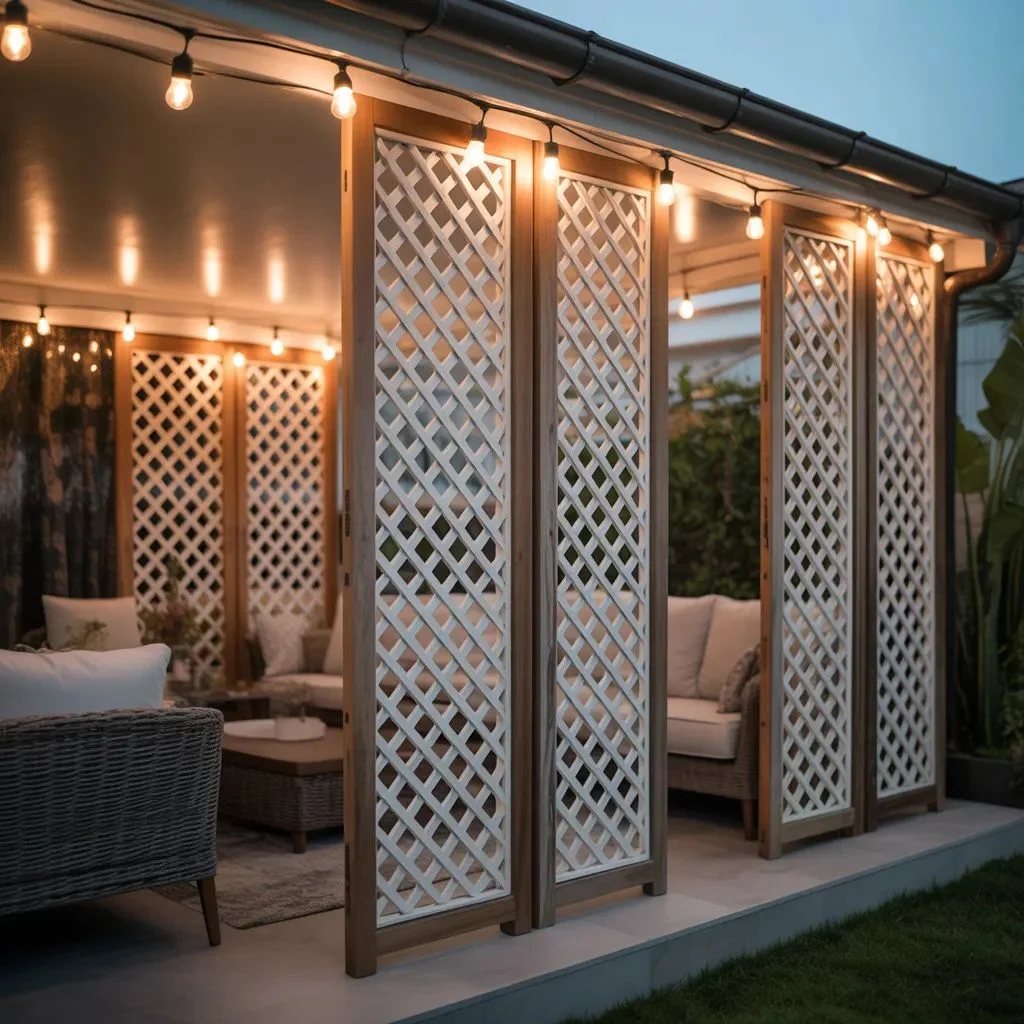
A DIY lattice screen isn’t just for outdoor perimeters — it’s also one of the smartest ways to define zones within a large covered patio.
Mount lattice panels in frames that drop from your pergola or patio ceiling beams. This creates soft visual separation between dining and lounging zones without closing off the space entirely. The open diamond pattern keeps airflow moving freely.
Thread string lights or hanging lanterns through the lattice for evening ambiance that doubles as décor. This is one of those ideas that looks like it cost $1,000 and cost closer to $150.
- Best for: Covered patios, pergolas, and outdoor rooms
- Skill level: Intermediate
- Cost estimate: $80–$200 depending on panel size
9. Tall Lattice Fence Extension Panel
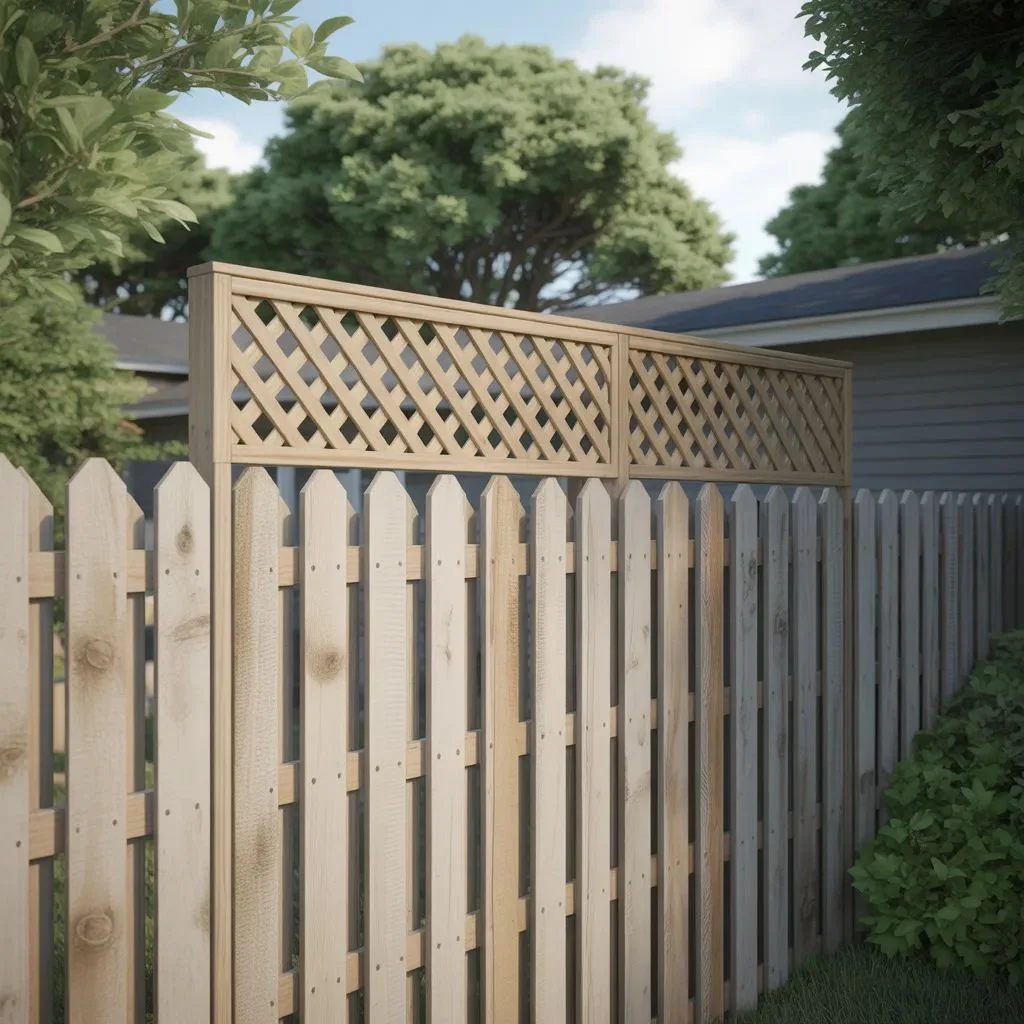
Sometimes your existing fence is almost tall enough — but the neighbor on the second-floor deck can still see right into your backyard. Adding a lattice panel extension to the top of an existing fence is one of the quickest privacy fixes you can DIY.
Attach 2×4 vertical extensions to your existing fence posts, then mount a lattice panel between them at the top. The open weave adds height without completely blocking air or light — and most municipalities are fine with lattice toppers even when they’d reject solid fence extensions.
Check local codes: Many areas allow fence height up to 8 feet when the top portion is open lattice. Always verify with your city before building.
- Best for: Adding height to existing fences, overlooked backyards
- Skill level: Beginner to intermediate
- Cost estimate: $40–$90 per fence section
10. Square-Grid Lattice with Hanging Planters
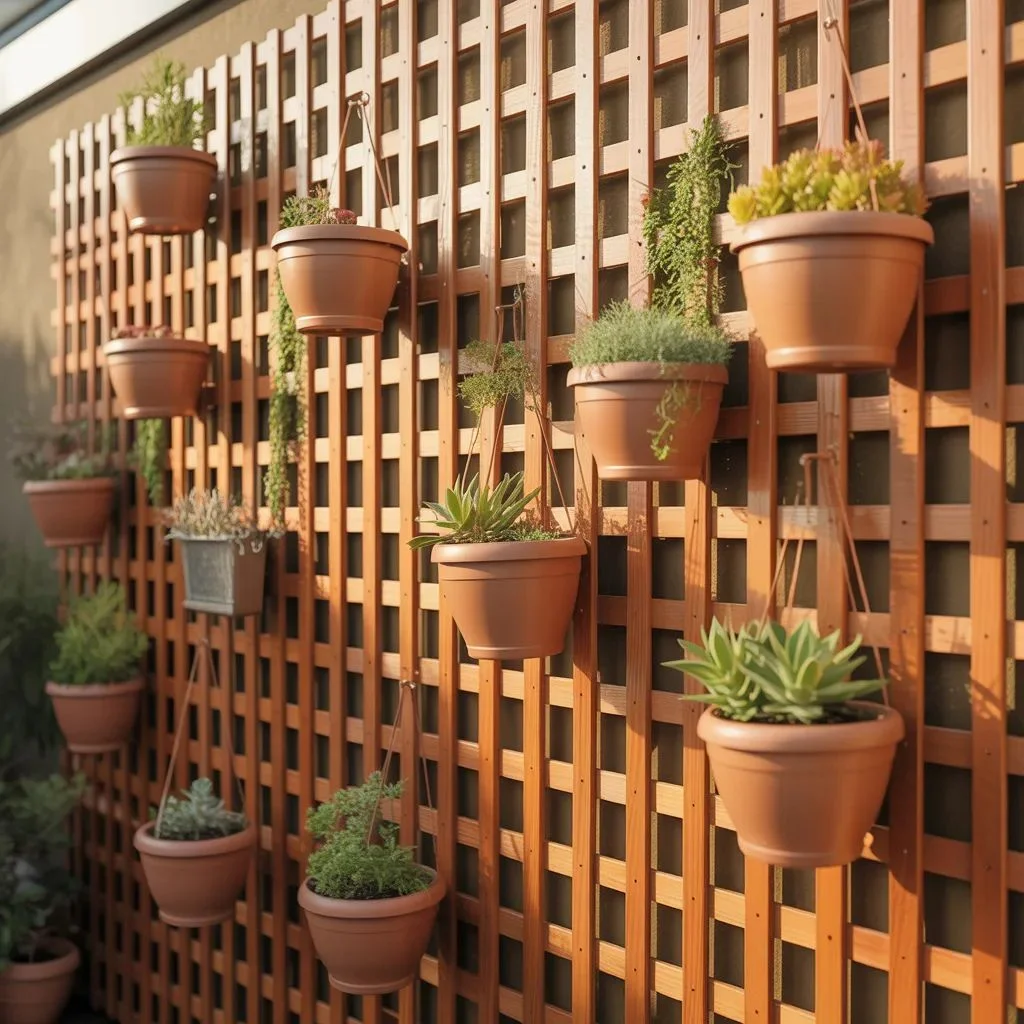
Square-grid DIY lattice screens — as opposed to the classic diagonal diamond pattern — offer a more structured, architectural look. And the evenly spaced grid squares make perfect hanging points for small planters, bird feeders, and solar lanterns.
Build or source square-grid panels and mount them flat against a fence or wall, or frame them as a freestanding panel. Use S-hooks through the grid squares to hang terracotta pots with trailing succulents or fragrant herbs — suddenly your privacy screen is pulling double duty as a living wall.
- Best for: Patio walls, small urban gardens, herb displays
- Skill level: Beginner
- Cost estimate: $70–$140
11. Painted Ombre Lattice Accent Wall
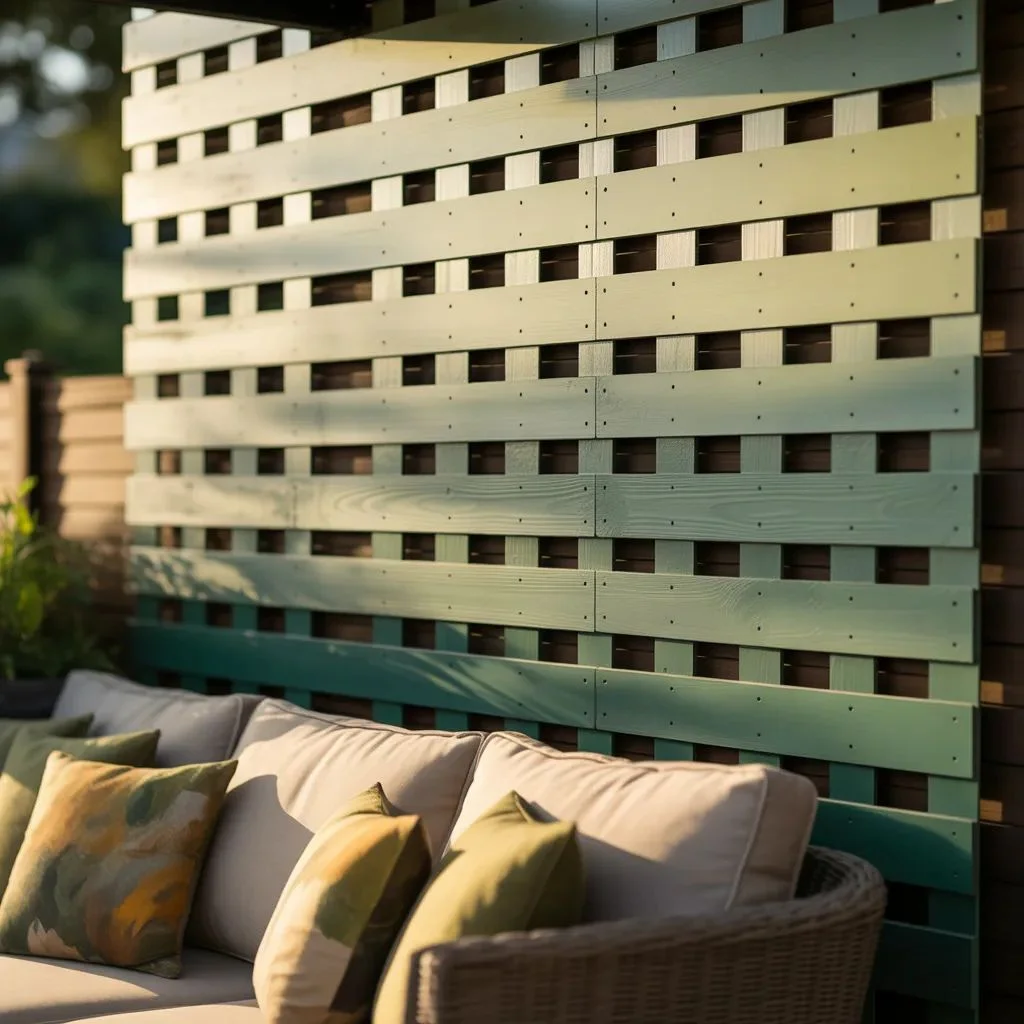
Who says a privacy screen has to be a neutral backdrop? A painted ombre DIY lattice screen turns your privacy solution into the focal point of the entire outdoor space.
Paint your lattice panel in a gradient — try deep navy blue fading to a pale sky blue, forest green fading to sage, or terracotta fading to warm blush. Use a damp brush to blend the colours at the transition zone while both are still wet.
Mount it as a feature wall behind your outdoor sofa, hang outdoor string lights from the top rail, and you’ve created an outdoor living room backdrop that photographs beautifully.
- Best for: Outdoor lounges, bohemian and eclectic yard styles
- Skill level: Beginner (painting) / Intermediate (mounting)
- Cost estimate: $80–$160 with exterior paint
12. Lattice Screen with Built-In Bench
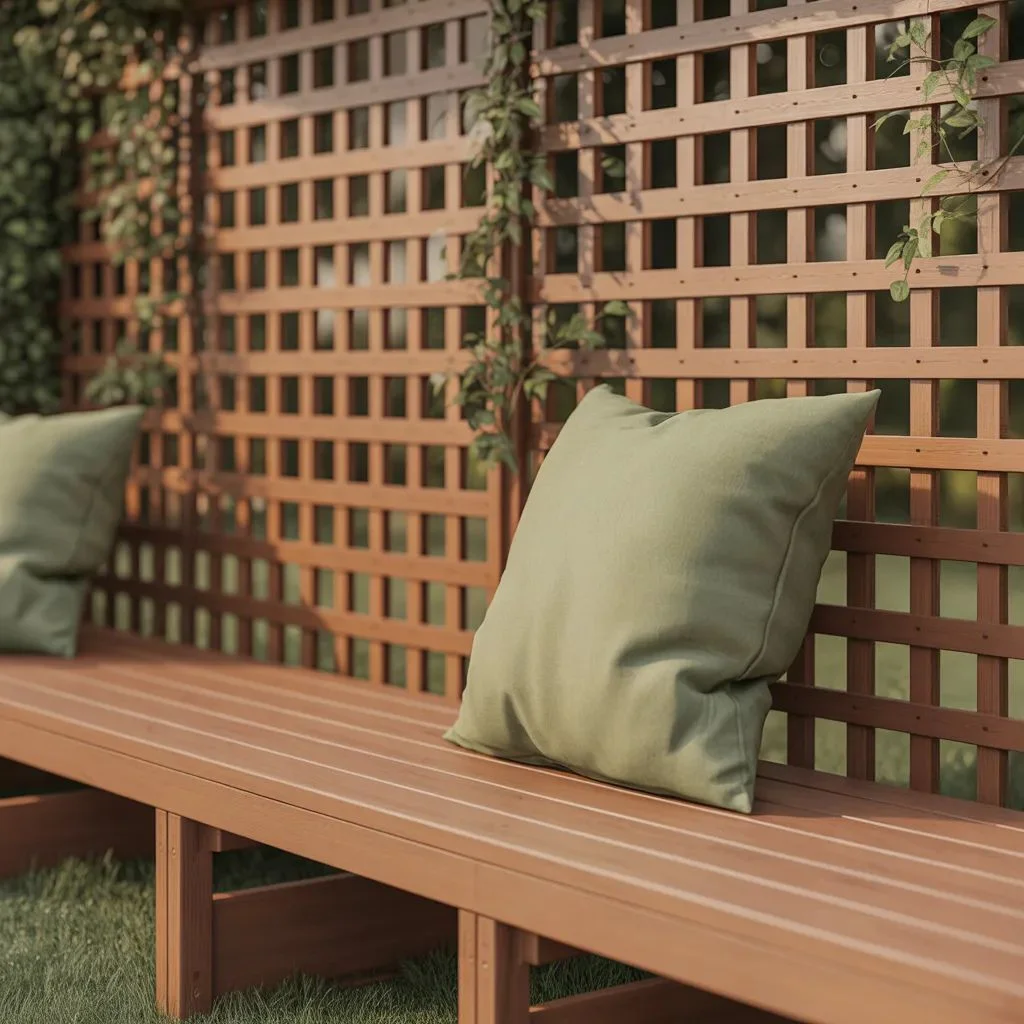
This is the ultimate two-for-one DIY lattice screen build: a privacy panel with a functional bench integrated directly into the base.
Frame your lattice panel with 4×4 posts set deep into the ground. At seat height (about 18 inches), extend horizontal 2×4 supports out from the posts on both sides, then surface them with 2×6 cedar boards to form the seat. Add a simple outdoor cushion and a few throw pillows and you’ve got a beautiful built-in seating nook that’s completely private from every angle.
Train climbing jasmine or honeysuckle up through the lattice — within two seasons the scent alone will make it your favourite spot in the yard.
- Best for: Side yards, garden corners, destination seating areas
- Skill level: Advanced beginner to intermediate
- Cost estimate: $180–$350
5 Things to Know Before You Build Any DIY Lattice Screen
1. Choose the right wood. Cedar and redwood are naturally rot-resistant. Pressure-treated pine is cheaper but should not be used where food plants will grow nearby.
2. Plan your post depth. For freestanding screens taller than 5 feet, posts should be buried at least one-third of their total length in concrete.
3. Check local zoning rules. Most neighborhoods have fence height limits. Lattice toppers are often exempt — but always verify before you build.
4. Seal every cut edge immediately. Fresh-cut wood absorbs moisture fast. Apply exterior wood sealant to all cuts on installation day, not later.
5. Let plants do the heavy lifting. A climbing plant on a DIY lattice screen adds privacy, beauty, and insulation — and it keeps improving every year without any additional work from you.
Your Yard, Your Rules — Now Build the Screen That Earns It
A well-designed DIY lattice screen is one of those rare home projects that solves a practical problem and looks stunning doing it. Whether you go for a classic cedar panel, a bold painted statement wall, or a full bench-and-screen combo, you’re making your outdoor space genuinely liveable — not just viewable from the street.
Pick the idea that matches your skill level and your style, gather your materials, and give yourself a weekend to make it happen. Your future self — relaxed on the patio, completely out of the neighbour’s sightline — will be glad you did.
Highly Recommended: Vinyl Lattice Panels for Fences, Decks and Garden Walls Done Right.