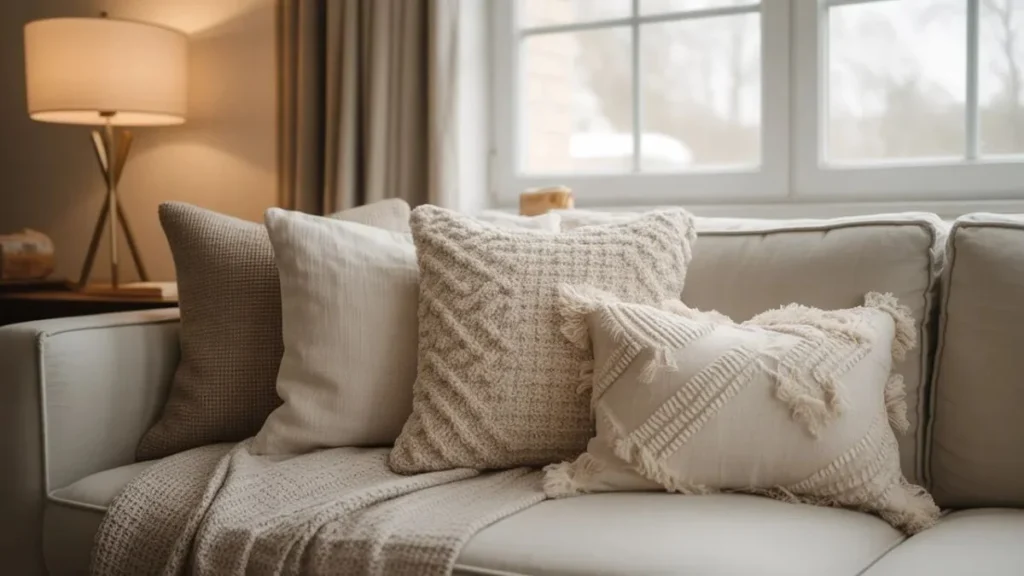
Your throw pillows are crying out for a refresh — and you do not need to spend $40 each at a home decor store to give them one. DIY pillow covers are one of the fastest, most budget-friendly ways to completely change the feel of a room, and the results genuinely look like something you pulled off a boutique shelf.
Most people assume handmade means homemade looking. That is not the case here. With the right fabric, a clean finish, and a simple technique, your custom covers will fool even the most design-savvy guests. Whether you know how to sew or you would rather not go near a needle, this guide walks you through every method — step by step — so you get polished, professional results no matter your skill level.
Why DIY Pillow Covers Are Worth Making
Store-bought throw pillow covers are expensive for what they are — a rectangle of fabric with a closure. Making your own DIY pillow covers gives you full control over size, pattern, texture, and finish, usually for a fraction of the cost.
Here is what makes them worth the effort:
- Custom sizing: No more hunting for a cover that fits your odd-sized inserts.
- Seasonal swaps: Make lightweight covers for summer and cozy ones for winter without buying new inserts.
- Fabric freedom: Vintage scarves, fabric remnants, drop cloths — almost anything can become a cover.
- Budget savings: Fabric from a sale bin plus 30 minutes of your time beats a $35 boutique cover every time.
The design potential alone makes this a project worth repeating every season.
What You Need Before You Start
The supply list for DIY pillow covers is short. You likely already have most of this at home.
For sewing methods:
- Fabric of your choice (at least 2–3 inches larger than your pillow insert on all sides)
- Sewing machine or needle and thread
- Fabric scissors or a rotary cutter
- Pins or fabric clips
- Iron and ironing board
- Measuring tape or ruler
For no-sew methods:
- Fabric
- Heat-bond fusible tape (available at any craft store)
- Iron
- Scissors
Optional but helpful: a seam ripper, fabric chalk for marking measurements, and a pressing cloth to protect delicate fabrics.
How to Choose the Right Fabric
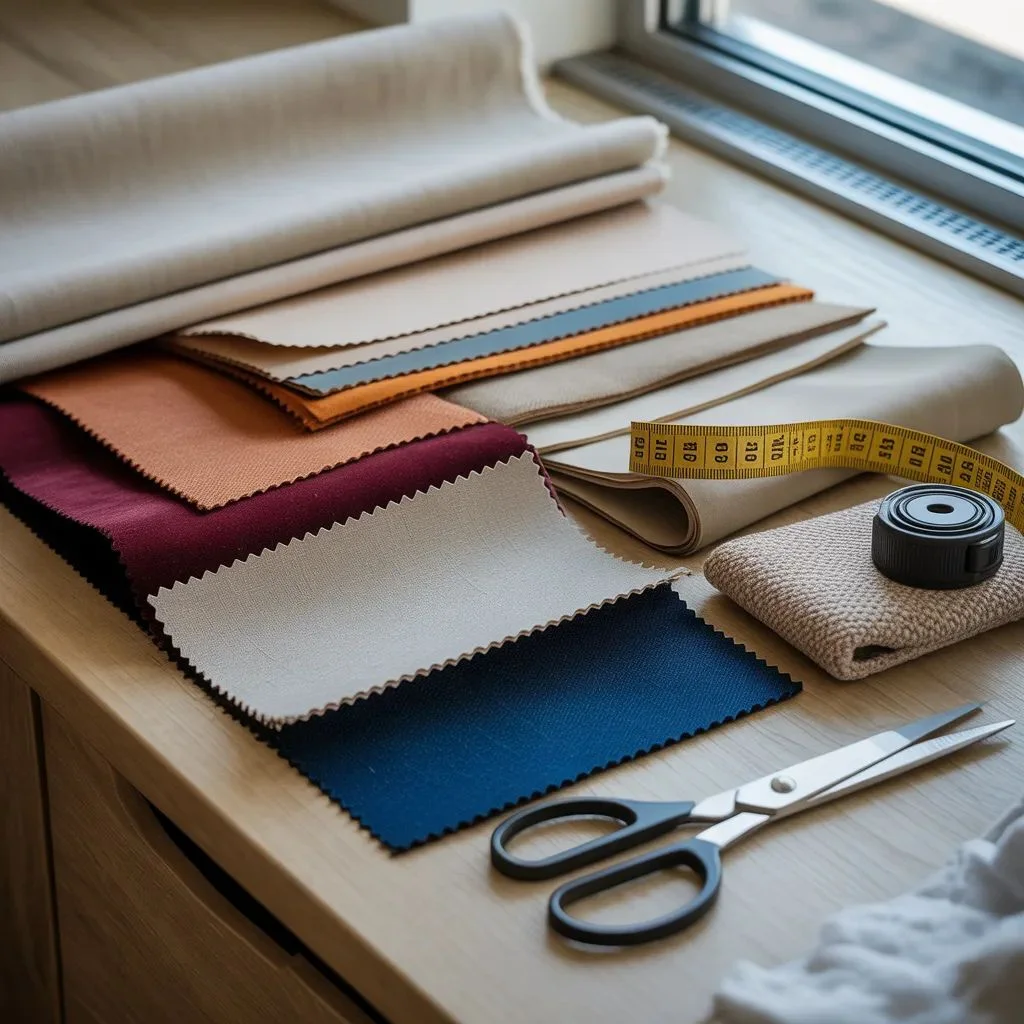
Fabric choice is what separates a DIY pillow cover that looks homemade from one that looks intentional. Here is what to keep in mind.
Weight matters: Medium-weight fabrics like cotton canvas, linen, velvet, and denim hold their shape well and are easy to work with. Avoid anything too sheer or too stiff for your first attempt.
Pattern alignment: If you choose a print with a pattern repeat (like stripes or large florals), buy a little extra fabric so you can match the design at the seams.
Texture adds character: Boucle, waffle-weave, and textured linen look expensive even when they are not. A simple textured solid often photographs better than a busy print.
Wash before you cut: Always pre-wash and dry your fabric before cutting to avoid shrinkage after the cover is finished.
Fabric stores often have remnant bins where you can find high-quality fabric at steep discounts. You only need about half a yard for a standard 18×18 pillow cover, so remnants are perfect.
The Envelope Method: No Zipper, No Fuss
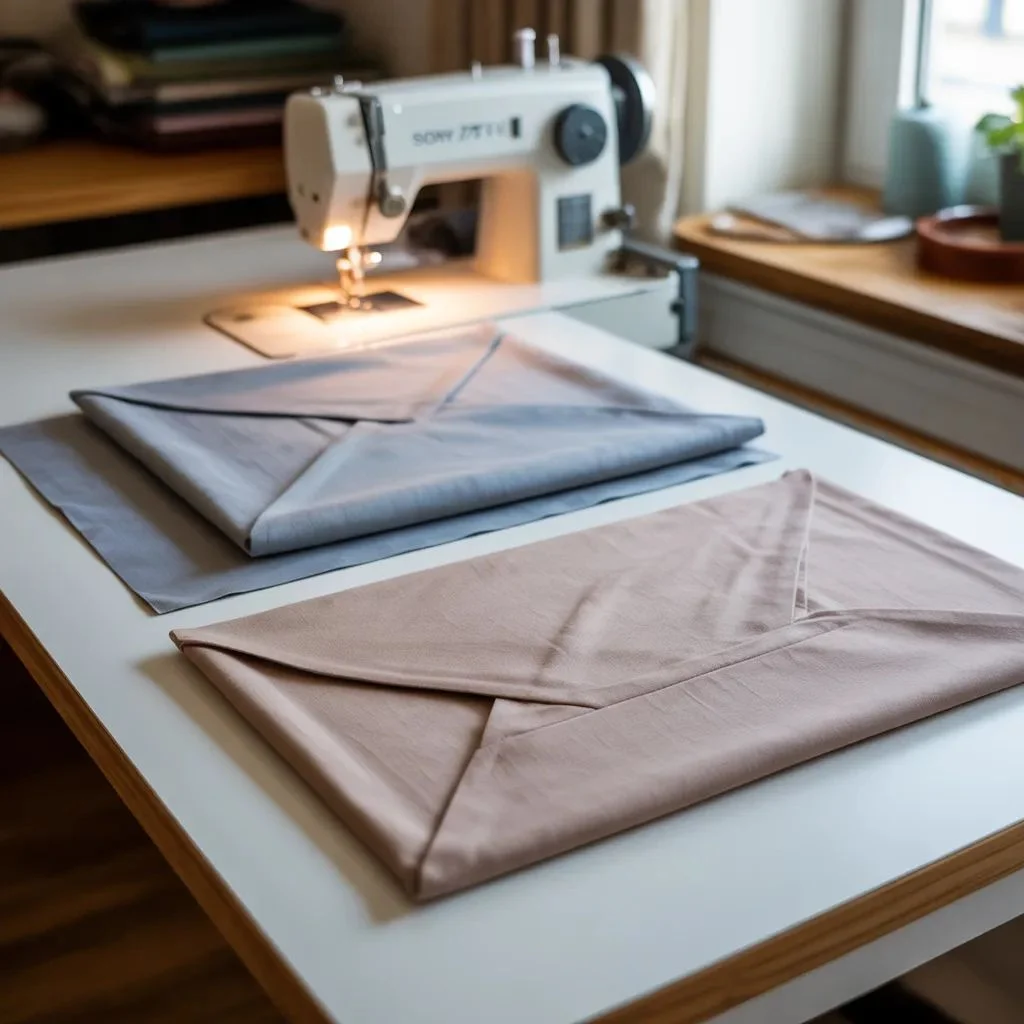
The envelope pillow cover is the most popular DIY technique for good reason — it requires no zipper or buttons, it is beginner-friendly, and it looks finished from the front.
How the envelope method works: Instead of one back panel, you use two overlapping pieces that create a hidden opening. The pillow insert slides in from the back and stays in place on its own.
Step-by-step instructions:
- Measure your pillow insert. For an 18×18 insert, cut one front panel at 19×19 inches (adds seam allowance).
- Cut two back panels: each should be 19 inches wide and about 13–14 inches tall (they will overlap in the middle).
- Hem one long edge on each back panel. Fold over half an inch, press, fold again, press, and stitch down.
- Lay the front panel right-side up. Place one back panel face-down on top, aligning the raw edges on one side. Place the second back panel face-down on the other side, overlapping the first in the center.
- Pin all edges and stitch around the entire perimeter with a half-inch seam allowance.
- Clip the corners at a 45-degree angle (do not cut through the stitch line), then turn right-side out.
- Press with an iron and insert your pillow form.
The overlap keeps the insert secure, and the clean front panel looks identical to any store-bought version.
The No-Sew Method for Beginners
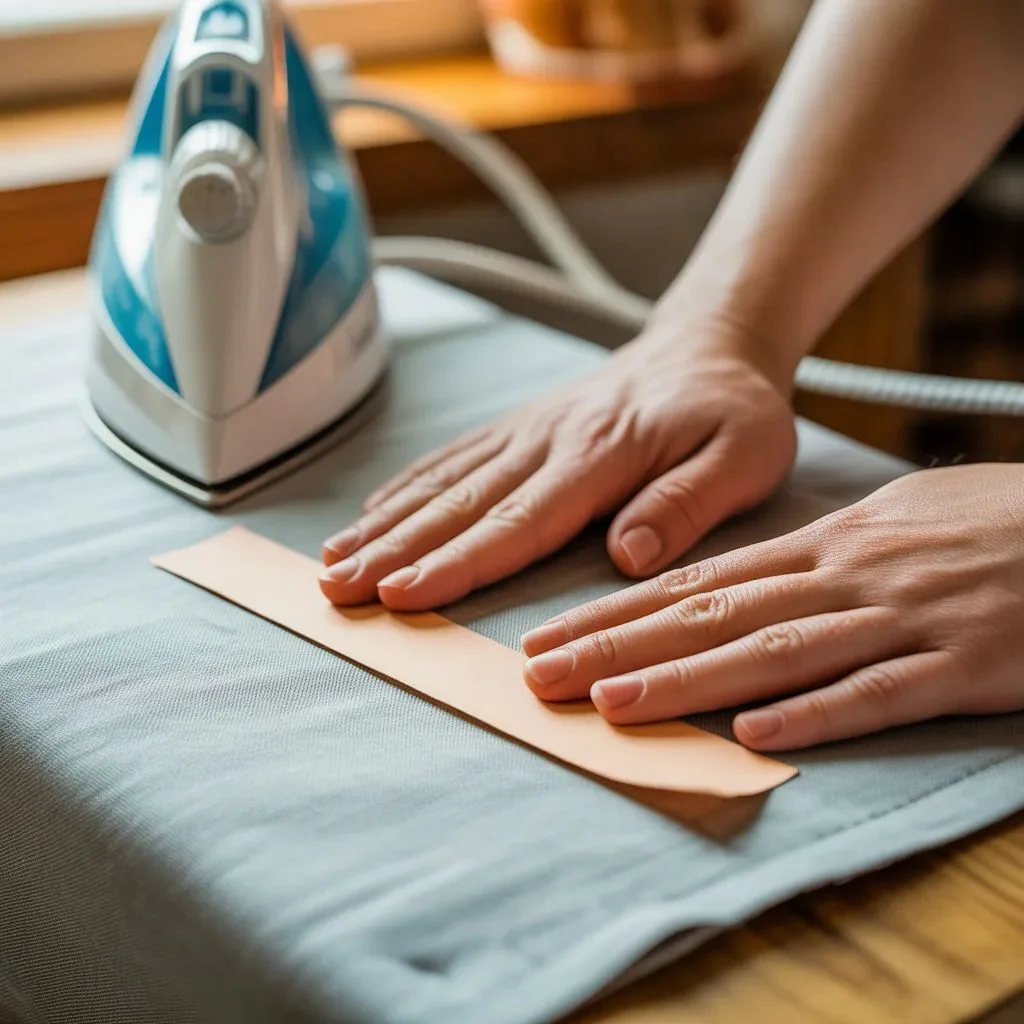
If the thought of threading a needle makes you nervous, the no-sew DIY pillow cover method is your answer. All you need is fusible tape, an iron, and about 20 minutes.
What is fusible tape? It is a strip of heat-activated adhesive that bonds two layers of fabric together when pressed with an iron. It creates a hold that is strong enough for everyday use and washes well.
No-sew method steps:
- Cut your fabric to size using the same measurements as the envelope method above.
- Fold and press each hem on the back panels, then use fusible tape to bond the hem in place.
- Layer your panels as described in the envelope method and pin in position.
- Tuck fusible tape along all four raw edges between the layers.
- Press firmly with a hot iron, holding for 10 seconds per section.
- Let cool completely before turning right-side out.
The result will not be quite as durable as a sewn seam, but it is more than strong enough for throw pillows that are not being washed constantly. This is also a great method for one-off statement covers made from fabrics that are difficult to sew (like burlap or heavy canvas).
How to Get Clean, Professional Edges
The difference between a DIY pillow cover that looks store-bought and one that looks rushed usually comes down to the finishing details. These small steps make a big impact.
- Press every seam: Iron all seams open or to one side before assembling. Flat seams sew more accurately and look much cleaner on the finished piece.
- Clip the corners: Always clip across the corner diagonally after stitching (within a couple threads of the seam line). This removes bulk and gives you a sharp, crisp corner when turned right-side out.
- Use the right seam allowance: Half an inch is standard. Going smaller risks, the seam pulling apart; going bigger can make the cover too tight for the insert.
- Grade the seams on thick fabric: If you are using velvet or heavy canvas, trim each seam allowance to a slightly different width to reduce bulk.
- Turn slowly and use a tool: A chopstick or blunt knitting needle pushed gently into the corners helps you get a fully turned-out, sharp point without poking through the fabric.
- Final press is everything: After inserting the pillow form, give the whole cover a light press from the front using a pressing cloth. This sets the shape and removes any wrinkles from handling.
DIY Pillow Cover Design Ideas to Try

Once you have the technique down, the design possibilities for DIY pillow covers are genuinely endless. Here are some ideas worth trying:
- Drop cloth neutral: Unbleached canvas or drop cloth fabric gives you that expensive linen look for almost no money. Leave it plain or stencil a simple pattern on the front.
- Vintage scarf cover: A large silk scarf folded and sewn makes a stunning statement cover with built-in design. No pattern selection needed.
- Two-tone or colorblock: Sew two different fabrics together for the front panel before constructing the cover. This is a great way to use small remnants.
- Fringe or tassel trim: Pin and sew trim into the seam around the perimeter before turning right-side out for a bohemian or maximalist look.
- Grain sack stripe: Replicate the popular farmhouse grain sack look by stenciling bold stripes on a linen or canvas cover using fabric paint.
- Plaid flannel: Flannel shirt fabric or yardage makes cozy, textured covers that are perfect for fall and winter without any special techniques.
- Mud cloth or tribal print: Bold graphic fabrics look intentional and editorial as pillow covers — no extra embellishment needed.
Mix and match textures across a grouping of pillows for a collected, designer look rather than a perfectly matched set.
Ready to Refresh Your Space?
Now that you know exactly how to make DIY pillow covers that look polished and intentional, there is no reason to keep staring at the same tired throw pillows. Grab half a yard of fabric, set aside 30 minutes, and make one. You will wonder why you ever paid full price for a pillow cover in the first place.
Recommended: Built-in Bunk Bed Ideas to Maximize Space Without Sacrificing Style.
Save this guide and come back to it every time you want a fresh look — seasonal, on-trend, or just different. Your sofa will thank you.