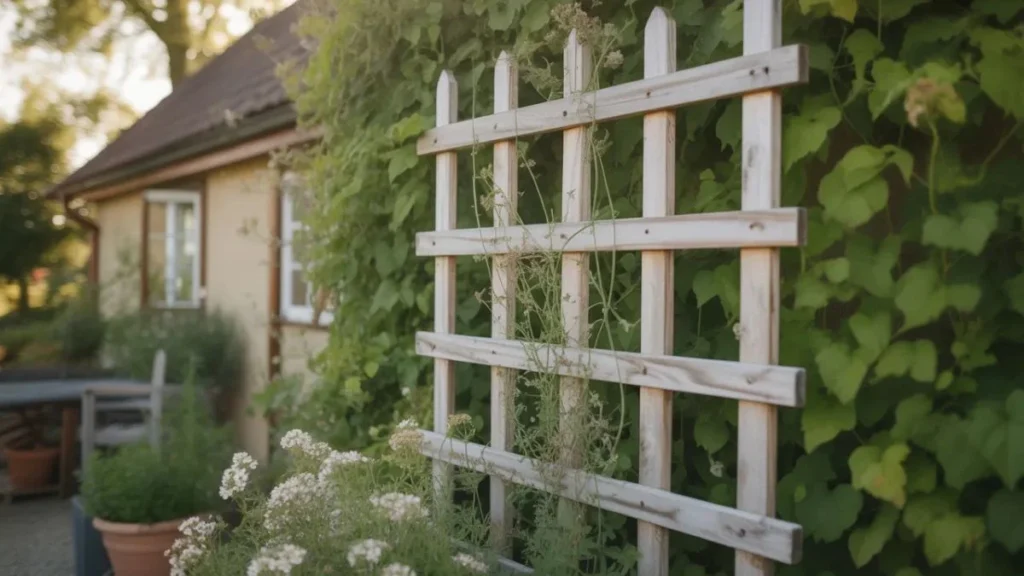
Most garden trellises at the store are either flimsy, forgettable, or priced like they were hand-carved by artisans in Tuscany. The good news? Building your own DIY wooden trellis takes a weekend afternoon, a handful of basic materials, and zero prior carpentry experience.
Whether you want to train climbing roses along a fence, give your sweet peas something to grip, or simply add a structural focal point to an otherwise flat garden wall — a wooden trellis does all of that and more. It’s functional, beautiful, and completely customisable to your space.
This guide walks you through everything: the tools and timber you need, the measurements that work, step-by-step assembly, and a few design variations to match your outdoor aesthetic. Let’s get building.
Why Build a DIY Wooden Trellis?
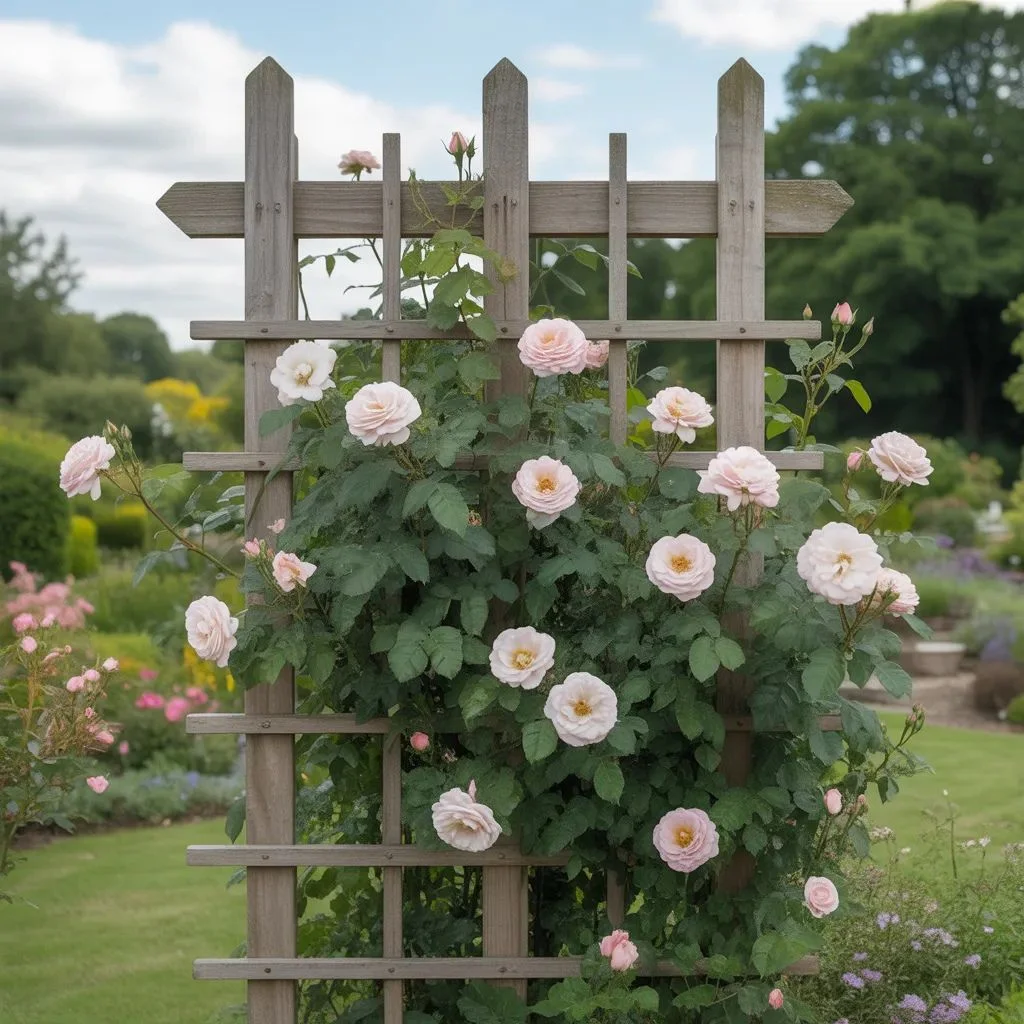
A DIY wooden trellis gives your garden instant vertical interest — and that matters more than most gardeners realise. Vertical gardening increases planting space draws the eye upward to make compact areas feel larger and gives climbing plants the support they need to thrive.
Beyond function, a well-built trellis adds genuine character. The clean grid of a lattice trellis, the rustic charm of a fan design, the architectural crispness of a square-patterned panel — all of these transform a blank fence or bare wall into something worth stopping to look at.
And compared to shop-bought versions, a homemade trellis is stronger (you control the materials), cheaper (timber is affordable), and built to fit your exact wall or bed width. That’s a combination you simply won’t get off a shelf.
Tools and Materials You’ll Need
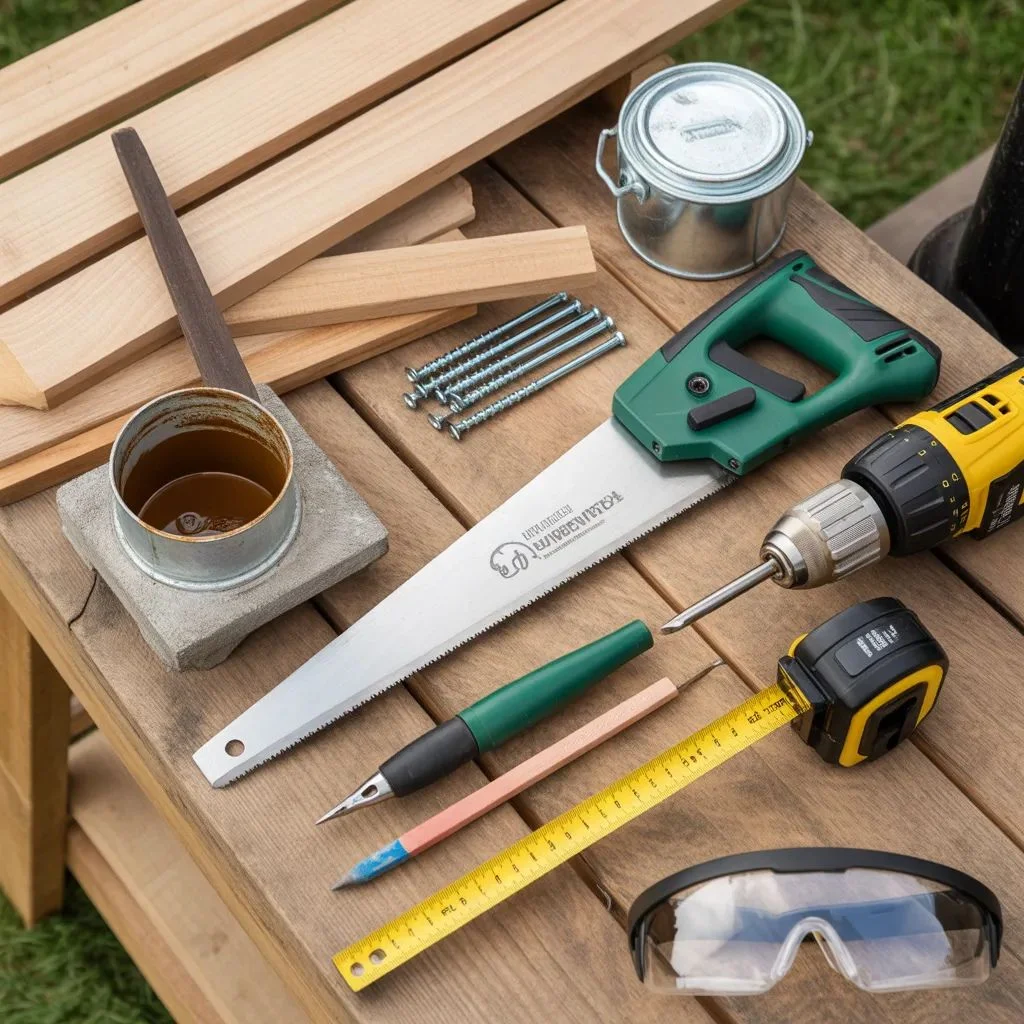
Before you start cutting, get everything on this list ready. Nothing slows a project down like mid-build trips to the hardware store.
Tools
- Tape measure and pencil
- Hand saw or circular saw
- Power drill and drill bits
- Sandpaper (80-grit and 120-grit)
- Clamps (at least two)
- Safety goggles and gloves
- Spirit level
Materials
- Timber slats (2.5cm x 5cm or 1″ x 2″ — softwood or hardwood)
- Galvanised screws or stainless-steel staples
- Exterior wood glue (optional but adds strength)
- Wood preservative or exterior paint/stain
- Wall anchors and screws (for mounting)
- Post or frame timber if building a freestanding version
For a standard 90cm x 120cm panel, you’ll need approximately 8–10 metres of slat timber. Always buy 10–15% extra to account for cuts and any mistakes.
Best Wood Types for a Garden Trellis
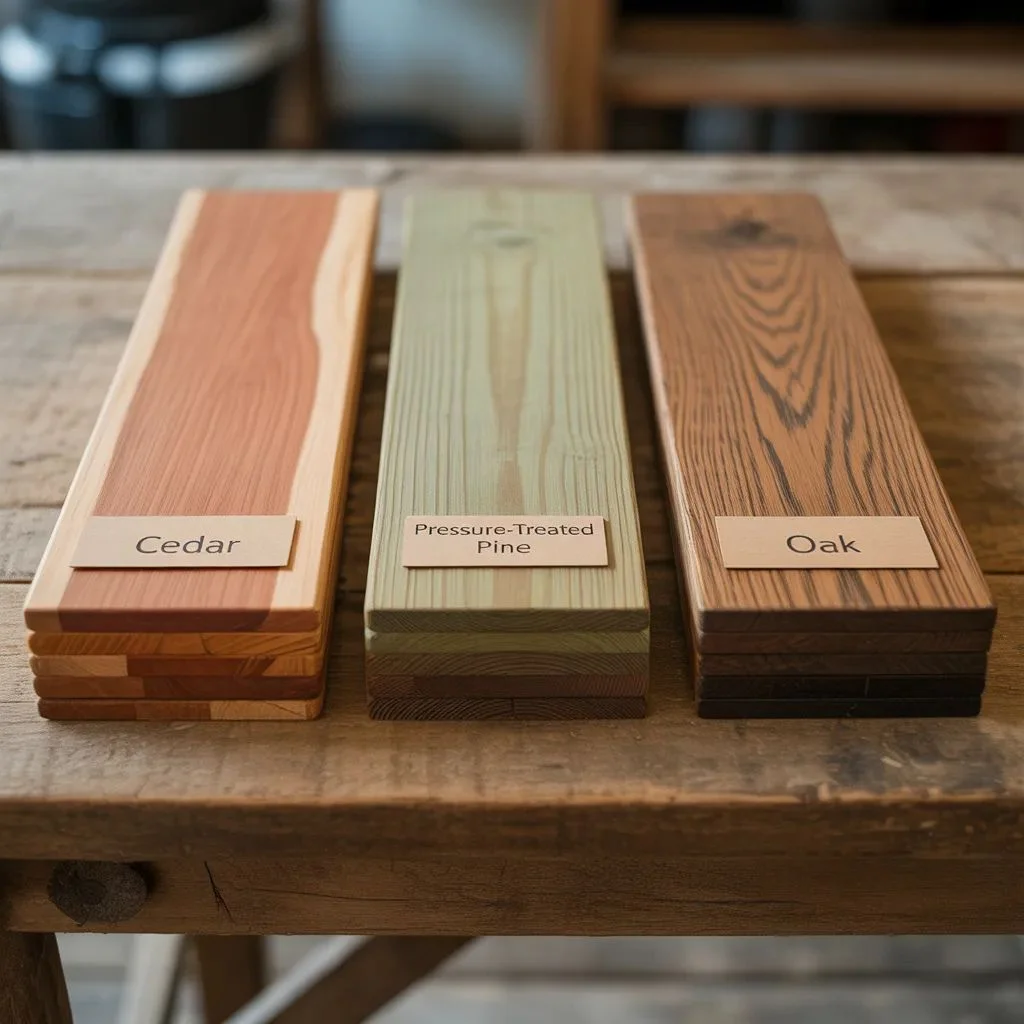
The wood you choose determines how long your DIY wooden trellis will last outdoors. Not all timber handles rain, humidity, and seasonal temperature changes equally.
Cedar — Best All-Rounder
Naturally rot-resistant, lightweight, and easy to work with. Cedar weathers beautifully to a silvery grey if left untreated or takes stain exceptionally well. It’s the top choice for a long-lasting outdoor trellis.
Pressure-Treated Pine — Best Value
Affordable and widely available at most timber yards and DIY stores. The chemical treatment makes it resistant to rot and insects. It’s heavier than cedar but will last well over a decade with basic care.
Oak — Best for Durability
Oak is the premium option — incredibly dense, naturally durable, and stunning when treated with an oil finish. It’s harder to cut and costs more, but a trellis built from oak can genuinely last 20+ years.
Bamboo — Avoid for Structural Panels
Bamboo is fine for very lightweight, decorative supports — but it lacks the structural rigidity needed for a trellis that will carry mature climbing plants through winter storms.
Step-by-Step: How to Build a DIY Wooden Trellis
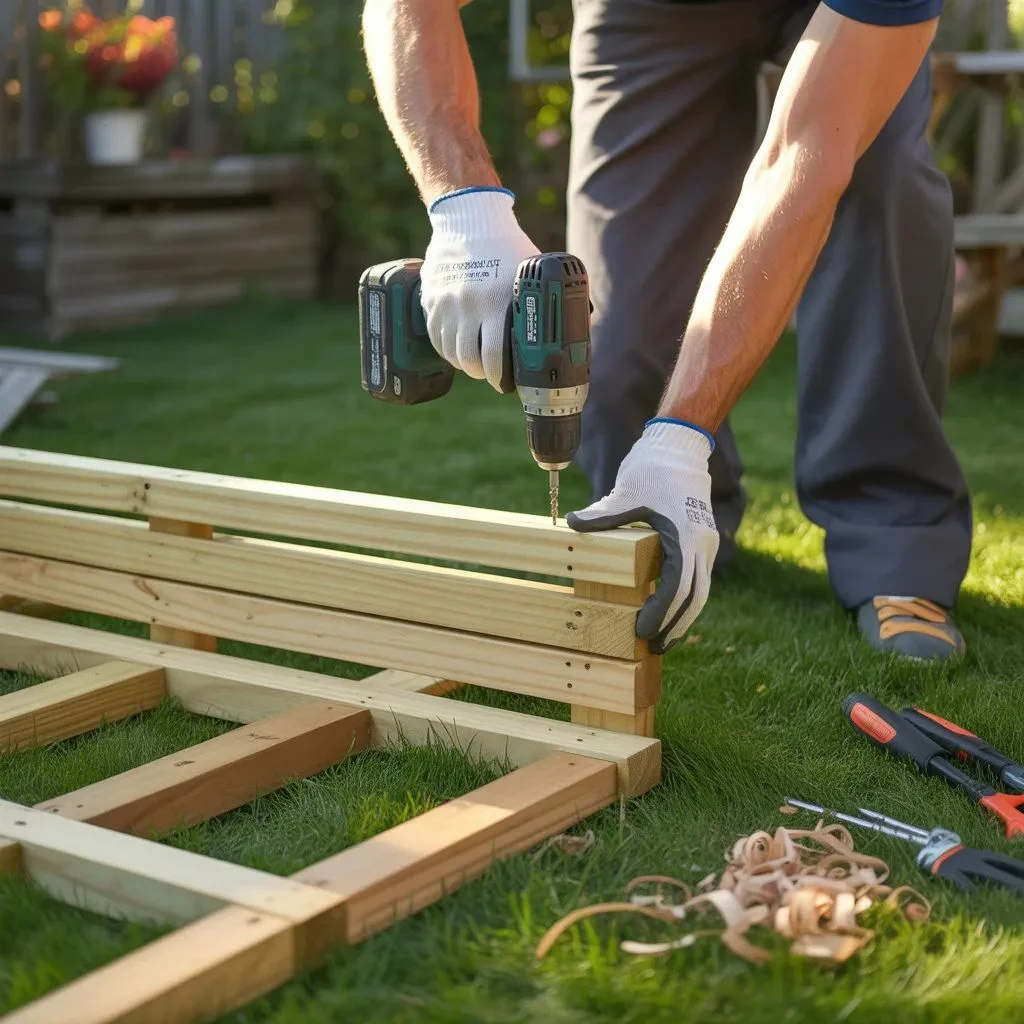
Follow these steps for a classic square-grid trellis panel, approximately 90cm wide x 120cm tall — ideal for most fence panels and garden walls.
Step 1: Measure and Mark Your Timber
Cut your timber slats to the correct lengths. For a 90x120cm panel: cut 6 horizontal slats at 90cm and 8 vertical slats at 120cm. Mark each piece with a pencil before cutting — measure twice, cut once.
Step 2: Sand All Pieces
Start with 80-grit sandpaper to remove any rough edges or splinters, then finish with 120-grit for a smoother surface. This step is essential — rough timber tears through climbing plant stems and is harder to treat.
Step 3: Lay Out the Grid
On a flat surface, lay your vertical slats parallel, spaced 15cm apart. Then lay the horizontal slats across them at 20cm intervals. Use a square or tape measure to check that all angles are true — a slightly crooked grid becomes very obvious once it’s mounted on a wall.
Step 4: Secure the Joints
At each intersection, drill a pilot hole (this prevents the wood from splitting), then drive a galvanised screw through the top slat into the one beneath. For added rigidity, apply a small amount of exterior wood glue at each joint before screwing.
Step 5: Build the Outer Frame (Optional)
For a more polished finish, cut four border pieces and attach them around the perimeter of your grid. Use slightly wider timber — 2.5cm x 7.5cm works well — and mitre the corners at 45° for a professional look.
Step 6: Treat the Wood
Before mounting, apply at least two coats of exterior wood preservative, paint, or stain. Pay special attention to the cut ends of each slat — these are the most vulnerable points for moisture penetration.
DIY Wooden Trellis Design Variations
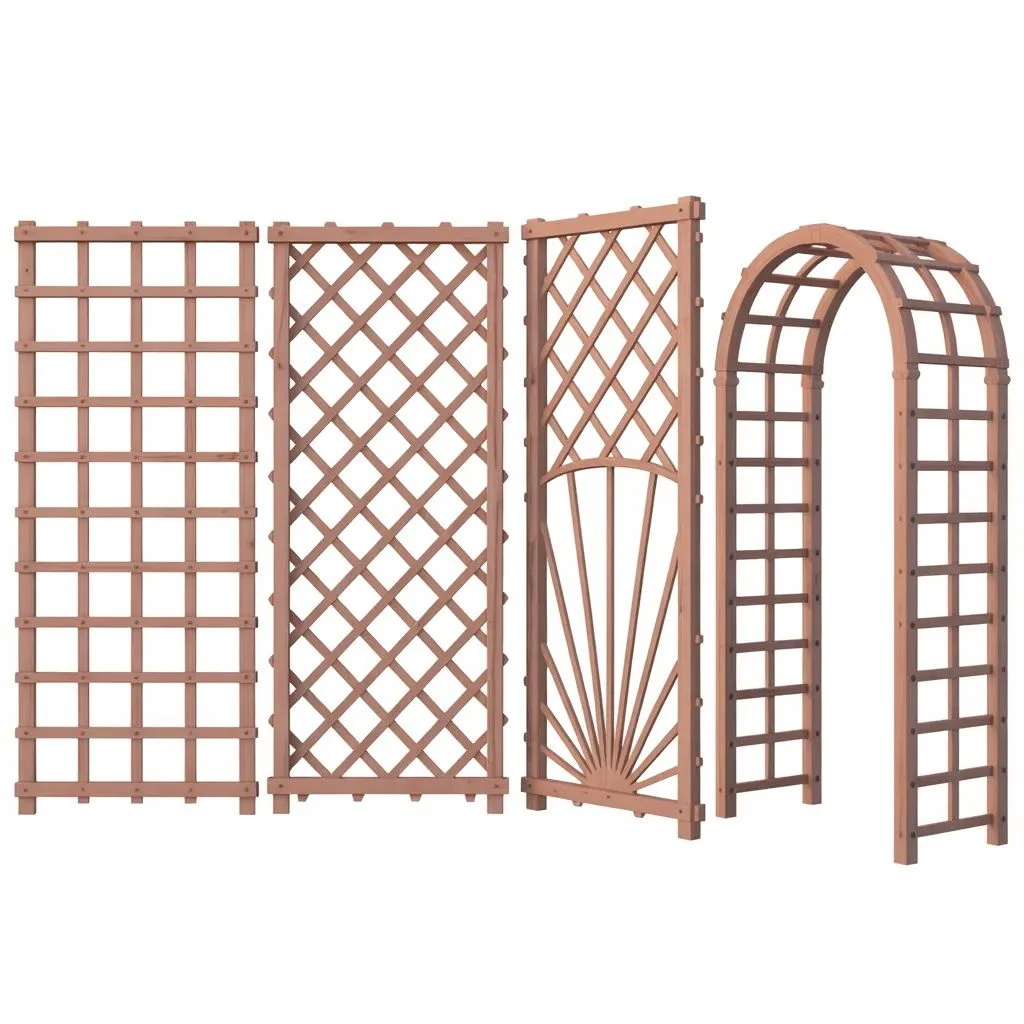
The classic square grid is only the beginning. Your DIY wooden trellis can take many forms depending on the look you’re after and how you intend to use it.
Diamond Lattice Trellis
Rotate your grid 45° so the slats run diagonally. This creates a classic diamond pattern that looks particularly striking against rendered walls or dark fencing. It also offers more attachment points per square foot for climbing plants.
Fan Trellis
Ideal for growing a single climbing rose or jasmine as a specimen plant. The slats radiate outward from a central base point, creating an elegant fan shape. This style suits narrower spaces between windows or beside doorways.
Arch Trellis
Build two flat panels and connect them at the top with a curved or straight crossbeam to create a tunnel arch. This transforms a garden path instantly and creates a stunning floral feature when covered with climbing roses or clematis.
Modular Panel System
Instead of one large panel, build several smaller 60cm x 60cm sections that can be joined together. This modular approach makes the trellis easier to transport, easier to replace if a section is damaged, and more adaptable to odd-shaped walls.
How to Attach and Secure Your Trellis
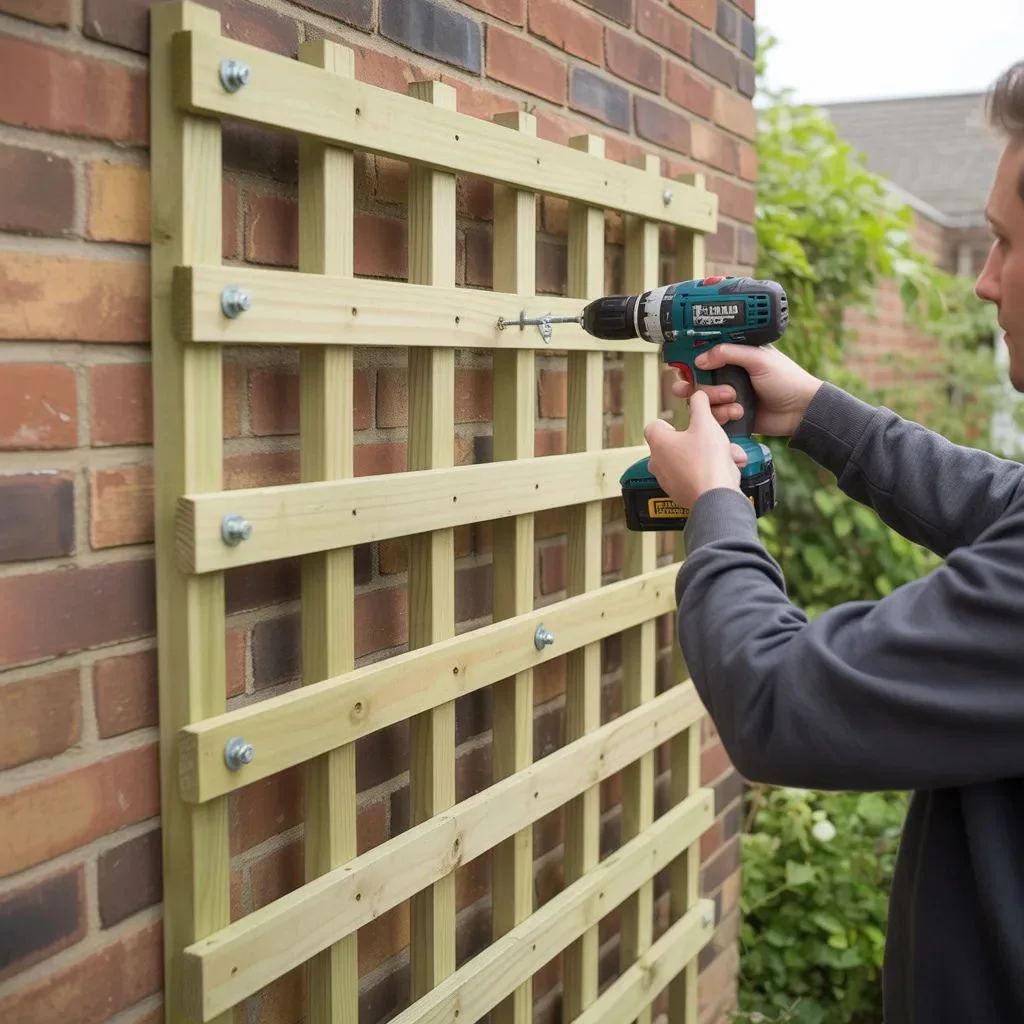
Never mount a trellis flat against a wall. Climbing plants need air circulation behind the structure to prevent fungal disease, and your timber will last significantly longer if it isn’t sitting directly against damp masonry.
Use spacer blocks or standoff brackets to hold the trellis 5–7cm away from the wall surface. Drill into the wall with the correct masonry bit, insert wall plugs, and use stainless-steel or galvanised screws to fix the standoffs in place. Then attach the trellis to the standoffs — not the wall directly.
For freestanding trellises, set wooden posts into the ground using metal post anchors and concrete mix. Bury posts to at least a third of their above-ground height for adequate stability — a plant-covered trellis can catch significant wind load.
Finishing and Weatherproofing Your Trellis
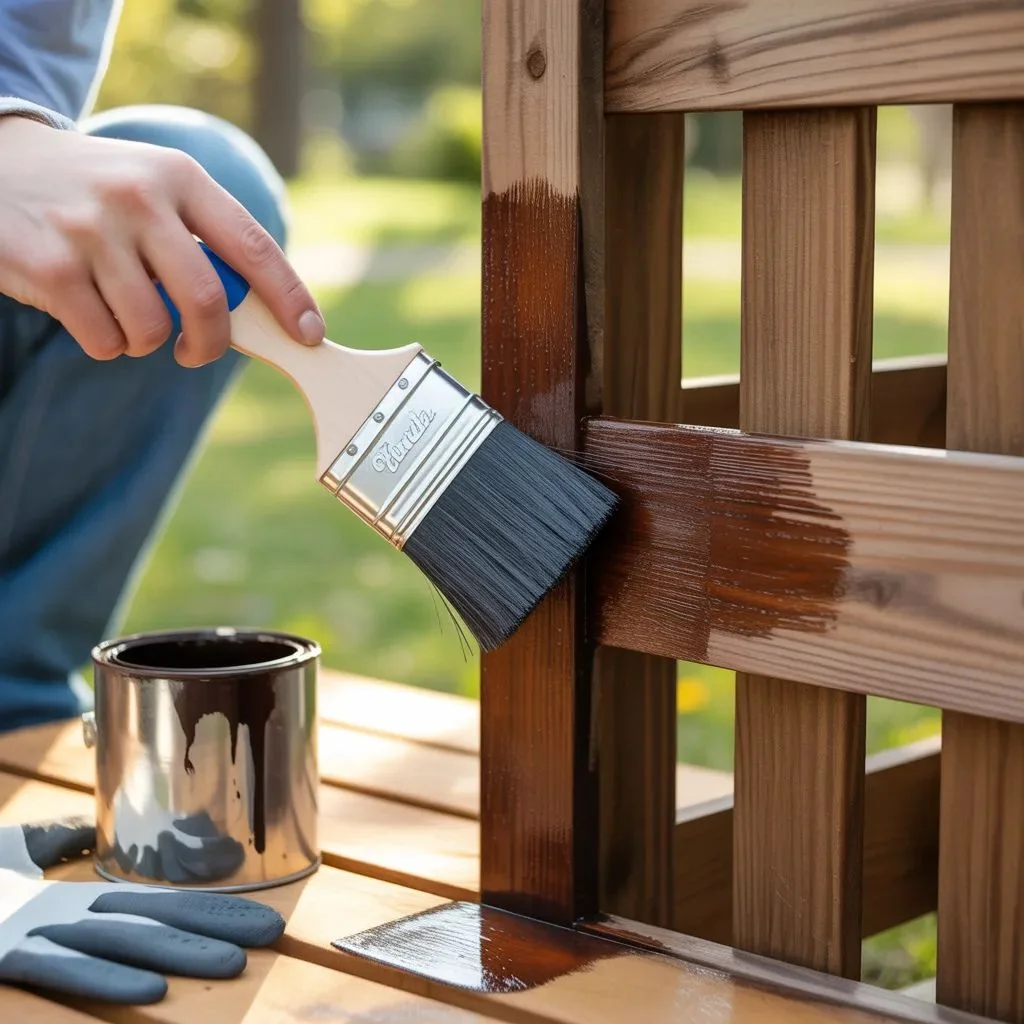
The finish you apply before mounting your trellis is what separates a project that lasts two seasons from one that lasts twenty. Outdoor timber faces rain, UV radiation, frost, and humidity — protection is non-negotiable.
Exterior Wood Stain or Paint
Opaque paint offers maximum protection and colour choice. Semi-transparent stain shows off the wood grain while still adding a protective layer. Both require at least two coats, with a light sand between applications for best adhesion.
Clear Wood Preservative
If you want to keep the natural timber look, use a clear outdoor preservative with UV inhibitors. Reapply every 2–3 years to maintain protection.
Linseed Oil
A traditional option that penetrates deep into the grain. Boiled linseed oil dries faster than raw and gives a warm, rich finish. It’s not as durable as modern synthetic treatments but works beautifully on oak or hardwood trellises.
Plants That Thrive on a Wooden Trellis
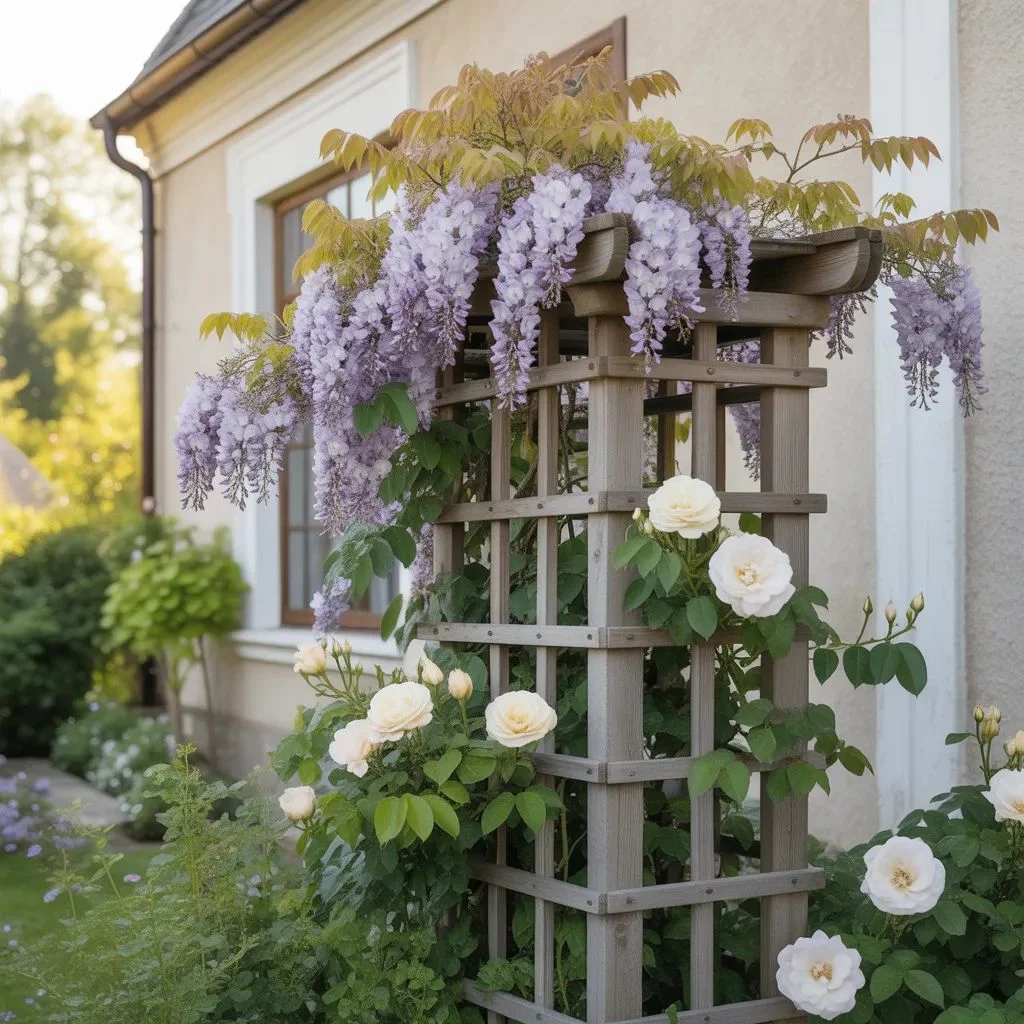
A DIY wooden trellis is only as good as the plants growing up it. These are the varieties that perform best on a homemade wooden structure:
- Climbing Roses: The classic choice. Choose repeat-flowering varieties like ‘New Dawn’ or ‘Compassion’ for blooms from late spring through to autumn.
- Clematis: Fast-growing and available in dozens of colours. Clematis armandii is evergreen; large-flowered varieties offer spectacular seasonal shows.
- Jasmine: Both summer and winter jasmine varieties work beautifully on a trellis. The fragrance alone is worth it.
- Wisteria: Stunning but vigorous — ensure your trellis is built with solid timber and secure mounting before planting wisteria. It gets heavy.
- Sweet Peas: Annual climbers that are perfect for a smaller trellis. They grow quickly, flower profusely, and smell incredible.
- Passionflower: Exotic-looking and surprisingly hardy in temperate climates. The tendrils grip trellis slats naturally with no tying needed.
Maintenance Tips to Make It Last
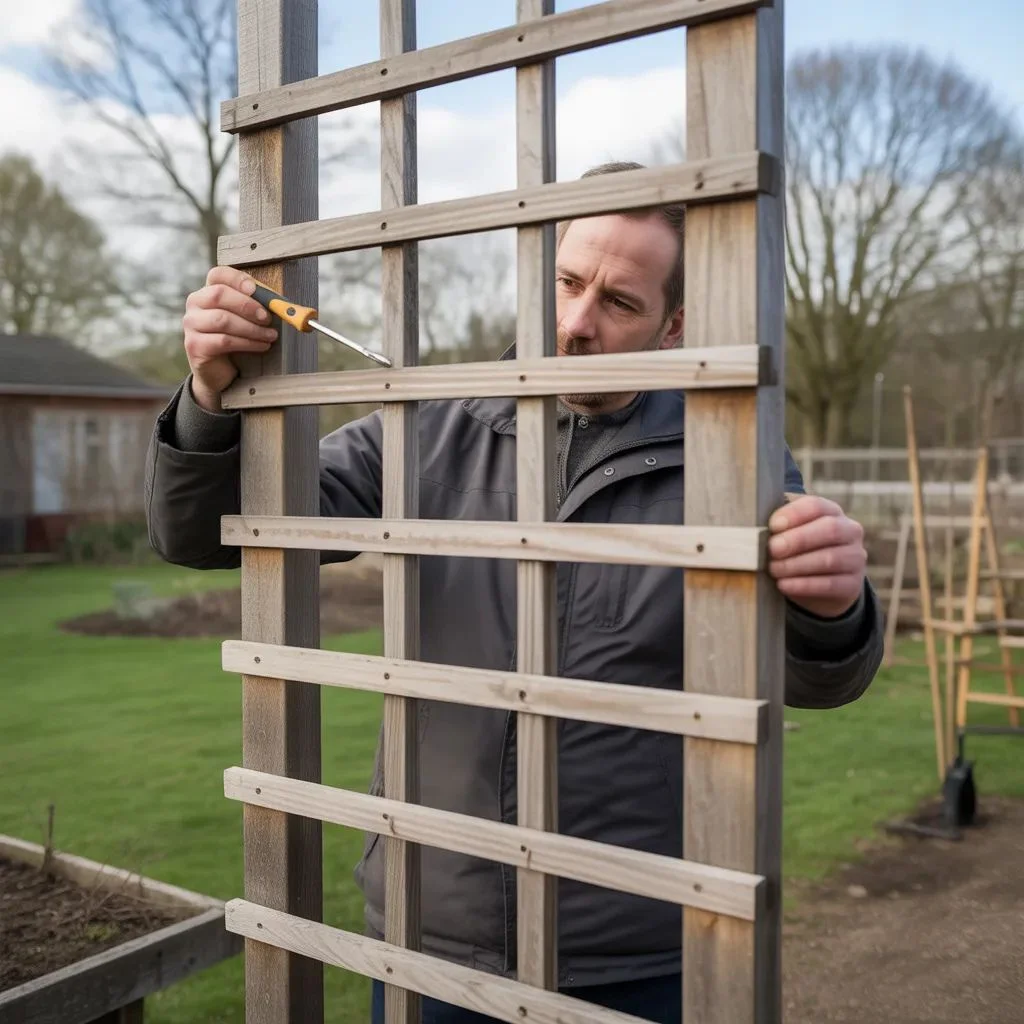
A wooden trellis is not a set-and-forget structure. A little annual attention keeps it solid and looking sharp for years.
- Annual Inspection: Check every joint and screw each spring before climbing plants fill in. Tighten any loose fasteners and replace corroded screws immediately.
- Re-treat Every 2–3 Years: Strip back any flaking stain or paint, sand lightly, and apply a fresh coat of exterior treatment. Pay extra attention to joints and end-grain.
- Winter Prep: Cut back any dead growth from climbing plants in late autumn. This reduces wind load on the trellis during winter storms and makes inspection easier.
- Check Mountings: If wall-mounted, re-check that standoff brackets and wall fixings are still secure every two years. Masonry can shift slightly over time.
- Replace Damaged Slats: Individual slats that crack or split can be unscrewed and replaced without dismantling the whole structure — another advantage of building your own.
From Bare Wall to Garden Statement
Building your own DIY wooden trellis is one of those garden projects that rewards you twice — once when you finish it, and then every year after as the plants grow in and the structure becomes part of the garden’s character.
The materials are affordable, the process is genuinely beginner-friendly, and the result is something that a shop-bought trellis simply can’t match: a structure built to your exact space, your aesthetic, and your standards.
Pick your timber, sketch your grid, and get building. Your garden wall has been waiting long enough.
Also Read About : Your Screened Porch Deserves Better — Here’s How to Decorate It Right.