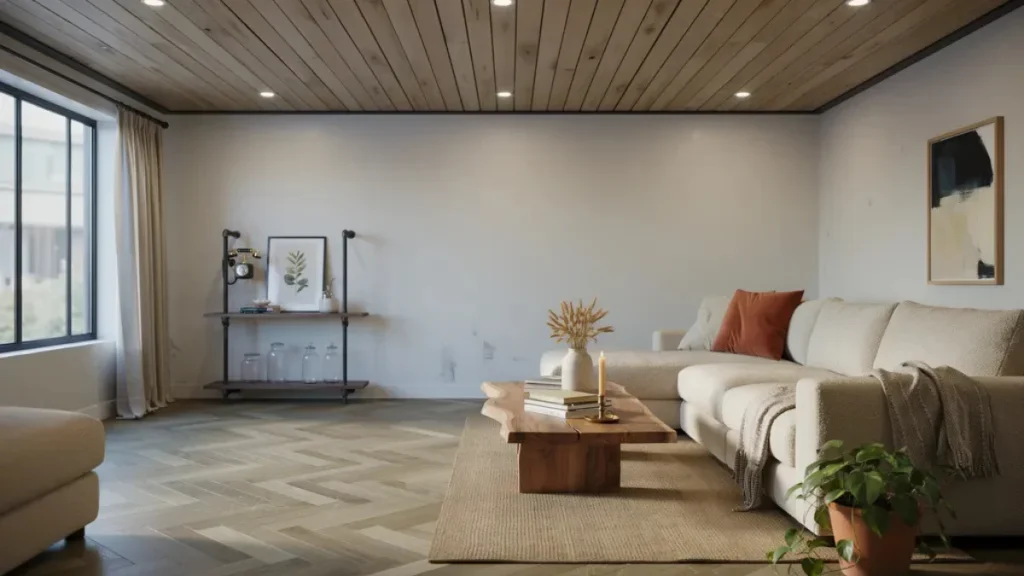
Your ceiling deserves better than dull white tiles — and so does your wallet. Dropped ceilings have come a long way from the flat, institutional panels of decades past, and today’s budget options deliver a finish that genuinely looks expensive.
Whether you’re finishing a basement, refreshing a living room, or hiding an ugly utility ceiling, the right dropped ceiling ideas can transform any room without a contractor bill that stings. This guide walks you through the most stylish, affordable options available right now — from wood plank installs to faux tin tiles — so you can pick the look that fits your space and your spending limit.
Paint Your Existing Tiles for an Instant Reset
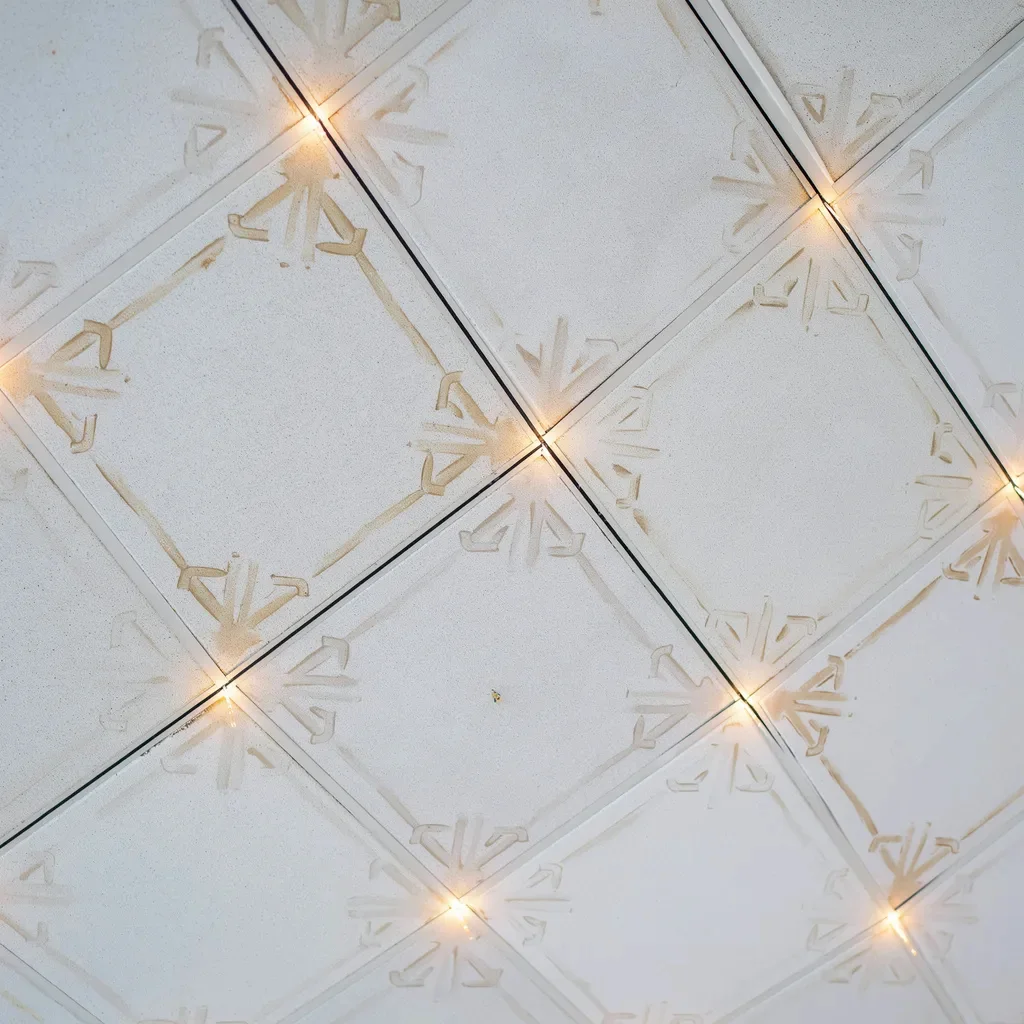
Before you rip anything out, consider what a coat of paint can do. Repainting existing drop ceiling tiles is the lowest-cost upgrade available, and the results are often dramatic.
Flat white acoustic tiles look tired quickly — they yellow, show water stains, and dull the entire room. A crisp repaints in bright white, soft grey, or even matte black immediately lifts the space. Use a paint sprayer for the most even application and stick to a water-based latex formula — it’s light enough not to warp or weigh down the tiles over time.
For a more decorative touch, use stencils over a painted base to create faux tin effects or geometric patterns. This approach costs under $100 for most rooms and requires zero structural work. It’s also a great weekend project for beginners.
Pro tip: paint the area behind the grid a dark contrast colour — charcoal, navy, or black — and choose tegular tiles that hang slightly below the grid. The depth effect makes the ceiling look dramatically more intentional and custom.
Wood Plank Ceilings That Feel Custom
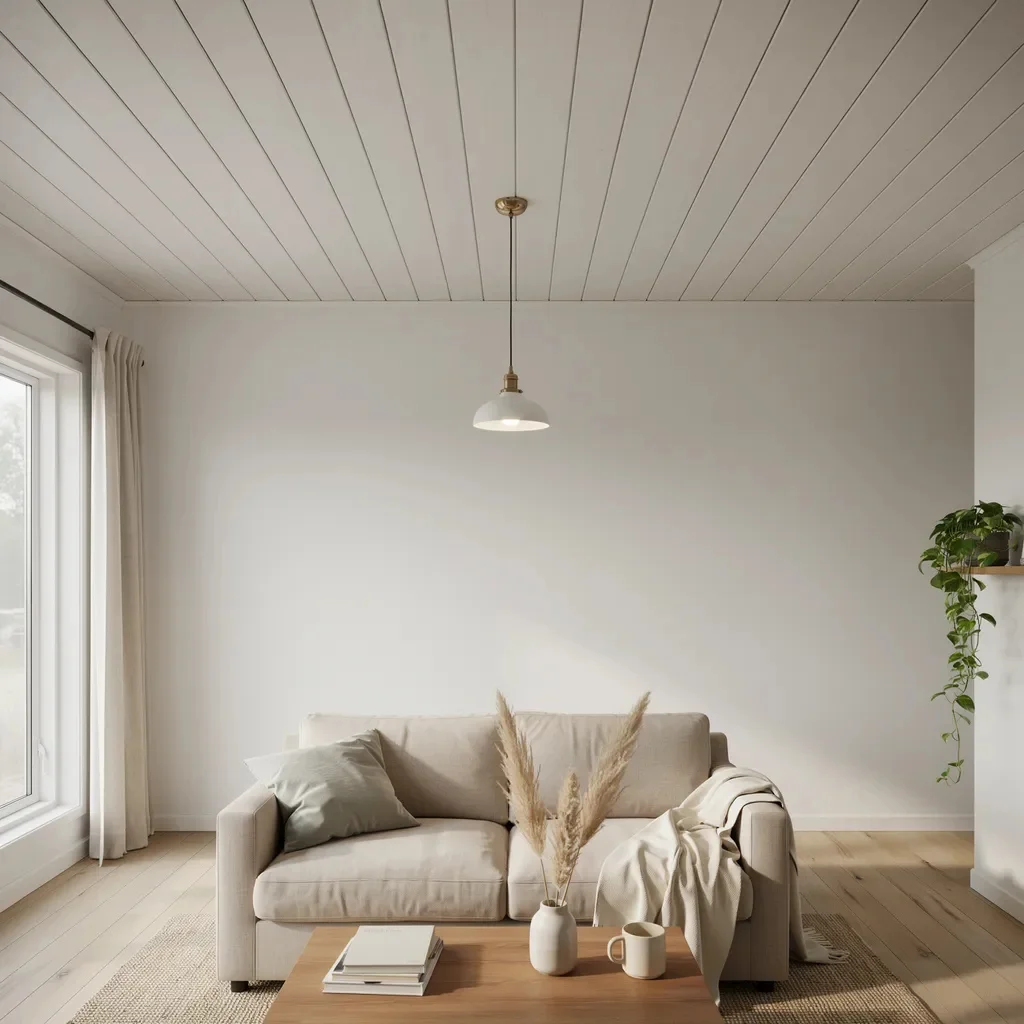
Wood plank ceilings are one of the most popular dropped ceiling ideas right now — and for good reason. They add warmth, texture, and a sense of craftsmanship that no tile can replicate.
The most budget-friendly approach uses peel-and-stick vinyl planks that mimic real wood grain convincingly. At $1–4 per square foot, they’re waterproof, lightweight, and simple to install with basic tools. Real wood options like pine or cedar planks cost more but installing them yourself keeps labour costs low.
Tongue-and-groove panels or pre-primed shiplap boards attach directly to ceiling joists or furring strips with nails. Work across the room in parallel rows, keep seams tight, and finish the edges with crown moulding for a built-in look. No painting is required if you use pre-finished wood — another time and money saver.
For basement family rooms, consider wood-look mineral fiber or PVC tiles that drop into an existing grid. They deliver the cozy warmth of real timber without adding weight or requiring structural changes to your suspended ceiling system.
Faux Tin Tiles for Vintage Glamour
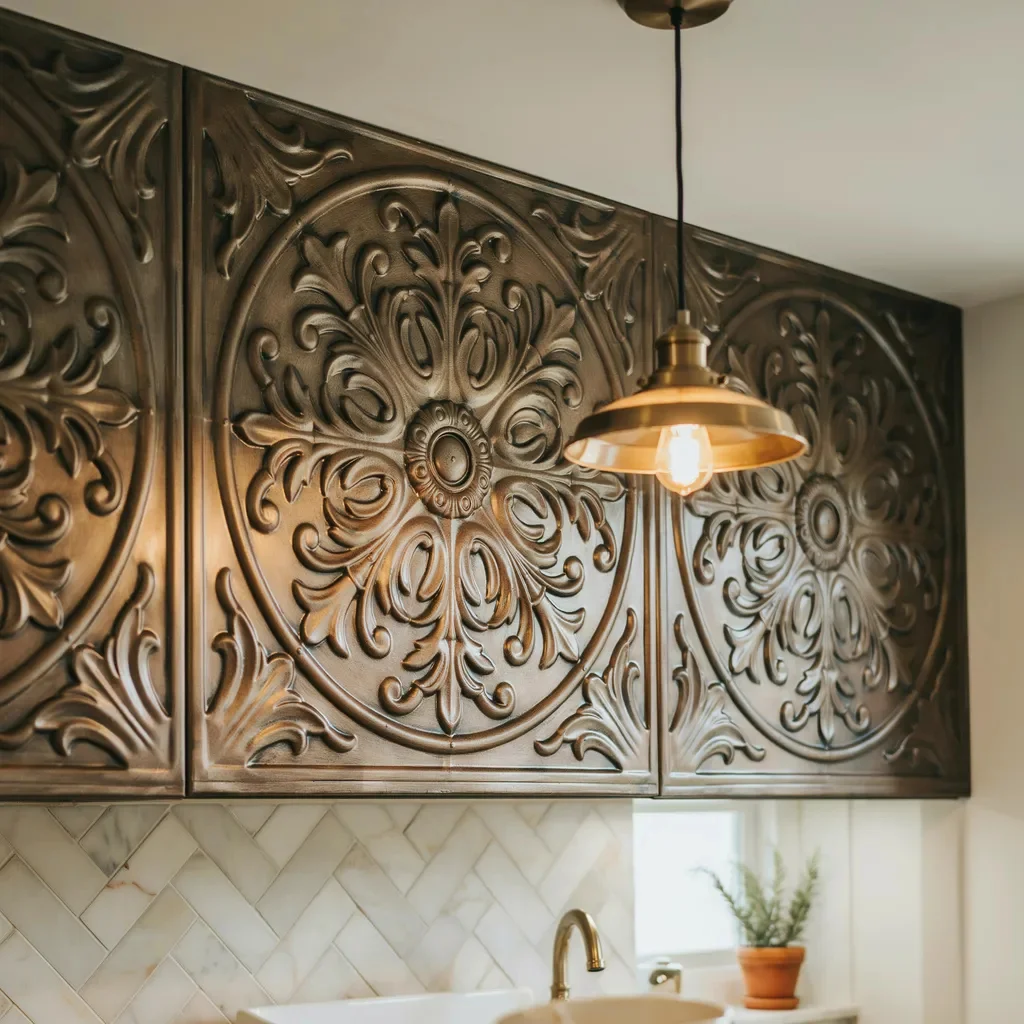
Real tin ceilings are expensive and hard to source. Faux tin tiles are neither of those things — and they look nearly identical from ground level.
Modern faux tin tiles are made from PVC, polystyrene, or lightweight aluminum. They come embossed with intricate Victorian patterns, hammered finishes, or sleek geometric designs. Many feature peel-and-stick backing for installation so simple it requires no power tools at all.
Unfinished tin tiles run around $8 per 2×2-foot square, while finished tiles start at $15 and climb to $55 or more. For a standard 200-square-foot room, that’s a potential savings of over $1,400 versus buying pre-finished — and the DIY process is straightforward. Seal the front, seal the back, and install.
Faux tin works beautifully in dining rooms, kitchens, and home libraries where a touch of antique glamour makes a statement. Pair them with matte black grid hardware and pendant lights to lean into the vintage aesthetic without going overboard.
Beadboard Panels for Cottage Charm
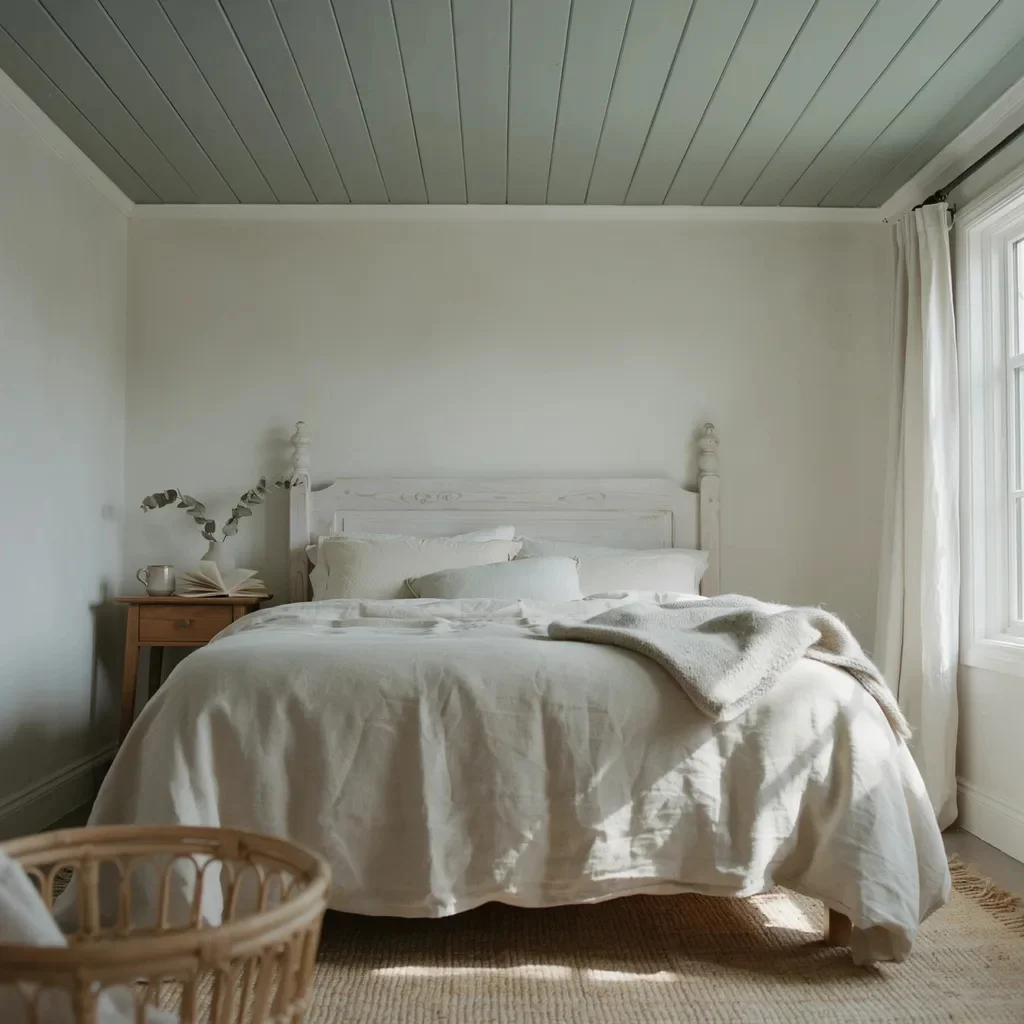
Beadboard is a timeless option that punches well above its price point. The narrow vertical grooves add instant texture and depth to any overhead surface, and it costs just $1–3 per square foot in most standard configurations.
You can install beadboard panels directly over an existing drop ceiling grid, or nail tongue-and-groove boards to furring strips. Cut 4×8 sheets into 2×2 squares for a quick tile replacement that maintains your existing suspension system — no major demolition needed.
Paint it crisp white for a clean coastal look, sage green for a fresh cottage feel, or even navy for a bold, dramatic effect. Finish edges with crown molding and the result looks like a custom carpentry job at a fraction of the cost.
Beadboard also works exceptionally well in bathrooms and laundry rooms — opt for moisture-resistant versions in those spaces to prevent warping over time.
PVC Panels Built for Moisture-Prone Spaces
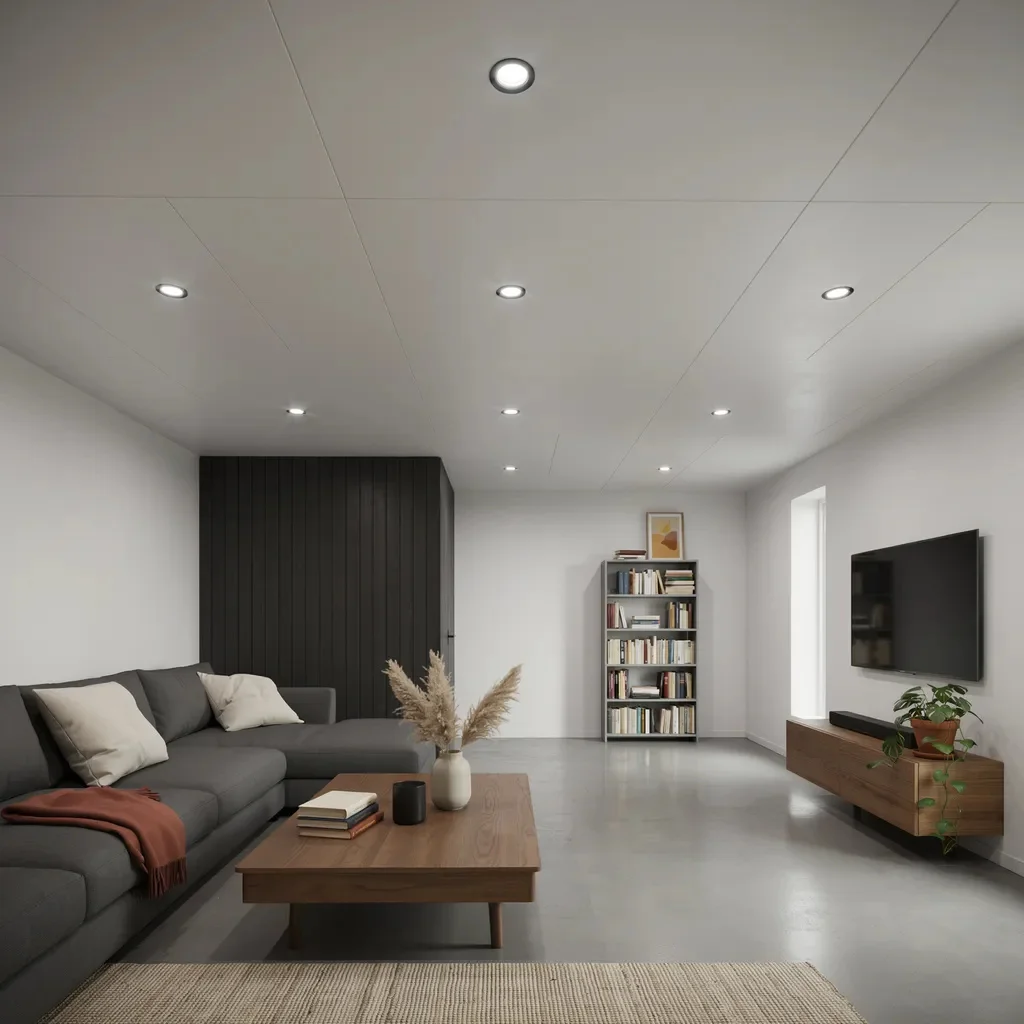
Not every room gets away with wood or paper-based ceiling materials. In basements, laundry rooms, and garages, moisture is a constant variable — and that’s where PVC ceiling panels become the smart budget choice.
PVC panels are 100 percent waterproof, mold-resistant, and install up to four times faster than drywall. They typically use tongue-and-groove systems that click together without specialized skills. The surface reflects light well — some panels reflect up to 90 percent of ambient light — which helps brighten up naturally dark basement rooms.
At $1.50–$3.75 per square foot, they sit in the same budget range as drop ceiling tiles and beadboard but outperform both in moisture-heavy environments. They also require no finishing, no painting, and virtually no maintenance.
For a cleaner aesthetic, choose smooth white PVC panels for a look that closely resembles freshly painted drywall — without any of the prep work, mess, or drying time.
Exposed and Painted Ceilings With Industrial Edge
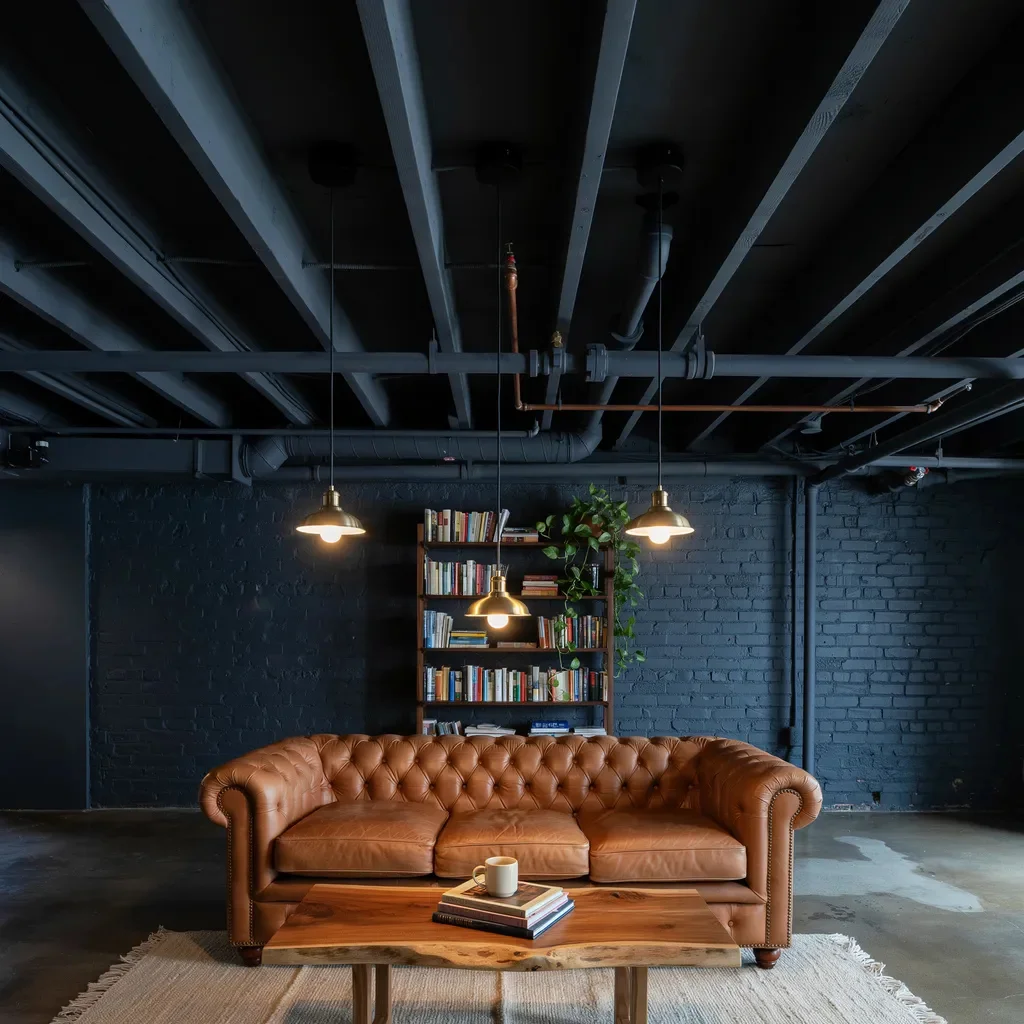
Sometimes the most stylish move is the most honest one. An exposed and painted ceiling — where all joists, pipes, ducts, and wiring are left visible and sprayed a single colour — creates an industrial-modern aesthetic that’s genuinely on trend and incredibly affordable.
The process involves thorough cleaning of all overhead elements, careful taping around areas that shouldn’t be painted, and applying matte black or white paint with an airless sprayer. The single-color treatment unifies everything and makes the utility elements feel intentional rather than unfinished.
This approach costs as little as $200–$500 for most rooms, preserves 8–12 more inches of ceiling height compared to any suspended system, and keeps full access to all plumbing and electrical lines without lifting a single tile.
The main trade-off is limited sound insulation. For bedrooms or media rooms, this matters. For a basement workshop, open kitchen, or modern loft space, it’s exactly the right choice.
Styrofoam and Lightweight Decorative Tiles
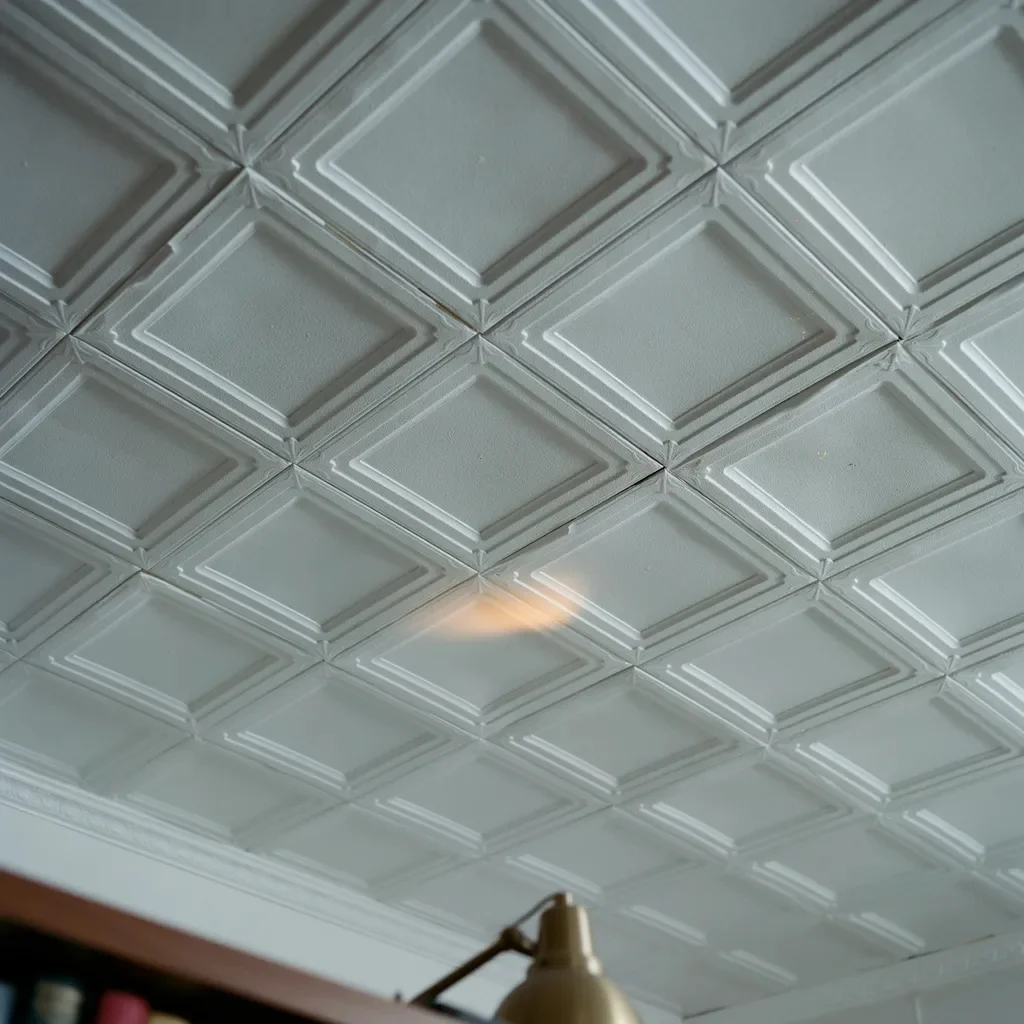
Styrofoam ceiling tiles are the quiet overachievers of the budget ceiling world. Molded to mimic coffered plaster or traditional tin, they’re extremely lightweight, affordable, and install with basic adhesive — no grid system required.
They drop directly into an existing ceiling grid or glue up to a flat surface. Some styles snap together using a tongue-and-groove edge, creating a seamless surface without visible seams or fasteners. Styrofoam also provides a small but real boost to thermal insulation and sound dampening.
For renters or anyone in a temporary space, these tiles are a particularly smart choice — they install cleanly and remove without damage to the surface underneath. Paint them with a latex formula in any color to match your room palette and they’ll look far more elevated than their price tag suggests.
One important limitation: never apply more than one or two light coats of paint. Heavy paint layers add weight that can cause tiles to sag or bow over time. Thin coats with a sprayer give the best result.
Lighting and Grid Tricks That Elevate Any Tile
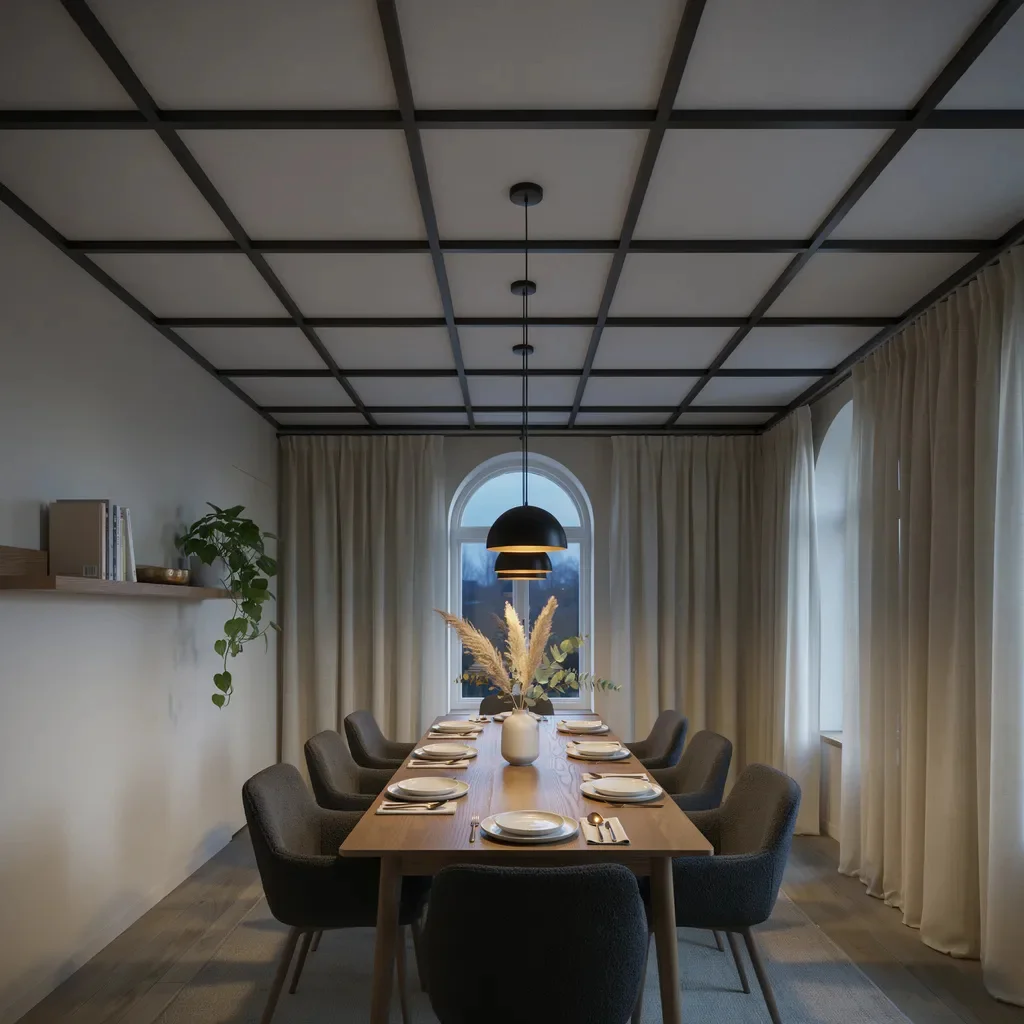
The tile itself is only half the picture. How you light a dropped ceiling — and how you treat the grid — determines whether the room feels polished or just passable.
Swapping standard metal grid hardware for black, bronze, or warm white grid systems immediately upgrades the look without touching a single tile. Black grids especially pair beautifully with light tiles to create contrast that reads as deliberately designed.
For lighting, consider replacing flush panel lights with recessed LED inserts. These drop into the existing grid openings, cost under $30 per fixture, and create a dramatically cleaner look than standard fluorescent panels. Aim lighting downward to minimize attention on the ceiling itself.
Rope lights or LED strip lighting along ceiling edges add a warm ambient glow that shifts the room’s entire mood at night. And adding a lightweight polyurethane or faux plaster ceiling medallion around a pendant light is a small detail that signals real craftsmanship — usually costing under $20.
Ready to Transform Your Ceiling
A dropped ceiling doesn’t have to look like a compromise. With the right materials, a weekend of work, and a few smart finishing details, it can look like a deliberate design choice you paid a designer to make. Start with one section if a full ceiling feels like too big a leap — you’ll be amazed how quickly a small change shifts the feel of an entire room.
Browse more home decor inspiration on thedecortrends.com and discover room-by-room ideas that fit every budget and style.