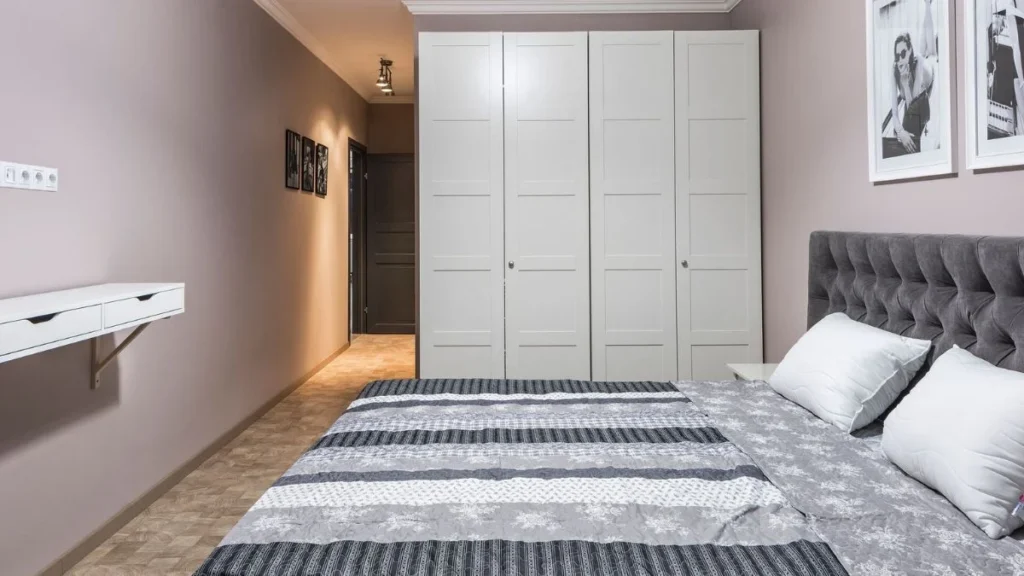
Your wardrobe should not look like it came in a flat-pack box. The good news is — with the right Ikea Pax hacks, it absolutely will not.
Most people assemble their Pax wardrobe, push it against the wall, and call it done. But that gap at the top, the floating bottom, and the obvious seams between units are exactly what separate a basic wardrobe from something that looks like it was built by a carpenter. A few smart additions can completely close that gap — literally and visually.
Whether you want a floor-to-ceiling Ikea Pax wardrobe that looks like custom millwork, a moody dark closet with statement hardware, or a walk-in that feels like a boutique dressing room, this guide covers every approach. You will find the hacks that deliver the biggest transformation — and exactly how to pull them off.
Crown Molding and Trim for a True Built-In Look
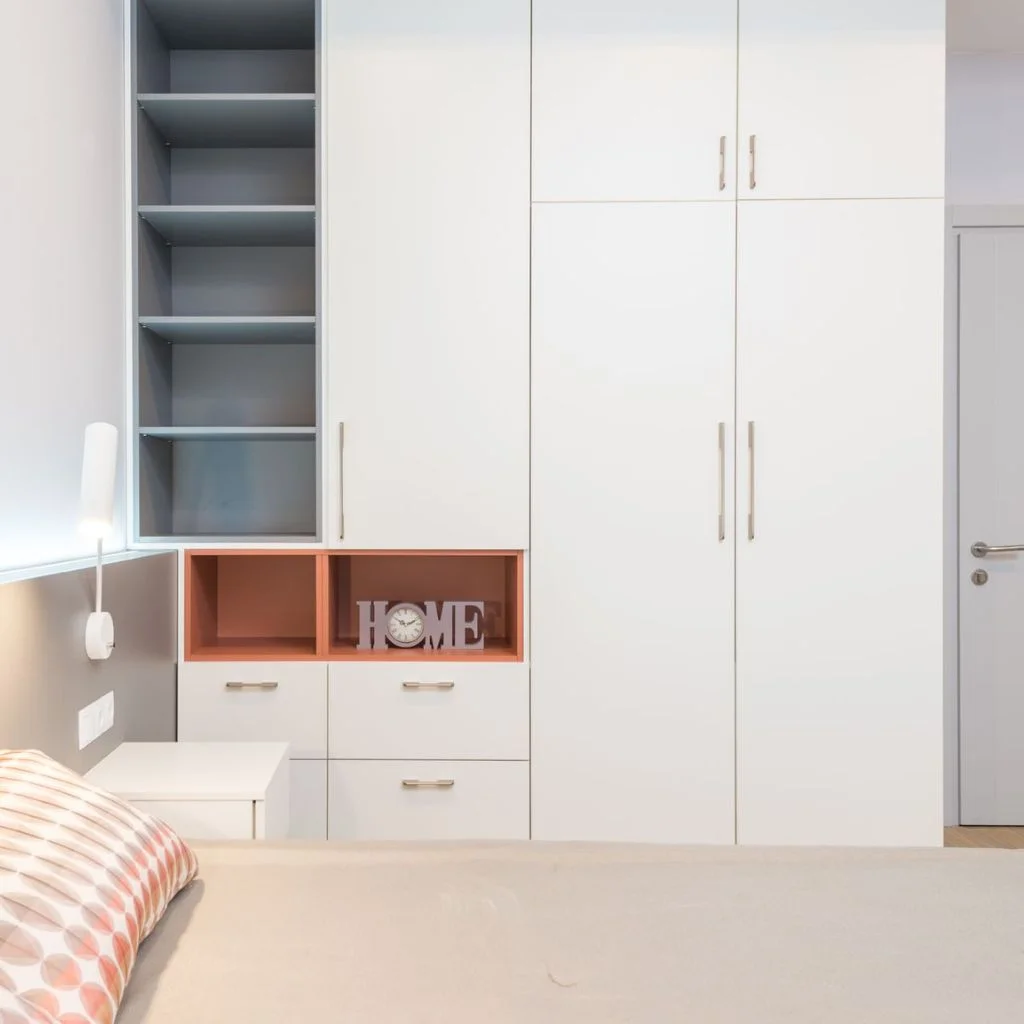
Crown molding is the single most impactful upgrade you can make to an Ikea Pax wardrobe. It closes the gap between the top of the unit and the ceiling, turning a freestanding piece of furniture into something that reads as permanent architecture.
The Pax system comes in 79-inch and 93-inch heights. If your ceilings are the standard 96 inches, you are working with a 3-inch gap — easy enough to fill with a 1×4 board screwed along the top, with crown molding nailed into the lip. This is the foundation of almost every Pax built-in look you have admired online.
Here is how to do it cleanly:
- Screw a 1×4 board along the top of the Pax frames, leaving about an inch of overhang at the front.
- Nail crown molding into that front lip at a 45-degree angle so it rises to meet the ceiling.
- Add a matching 1×4 base board along the bottom to tie all the units together.
- Use a thin strip of primed 1/4 × 1-1/2 wood over the seams between wardrobe sections to hide the joints.
- Caulk every edge where the trim meets the wall or cabinet, then paint everything in a matching white for a seamless result.
The caulk step is non-negotiable. It is what takes the look from “obviously DIY” to “did someone custom-build this?” Use paintable caulk and do not skip the painting afterward.
Filling the Gap Between Wardrobe and Ceiling
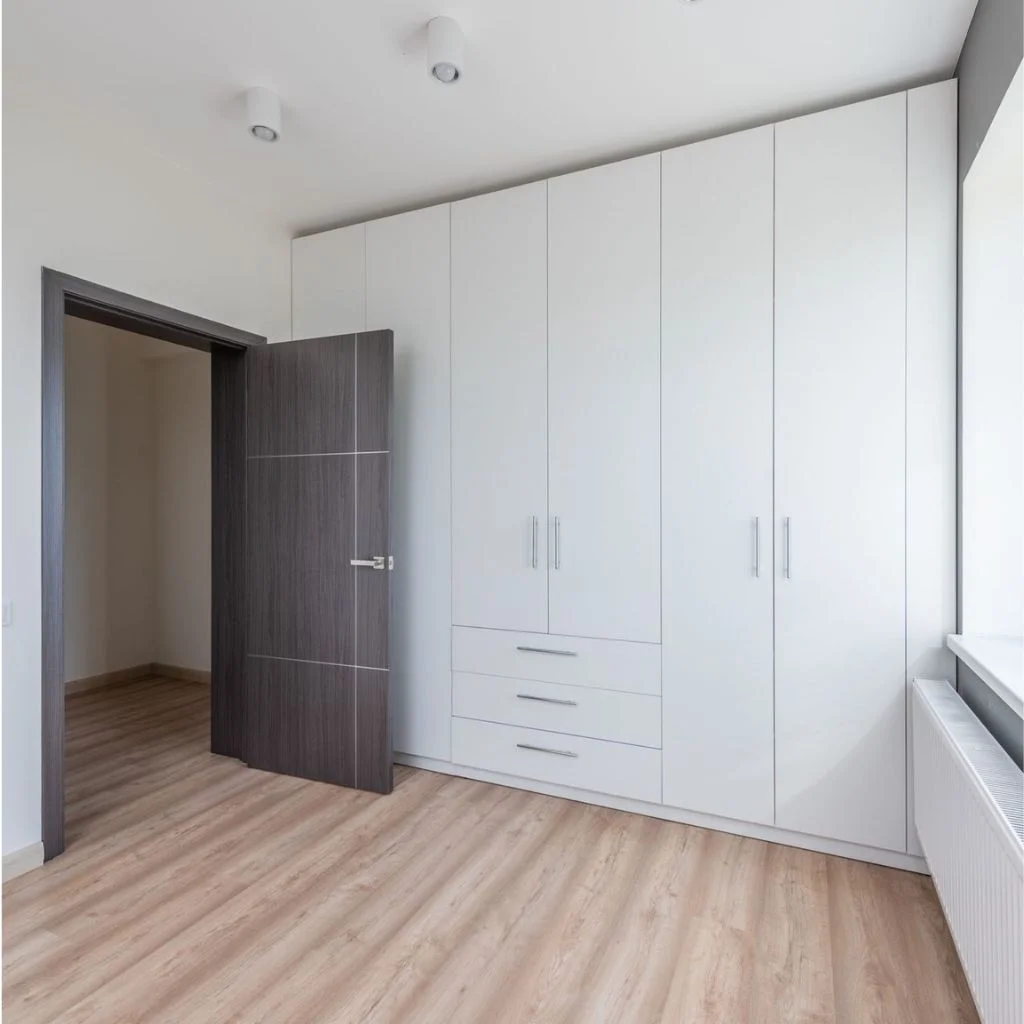
If crown molding is not your style, there are other ways to handle the gap. The key principle is the same: eliminate any visible space between the top of the wardrobe and the ceiling so the unit reads as built-in rather than placed.
Three popular approaches:
- Extend the doors: Purchase an extra Pax door, cut it to height, and repurpose it as a top panel. This elongates the visual line of the wardrobe without any carpentry skills.
- Add a valance board: A simple painted MDF panel, cut to size and nailed flush against the front of the gap, creates a clean architectural detail — especially effective in modern minimalist rooms.
- Build a faux soffit: Frame the gap with 2×4 lumber, then sheet it with drywall or MDF. Paint to match the ceiling for a completely flush result that looks like the wardrobe was always part of the room.
One thing to keep in mind: walls are rarely perfectly straight. When adding side panels to close a wall-to-wall gap, always scribe the curve of the wall onto your board before cutting. Trying to force a straight piece against an uneven wall will leave visible gaps that undermine the whole effect.
Custom Door Fronts That Change Everything
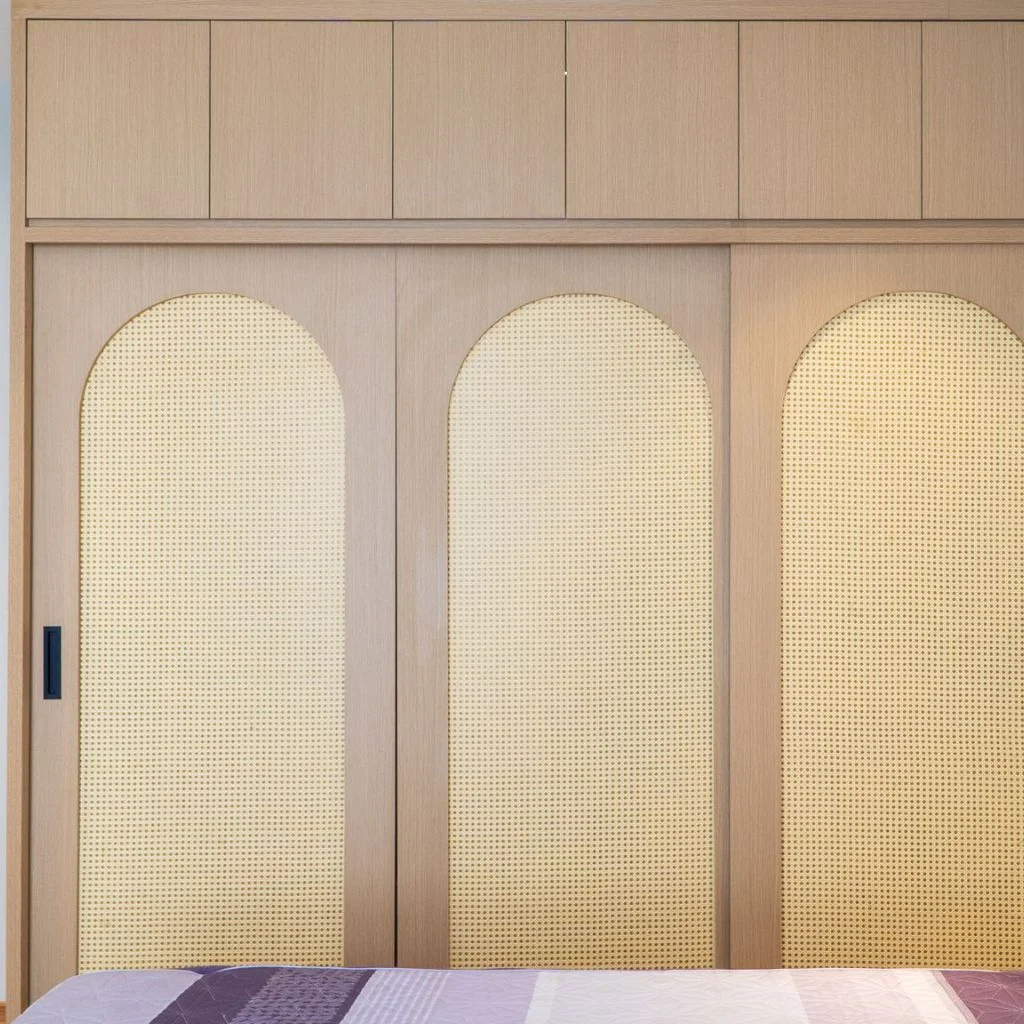
Nothing changes the personality of a Pax wardrobe faster than swapping out the door fronts. The standard doors are perfectly functional, but Ikea Pax hacks with custom doors are where things get genuinely exciting.
Here are the door upgrades that create the most dramatic results:
- Cane webbing panels: Remove the original door centers, frame them out with trim, and secure natural rattan webbing inside. The result looks like expensive bespoke furniture rather than flat-pack storage.
- Glass door fronts: Swap in BERGSBO glass door fronts for a boutique feel. Add LED strip lighting under each shelf and the interior of the wardrobe becomes a display worth showing off.
- Painted doors: A deep, moody color — forest green, slate blue, matte black — transforms an all-white Pax into a statement piece. Bold colors work particularly well when the rest of the room is neutral.
- Wood veneer doors: Apply wood-grain contact paper or real wood veneer sheets over the existing door panels. The warm organic texture makes Pax wardrobes look architectural rather than off-the-shelf.
- Fluted panel doors: Add vertical fluted MDF overlays to the existing door surface. Mid-century modern style, zero custom cabinetry budget.
One important note: Ikea’s laminated surfaces do not accept paint directly. If you plan to paint the Pax frames themselves (not just custom trim), sand lightly and use a dedicated primer made for laminate surfaces first. Otherwise, the paint will bead and peel.
Paint, Hardware, and Interior Upgrades
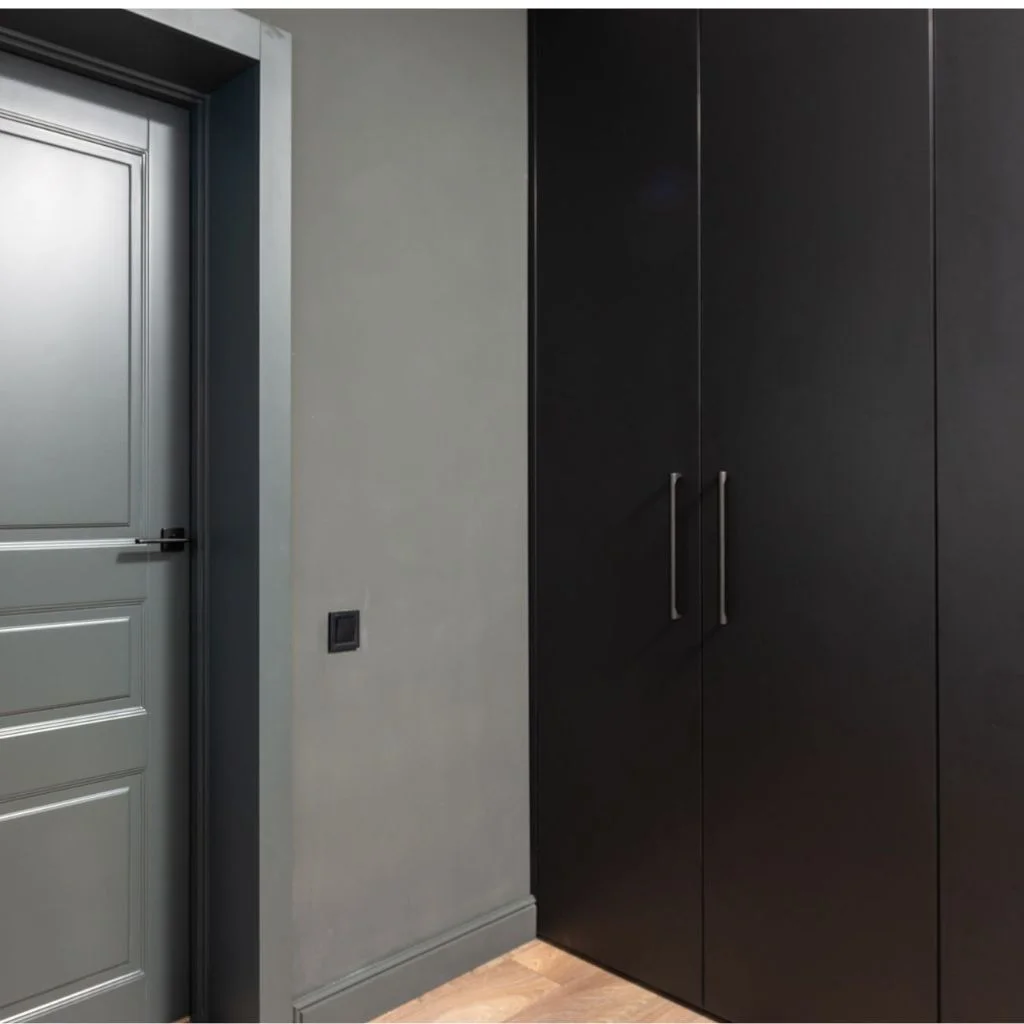
Once the exterior of your Ikea Pax wardrobe looks like a custom built-in, the interior should match the level of intention. Hardware and interior fittings are where a Pax closet goes from looking custom to feeling custom.
Hardware swaps:
- Replace standard Ikea handles with solid brass, matte black, or ceramic knobs. This single change costs under $40 and makes a visible difference every time you open the wardrobe.
- Opt for bar pulls on a painted Pax for a modern, clean look. Bin pulls work beautifully on a vintage or Victorian-inspired hack.
Interior upgrades:
- Pax AULI mirror inserts: Add mirrored interior panels to bounce light around a dark bedroom and make the space feel larger.
- PAX KOMPLEMENT drawer inserts: The velvet-lined jewelry drawers in particular are a detail that feels anything but budget-friendly.
- Wallpaper the back panel: The fiberboard back of wider Pax units has a seam down the middle that reads cheap. Cover it with peel-and-stick wallpaper — a geometric print or subtle linen texture works especially well — and the interior of the wardrobe becomes part of the design.
- LED strip lighting: Run LED strips under each shelf or along the interior sides. Warm white lighting makes even budget interiors look like a luxury dressing room.
Pax Hacks for Small Spaces and Unusual Rooms
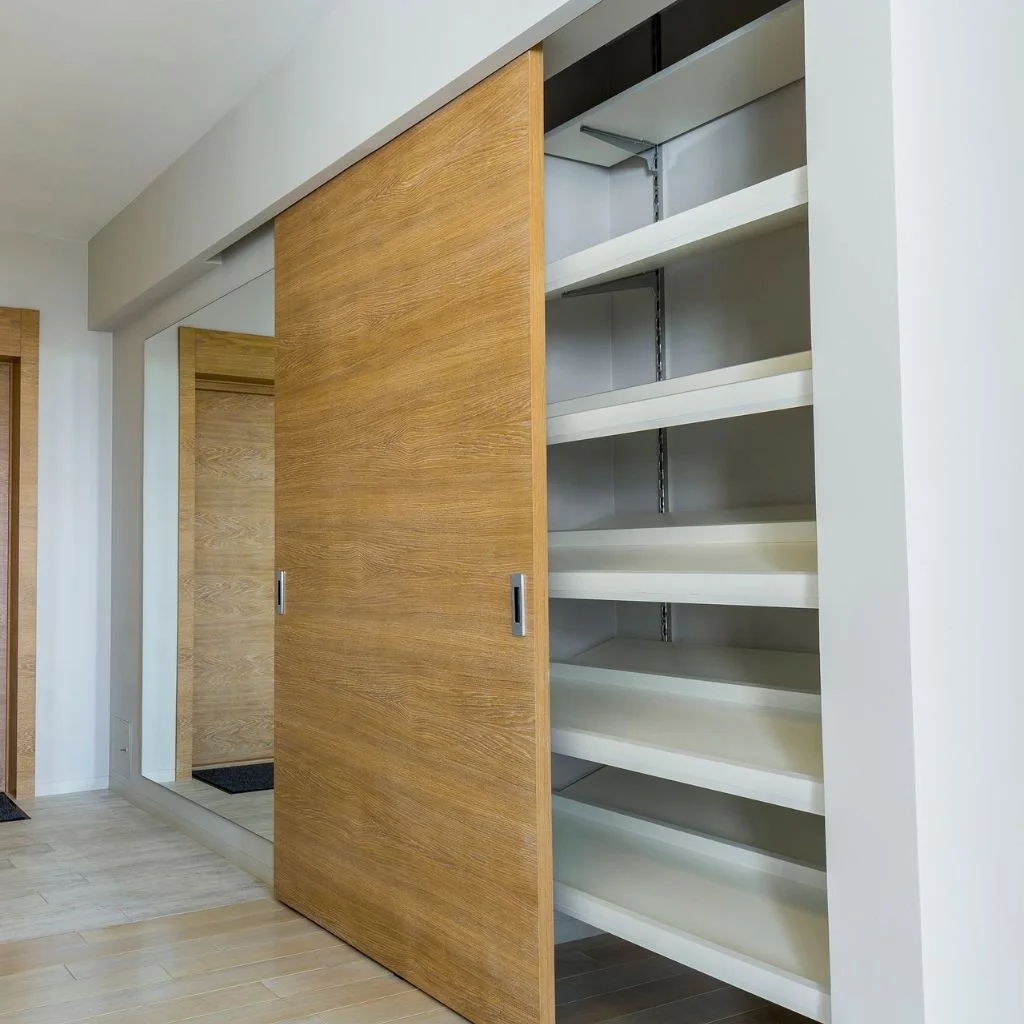
Ikea Pax hacks are not just for master bedrooms. The modular system is flexible enough to solve storage problems in spaces that usually get overlooked.
Consider these applications beyond the obvious:
- Hallway wardrobe: A single Pax unit installed in a wide hallway becomes a mudroom-style storage system. Add hooks inside the doors, a shallow bench below, and a pull for shoes and bags. The built-in trim makes it look like intentional architecture, not afterthought storage.
- Kids’ room built-ins: Two Pax units with a dramatic mirror or wallpaper panel between them turn a bunk room into a properly designed space. Use bold colors and fun hardware to keep it age-appropriate.
- Small bedroom alcove: A single 19-inch Pax fits into awkward nooks and recessed areas that standard furniture cannot. Built-in trim on all sides makes it look custom-fitted rather than wedged in.
- Home office storage: Pax wardrobes work as closed-cabinet storage behind a desk setup. Paint them a dark, serious color and add brass hardware — the result looks like a high-end home library rather than bedroom furniture.
- Slanted ceiling rooms: For attic or loft rooms with sloped ceilings, use the shorter 79-inch Pax and build angled filler panels above to follow the roofline. This trick turns a storage nightmare into a bespoke fitted look.
Styling the Interior for Maximum Function
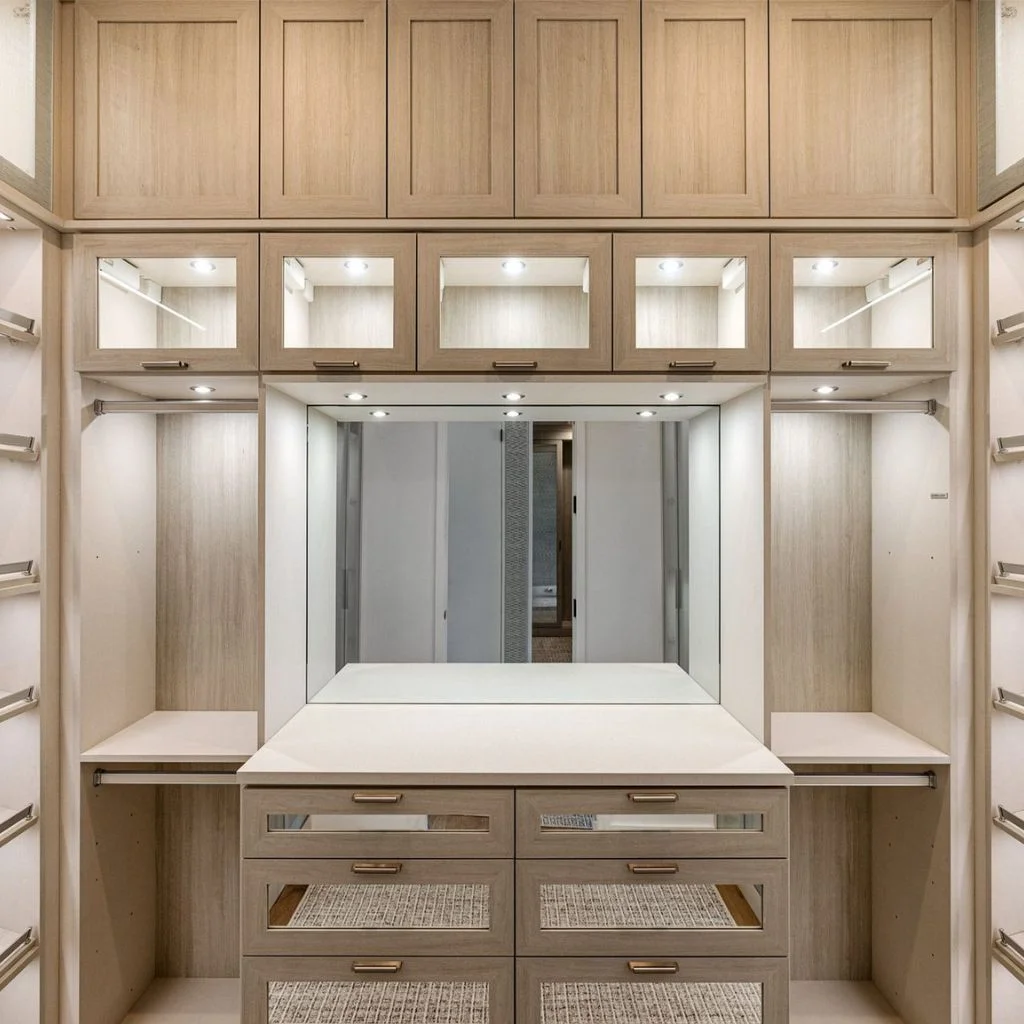
The outside of the wardrobe gets the compliments, but it is the inside that determines whether the hack improves your life. Thoughtful Pax wardrobe customization on the interior makes the difference between a wardrobe you open every morning with ease and one that devours everything you put into it.
Key KOMPLEMENT inserts worth knowing:
- Pull-out trouser hangers: Keep trousers crease-free and visible at a glance without needing a separate valet stand.
- Shoe shelves: Adjustable shoe shelves hold twice as many pairs as a standard shelf by tilting the shoes at an angle.
- Soft-close drawer inserts: The KOMPLEMENT drawer units come with soft-close mechanisms and can be fitted with velvet trays — one of the most luxurious details in any Pax hack.
- Pull-out clothes rails: These make deep sections infinitely more accessible. No more reaching past the front row to get to the coat you want.
Organization principles: Zone your wardrobe by frequency of use — daily items at eye level and arm’s reach, seasonal and occasional pieces above and below. Use uniform hangers (velvet, slim hangers in a single colour) to make the interior look intentional even when the doors are open.
Sourcing and Budget Tips for Your Pax Project
One of the smartest money moves on any Ikea Pax wardrobe makeover is sourcing second-hand units before you buy new. Facebook Marketplace, local thrift stores, and Habitat for Humanity ReStores regularly have Pax frames in good condition at a significant discount — sometimes as low as $40–$50 per unit.
Budget breakdown for a typical two-unit Pax built-in hack:
- Two Pax frames (new): $150–$200 depending on size
- Crown molding and trim boards: $30–$60
- Caulk, wood filler, and paint: $25–$40
- Hardware (pulls or knobs): $20–$60 depending on style
- Optional wallpaper for back panel: $15–$30
- Optional LED strip lighting: $15–$25
Total for a fully hacked, built-in look: roughly $250–$400 for two units. Custom millwork for the same footprint would cost ten times that.
Use the Ikea PAX Planner online before purchasing anything. It is a free 3D tool that lets you map out your configuration, check dimensions, and generate a complete parts list. Always measure your ceiling height first — if you have 8-foot ceilings, the 93-inch frame leaves a 3-inch gap, while the 79-inch frame leaves a 17-inch gap that requires more extensive infill work.
From Flat-Pack to Forever Fixture
The reason Ikea Pax hacks have become a staple of every home improvement feed is simple: the results are genuinely impressive and the cost is a fraction of custom cabinetry. A few boards of trim, a tube of caulk, and the right door fronts are all it takes to turn a wardrobe you assembled on a Saturday afternoon into something that looks like it has always been part of the house.
Start with the crown molding and ceiling gap — that single change delivers the most dramatic shift. From there, work inward: doors, hardware, interior fittings. Each layer adds to an effect that, when complete, makes a room feel properly designed rather than furnished by chance.
Your wardrobe stores your clothes. A built-in Pax wardrobe tells a story about the home you are creating. Use these hacks to make it a good one.
Highly Recommended: Ikea Folding Screen Hacks for Bedroom, Living Room and Home Office.
FREQUENTLY ASKED QUESTIONS
Can you paint IKEA PAX wardrobes?
Yes, but the laminated surface requires preparation. Sand lightly with 120-grit sandpaper and apply a primer designed for laminate surfaces before painting. Skipping the primer will cause the paint to bead and peel within weeks.
Do Ikea Pax hacks require professional carpentry skills?
Most Pax hacks are achievable with basic DIY skills. Crown molding and trim work requires a miter saw to cut accurate angles, but even that is beginner-friendly with the right tutorials. The caulk, paint, and hardware upgrades require no power tools at all.
What is the best way to secure PAX wardrobes to the wall?
Ikea provides wall-mounting hardware with each Pax unit, but many hackers supplement with additional heavy-duty anchors for extra security — especially for units going floor to ceiling. Always anchor into wall studs rather than just drywall.
How do you make IKEA PAX look expensive?
The highest-impact upgrades are crown molding at the top, custom door fronts, solid metal hardware, and caulk-and-paint finishing on all trim. Adding LED strip lighting inside and using uniform velvet hangers in the interior completes the transformation.
Can I use PAX wardrobes in rooms other than bedrooms?
Absolutely. Pax wardrobes work as hallway mudroom storage, home office closed-cabinet systems, laundry room linen storage, and even living room media built-ins. With the right exterior finish, they blend into almost any room without looking like bedroom furniture.