Your walls are doing nothing for you — and wood plank wall designs are the fastest way to change that. Whether you want a rustic farmhouse vibe, a sleek contemporary finish, or a cosy cabin feel, planking a wall delivers a dramatic transformation without a full renovation.
The beauty of wood plank walls lies in their versatility. From the bedroom to the bathroom, the living room to a home office, the right design instantly adds warmth, depth, and character to any space. You don’t need to be a seasoned carpenter either — many of these ideas are genuinely achievable on a weekend.
Below, you’ll find the most inspiring wood plank wall designs across every style, room, and budget, along with practical tips on how to plank a wall the right way.
1. Classic Horizontal Shiplap
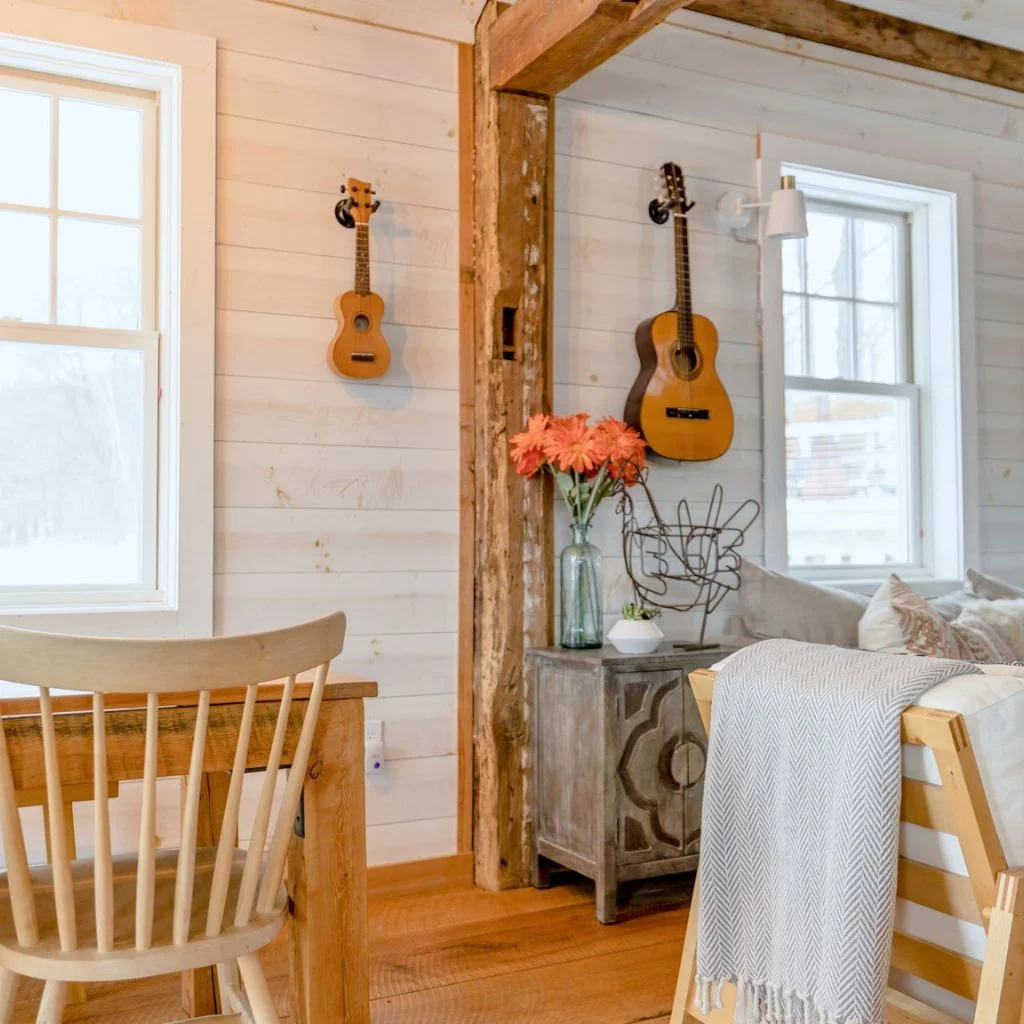
Horizontal shiplap is the gold standard of wood plank wall designs — and for good reason. Those evenly spaced, overlapping boards create a clean, rhythmic pattern that works beautifully in farmhouse, coastal, and Scandinavian interiors alike.
The shadow-gap reveal between each plank is what gives this design its distinctive look. Keep the planks painted bright white for an airy, open feel, or leave them natural for a warmer, more organic finish. Either way, this classic style suits living rooms, kitchens, and hallways perfectly.
This is also one of the most beginner-friendly approaches when learning how to plank a wall — boards go up level, one row at a time, with minimal cutting involved.
2. Vertical Plank Wall for Height and Drama
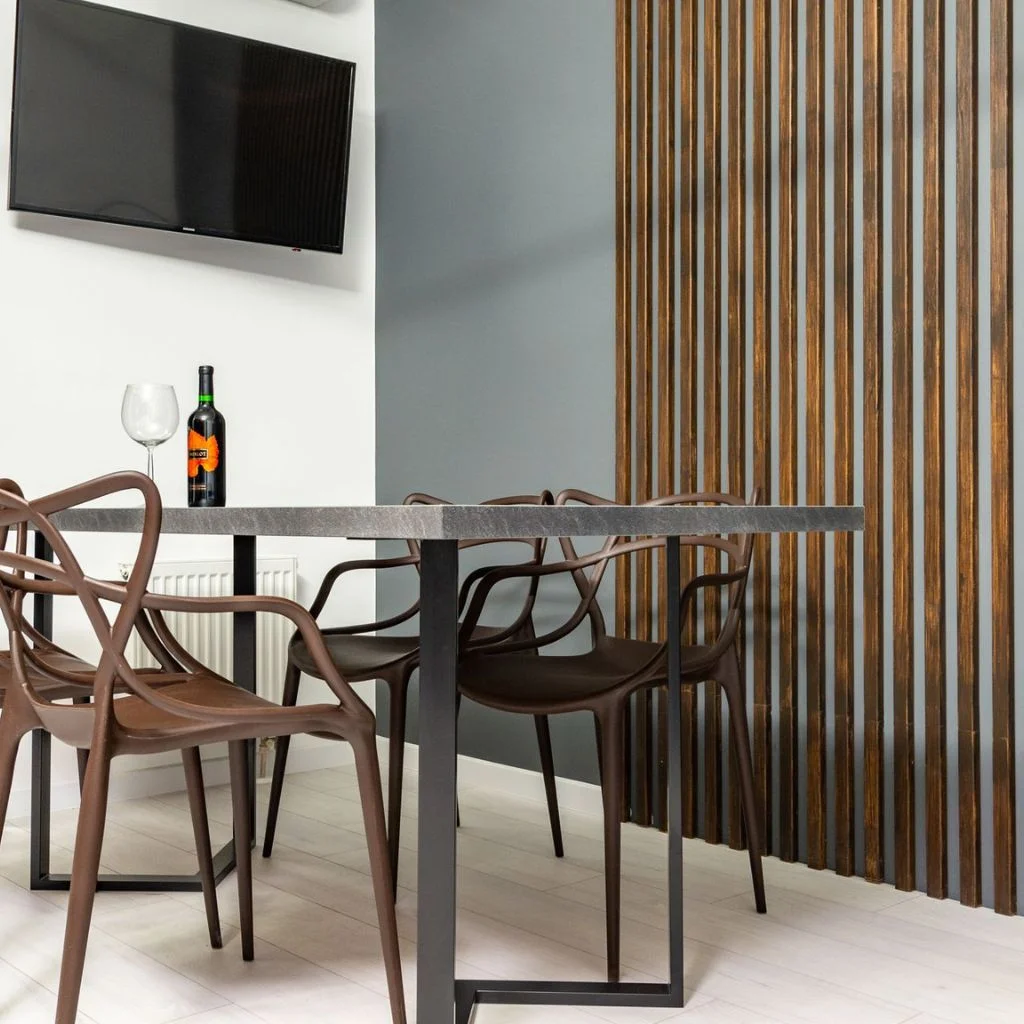
If a room feels low or boxy, vertical wood plank wall designs are your secret weapon. Running planks from floor to ceiling draws the eye upward, making any space feel taller and more expansive instantly.
Vertical planking works especially well in narrow hallways, dining rooms, and home offices. Pair it with dark paint tones like charcoal, navy, or forest green for a bold, architectural statement, or go light to keep things fresh and modern.
The installation method for vertical planking is virtually identical to horizontal — the main difference is that you’ll be cutting planks to height rather than width, so measure your ceiling height accurately before you start.
3. Herringbone Wood Plank Pattern
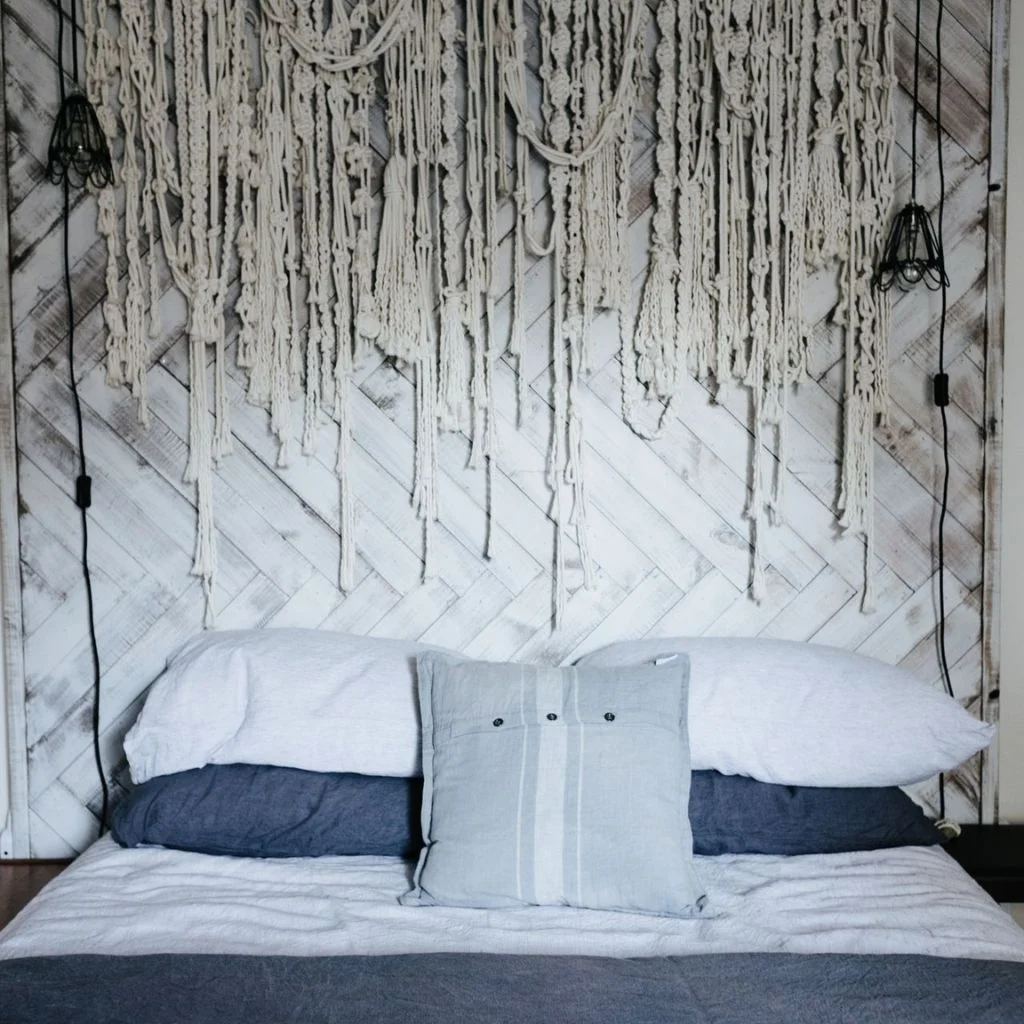
For those who want their wood plank wall to be a genuine conversation piece, the herringbone pattern delivers every time. Planks are cut at 45-degree angles and arranged in a zigzag formation that looks intricate and high-end — even when worked with affordable materials.
This is one of the more advanced wood plank wall designs in terms of precision cutting, but the visual payoff is enormous. Use it as a bedroom headboard wall or behind a living room fireplace for maximum impact.
Stick with a single consistent wood tone to let the pattern do the talking or mix light and dark planks for a two-tone effect that’s even more eye-catching.
4. Whitewashed Plank Wall
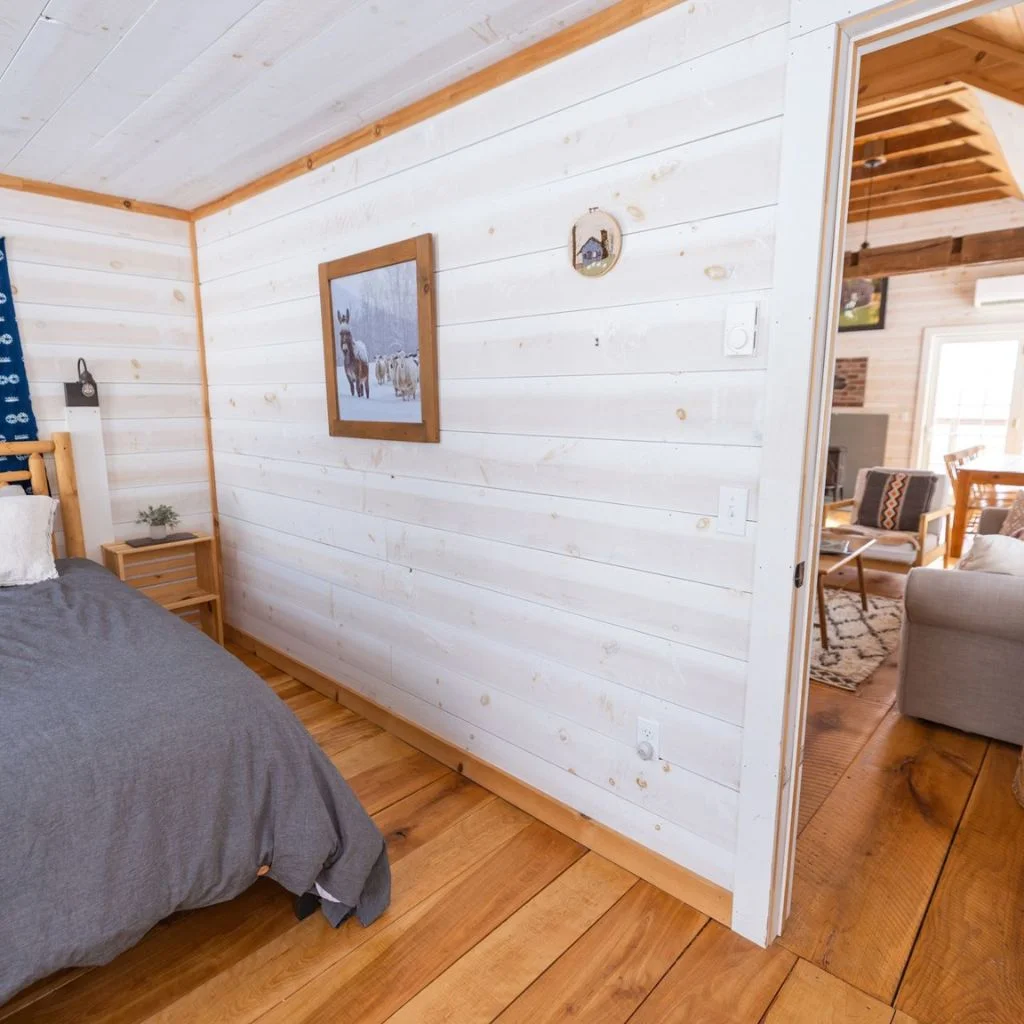
Whitewashing is the perfect technique for rooms that need warmth without weight. A whitewash finish lets the natural wood grain show through a semi-transparent white coating, giving you the organic texture of raw timber without the heaviness of a full dark stain.
These wood plank wall designs suit coastal, Scandinavian, and boho interiors beautifully. They’re also ideal for smaller rooms where a solid wood finish might feel too dark or oppressive.
Mix one part white paint with one part water to create a DIY whitewash or buy a ready-made pickling stain from any home improvement store. Apply with a brush, let it sit for a minute, then wipe back with a cloth for the perfect effect.
5. Dark Stained Wood Panel Wall
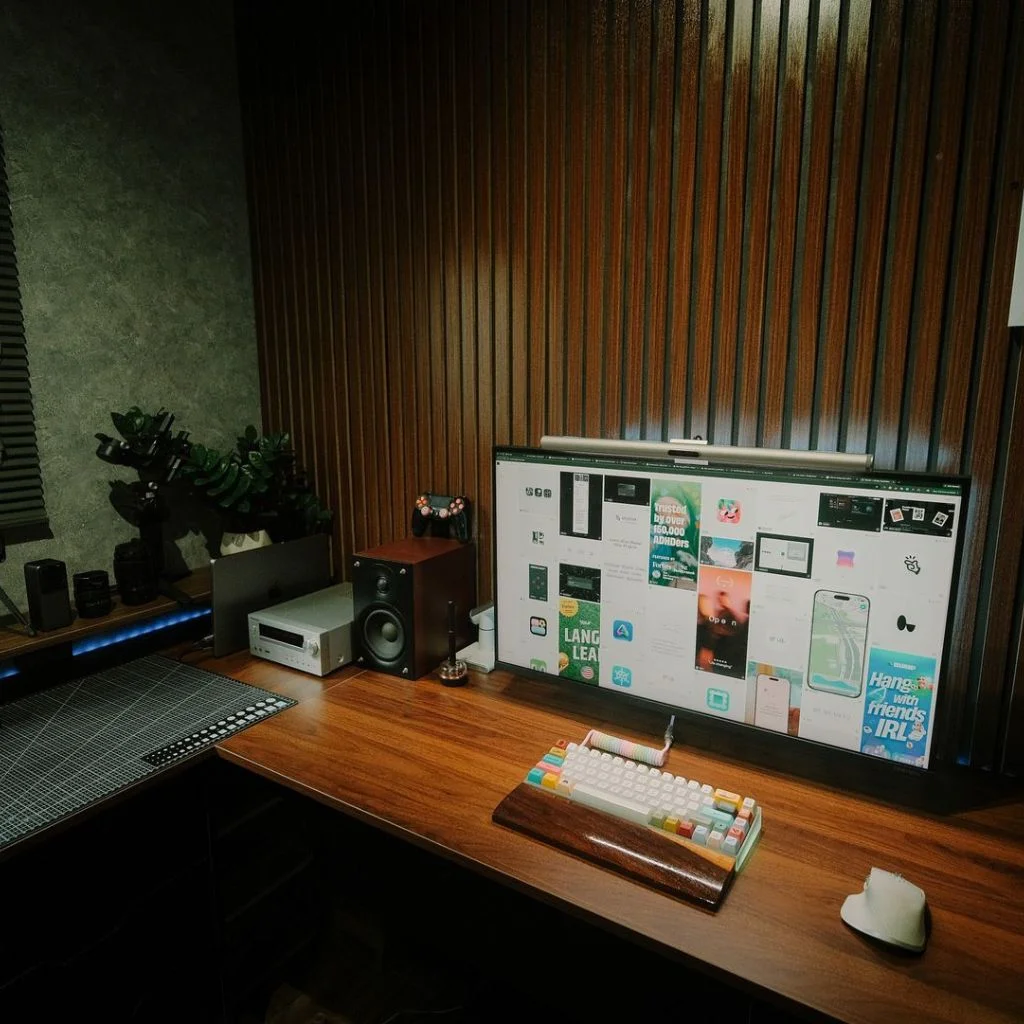
Dark stained wood panels bring a sense of richness and authority to any room. Think deep walnut, ebony, or jacobean stains that turn a plain wall into something that feels genuinely luxurious.
This is a particularly strong choice for home offices, studies, and dining rooms where you want drama and depth. Balance the darkness with good lighting — wall sconces, table lamps, or warm LED strips running along the planks all work beautifully.
When selecting your planks for this design, prioritise woods with strong natural grain like oak or pine, since the dark stain will highlight those patterns and make the wall feel even more textured and intentional.
6. Rustic Reclaimed Wood Plank Wall
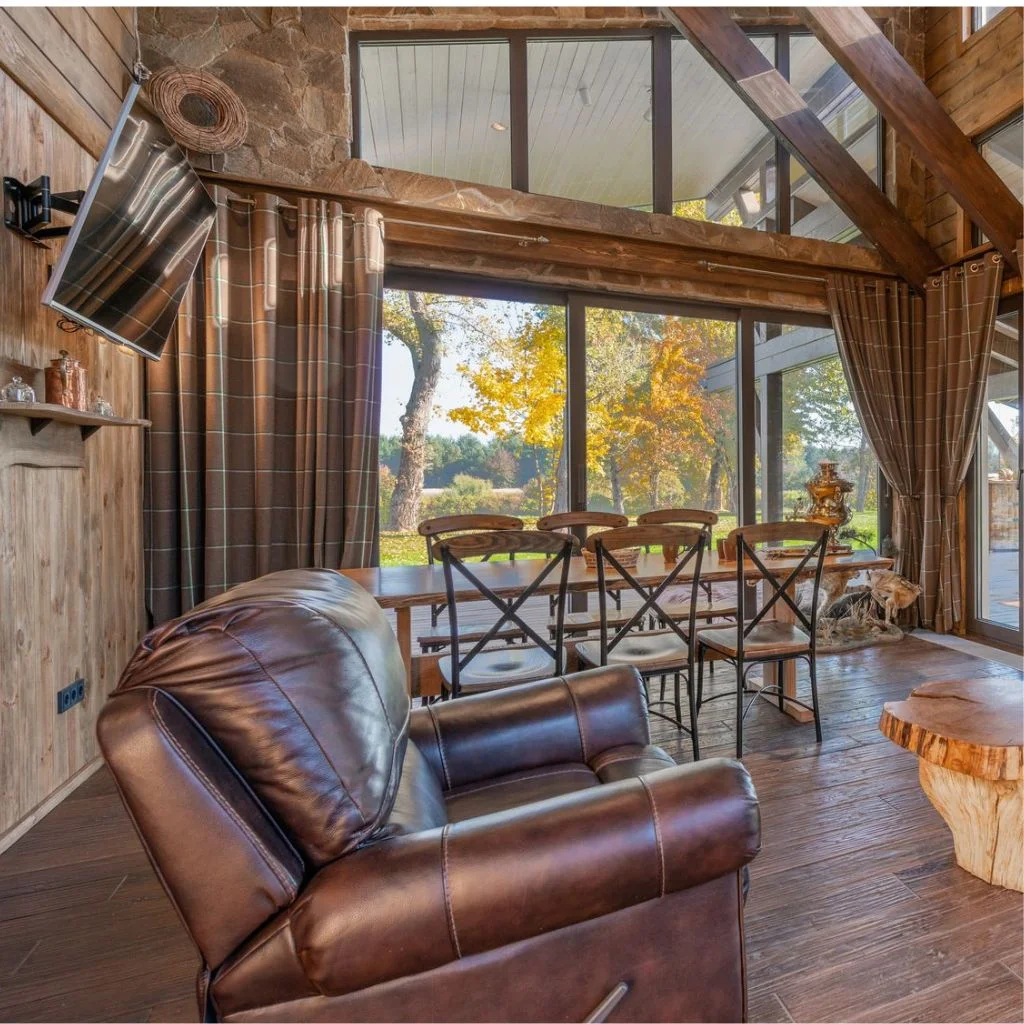
Nothing adds character like reclaimed wood. These planks carry genuine history — old knots, nail holes, saw marks, and weathered colour variations that no manufactured product can replicate. A reclaimed wood plank wall is inherently unique.
Source reclaimed planks from salvage yards, architectural antique dealers, or online marketplaces. The beauty of this style is that imperfections are the point — the more character in each board, the better the final wall looks.
These wood plank wall designs work particularly well in farmhouse, industrial, and eclectic interiors. Seal the planks with a clear matte finish once installed to preserve the aged look while protecting the wood.
7. Mixed-Width Plank Wall
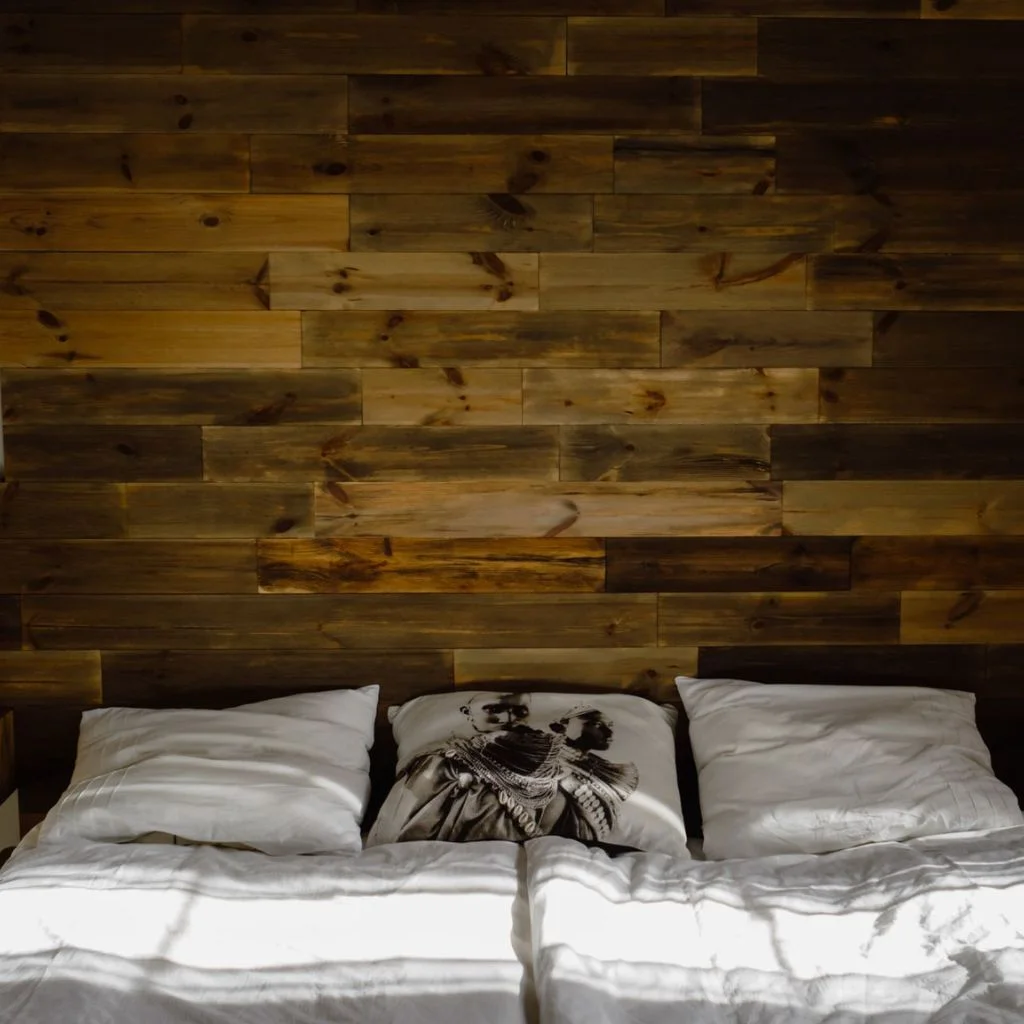
Standard plank walls use boards of a single consistent width, but mixing widths creates a far more dynamic and interesting result. Alternating wide and narrow planks breaks up the monotony and gives the wall a more custom, considered feel.
This approach is especially effective in larger rooms where a single-width plank wall might feel too uniform. Mix three or four different widths — say 3″, 5″, and 7″ boards — and vary the arrangement so no two identical widths are adjacent.
Mixed-width wood plank wall designs work well in both natural and painted finishes, and they’re a great way to use off-cuts and leftover timber from other projects without wasting materials.
8. Painted Wood Plank Accent Wall
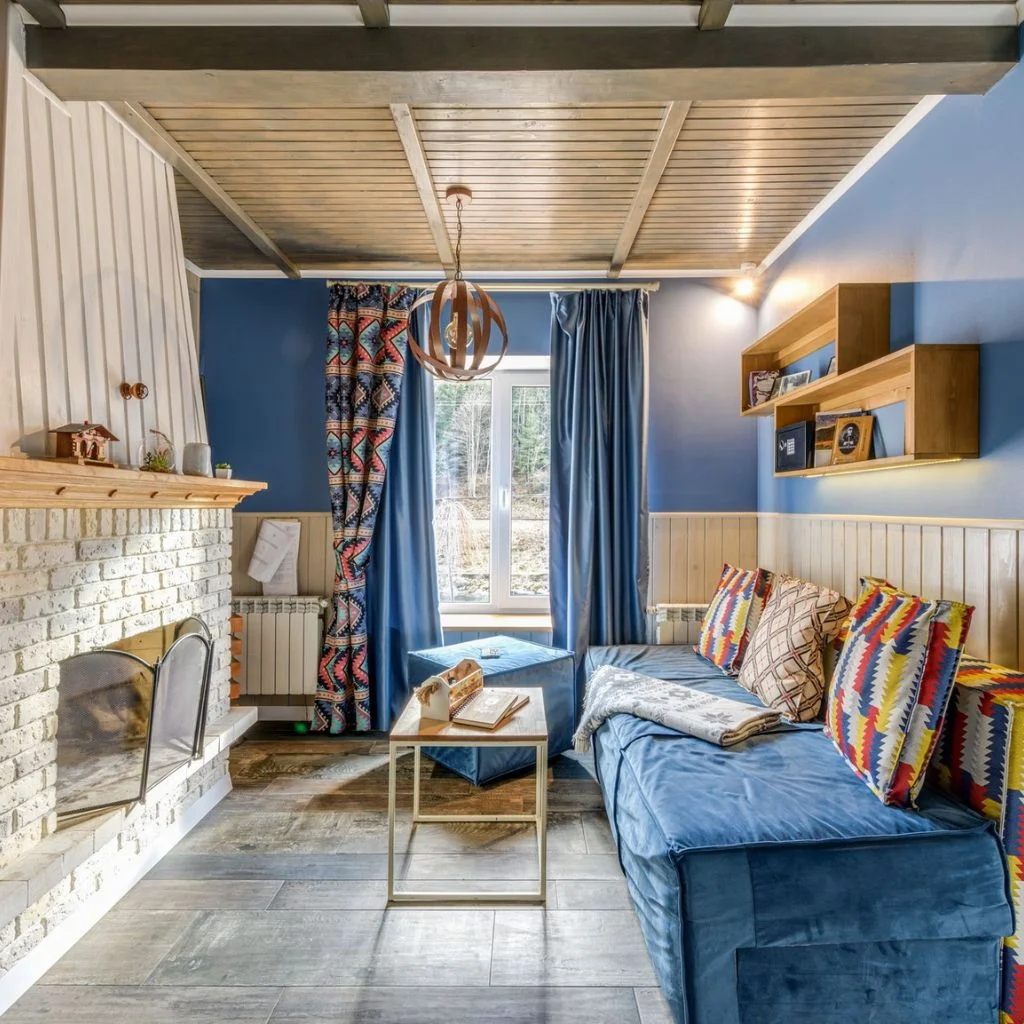
Paint transforms wood plank walls into something completely bespoke. Rather than keeping the natural timber look, a bold or deep painted finish turns your wall into a colour-led design statement — all while keeping the beautiful texture and dimension of the plank’s underneath.
Popular choices include sage green, terracotta, slate blue, and dusty rose — all of which look stunning against the shadow gaps and subtle relief of horizontal or vertical planks.
This is also the most affordable route into wood plank wall designs. Use basic pine boards, paint them your chosen colour after installation, and the result looks high-end for a fraction of the cost of premium timber.
9. Ceiling-to-Floor Plank Wall
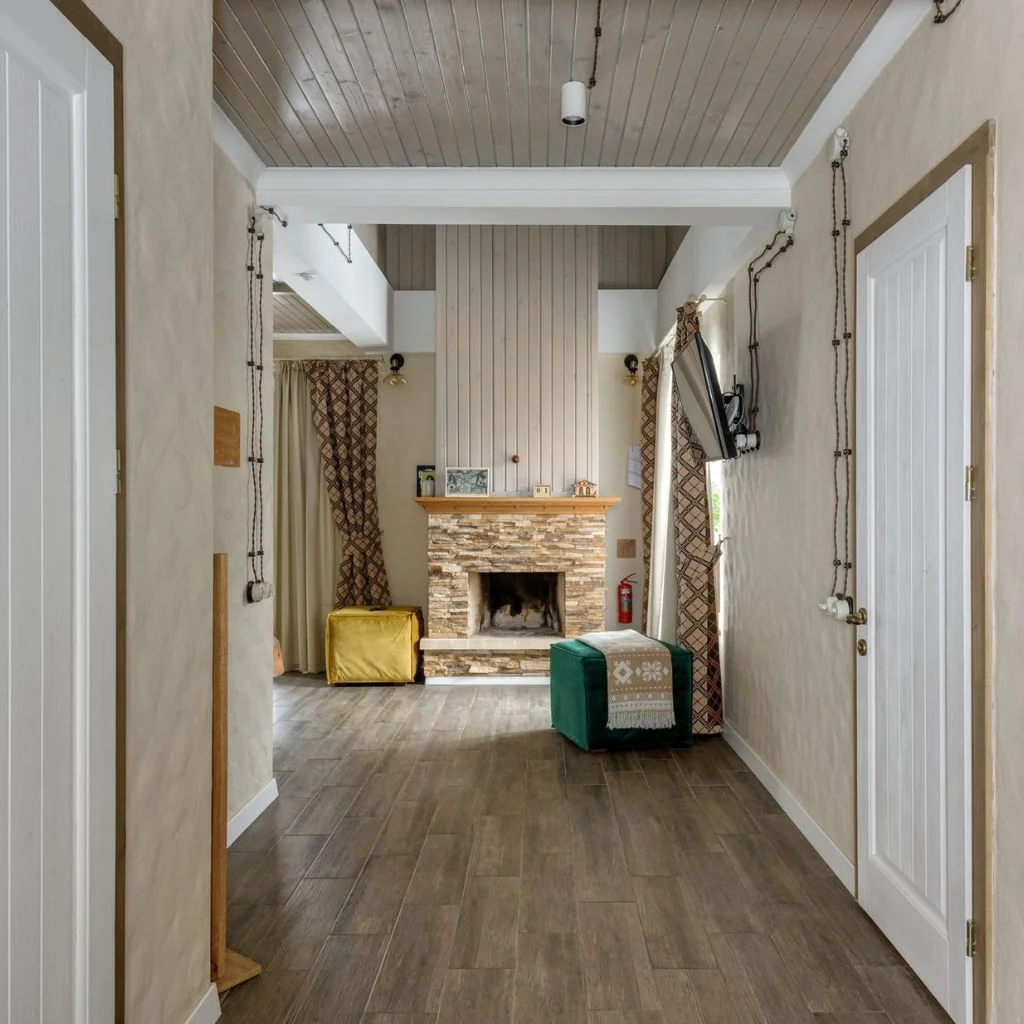
Taking the planks all the way from the floor to the ceiling — with no breaks, skirting, or dado rails interrupting the line — creates one of the most striking wood plank wall designs available. It’s immersive, enveloping, and genuinely impressive in person.
This approach works best in rooms with high ceilings where the vertical expanse can be fully appreciated. Entryways, hallways, and living rooms with feature walls are the ideal candidates.
When planning a ceiling-to-floor installation, always account for expansion gaps at both the floor and ceiling to allow for natural wood movement, particularly in rooms with fluctuating humidity levels.
10. Half-Wall Wood Planking
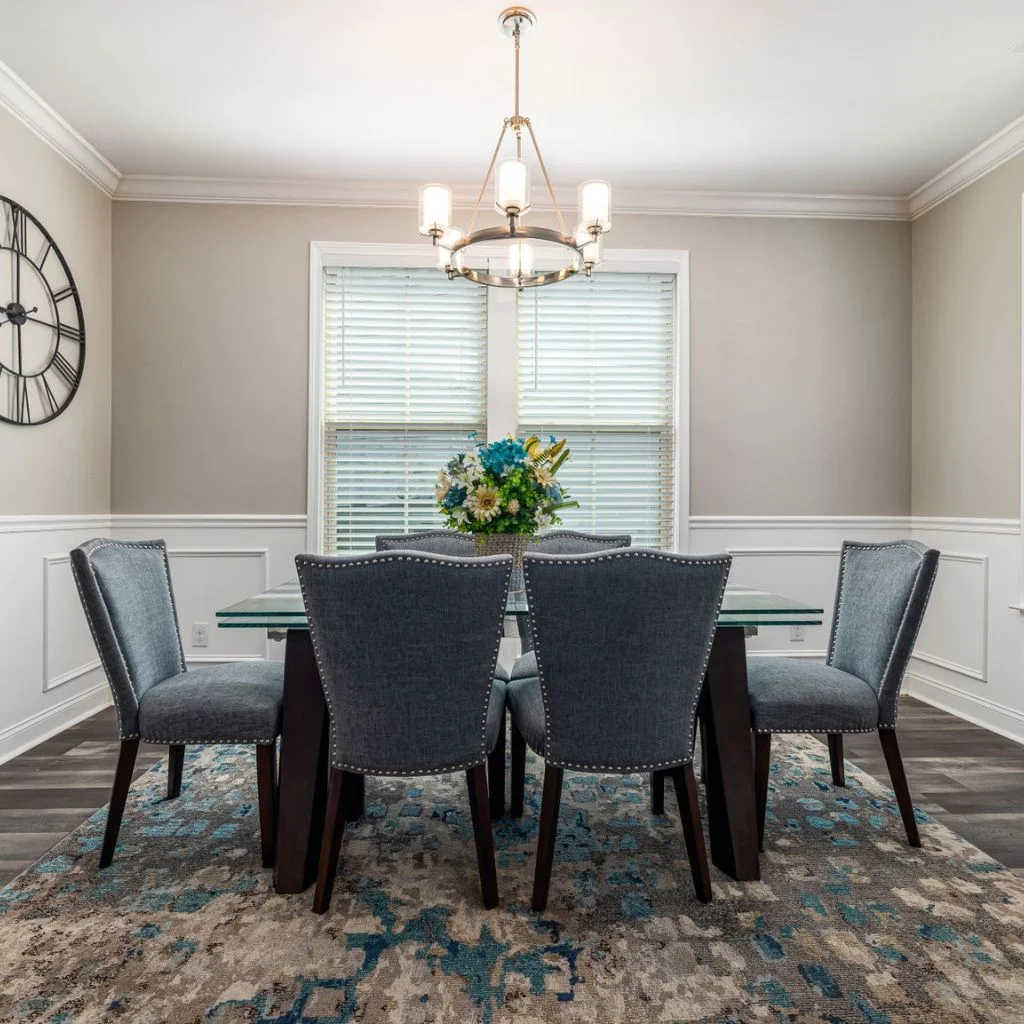
Half-wall planking — sometimes called wainscoting — covers just the lower portion of the wall, typically to chair-rail height (around 90–100cm from the floor). It’s a classic, timeless technique that adds architectural interest to any room without committing to a full wall of timber.
These wood plank wall designs pair beautifully with a contrasting paint colour above the rail. White planks below with a deep green or navy above is a particularly popular combination right now in dining rooms and hallways.
Half-wall planking is also practical — it protects the lower portion of your walls from scuffs and marks, making it a smart choice for high-traffic areas and homes with children or pets.
11. Wood Plank Wall in the Bedroom
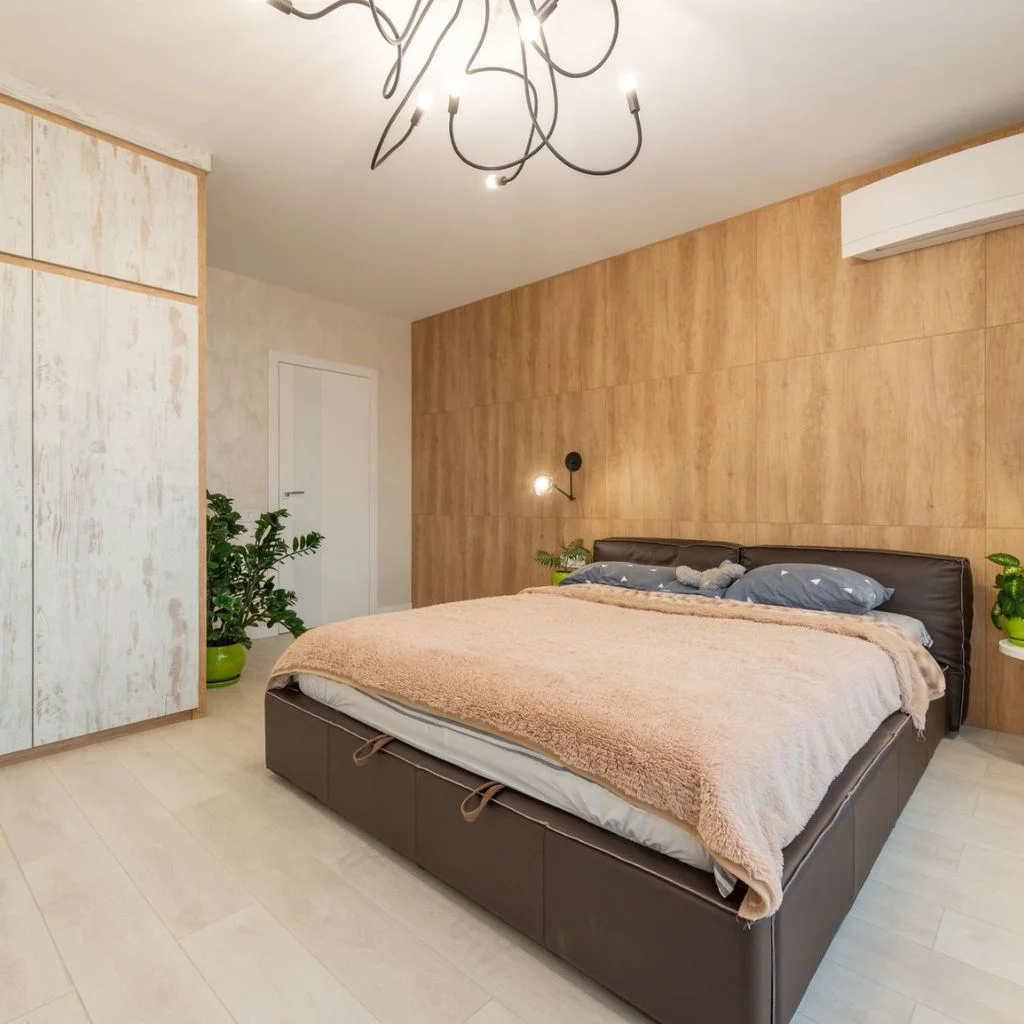
The bedroom is perhaps the most popular room for a wood plank feature wall — and it’s easy to see why. A planked wall directly behind the bed acts as a built-in headboard, creating a focal point that anchors the entire room without a single piece of furniture being required.
Choose a lighter, warmer wood tone for a soothing, restful atmosphere, or go darker for a more dramatic, hotel-suite feel. The planked wall adds texture and warmth that painted walls simply can’t replicate.
For bedrooms, horizontal planking at standard board widths works best. Keep the rest of the room’s colour palette neutral so the wood plank wall remains the clear star of the space.
12. Bathroom Wood Plank Wall
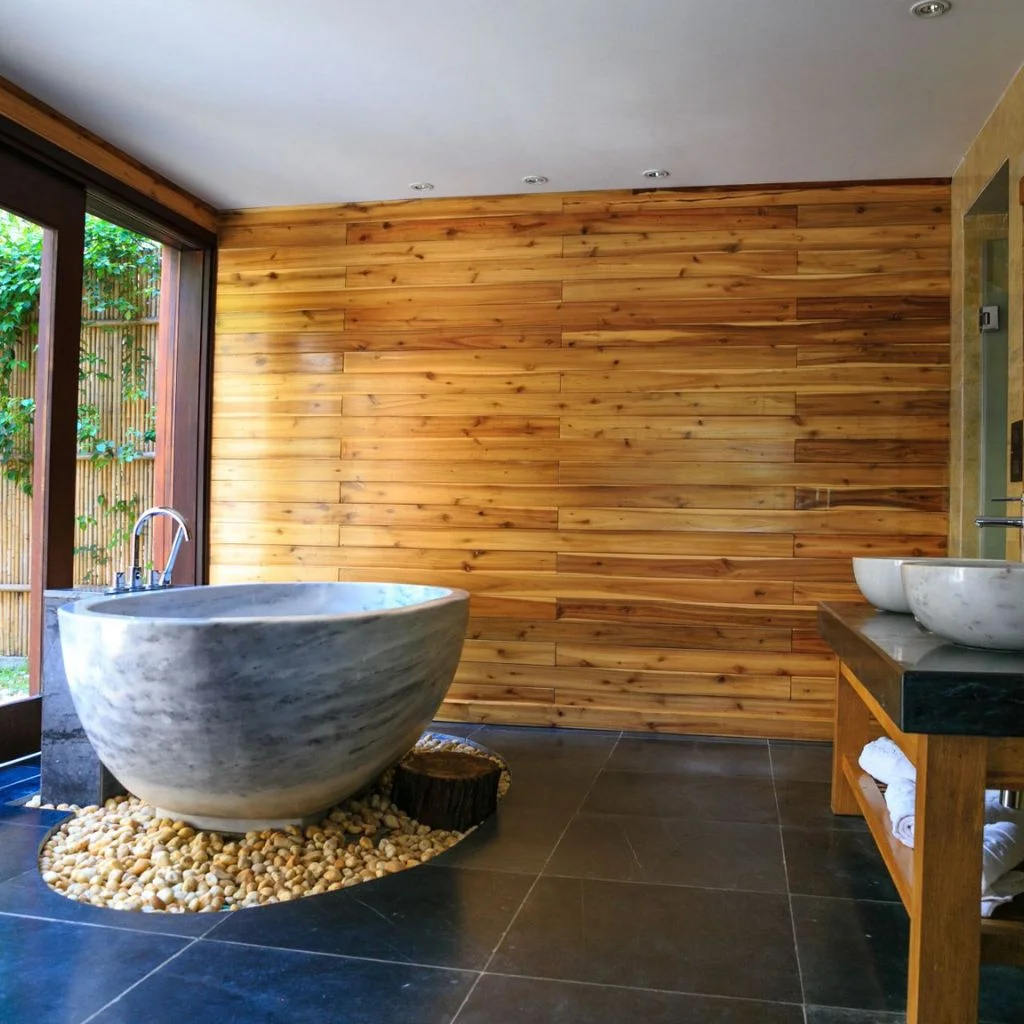
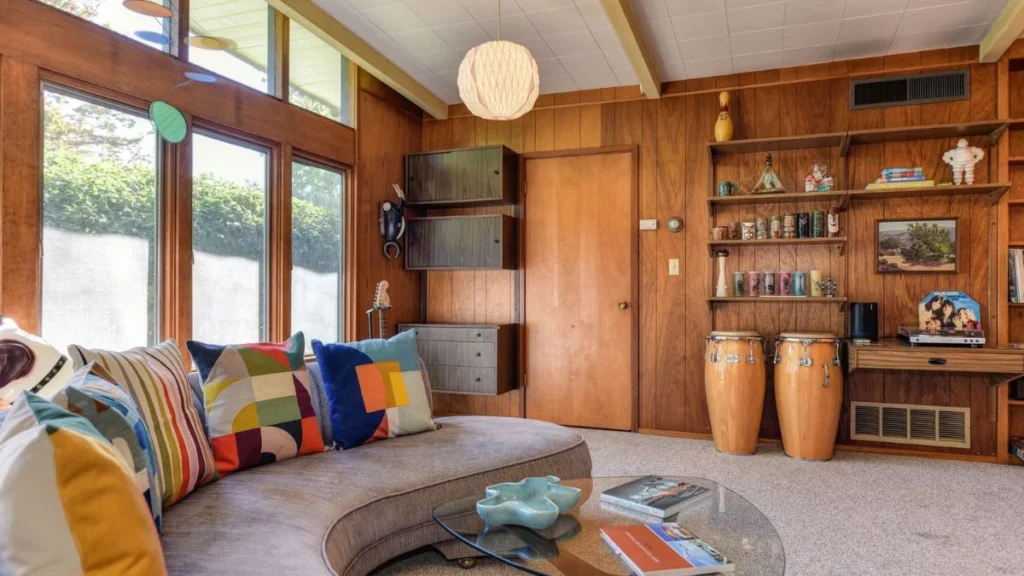
Wood in the bathroom feels indulgent and spa-like — and with the right preparation, it’s entirely practical too. Cedar and teak are the go-to choices for bathroom wood plank wall designs because of their natural moisture resistance and beautiful grain patterns.
The key to success in a wet environment is proper sealing. Apply two or three coats of a waterproof sealant or exterior-grade varnish to every surface — front, back, and edges — before installation. Re-seal annually to maintain protection.
Keep bathroom planking away from direct shower spray where possible or use it as an accent wall on a dry section of the room. Paired with matte black fixtures and natural stone accessories, a bathroom wood plank wall feels genuinely luxurious.
Tips for Planning Your Wood Plank Wall
Before you commit to any of these wood plank wall designs, a few practical considerations will save you time, money, and frustration during installation.
Choose the Right Wood
Pine is the most affordable and widely available option, and it takes paint and stain beautifully. Oak is more expensive but offers superior grain and durability. MDF planks are the most budget-friendly choice and work well for painted finishes, though they can’t be used in moisture-prone areas.
Prepare Your Wall Properly
Always start with a clean, flat surface. Fill any holes or cracks, and sand down any uneven spots before you begin. If you’re fixing planks directly to plasterboard, locate the wall studs and screw into them for a secure hold.
Account for Expansion
Real wood expands and contracts with temperature and humidity changes. Leave a small gap (around 2–3mm) between planks and at the floor and ceiling to accommodate this natural movement. For painted designs, these gaps will be invisible once the work is finished.
Use the Right Fixings
For a seamless look, use a nail gun or secret-nailing technique through the tongue of tongue-and-groove boards. For face-fixed planks, use screws or nails and fill the holes with matching wood filler before painting or staining.
Seal and Protect
Once installed, always seal your wood plank wall with an appropriate finish — matt varnish for a natural look, eggshell or satin paint for painted designs, or a specialist wood oil for reclaimed or outdoor-grade timber. Proper sealing extends the life of your wall significantly.
Bring Your Walls to Life
There’s no faster way to make a room feel brand new than wood plank wall designs that reflect your personal style. Whether you’re drawn to the rustic charm of reclaimed timber, the clean lines of painted shiplap, or the spa-like serenity of a cedar bathroom wall, there’s a planked wall design that works for your space and your budget.
Start with one room, one wall, and one weekend — and see just how transformative the right wood plank design can be. Once you see the result, you’ll wonder why you waited this long.
Highly Recommended Reading: Knotty Pine Paneling vs Smooth Pine: Choosing Right for Your Space.